Improper 2024 Toyota Tundra Audio Installations: A Cautionary Tale . . DON’T LET AUDIO SHOPS HACK UP YOUR TUNDRA!
| Vehicle | 2024 Toyota Tundra |
| Posted | July 2024 |
| Shop | Taco Tunes, San Antonio, TX |
Body:
We’ve observed an unfortunate trend of cost-cutting measures employed by some audio shops during Toyota Tundra audio system installations. These practices, often marketed under the guise of “affordable upgrades,” can lead to long-term problems for tundra owners.
Common Cost-Cutting Practices and Their Consequences:
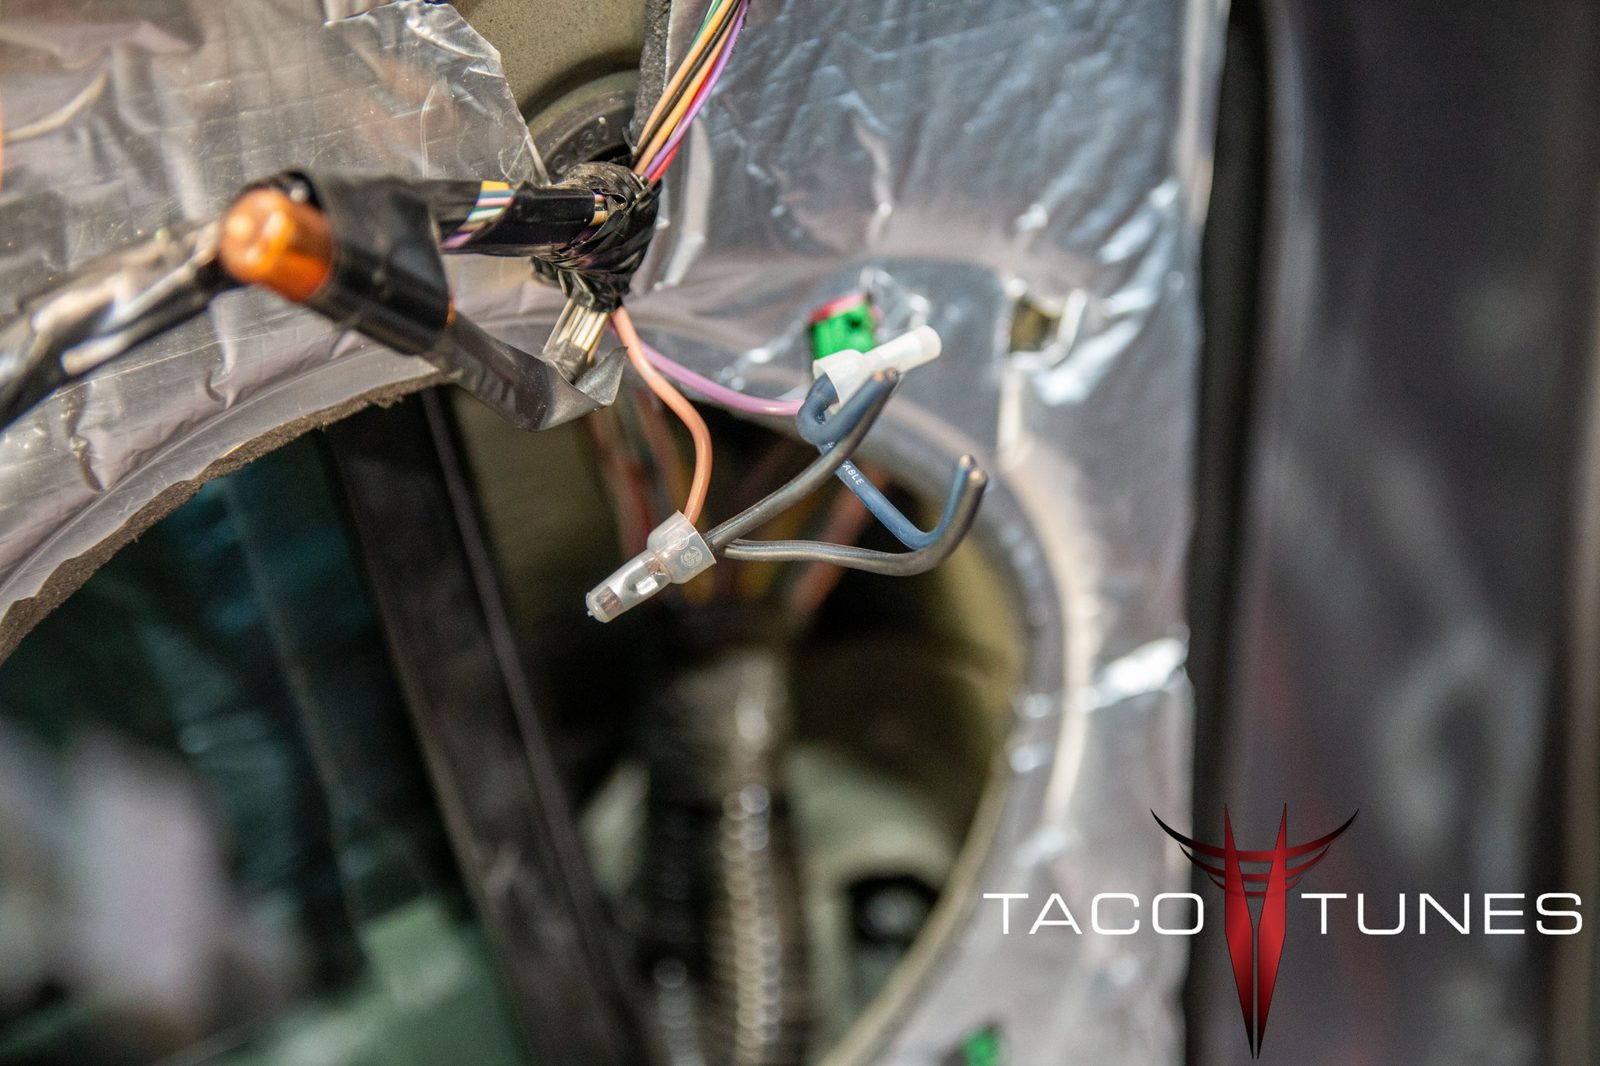
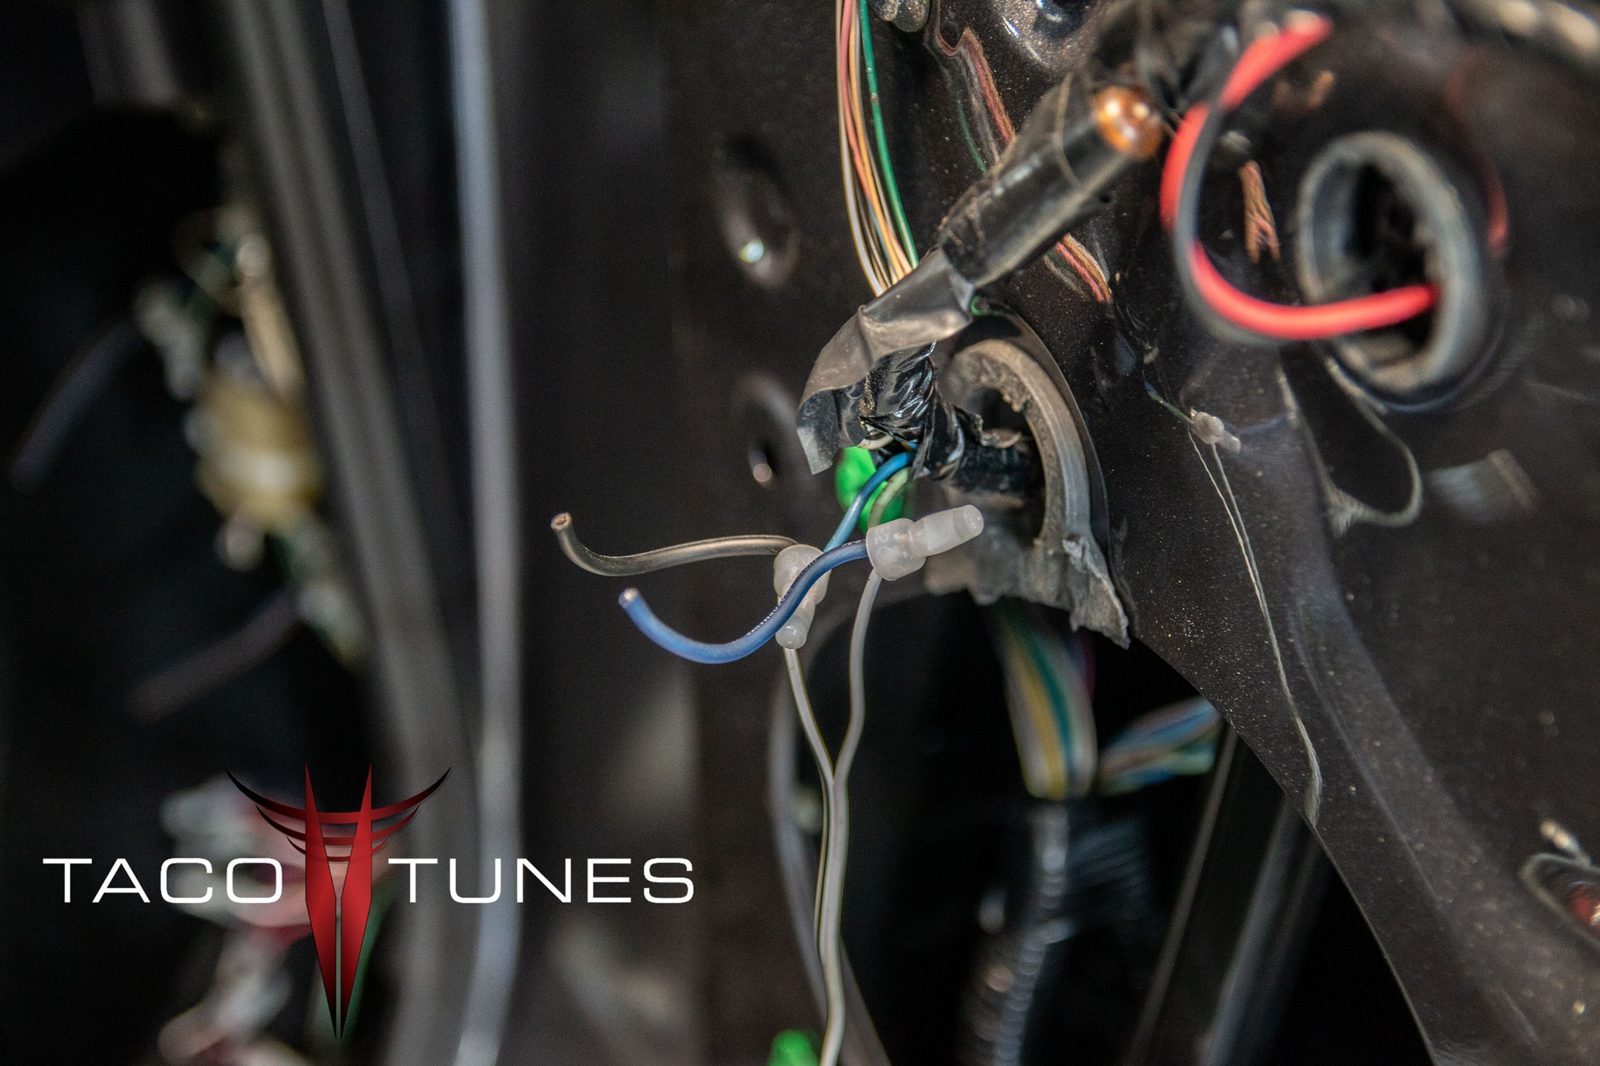
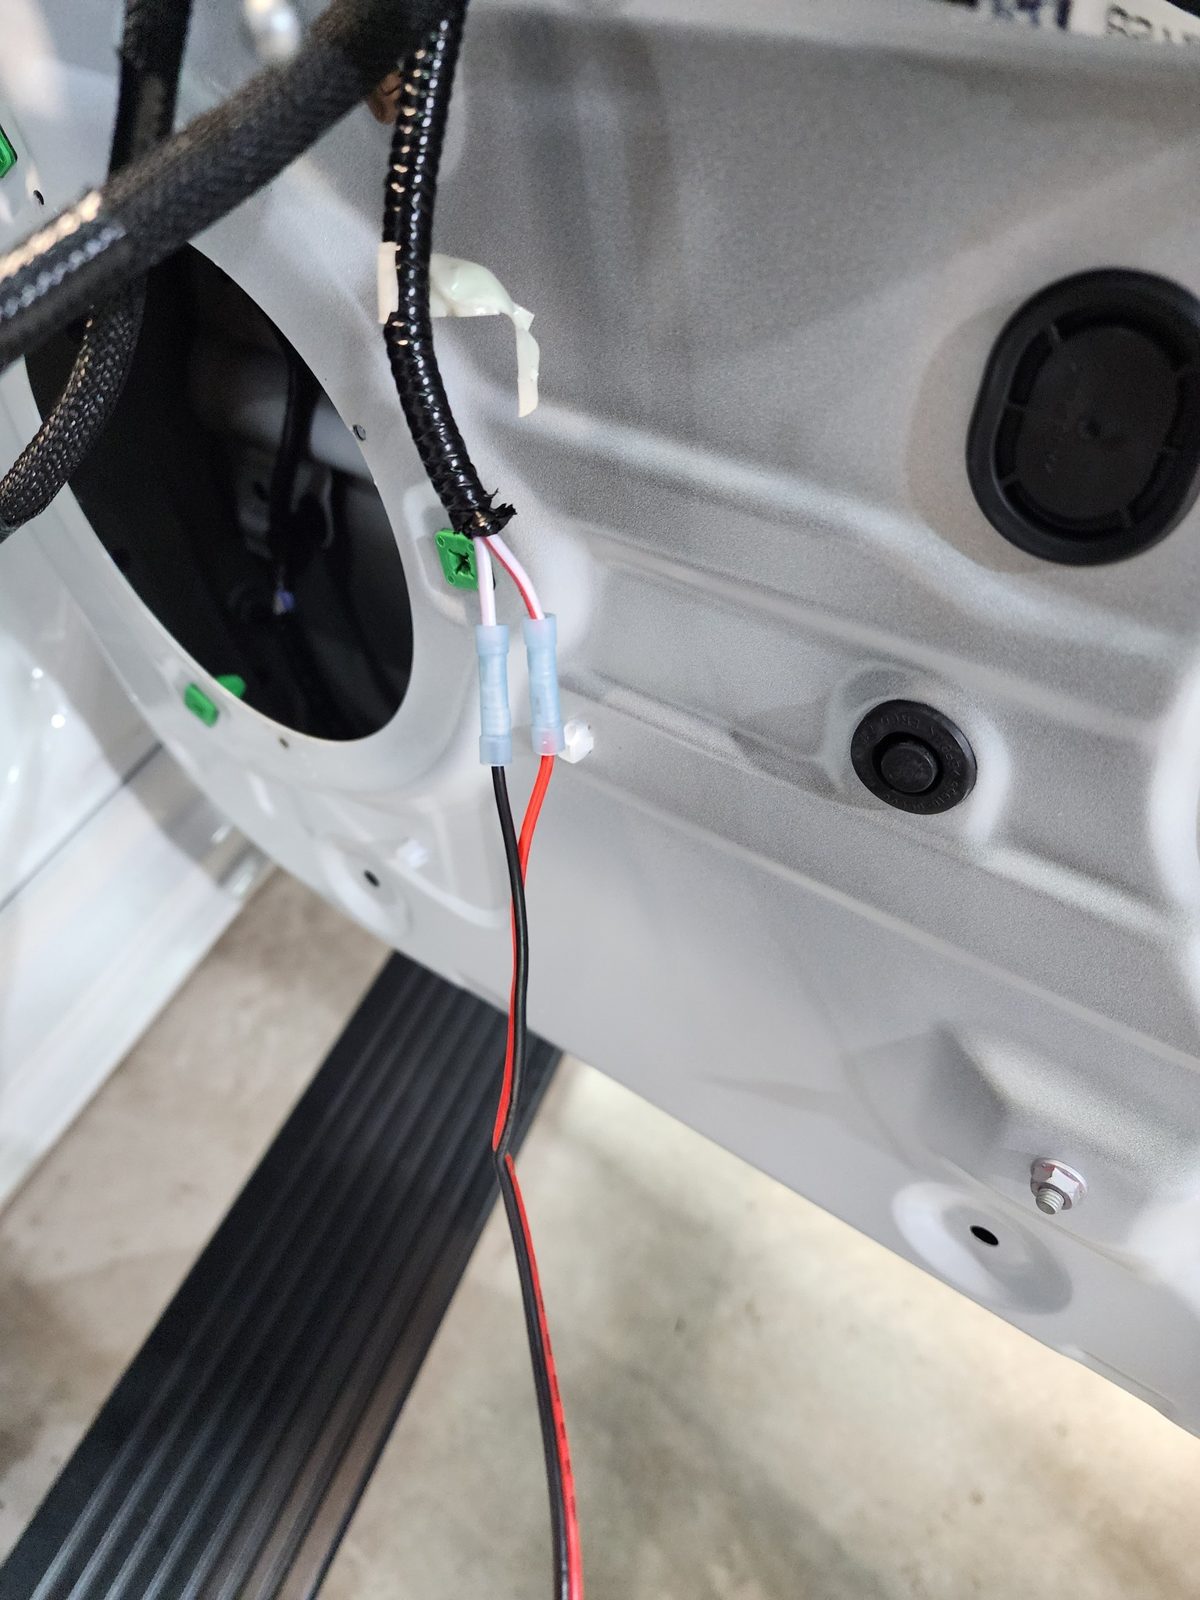
Wire Splicing and Cutting: Tampering with factory wiring harnesses by cutting and splicing can compromise the vehicle’s electrical system and lead to malfunctions.
Improper Mounting: Drilling holes for component installation directly into the vehicle’s body can create potential rust points and compromise structural integrity.
Incorrect Signal Extraction: Extracting audio signal through improper methods can degrade sound quality and introduce unwanted noise.
Our Commitment to Quality Installations:
At our establishment, we prioritize the use of:
Plug-and-Play Harnesses: These eliminate the need for wire cutting or splicing, ensuring a secure and reliable connection to the factory wiring system.
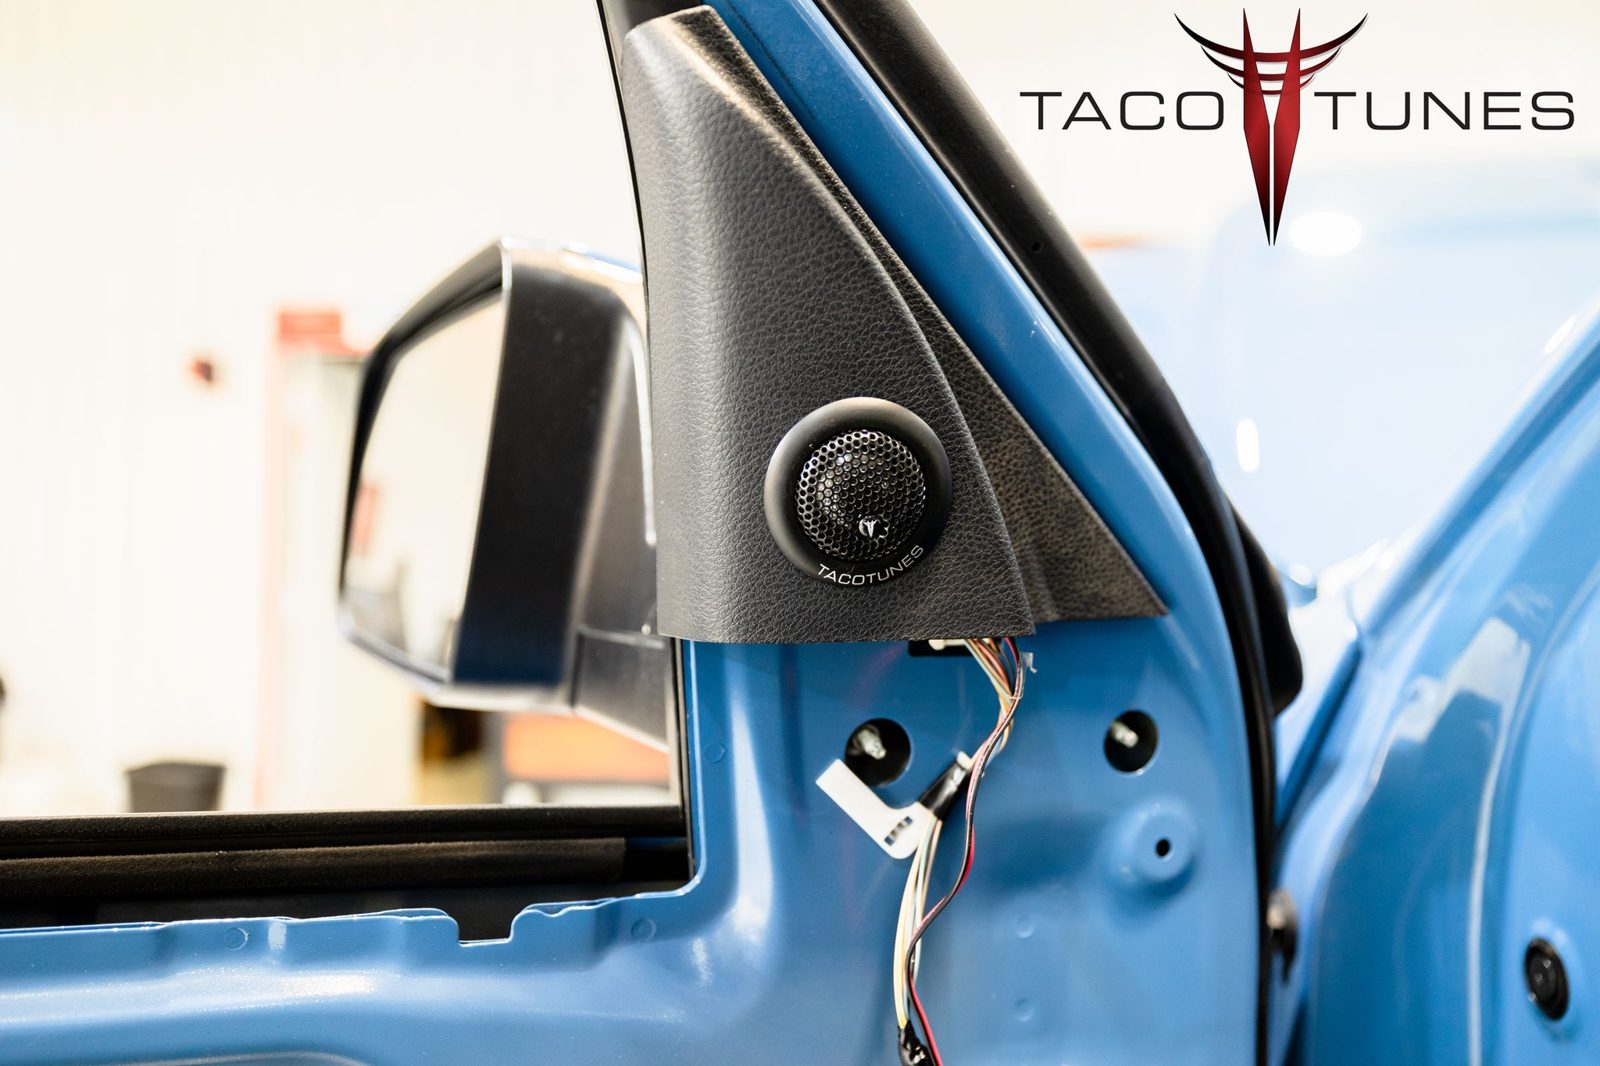
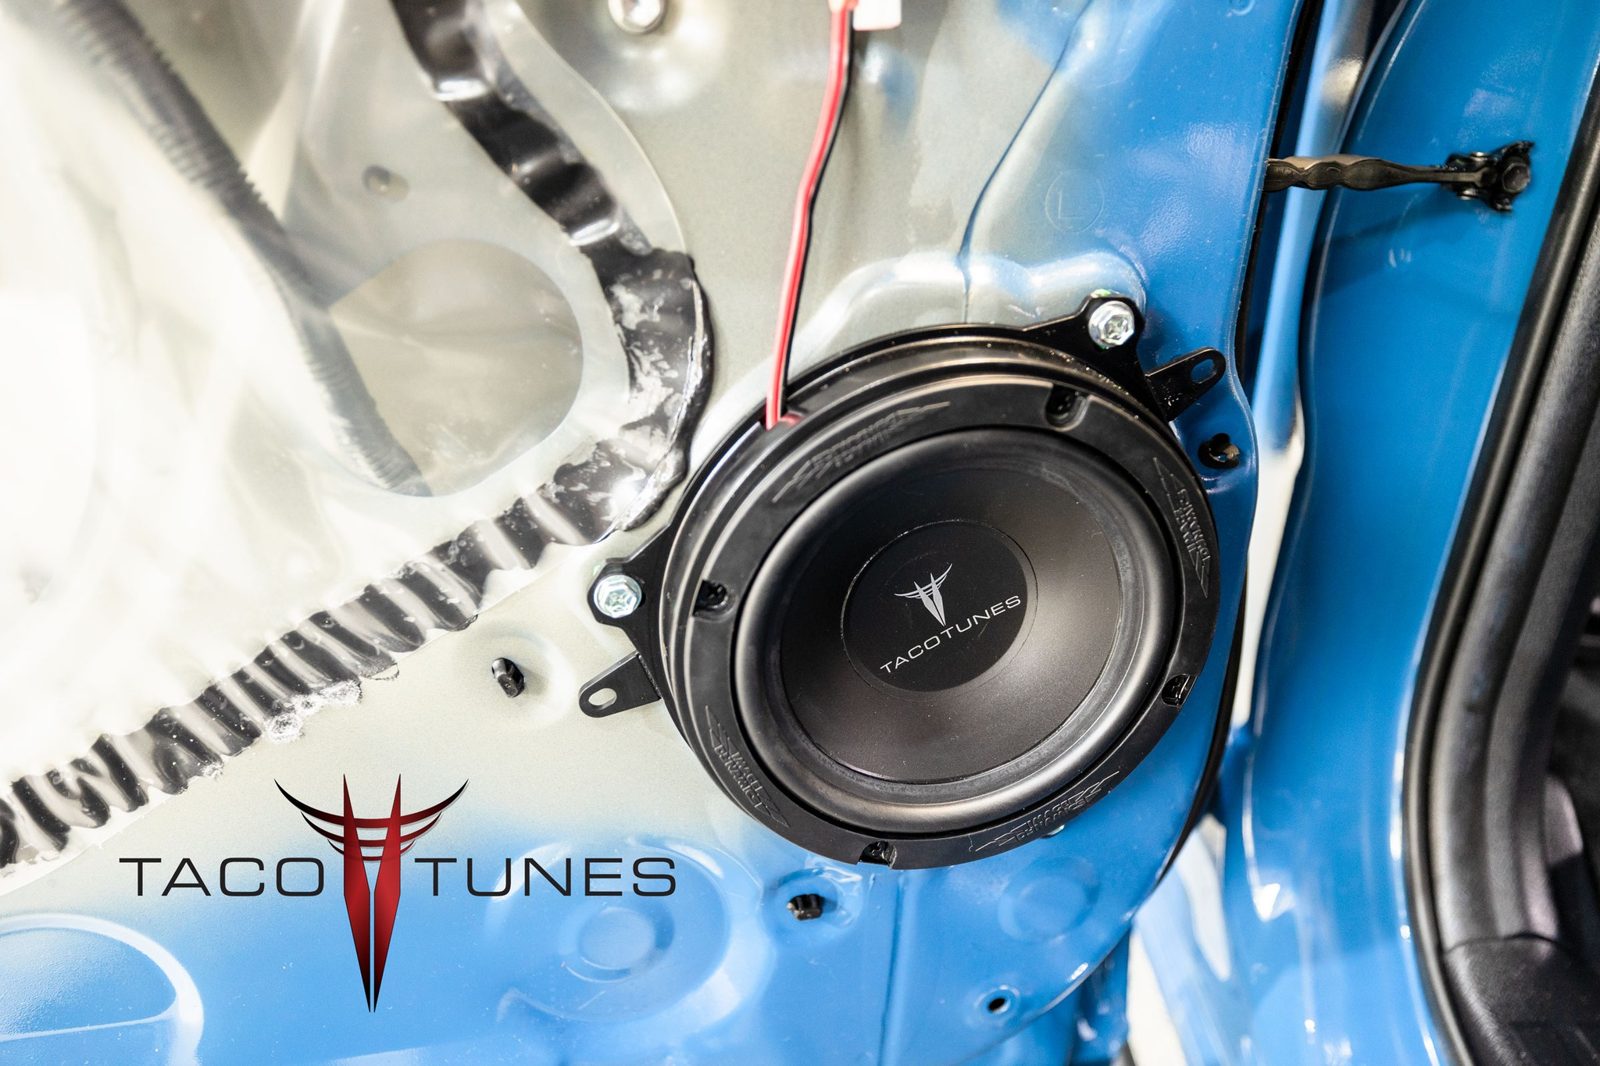
Vehicle-Specific Installation Kits: We utilize kits designed specifically for the Toyota Tundra, eliminating the need for drilling and ensuring proper fitment.
High-Fidelity Signal Integration: Our installation methods extract the cleanest possible audio signal from the factory head unit, resulting in superior sound quality.
- Aborted System 1B Audio System Installation Report
- Service Description
- Installation of System 1B audio system into the above vehicle.
- Pre-Existing Conditions
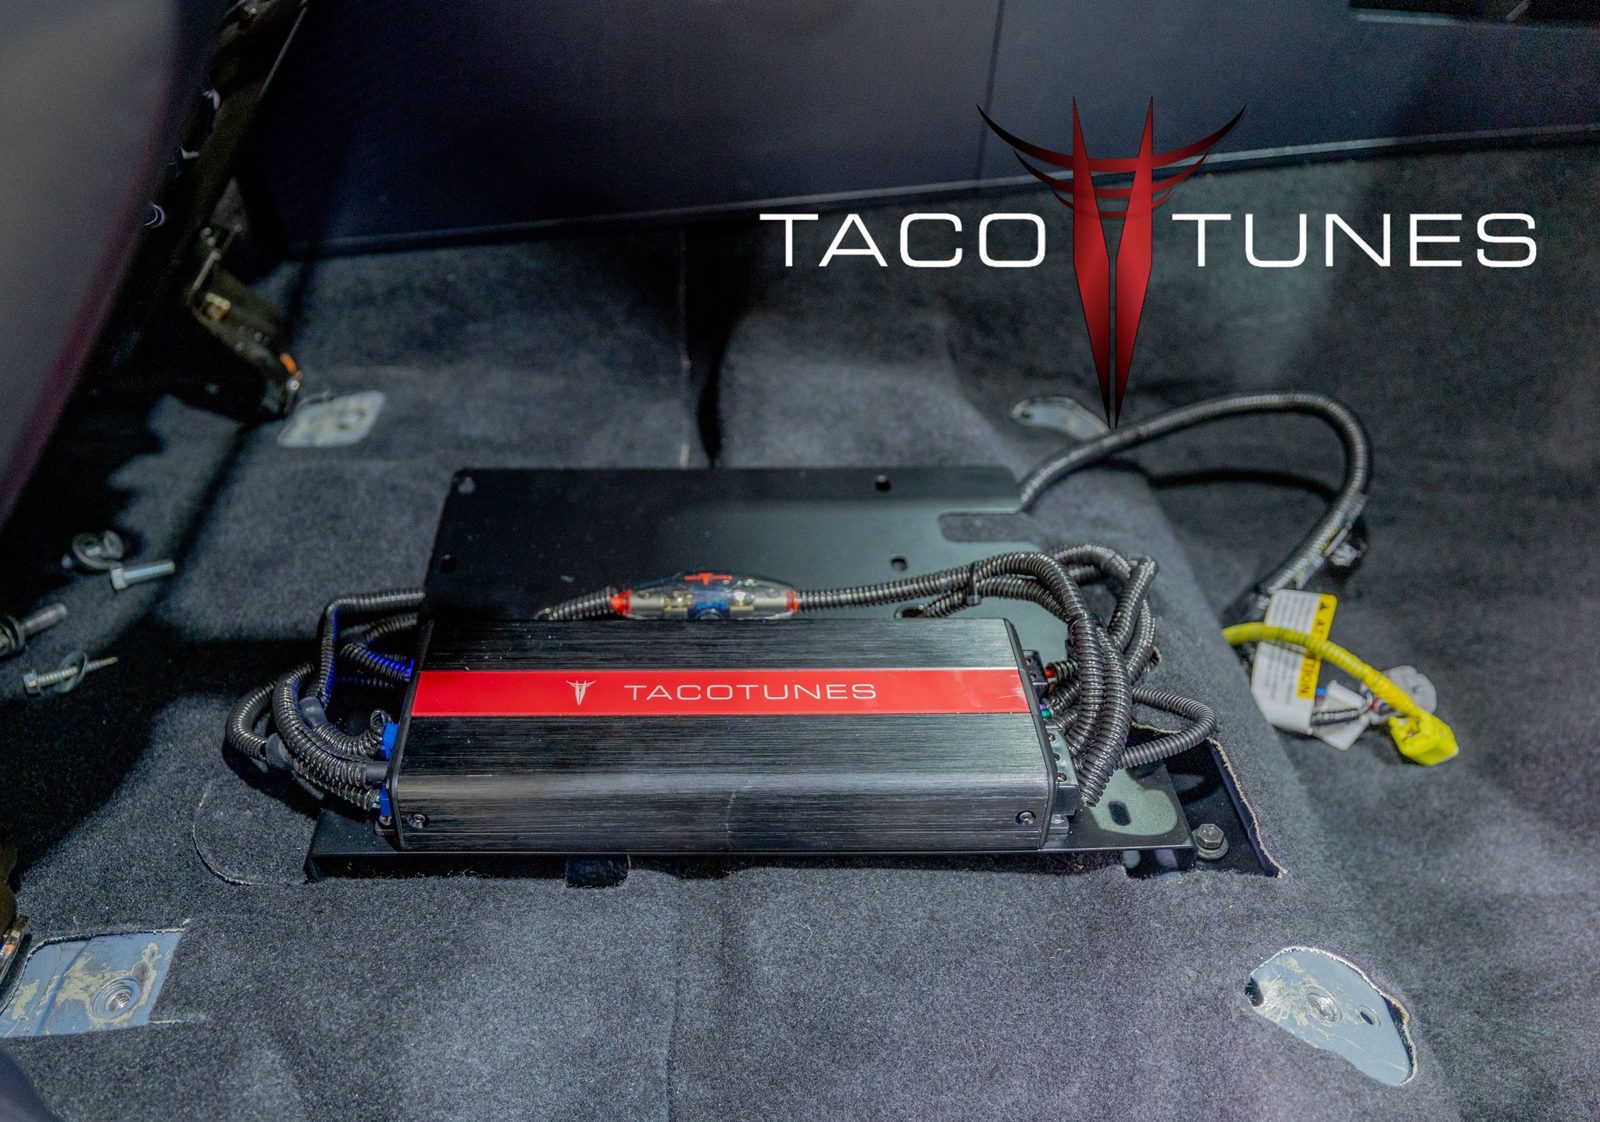
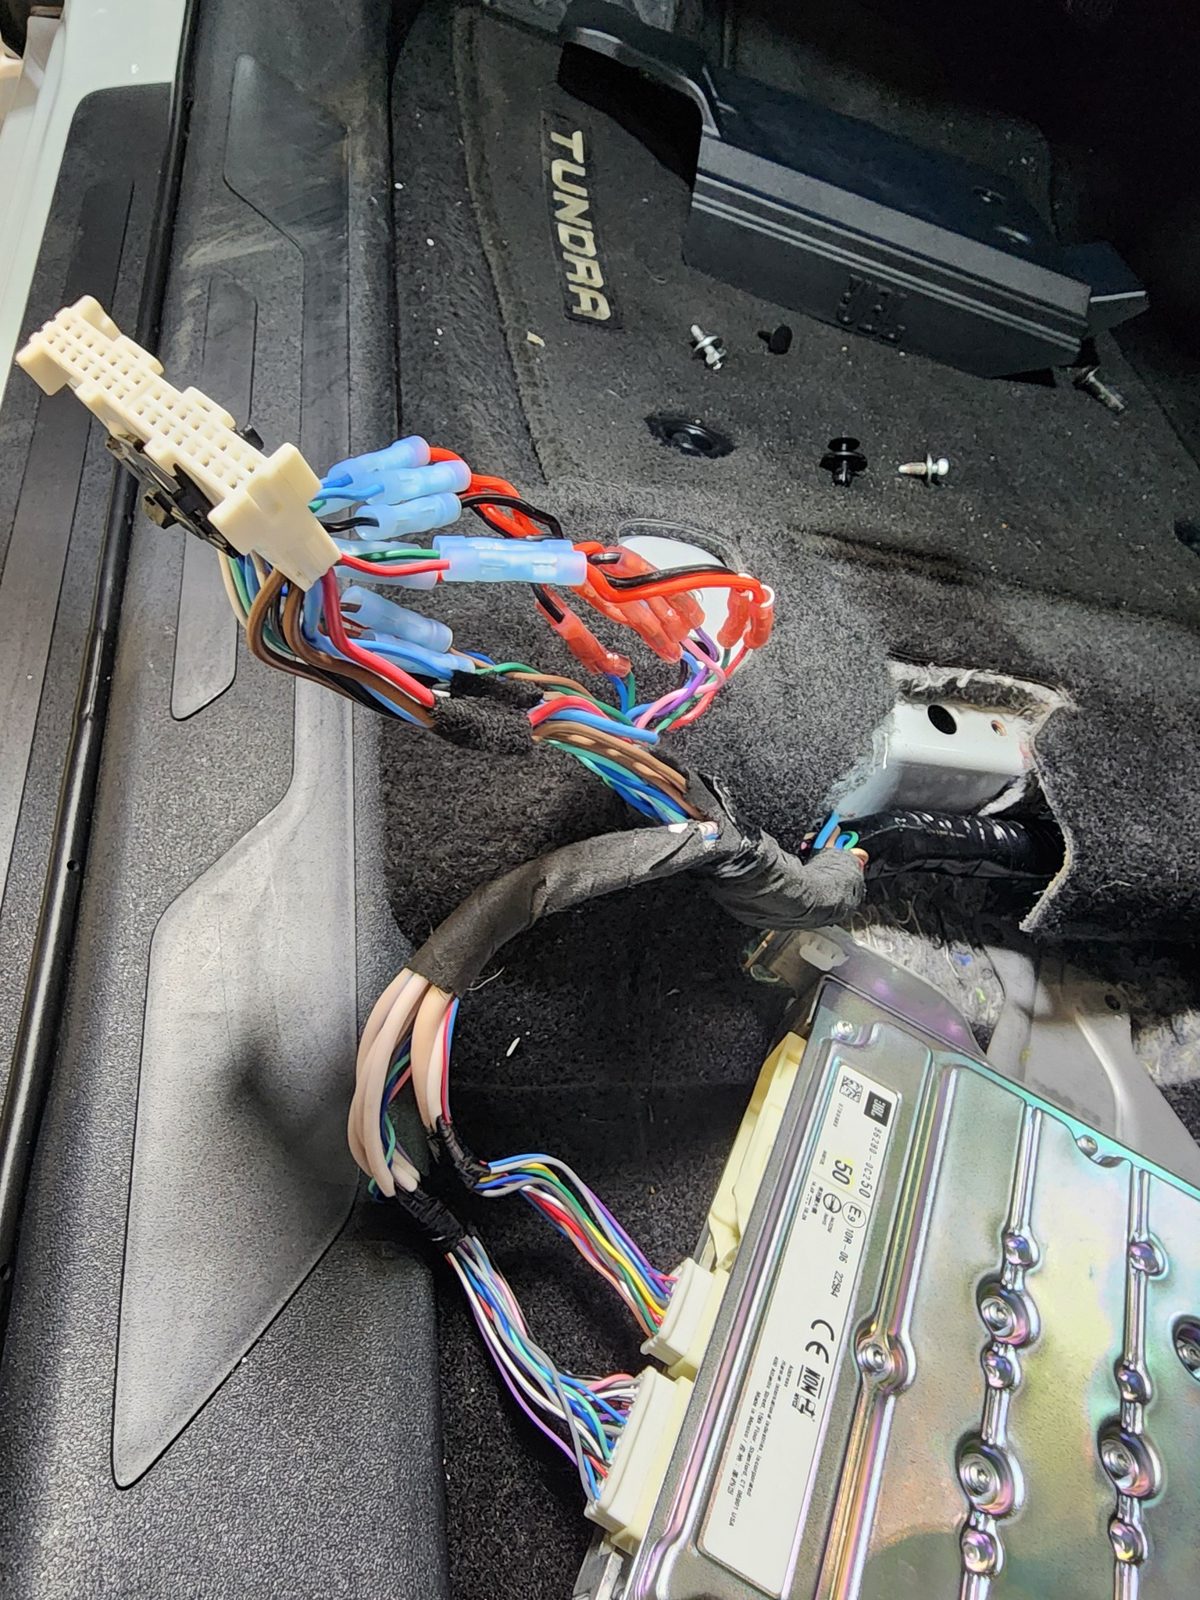
- • The main 30-pin JBL amplifier harness located under the driver’s seat exhibited evidence of prior repairs. These repairs utilized butt connectors, which were not properly sealed. Additionally, several wires (approximately 6-8) had undergone multiple butt splice repairs on the same conductor. The repairs used 16-gauge speaker wire for extensions, and all 30 wires were poorly wrapped with electrical tape after splicing/tapping for signal.
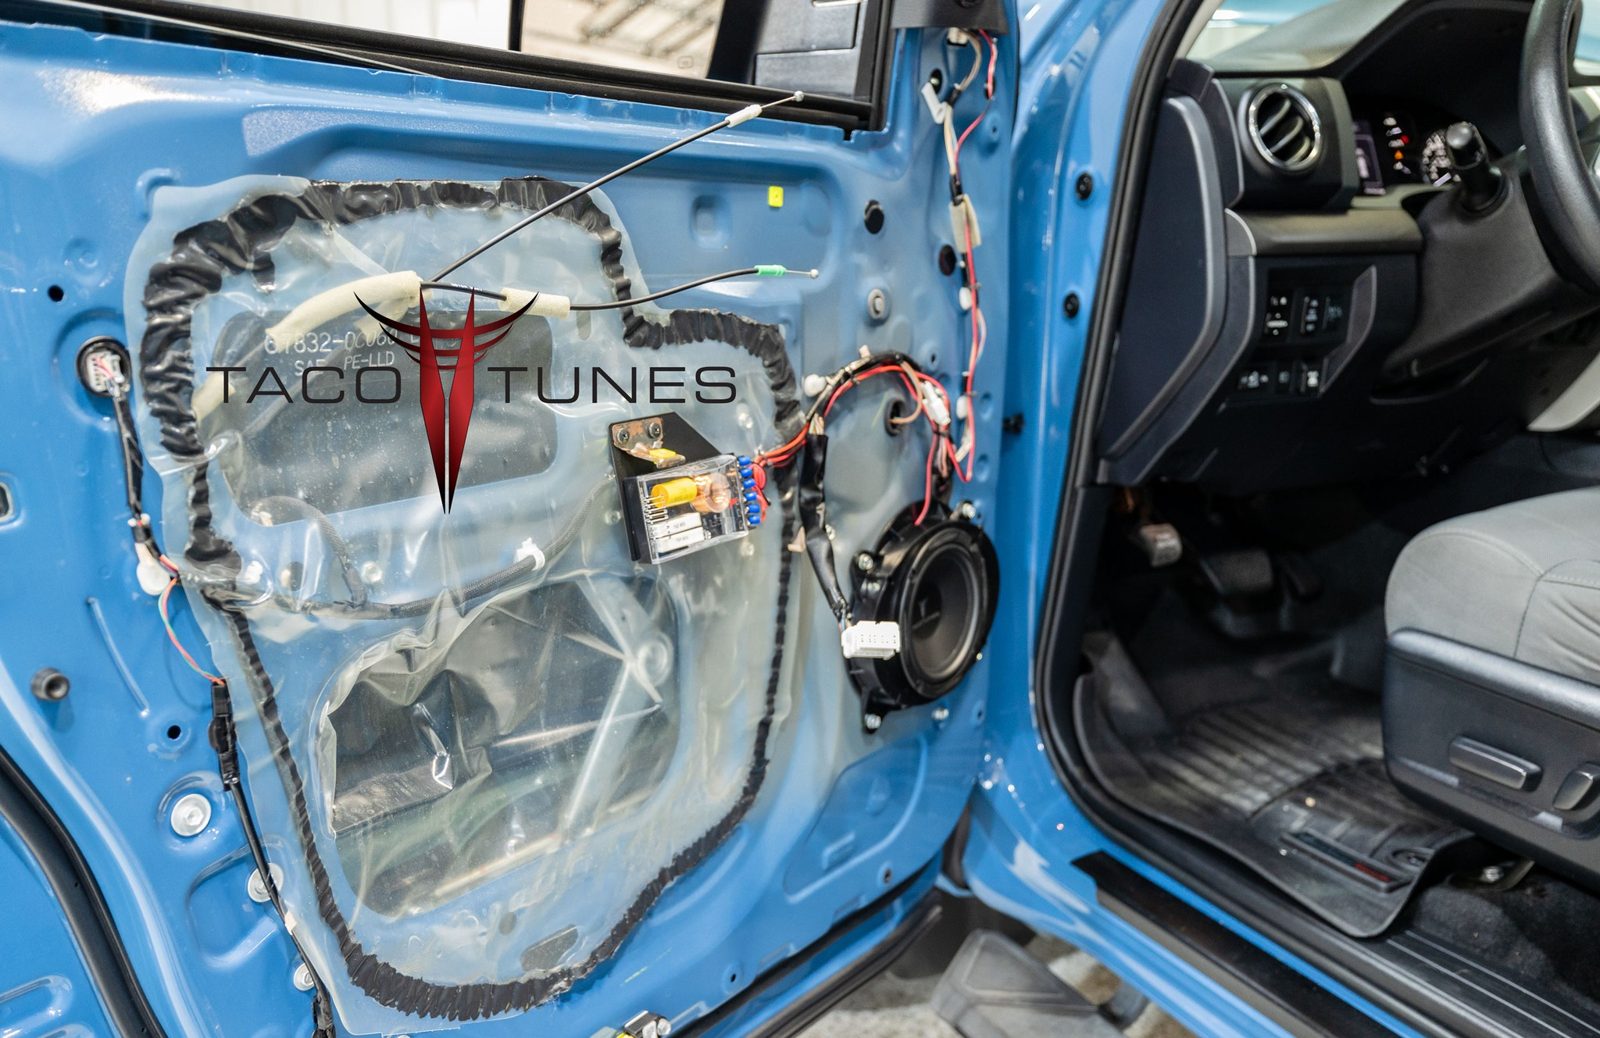
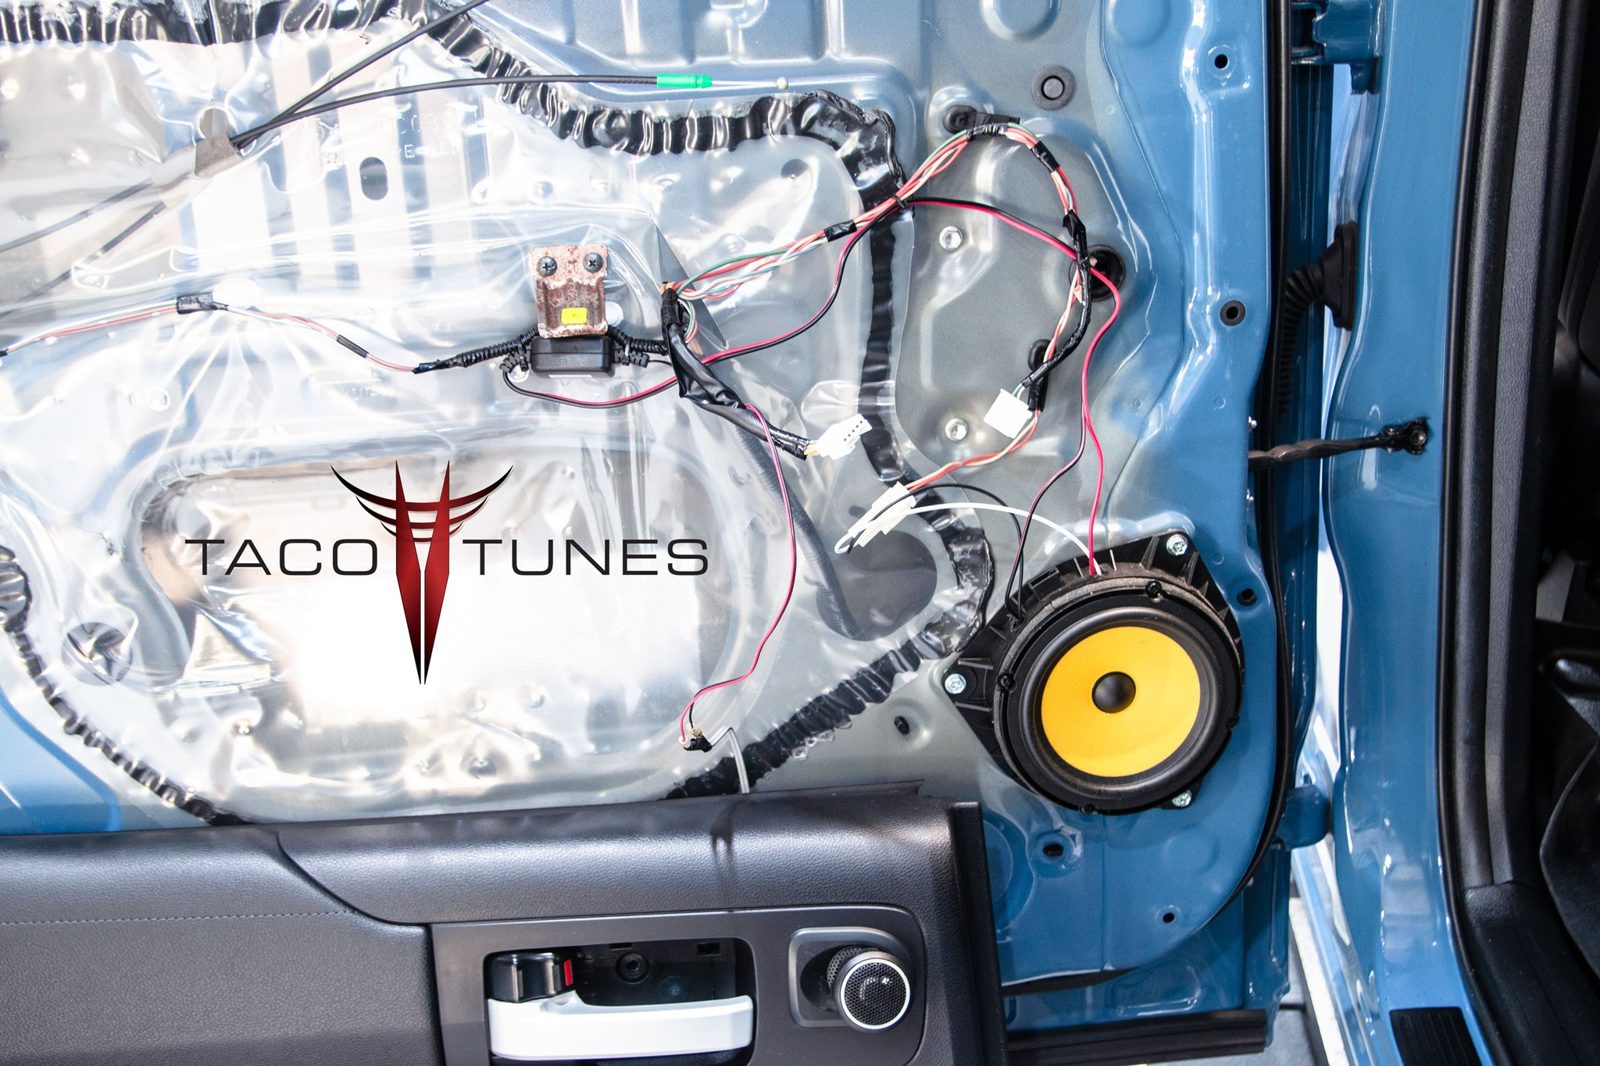
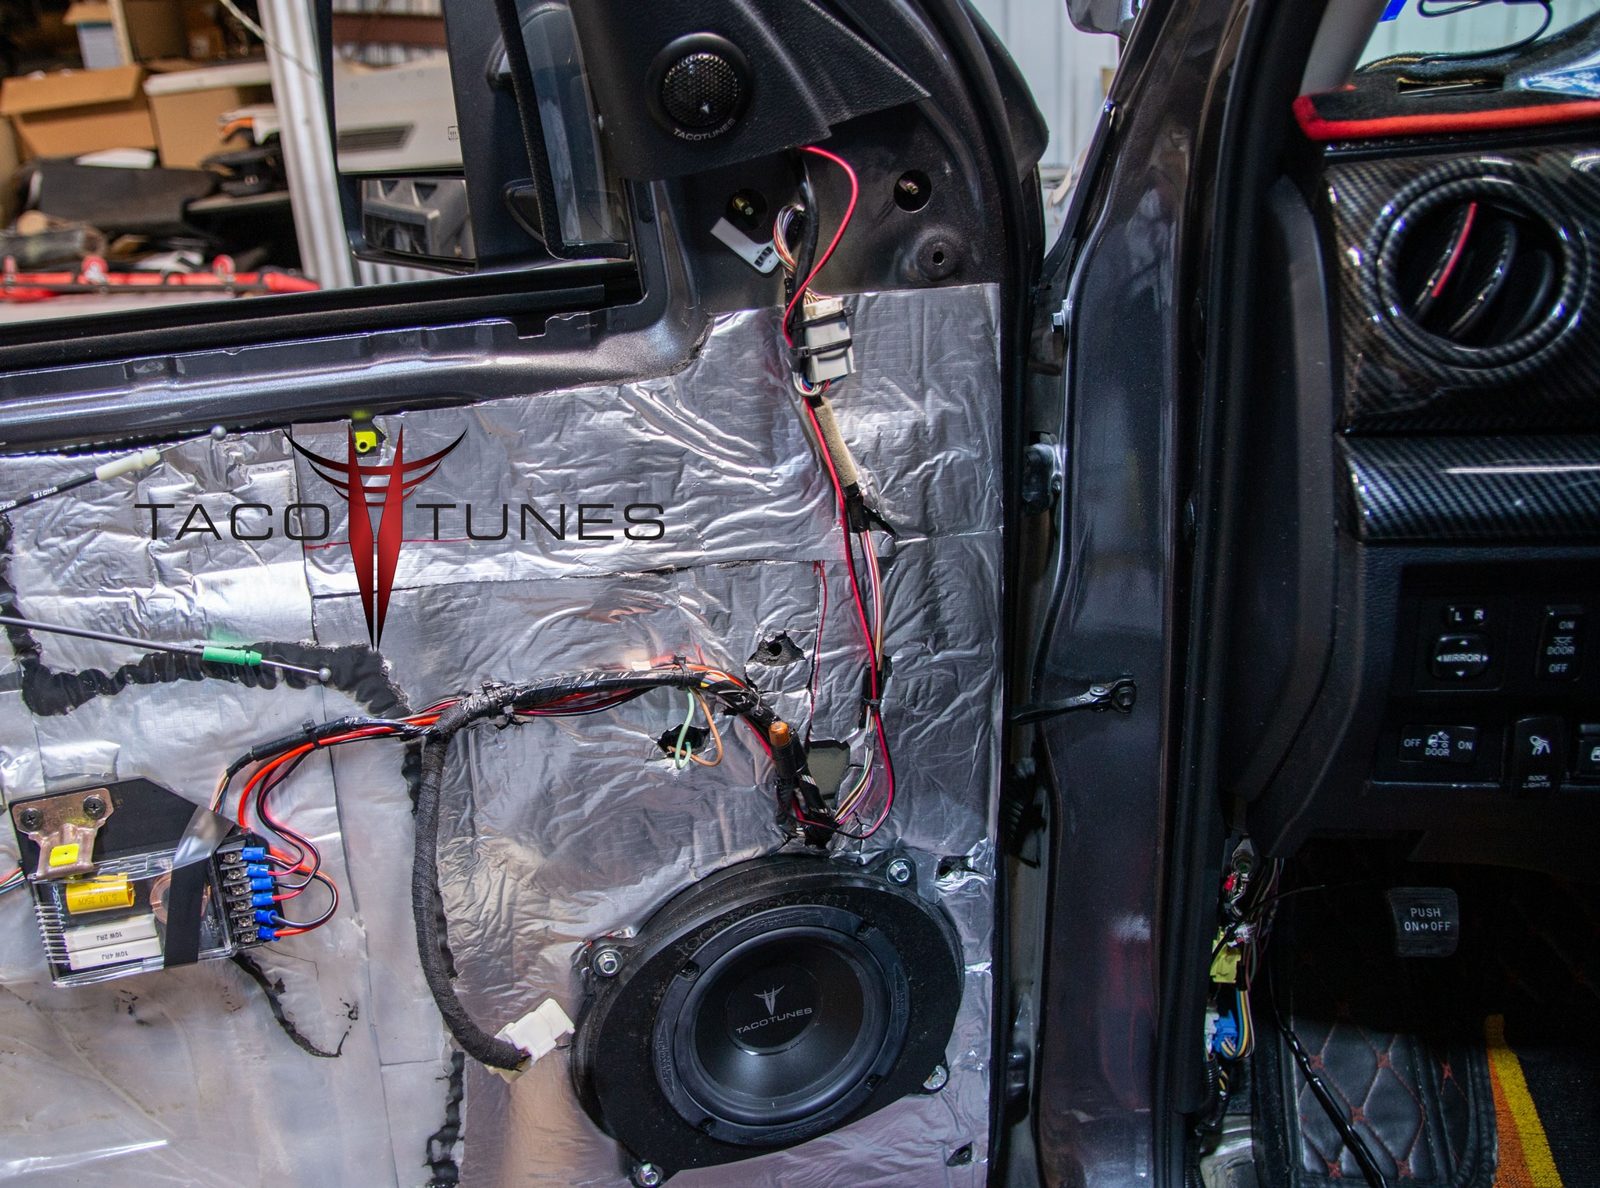
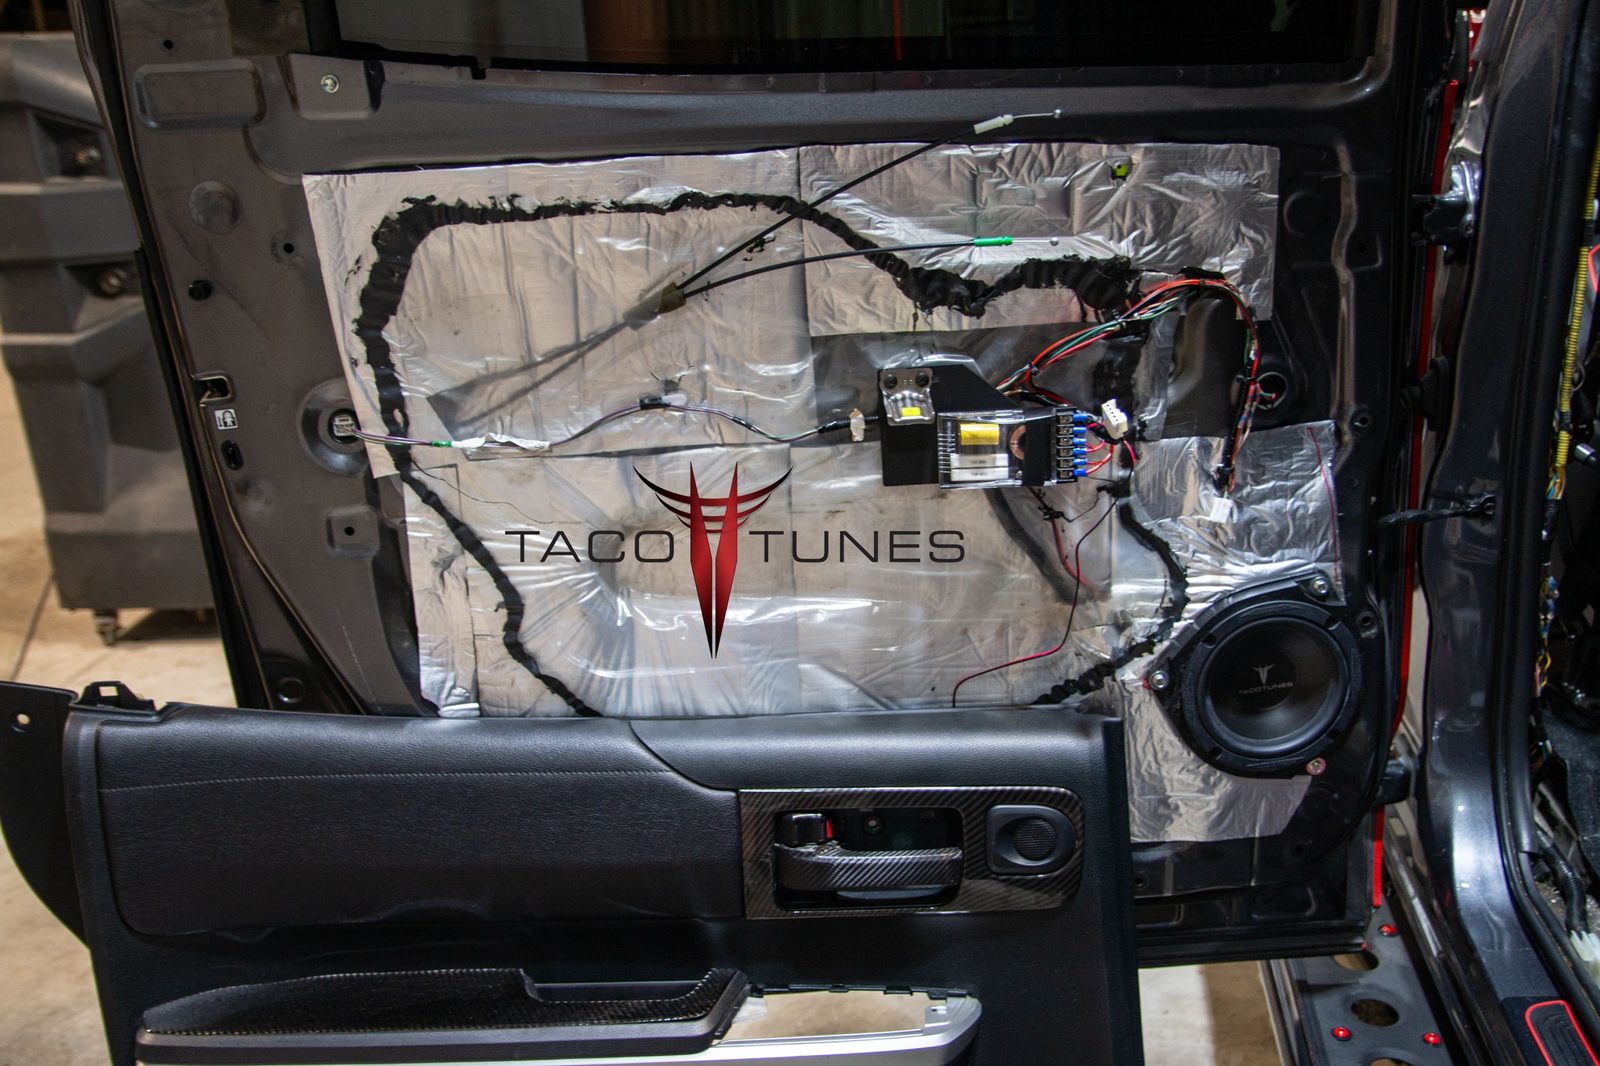
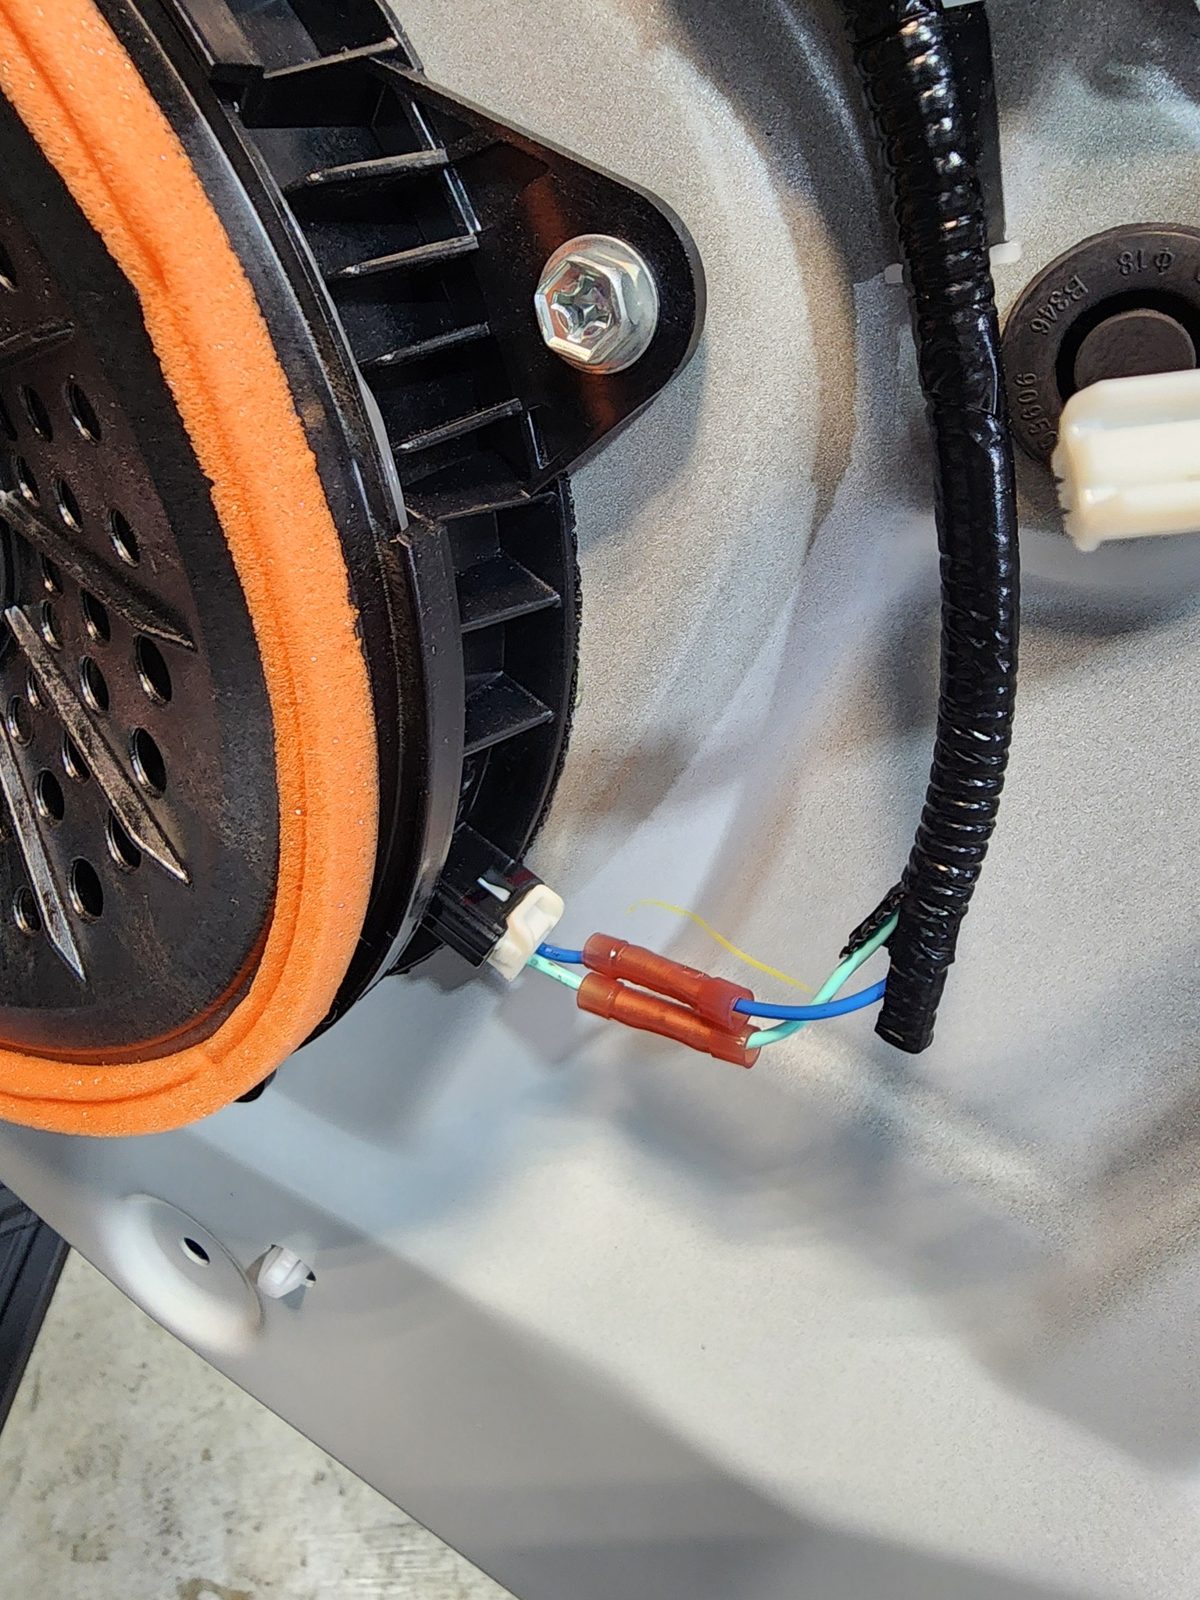
- • Front door speaker harnesses were cut and repaired with butt connectors.
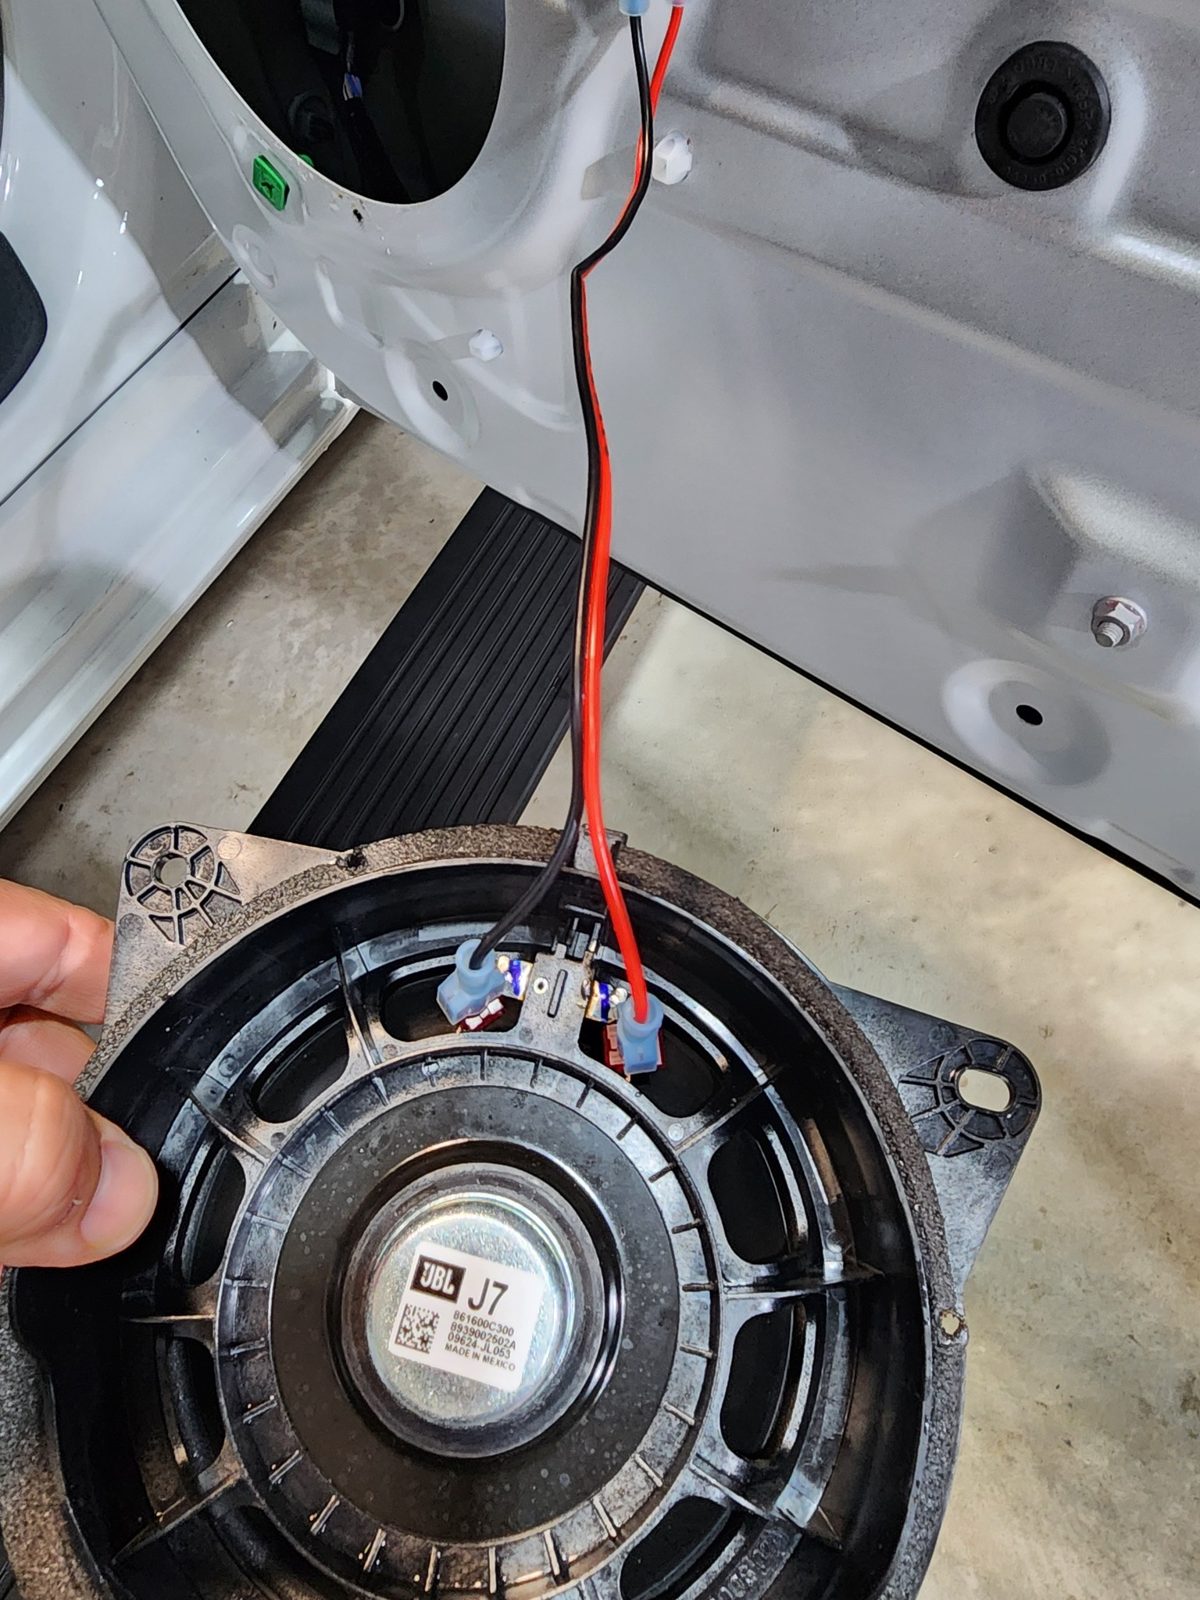
- • The passenger rear door speaker wire (extension used for repair) was pinched between the speaker mount and the door panel, causing exposed copper to ground against the chassis. This grounded the right rear channel, triggering the amplifier to shut down the rear channels.
- • T-taps were used to provide signal to the rear speakers. The original rear door speaker harnesses were completely missing and could not be located/salvaged for repair.
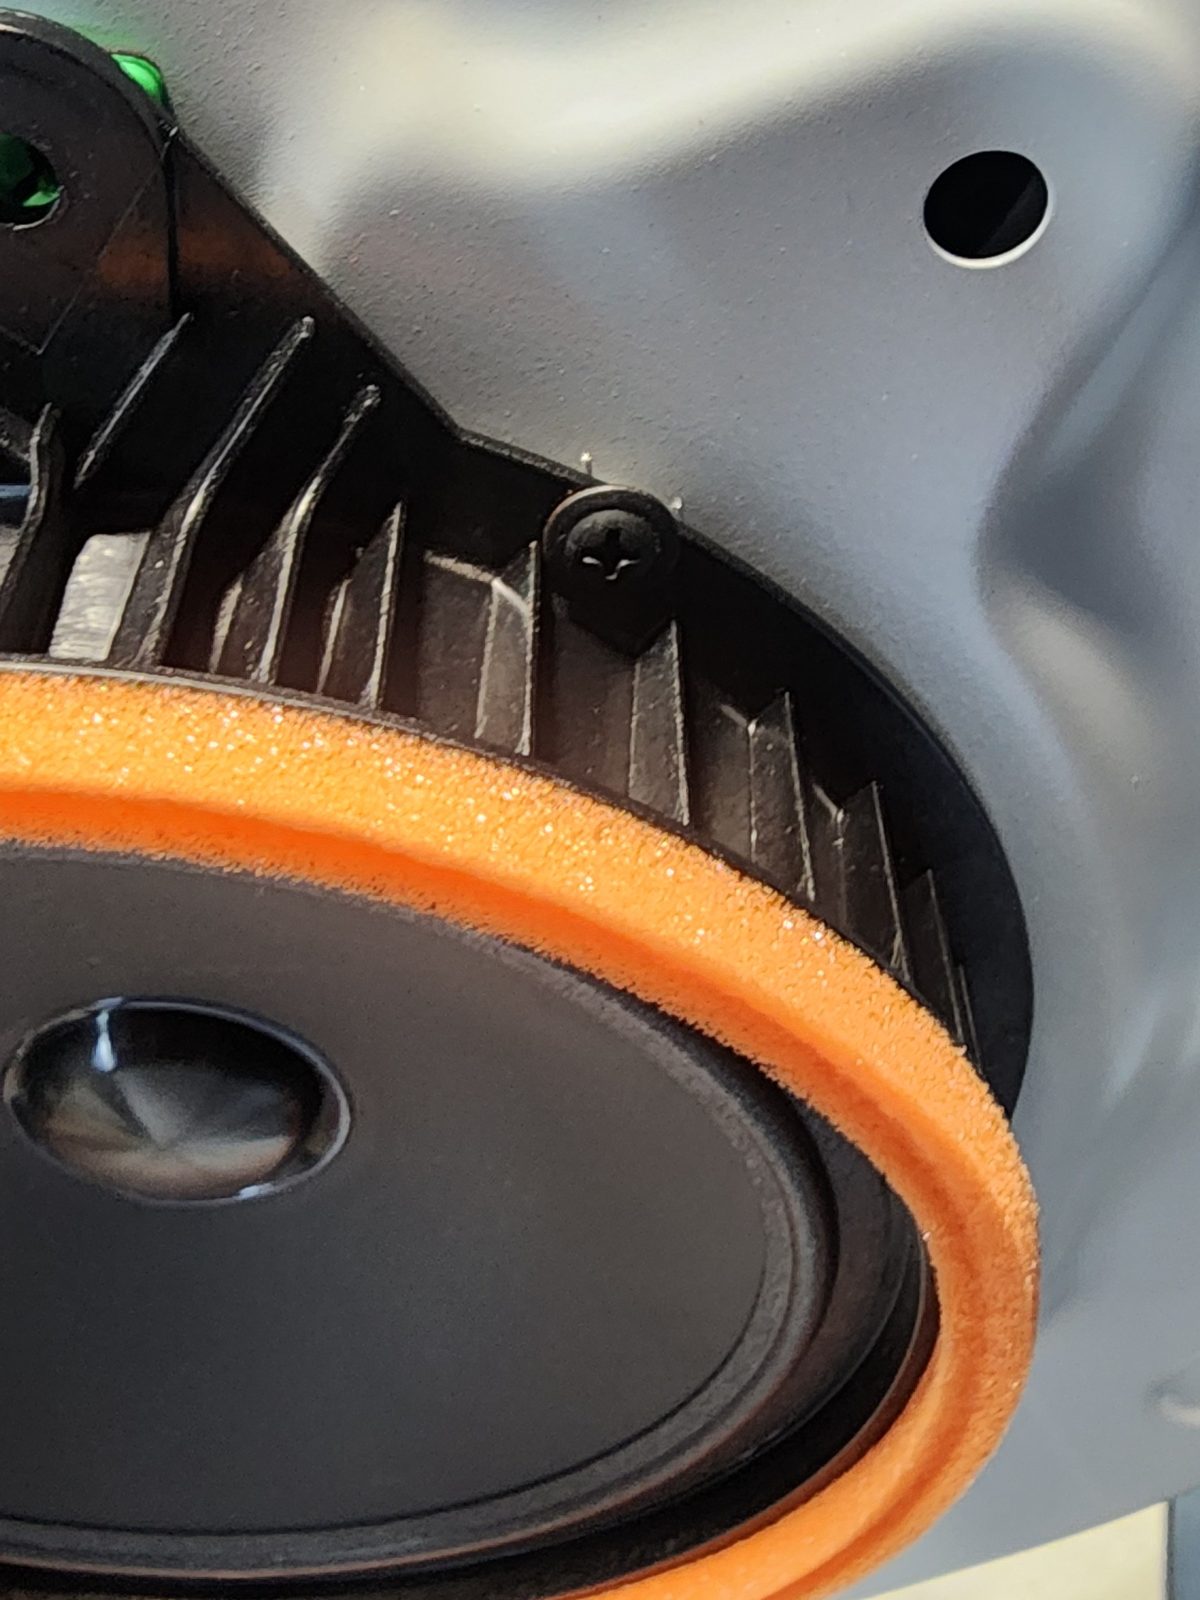
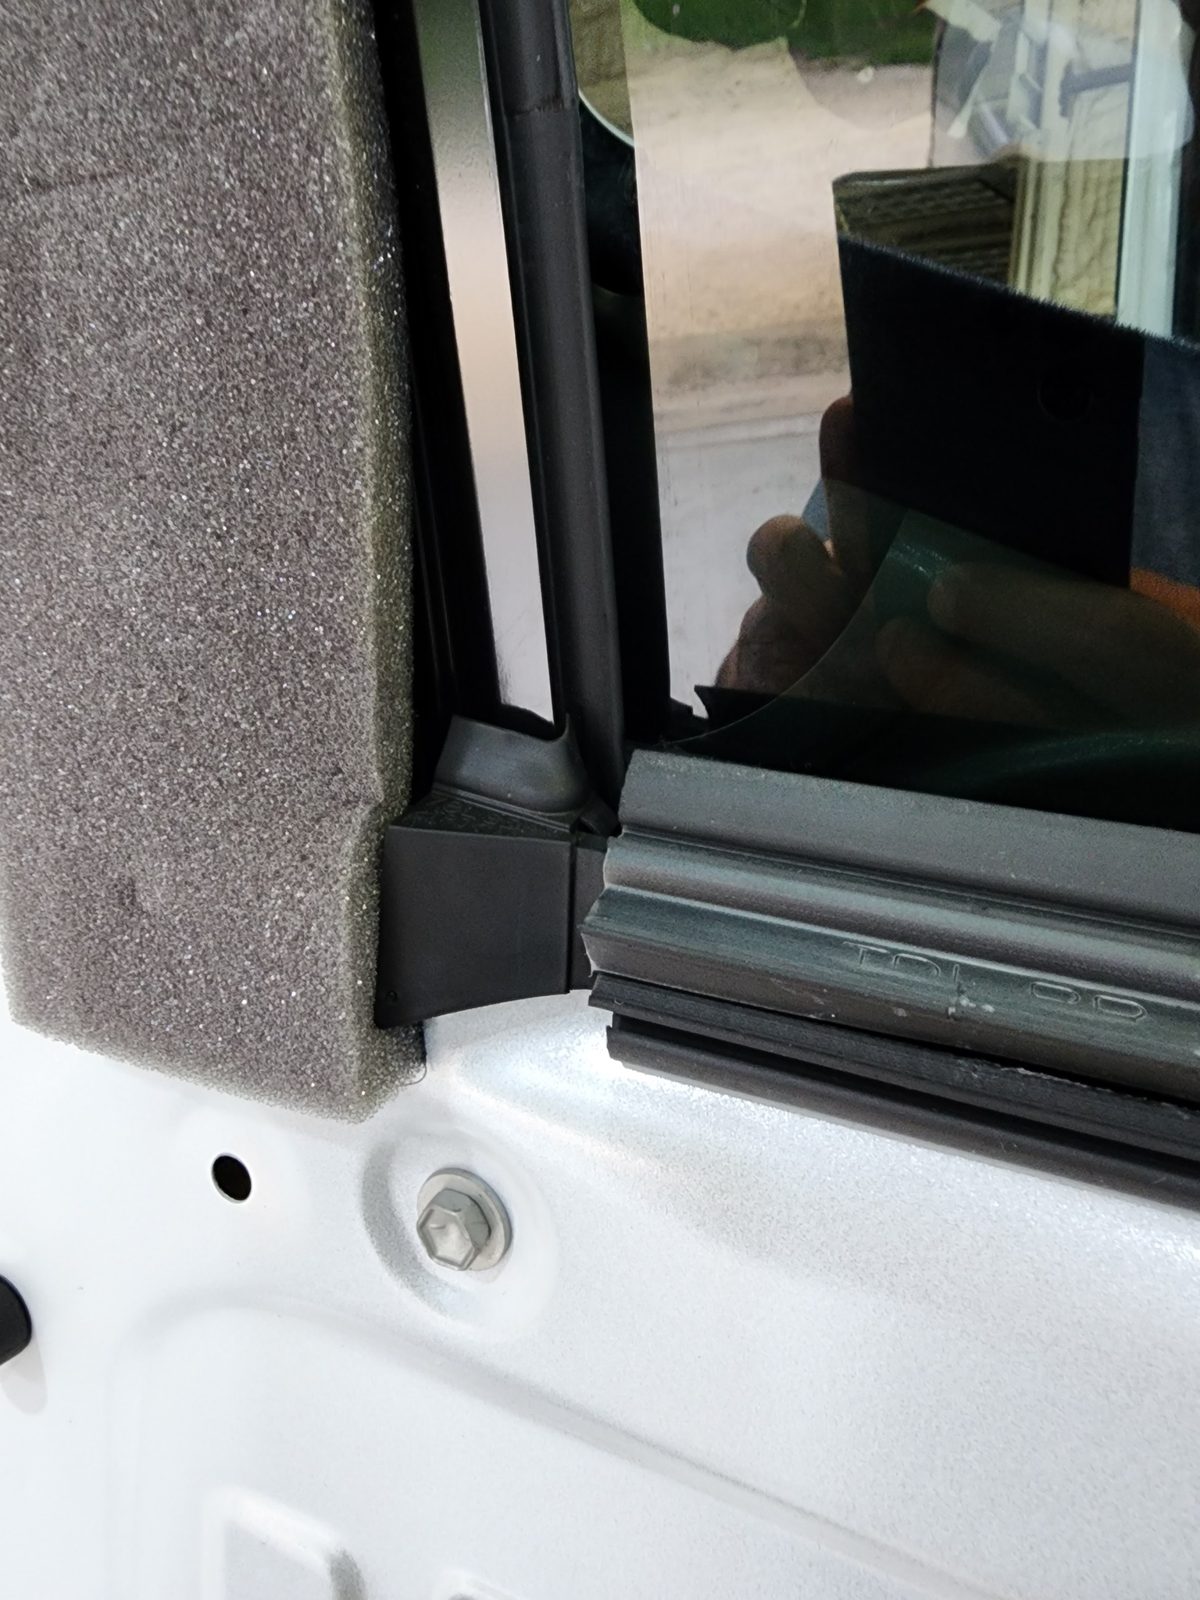
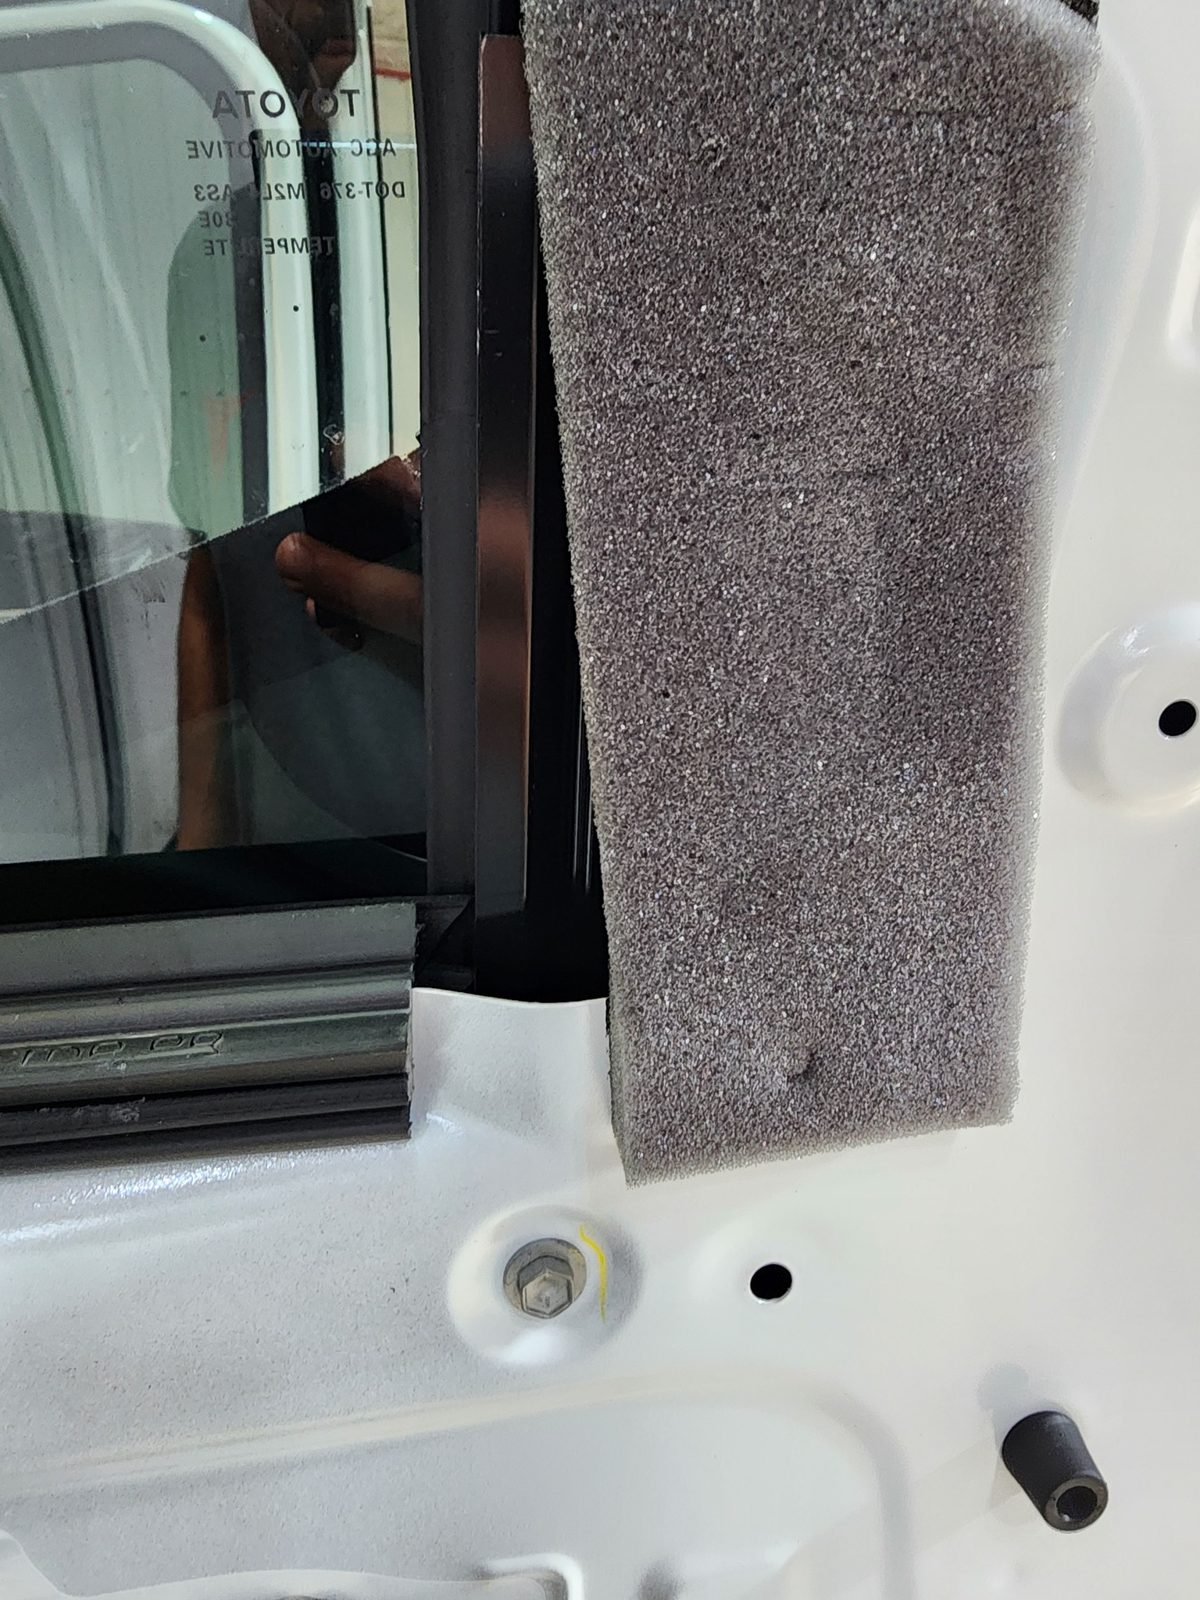
- • The rear door speakers were secured with drywall screws instead of the original mounting hardware. These screws also required drilling new holes into the door panels.
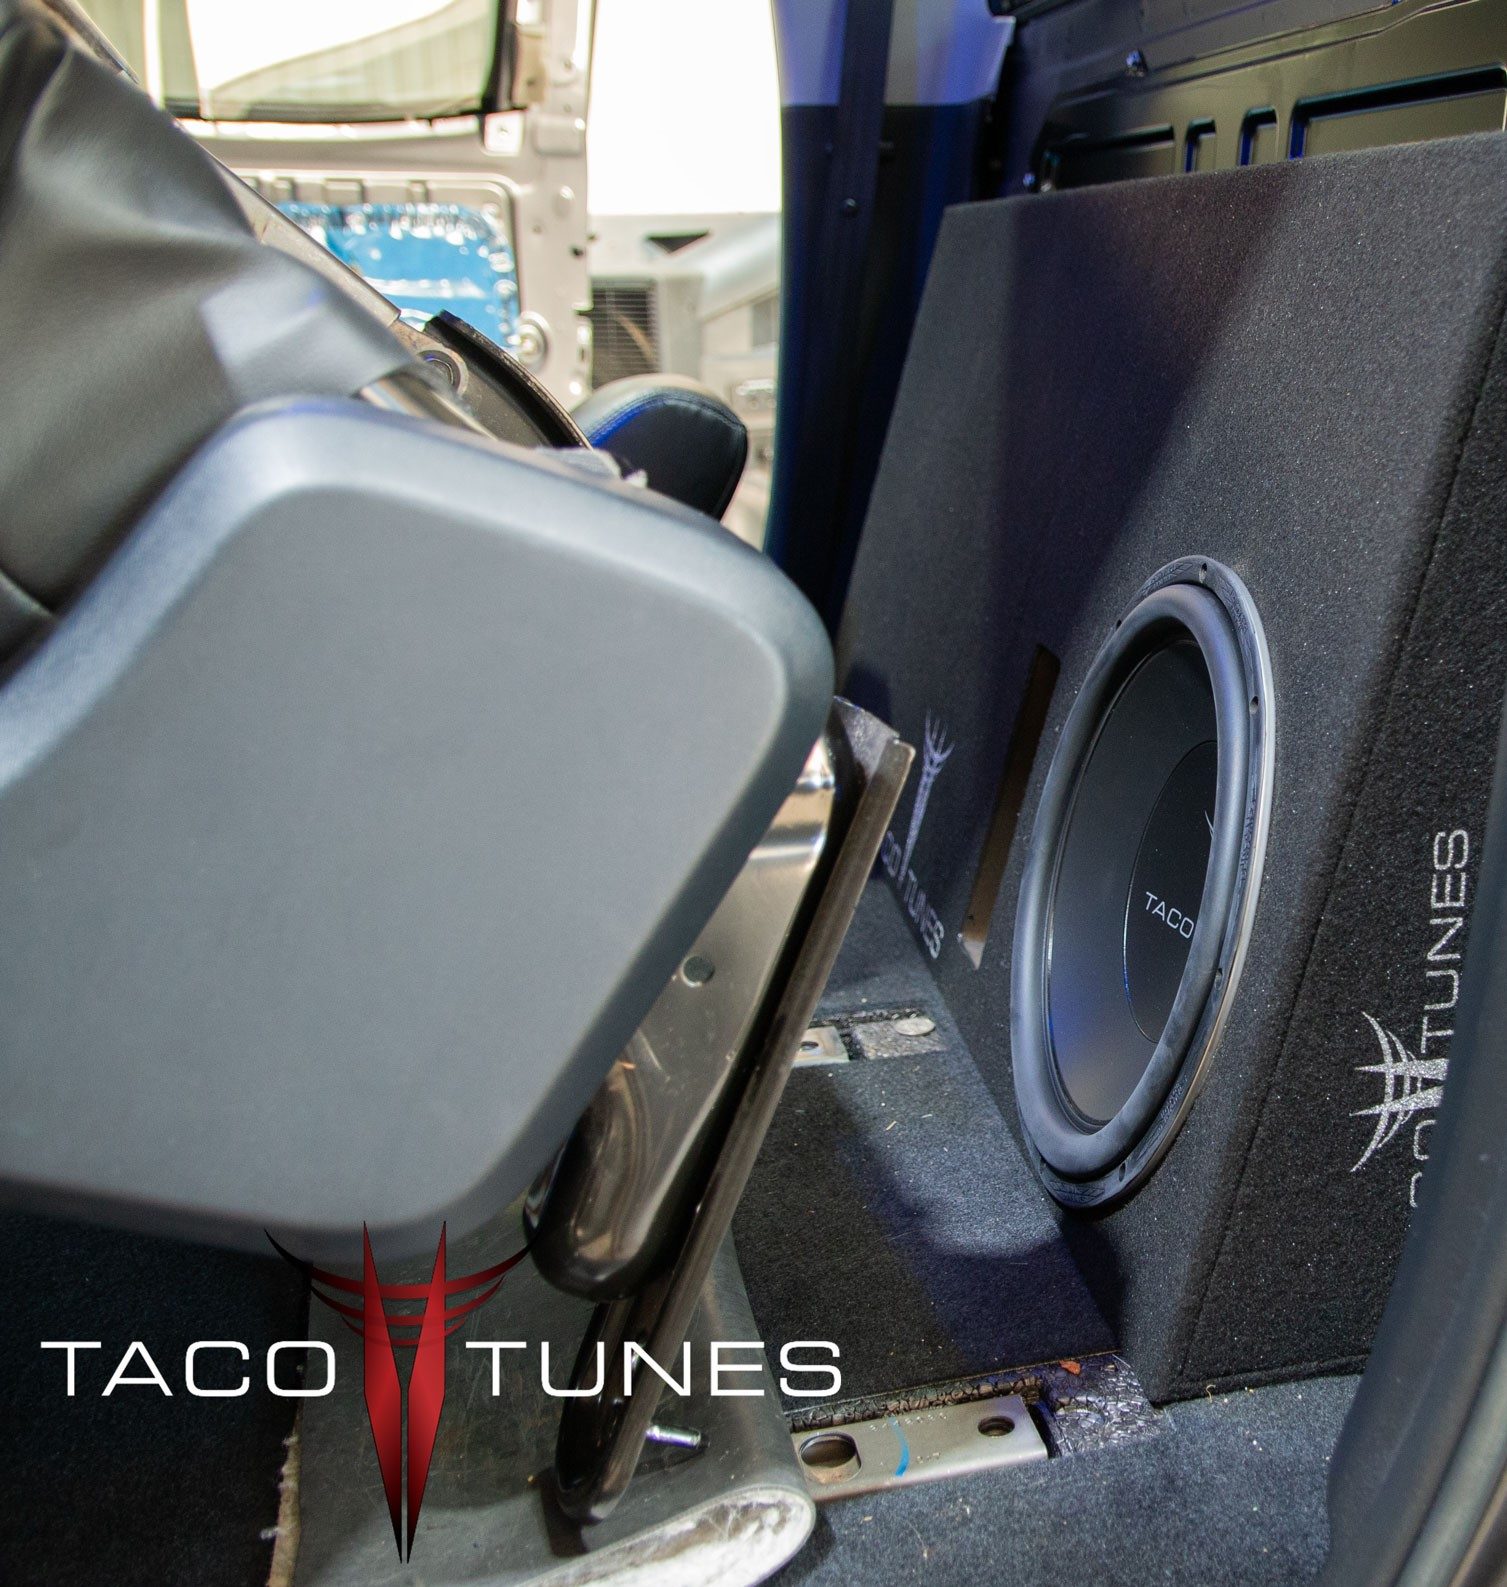
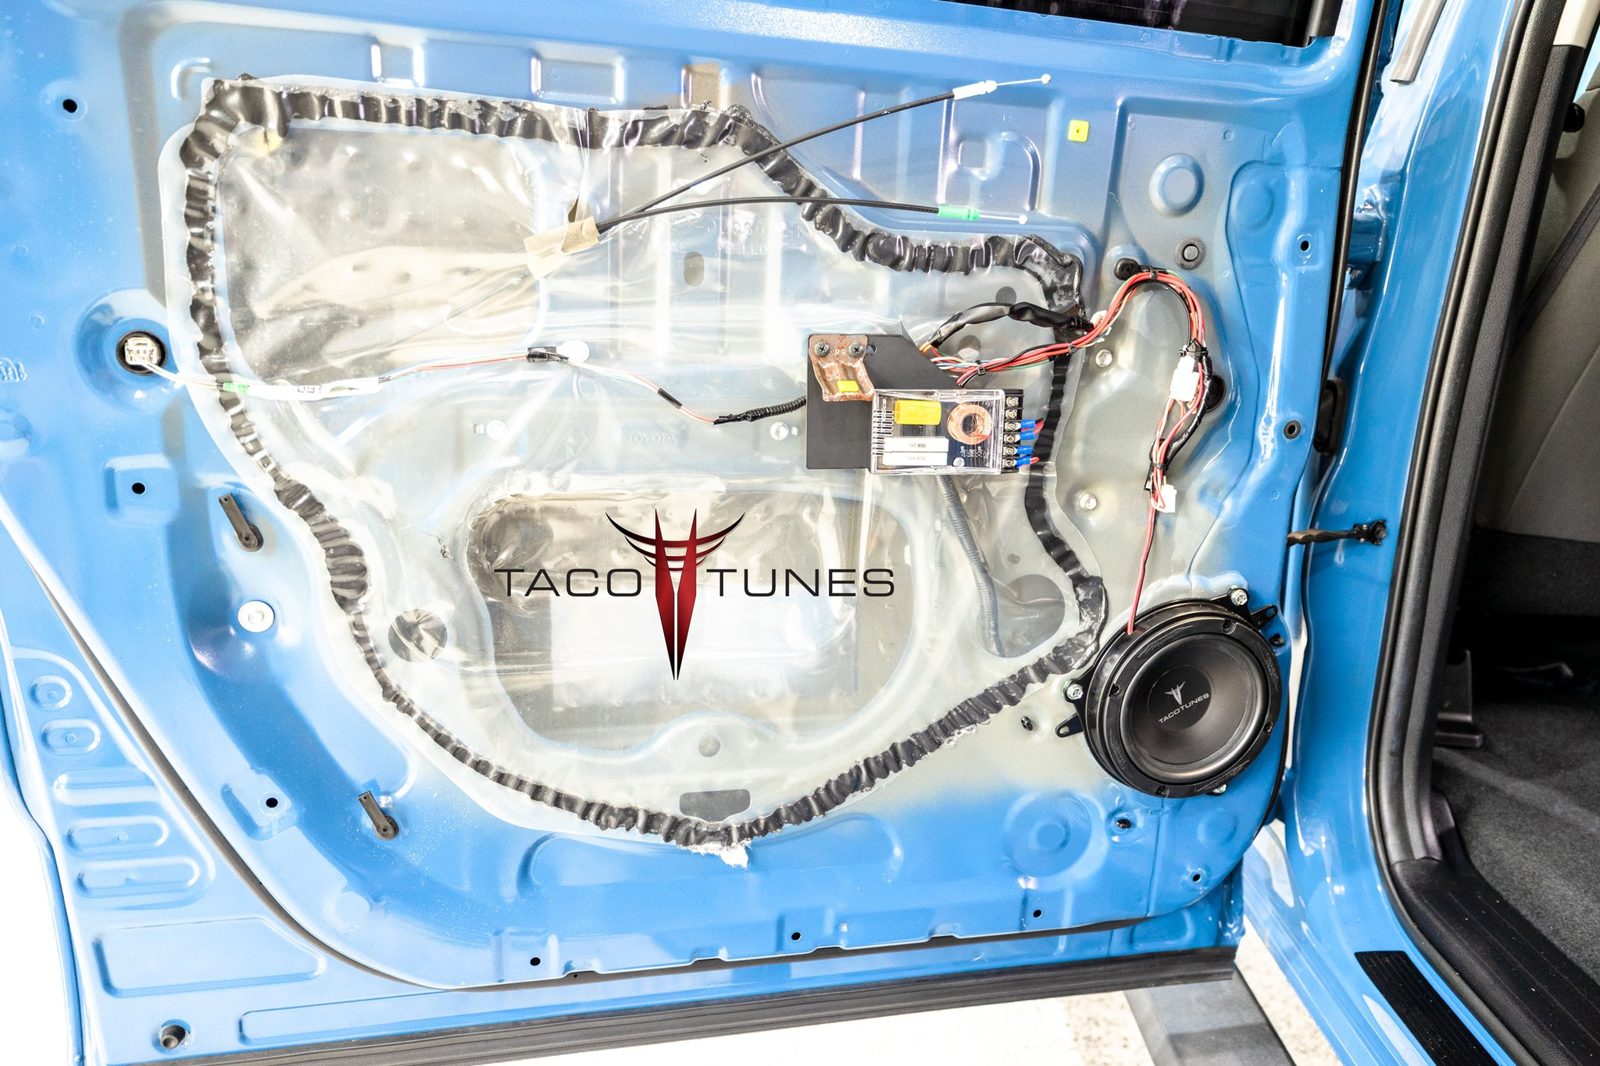
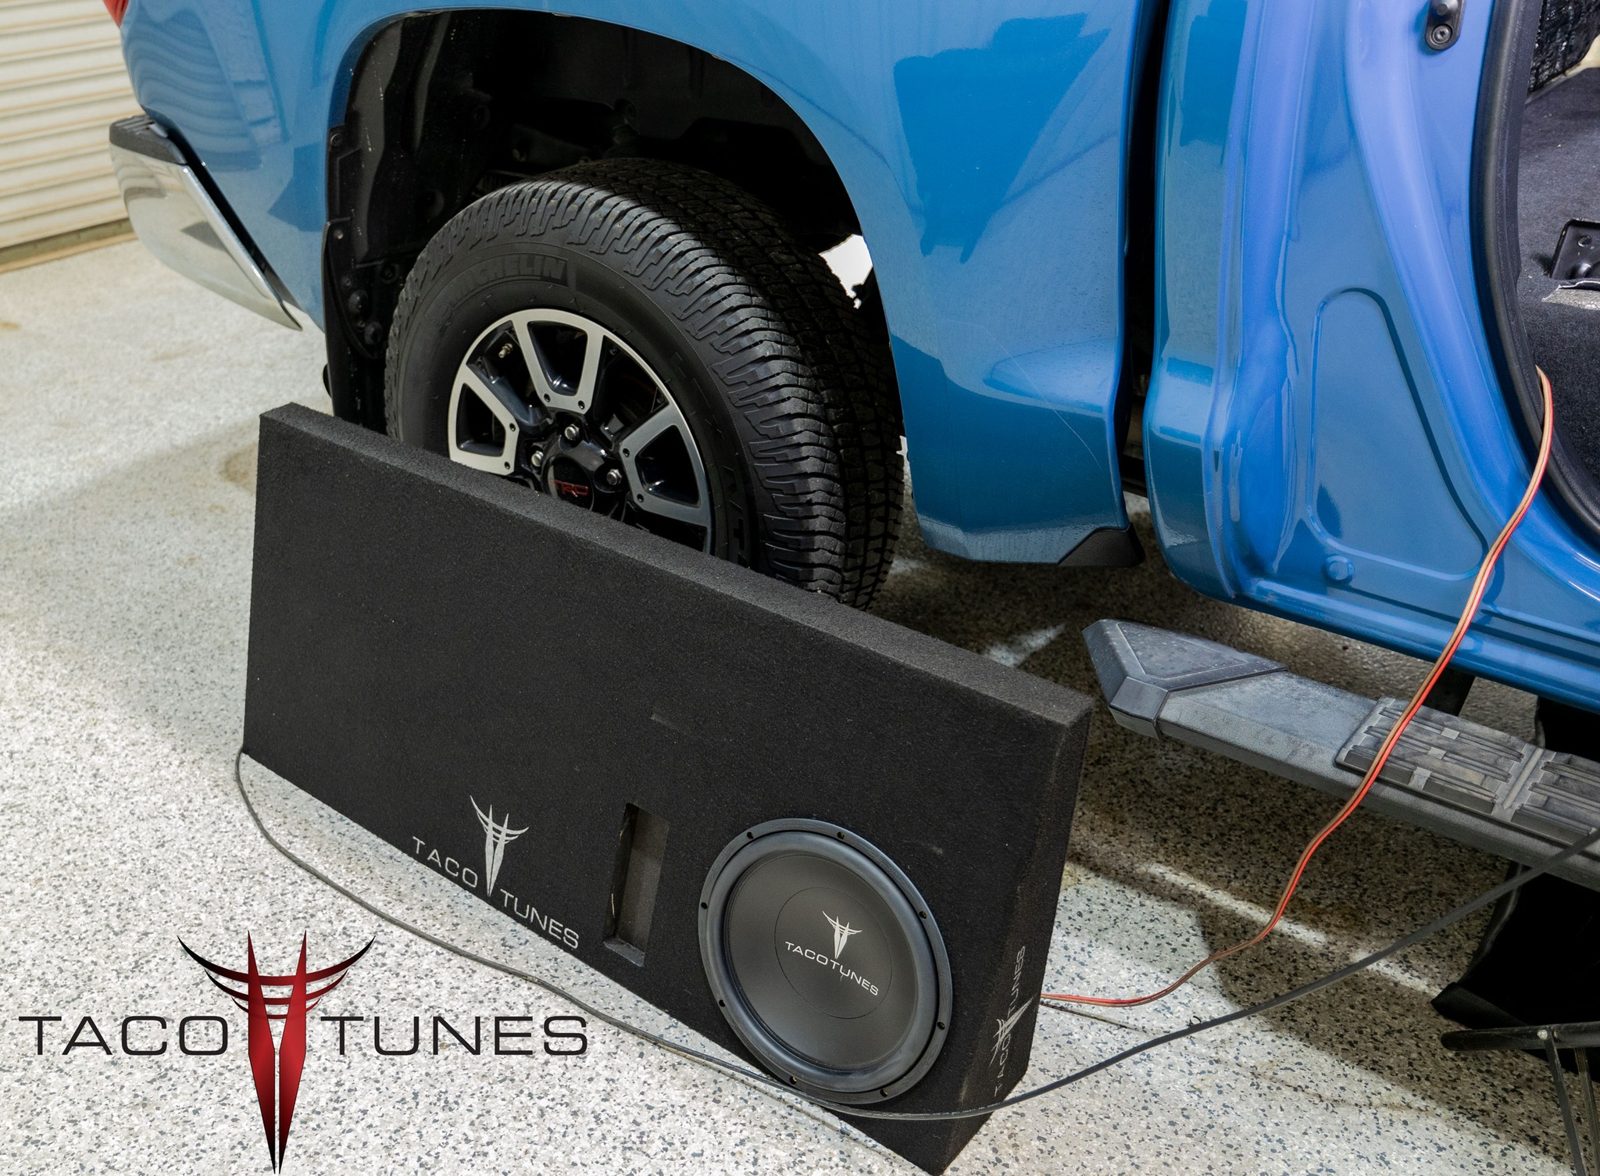
- • The stock JBL subwoofer was not properly secured against the rear air vent, creating a roughly half-inch gap that could allow moisture into the vehicle cabin.
- • Modifications were observed on the rear seat frame/structure.
- • The head unit wiring appeared to be original and unmodified.
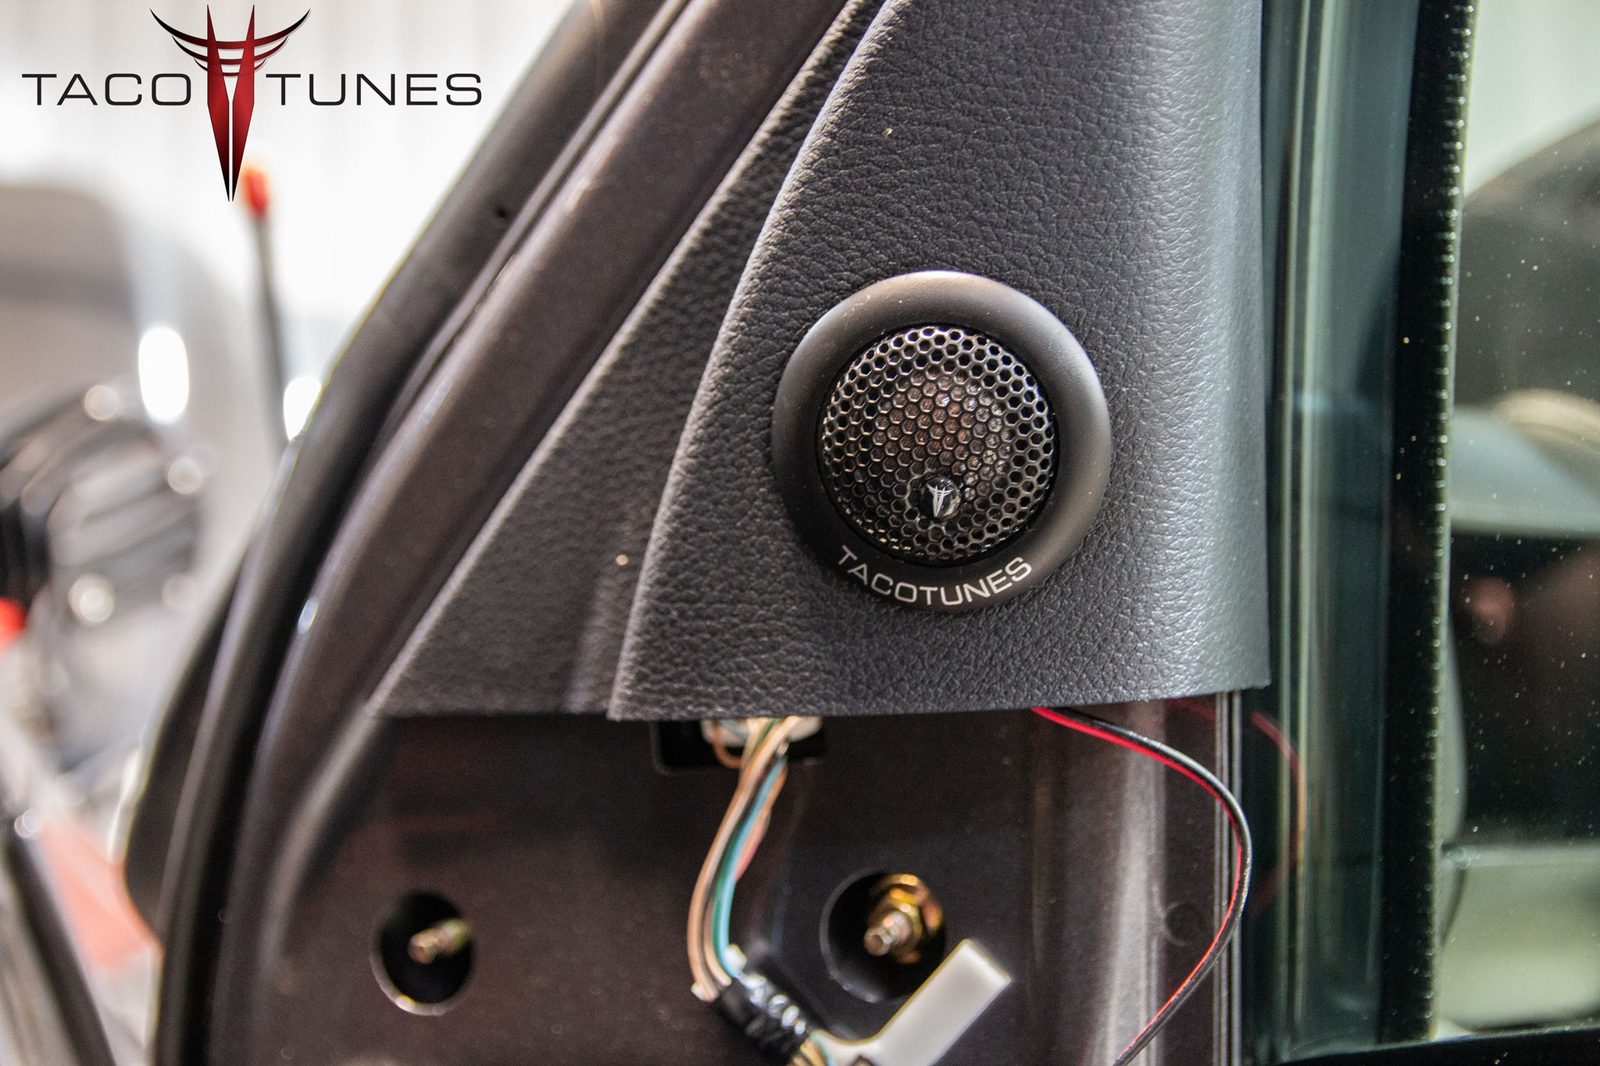
- • A-pillar tweeters, dash speakers, and rear door tweeters appeared to have original and unmodified wiring.
- Repairs Performed
- 1. 30-Pin Harness Replacement: A new 30-pin harness plug was installed. The original harness, which had a broken locking tab, was removed. All 30 connections were soldered and heat-shrink wrapped to ensure proper functionality.
- 2. Amplifier Operation: The amplifier exhibited intermittent power issues (fading in and out). While the exact cause cannot be definitively confirmed, it is believed that the previously shorted speaker wire on the rear door was the culprit.
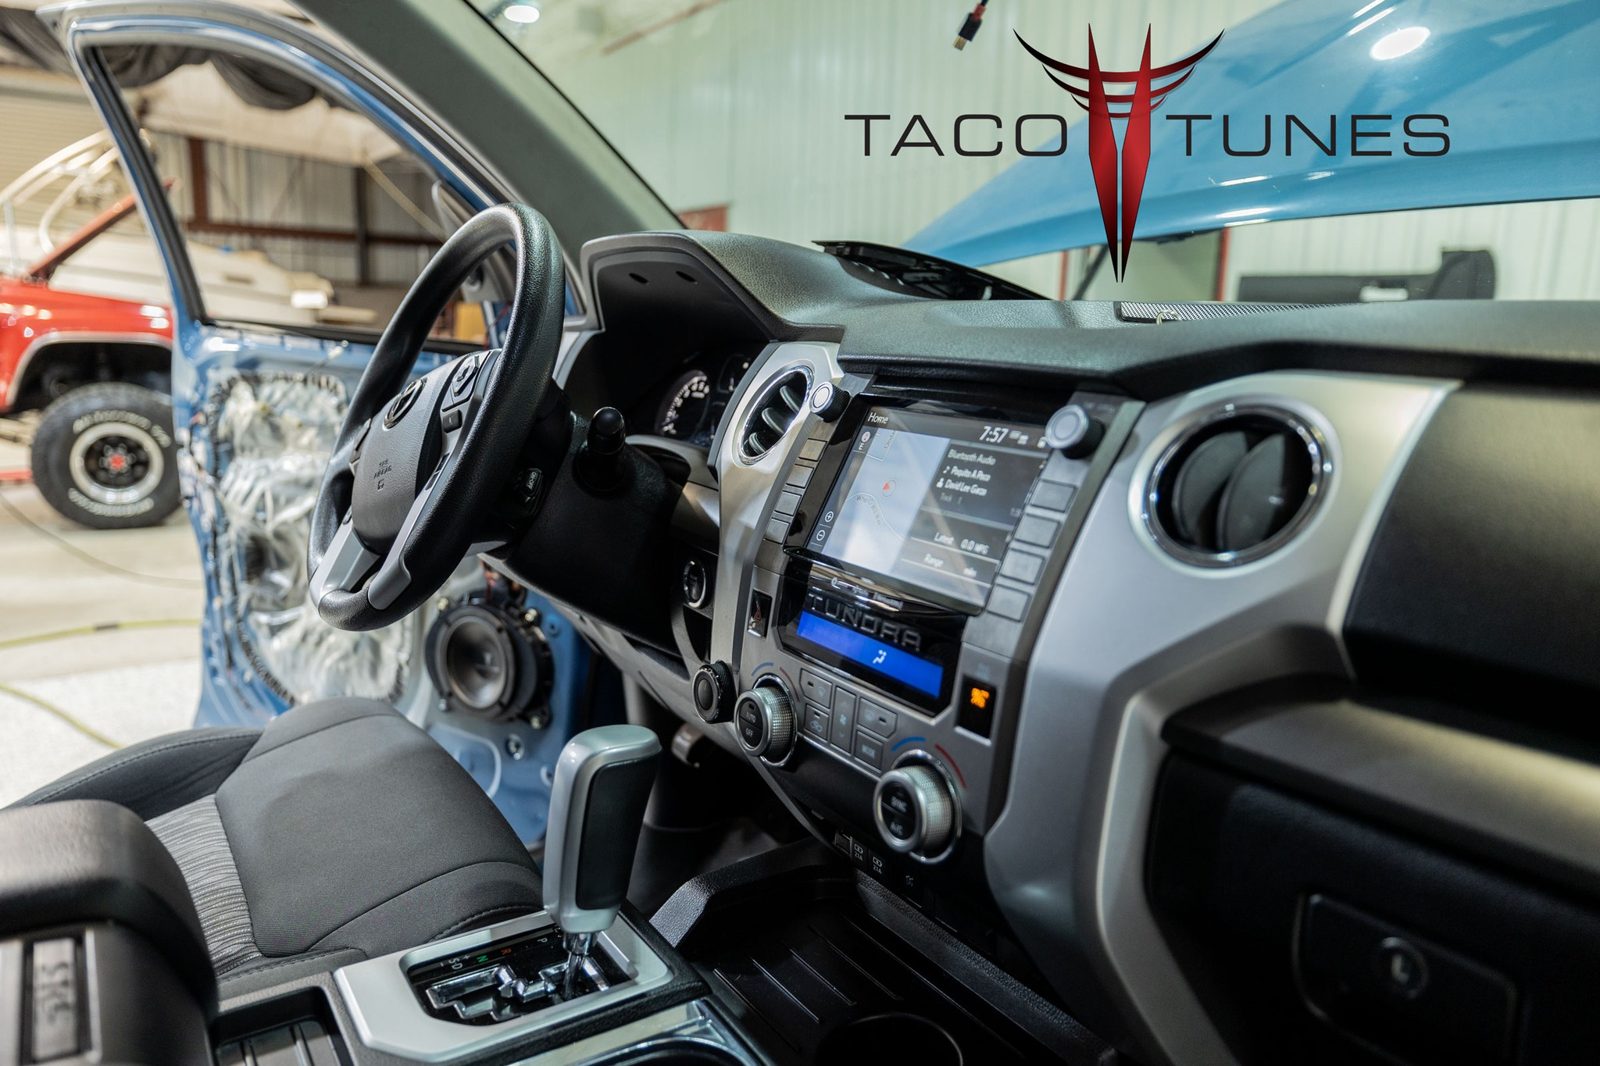
- 3. Head Unit Verification: The head unit was removed and inspected. It appeared to be original and unmodified.
- 4. Front Door Harnesses: Due to the limited remaining wire length, repairs to the front door harnesses were not possible.
- 5. Subwoofer Gap: No attempt was made to repair the gap between the subwoofer and the rear air vent. It appeared that some mounting bolts were missing.
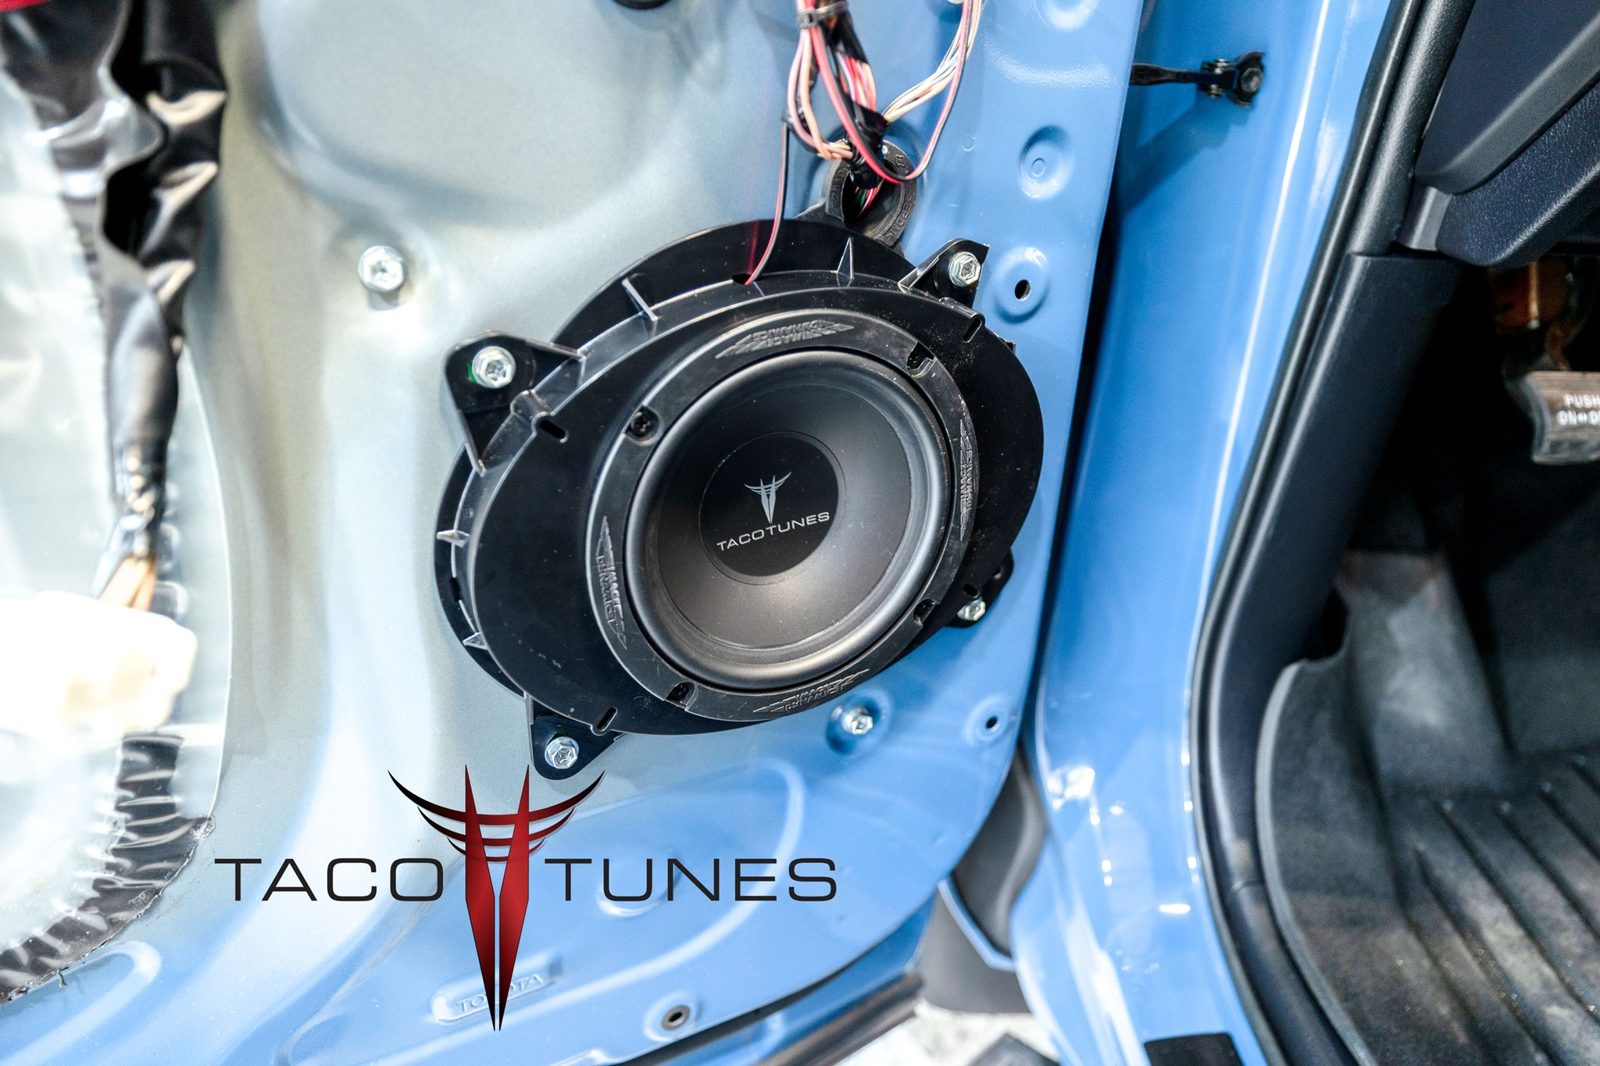
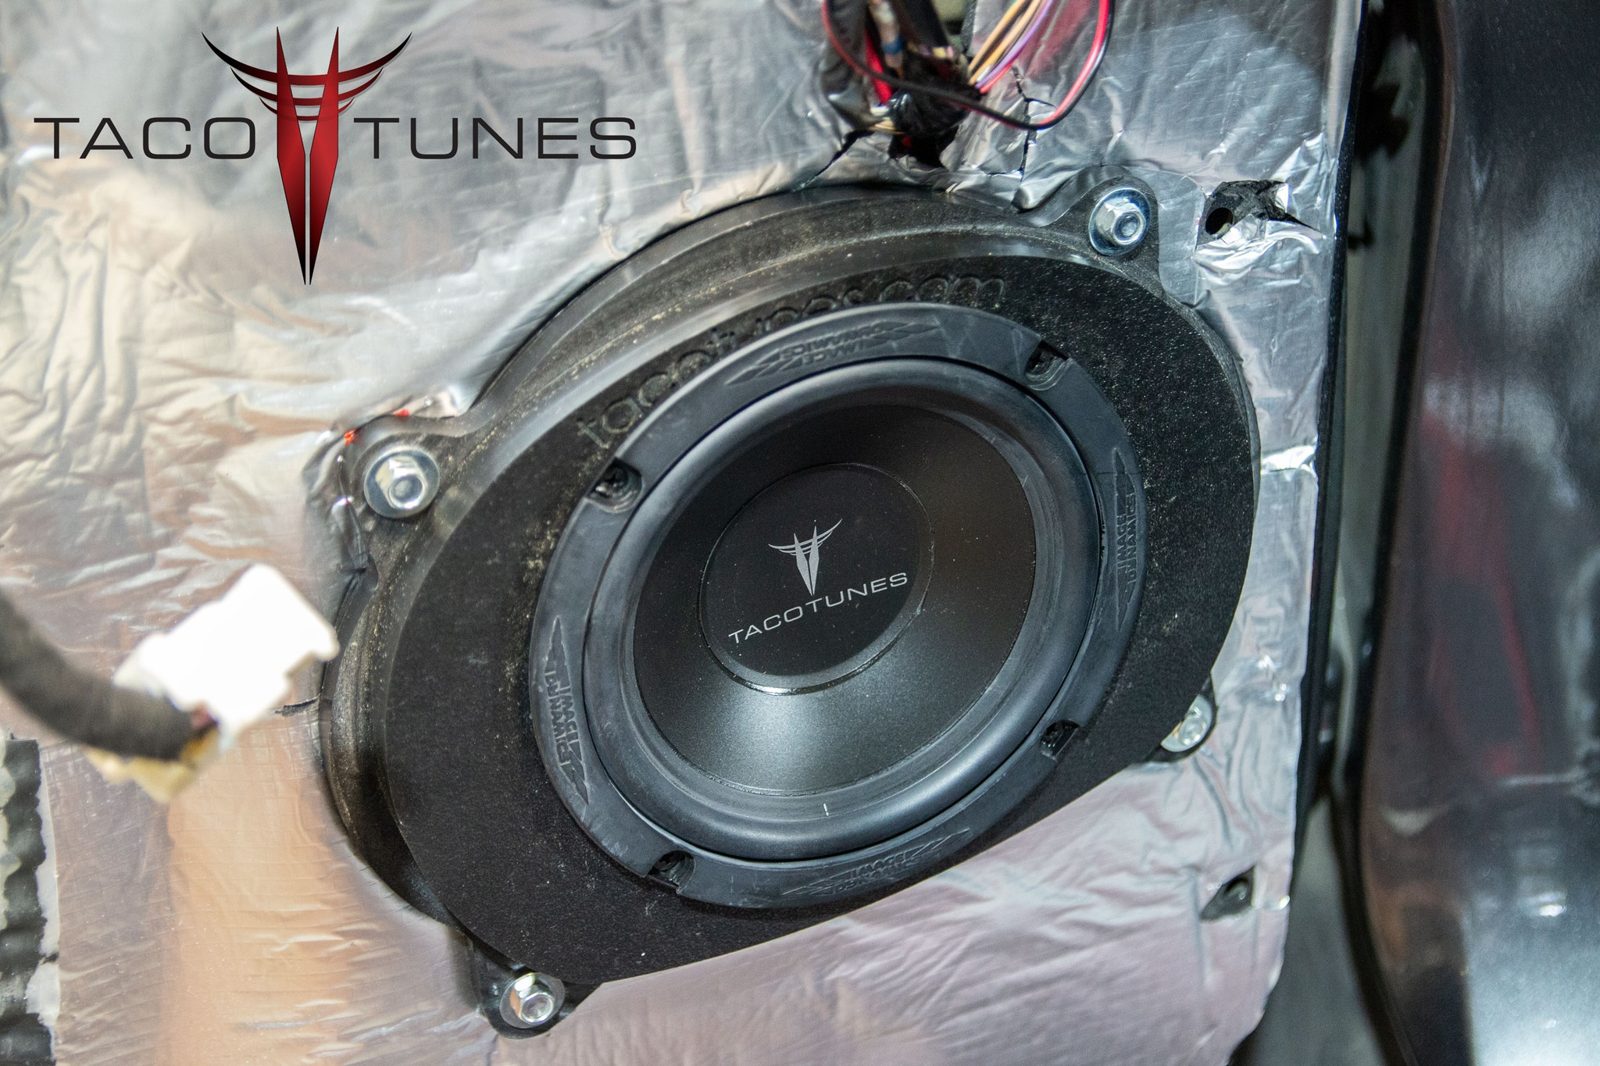
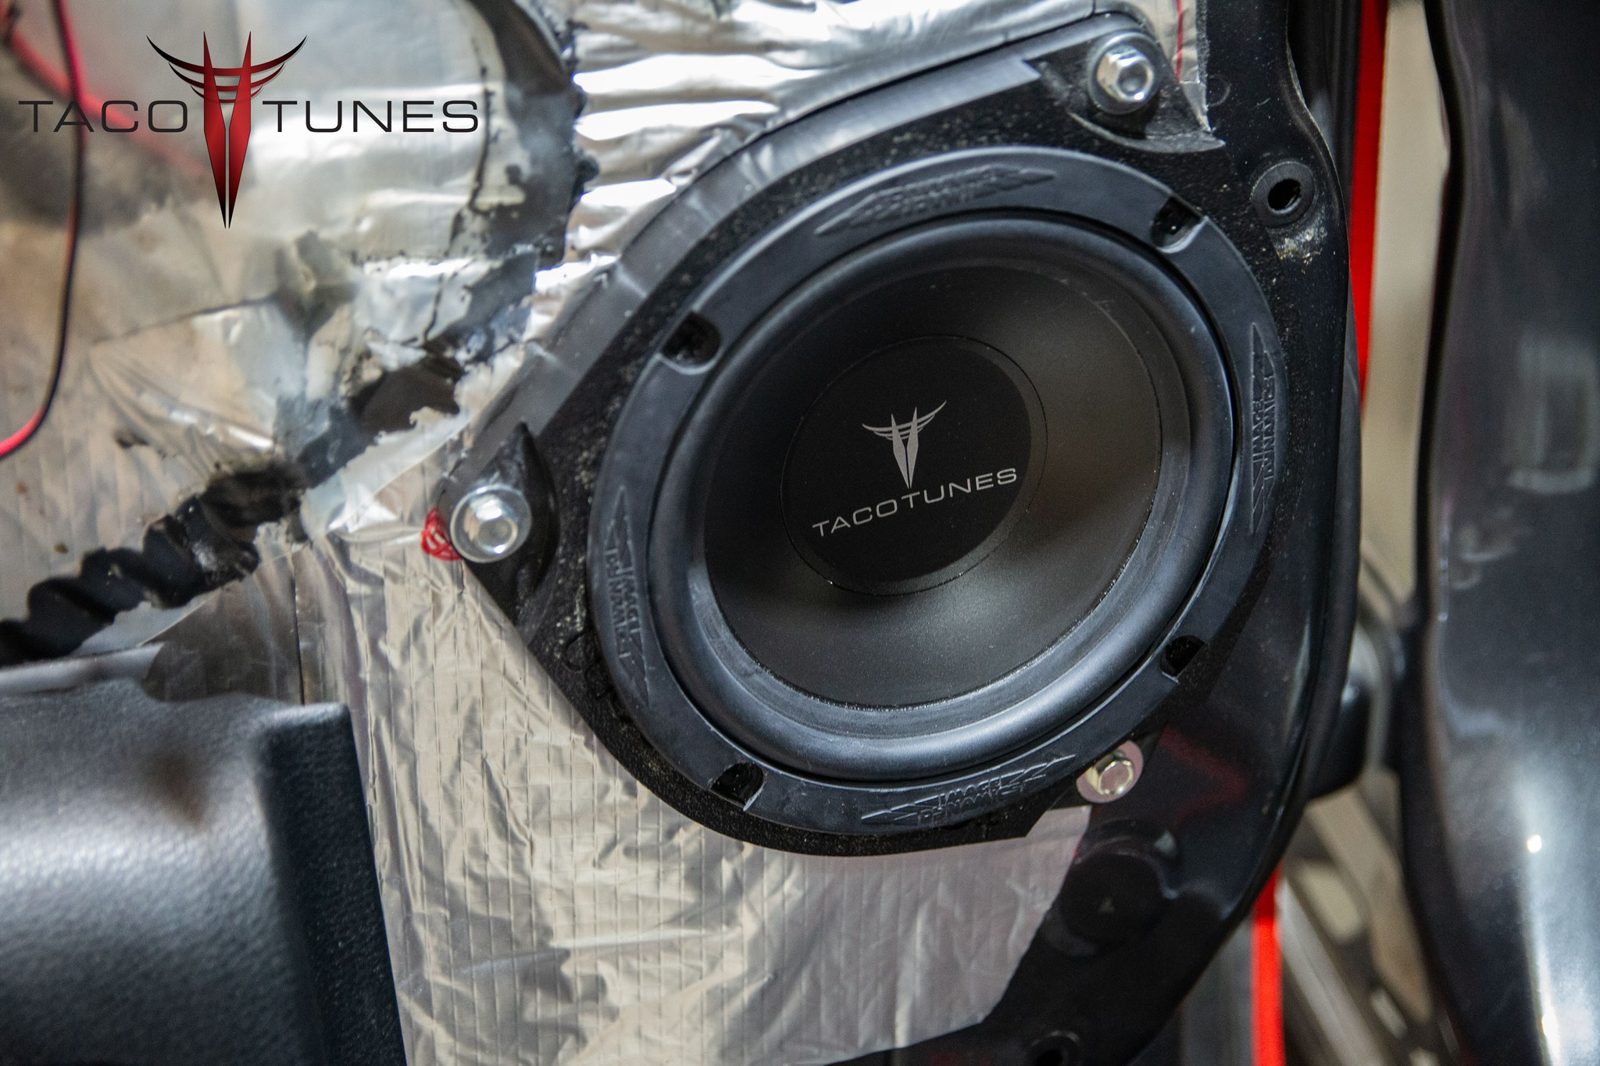
- 6. Installed rear door speakers with factory mounting screws.
- Additional Notes
- • A small rubber gasket was missing on the passenger rear door.
- Recommendations
- • Further investigation into the cause of the amplifier’s intermittent operation may be necessary.
- • Replacement of the front door speaker harnesses is recommended for optimal audio performance and system integrity.
- • Addressing the gap between the subwoofer and the rear air vent is recommended to prevent potential moisture ingress.
- • Replacing the missing gasket on the passenger rear door is recommended to maintain proper weatherproofing.
- • Rear Seatbelt has incorrect bolt . . . this is an URGENT repair. NOTE: This was noted during the repairs as a pre-existing condition.
- Repair time: 4 hours
- Parts: 30PIN Stock JBL Harness (meets or exceeds OE standards), solder connections, black wrap, stock speaker mounting bolts.
- Summary: System was operating normally when customer departed.
Install photos
Frequently asked questions
Why shouldn’t an audio shop splice my Tundra’s factory wiring?
Cutting or splicing factory wiring can damage JBL components and create problems that are expensive to repair. We repair a large number of JBL-equipped Toyotas for this reason, and there is no need to cut anything with plug-and-play harnesses.
Do I have to cut factory wires to upgrade audio in a 2022+ Tundra?
No. Our 2022+ Tundra integration systems use plug-and-play harnesses that connect to factory plugs, so nothing is cut or spliced and the upgrade is fully reversible.
How does Taco Tunes integrate with the factory JBL system?
Our plug-and-play JBL integration system grabs a clean, unmodified signal before the factory amplifier and feeds your new amplifiers a consistently flat audio signal, with zero changes to factory wiring.