No products in the cart.
How to wire dual voice coil subwoofer
How to wire dual voice coil subwoofer
How to wire dual voice coil subwoofer
ReCurve EZQ Toyota Tundra 2014+
In the 2014+ Toyota Tundra(s), Toyota moved the power source for the front and rear speakers to an external power source located under the passenger seat.
Simply unplug the two harnesses that plug into that small power source. The ReCurve and wiring harness will make the proper adjustments. If you do not unplug the power source, the head unit will not send the signal to the ReCurve.
After removing the two plugs from the power source continue the installation as demonstrated in video.
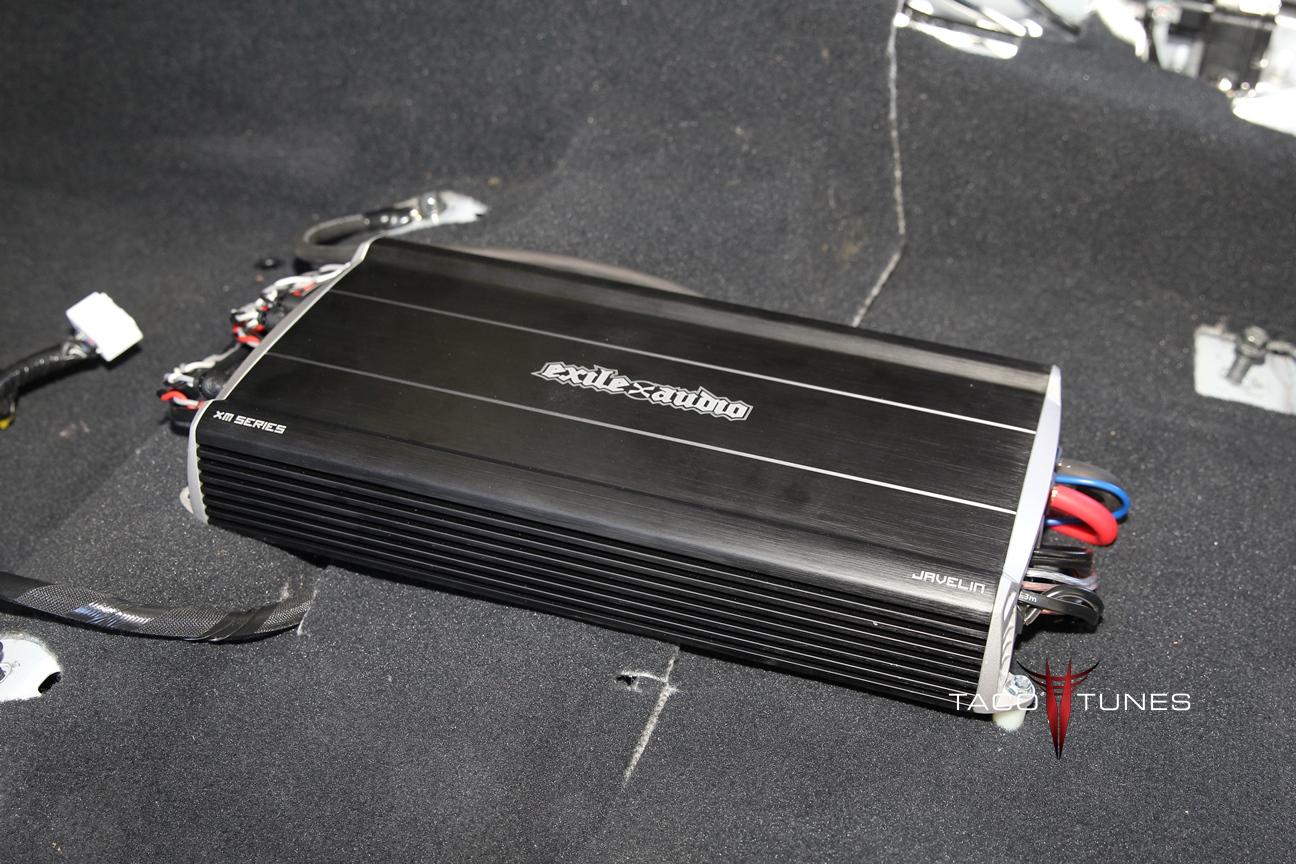
Exile Audio Javelin 5 Channel Amplifier Big Power.. Small footprint. The Javelin amplifier will provide 4 x100 watts to your front / rear door speakers. It will also provide up to 800 watts to your subwoofer(s). Originally designed for a harsh marine environment we began installing these for our customers as tougher solution for our hard core offroaders. They quickly became popular with our customer base.
In most cases we recommend the amp to be installed under the driver seat. The stainless steel hardware and epoxy coated circuit boards have proven to be a valuable asset for some of our toughest customers.
Combine the rugged amp with amazing sound quality and you end up with an amplifier solution that is difficult to match.
Be sure to check out our installation kit for your Toyota AND be sure to ask about bundled pricing with our turn key packages.
Exile Audio Amp installed in 2014 Toyota Tundra
Exile Audio Javelin Amp installed in 2010 Toyota Tundra
Exile Audio Javelin Amp Installed in 2011 Toyota Tacoma
Exile Audio Javelin Amp Installed in 2011 Toyota Tacoma
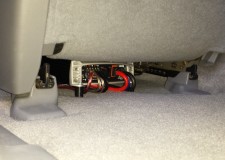
Exile Audio Javelin Amp Installed in 2003 Toyota Tacoma
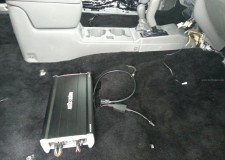
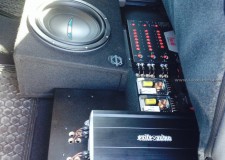
Into 4 ohm: 100w x 4
Into 2 ohm: 150w x 4
Into 4 ohm bridged: 240w x 2
Sub Channel Into 4 ohm: 500w x 1
Sub Channel Into 2 ohm: 800w x 1
Dimensions: Length: 15.0in (381mm) x Width: 7.5in (190.5mm) x Height: 2.3in (58.4mm)
Channels: 5
Amplifier Class: Full range class D
Fuse Size: 40A x 3
Recommended Power/Ground Wire: 4 AWG
Total Harmonic Distortion: <0.5%
Signal to Noise Ratio: 92dB
Gain Range: 0.2 – 6V
Low Pass Crossover Range: 50 – 250Hz
Bass Boost: @ 45Hz 0 to +18dB
Operational Efficiency: >85%
Damping Factor: >200
Remote Bass Control: Yes
Welcome to the ReCurve EZQ User Manual installation and setup guide. Below we have a list of videos and the user manual to help you setup the ReCurve EZQ. We highly recommend that you watch the videos and read the entire manual before you begin the installation process. You might even want to setup a “dry run” on your living room floor to see how the entire audio system will tie together. Plan ahead and the installation will go much smoother. We are updating the videos and manual regularly keep checking back.
We understand you know what are you doing. However, the ReCurve EZQ does not work in the manner you are accustomed to . . it is not a one size fit all device . . . all of your questions will be answered if you take the time to review the instructions. Most of our support issues come from professional installers that rush through the installation process.
Toyota owners, be sure to convey to your installer to review the installation instructions.
If you have one of the following vehicles please click the following link for additional information:
The link below will re-direct to our Dropbox folder that contains a number of test tones. Copy the wav files to your pc and burn as an audio CD. Try to avoid converting them to MP3 or AAC format. For your convenience each test tone is 9 minutes long. The down side is they will take a bit longer to download.
In addition to regular tools you will need, below is a list of specialty tools that you will want to be sure you have before you begin the installation.
Inexpensive digital multi-meter
Suggested tools for setting up your amp(s):
How to wire up / connect the ReCurve EZQ
How to setup the output levels on the ReCurve EZQ