
Guys’ Toyota Tundra JBL Wiring Repair and audio system re-makeover Image Dynamics SQ1 System
Installation Summary / History: Guy lives in a town a bit north of San Antonio. He paid a local audio shop to upgrade the audio in his 2016 Toyota Tundra CrewMax 1794 Edition. After 3 visits to the same shop and another large shop here in San Antonio with no luck, he found our website. He came in for a system evaluation. Unfortunately, we see the scenario quite often . “Professional installation” shops doing a horrible job on the installation on JBL equipped Tundras. This is probably the 15th Tundra we have repaired or assisted in repairing here at our location in San Antonio.
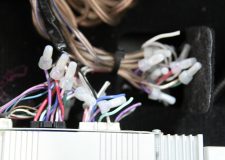
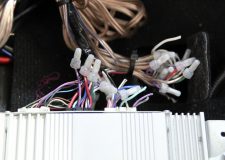
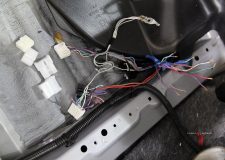
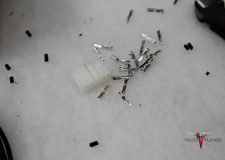
When Guy came in, 2 of his door speakers were not working and the system was popping and turning off / on. The system sounded worse than the stock JBL setup. We gave him a quote and he said he would have to think about it. We recommended that harness system be repaired and replacing the speakers and sub(s). Pretty much a re-do. Guy called us back and said please get this fixed.
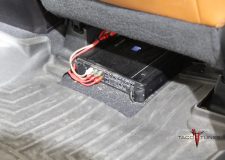
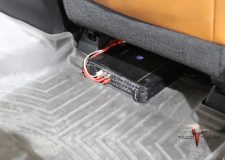
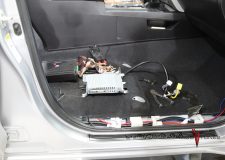
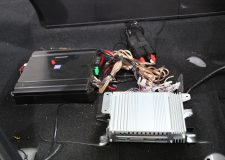
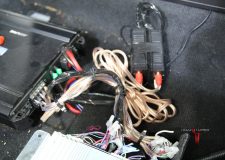
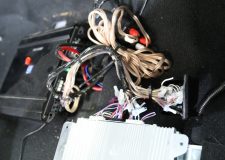
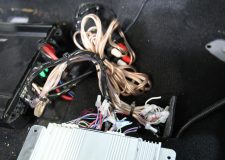
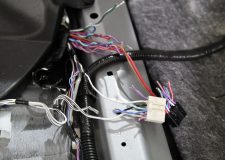
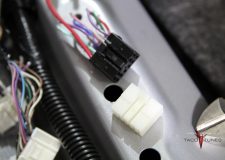
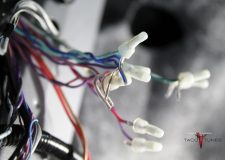
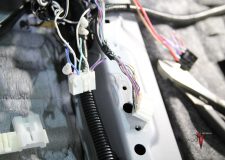
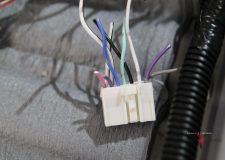
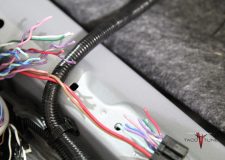
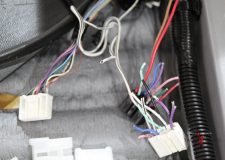
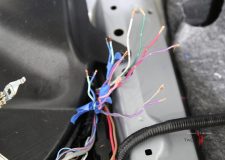
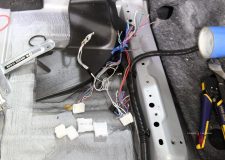
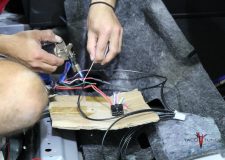
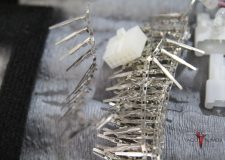
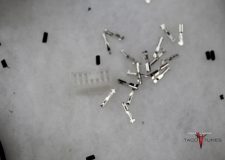
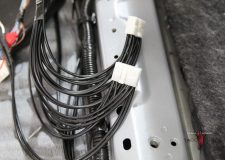
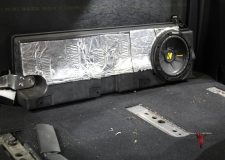
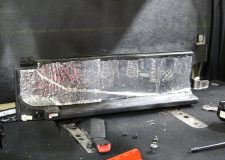
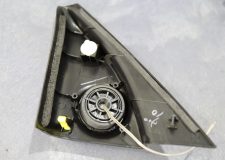
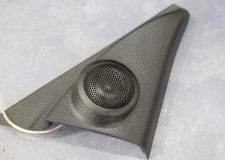
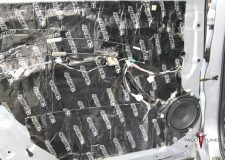
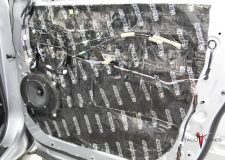
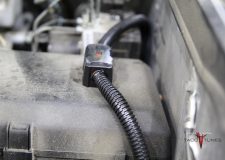
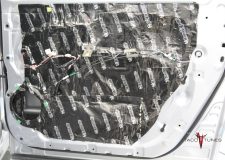
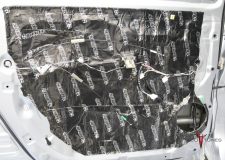
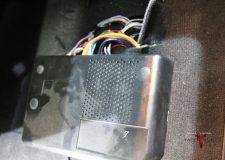
Before we could start installing a new system, we had to repair the damaged JBL wiring system. The previous shop did not leave enough of the stock wiring to work with. We had to create a new harness and solder back to original stock wiring. In the pictures below you will see the repair process.
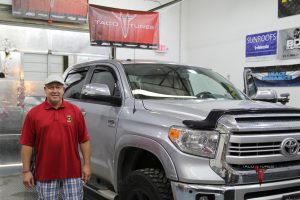
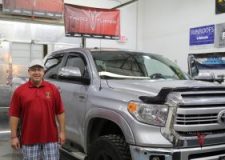
Customer Name: Guy
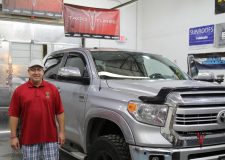
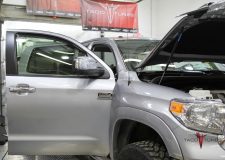
Toyota Year / Model: 2016 Toyota Tundra CrewMax 4×4 1794 Edition
Head Unit: JBL Equipped
Color: Silver
Installed by: tacotunes.com
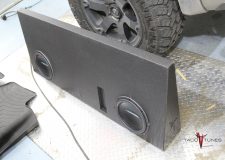
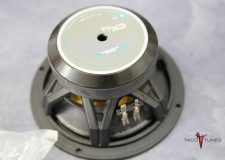
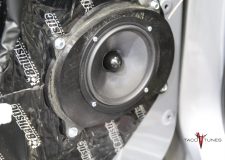
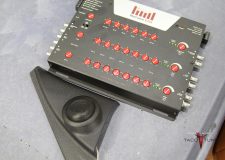
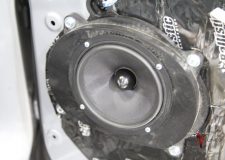
System Installed: tacotunes SQ1 packaged system
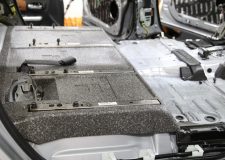
Matted the entire truck.
Guy loves audio in his truck. He had systems in his trucks since back in his high school days. He was pretty much dancing when he left the shop.

Chad’s Toyota Tundra Audio Makeover

AMP Install Before we upgraded to tacotunes sq1

AMP Install Before we upgraded to tacotunes sq1

Before pictures of bad installation performed by a local audio shop.

Before pictures of bad installation performed by a local audio shop.

Before pictures of bad installation performed by a local audio shop.

Before pictures of bad installation performed by a local audio shop.

Before pictures of bad installation performed by a local audio shop.

Before pictures of bad installation performed by a local audio shop.

Before pictures of bad installation performed by a local audio shop.

Tundra JBL Harness Repair Process 1

Tundra JBL Harness Repair Process

Tundra JBL Harness Repair Process

Tundra JBL Harness Repair Process

Tundra JBL Harness Repair Process

Soldering new harness back to stock wiring

JBL repair plug and and making new harness

Making a new JBL Harness

Making a new JBL Harness

New JBL Harness to replace damaged harness

After we repaired the bad install

Subwoofer setup we replaced

Subwoofer Box modified by previous installer

Toyota Tundra CrewMax 12″ Full Size Subwoofer

Toyota Tundra Audio Install Progress

Toyota Tundra Tweeter Replacement Component Tweeeters

Toyota Tundra Tweeter Replacement Component Tweeeters

Toyota Tundra Image Dynamics CTX65CS Component Speakers

Toyota Tundra Image Dynamics CTX65CS Component Speakers

Toyota Tundra Front Door Image Dynamics CXS64 Component Speakers

Toyota Tundra Front Door Image Dynamics CXS64 Component Speakers

Toyota Tundra Front Door Matting Sound Deadner Install

Toyota Tundra Amplifier Power Battery Cable

toyota-tundra-1794-edition-crewmax

Tacotunes ReCruve EZQ and JBL stock sail panel

Toyota Tundra Matting and Sound Deadner

Toyota Tundra Matting and Sound Deadner

Toyota Tundra Bass Knob Modification

Chad’s Toyota Tundra Audio Makeover

Tundra JBL Stock Amplifier After repairs clean up

Toyota Tundra Front Door Image Dynamics CXS64 Component Speakers
Toyota Tundra JBL Wiring Diagram
Related