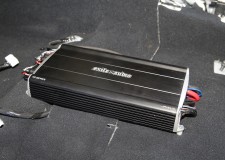
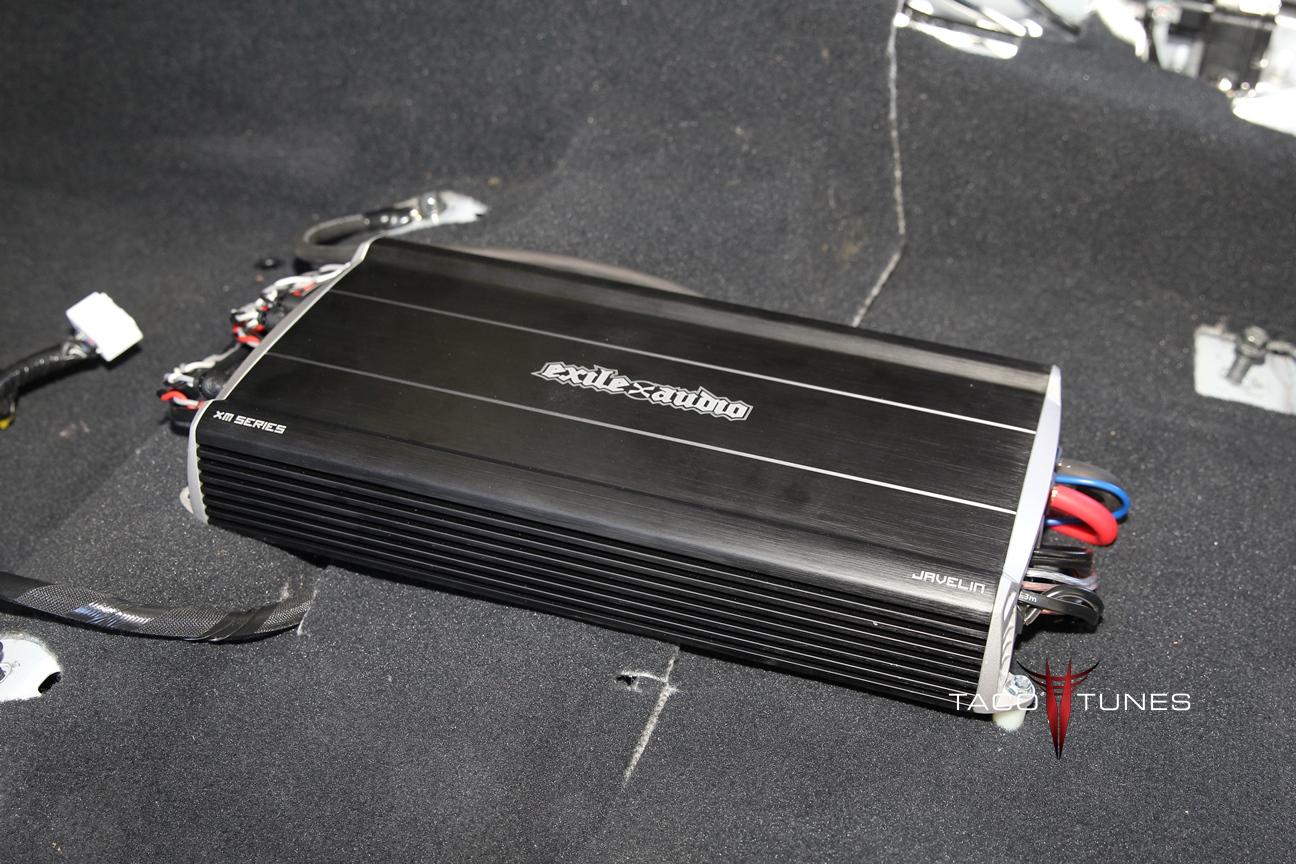
Tacotunes.com TXD 3204 EZAMP – how to properly setup and tune your amplifier.
Now that you have completed the initial installation process, you will want to tune the amp for your vehicle. Each vehicle can vary just a bit and this guide will walk you through tuning your amp.
At this point you have completed the following:
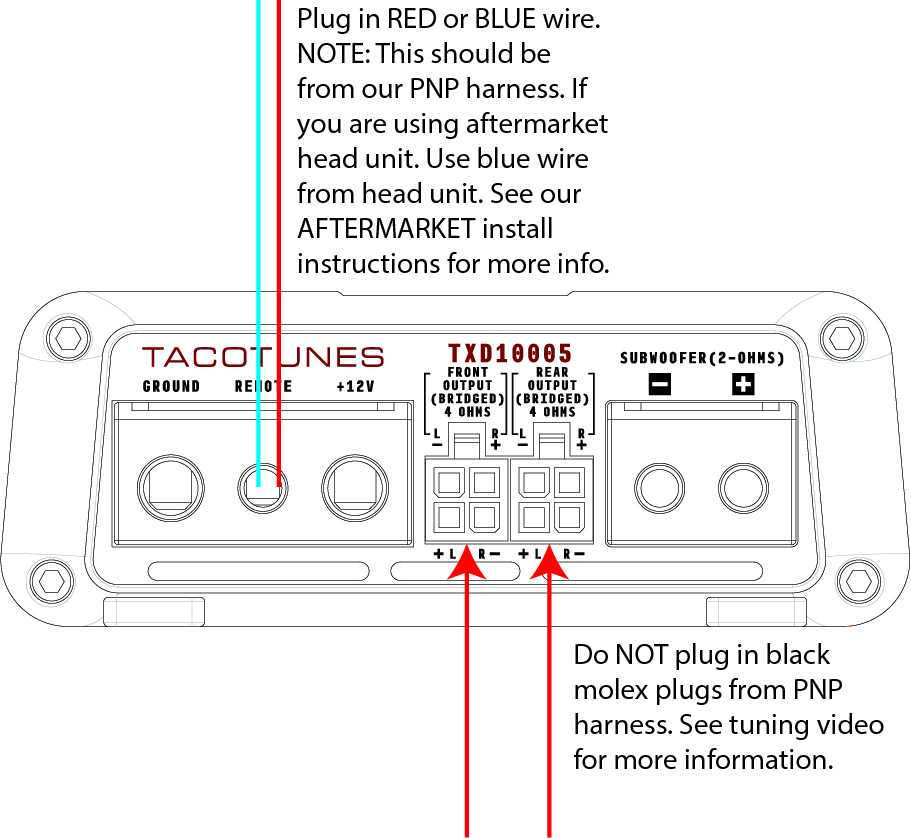
1. All power (positive / ground) connections have been tripled check to ensure they are all tight.
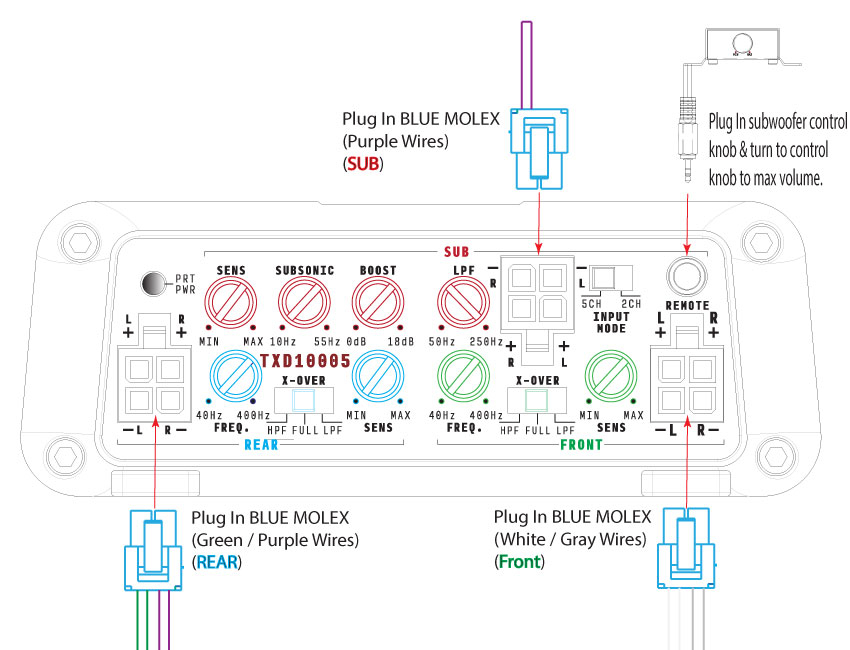
2. The Plug and play wire harness has been connected to your head unit and the leads have been routed to your amp mounting location.
3. The Plug and Play wires are connected to the RCA line adapters.
4. The RCA line adapters are plugged into the amplifier RCA connections.
5. The INPUT wires (RCAs) should be plugged into the amplifier. Double check you are connecting to the INPUT side.
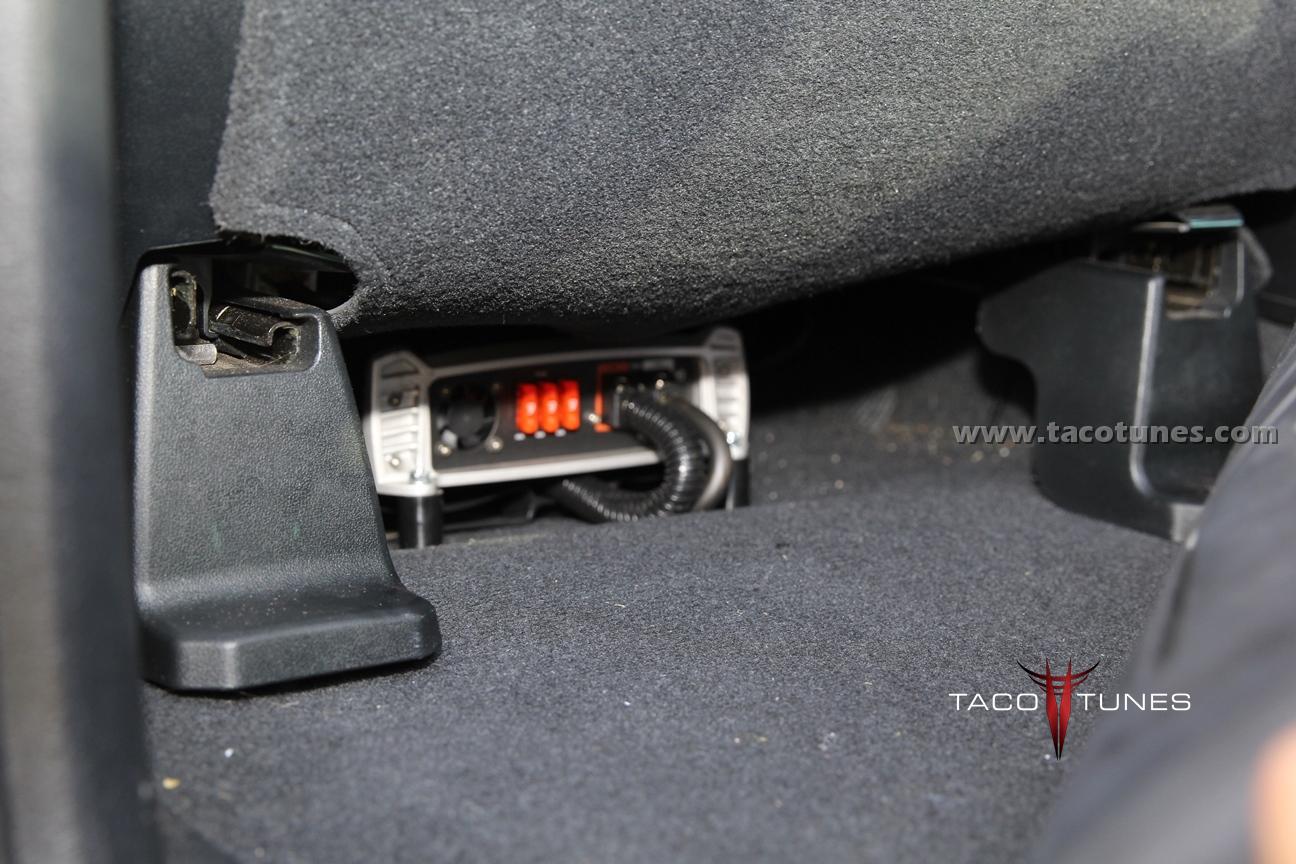
6. Turn key on and ensure the amplifier lights up blue. Turn the ignition off.
7. The Front and Rear OUTPUT wires (go to speakers) should NOT be connected to the speakers at this time.
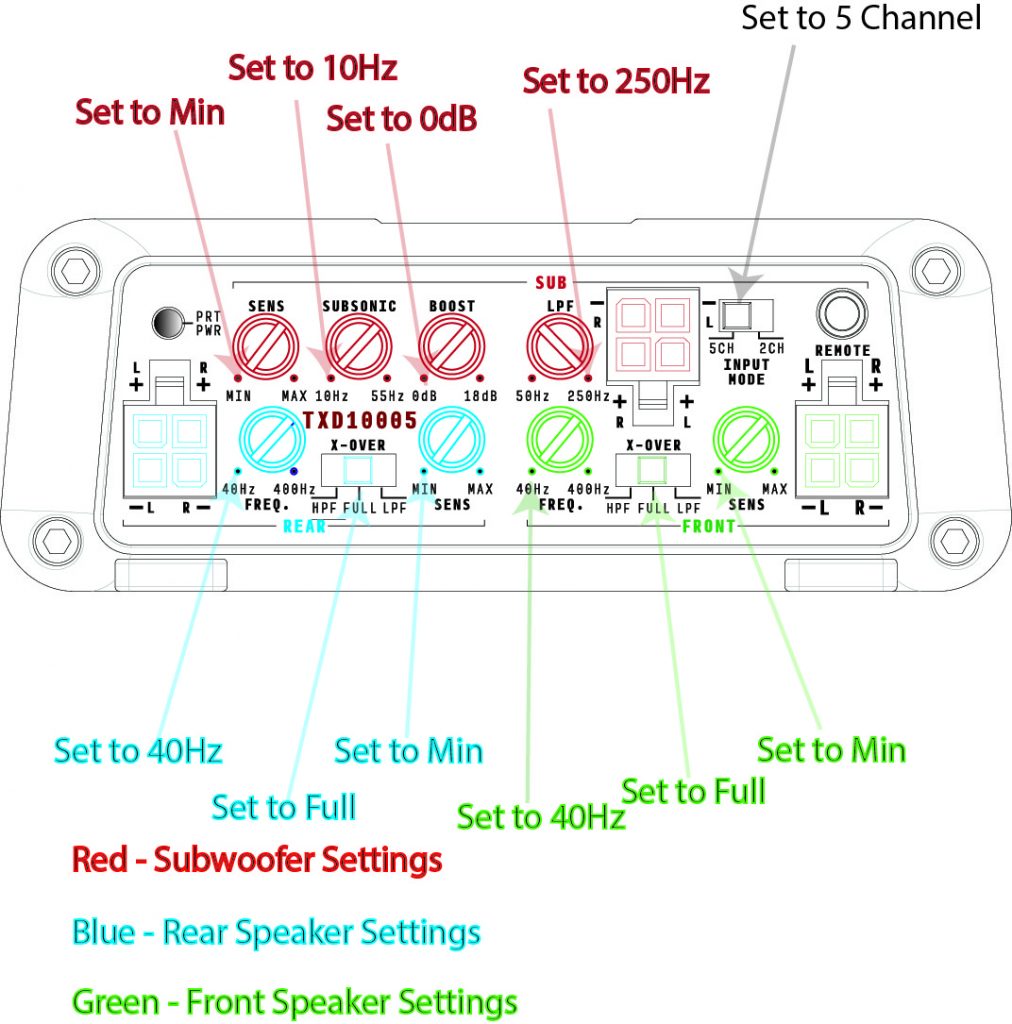
8. On the amp itself, set the HPF (High Pass Filter), Front SENS (Input Gain / Sensitivity), Subsonic, Boost, LPF and Rear SENS (Input Gain / Sensitivity). Set the LPF / FULL switch to FULL.
9. Ensure your head unit is set to flat signal. You need to check this for all audio sources. Ensure the TREBLE, MID and BASS are all set in the middle Ensure the Front / Rear Fader is set to middle.
10. Insert the CD with the test tones you can download from HERE. AT this time, we do not recommend using a phone to set up the amplifiers.
11. Play the 1khz test tone.
12. Set the volume on your head unit to 50. NOTE: This is assuming 60 is your max volume.
13. AT this point you should hear nothing coming from your speakers. NOTE: You might hear a high pitched sound coming from the amp.
14. Connect your digital multimeter to the front left output of your amplifier. Turn the FRONT SENS knob until your amp reaches 17.5V. Your multi-meters should be set to AC voltage.
15. Change test tone to 80Hz test tone.
16. Enter the AC voltage in the field below. This will calculate the voltage necessary to tune your amplifier. Next turn the HPF clockwise (should have been down at 25Hz to start) until the AC Voltage on your voltmeter matches the field below.
17. Connect your multi-meter to the left rear output and turn the REAR SENS up until you reach 15.5 Volts.
18. Congratulations you have completed tuning your 4 channel amplifier.
NOTE: If you are using our mono (subwoofer) amp. Be sure you do not mix up the connections. The wires appears to be the same, but they are not.
Download Test Tones
Tools you will need:
- Digital Multimeter / Voltmeter
- Small Screwdriver that will fit in amp knobs.
- Test Tones – same tones used to set the gain on your amp.
Steps you should have already completed:
- Set the head unit to maximum unclipped volume. (Speaker Wires Should NOT be hooked up!)
- All internal EQs, adjustments on the head unit should be set flat. Not boosted or lowered.
- Set the gain(s) on your amp before you setup the crossovers.
- Decide on your crossover point and acquire the test tones you will need. The most common crossover point is 80Hz. – Click here for link to test tones and requirements.
- Turn both High Pass Filter (HPF) knobs all the way to 15Hz (as far left as possible)
- Turn Low Pass Filter (LPF) knob all the way to 300Hz (as far right as possible)
Setting High Pass Filters (Speakers):
- Remove all speaker wiring from the amplifier. (label your speaker wiring)
- Set the multi-meter to ACV (Alternating Current Voltage)
- Insert the multi-meter leads into channel 1 and screw down gently (See picture below for channel layout and explanation)
- Enter the voltage displaying on your multi-meter into field “Voltage 1”
- Turn the Front HPF knob to the right until it matches as closely as possible to “Crossover Voltage”.
- Repeat the same steps for channel 3 – turn the Rear HPF knob to the right until it matches as closely as possible to “Crossover Voltage”.
Setting Low Pass Filter (Subwoofer)
- Connect the multi meter leads to the subwoofer amp output.
- Turn on vehicle and play test tone at roughly half of the maximum volume (does not need to be exact)
- Enter the voltage displaying on your multi-meter into field “Voltage 1”
- Turn the LPF knob to the left until it matches as closely as possible to “Crossover Voltage”.
The crossovers are now set at desired crossover setting. NOTE: It is NOT uncommon for amps to be marked incorrectly there are many factors and most manufactures provide the numbers as a guide.