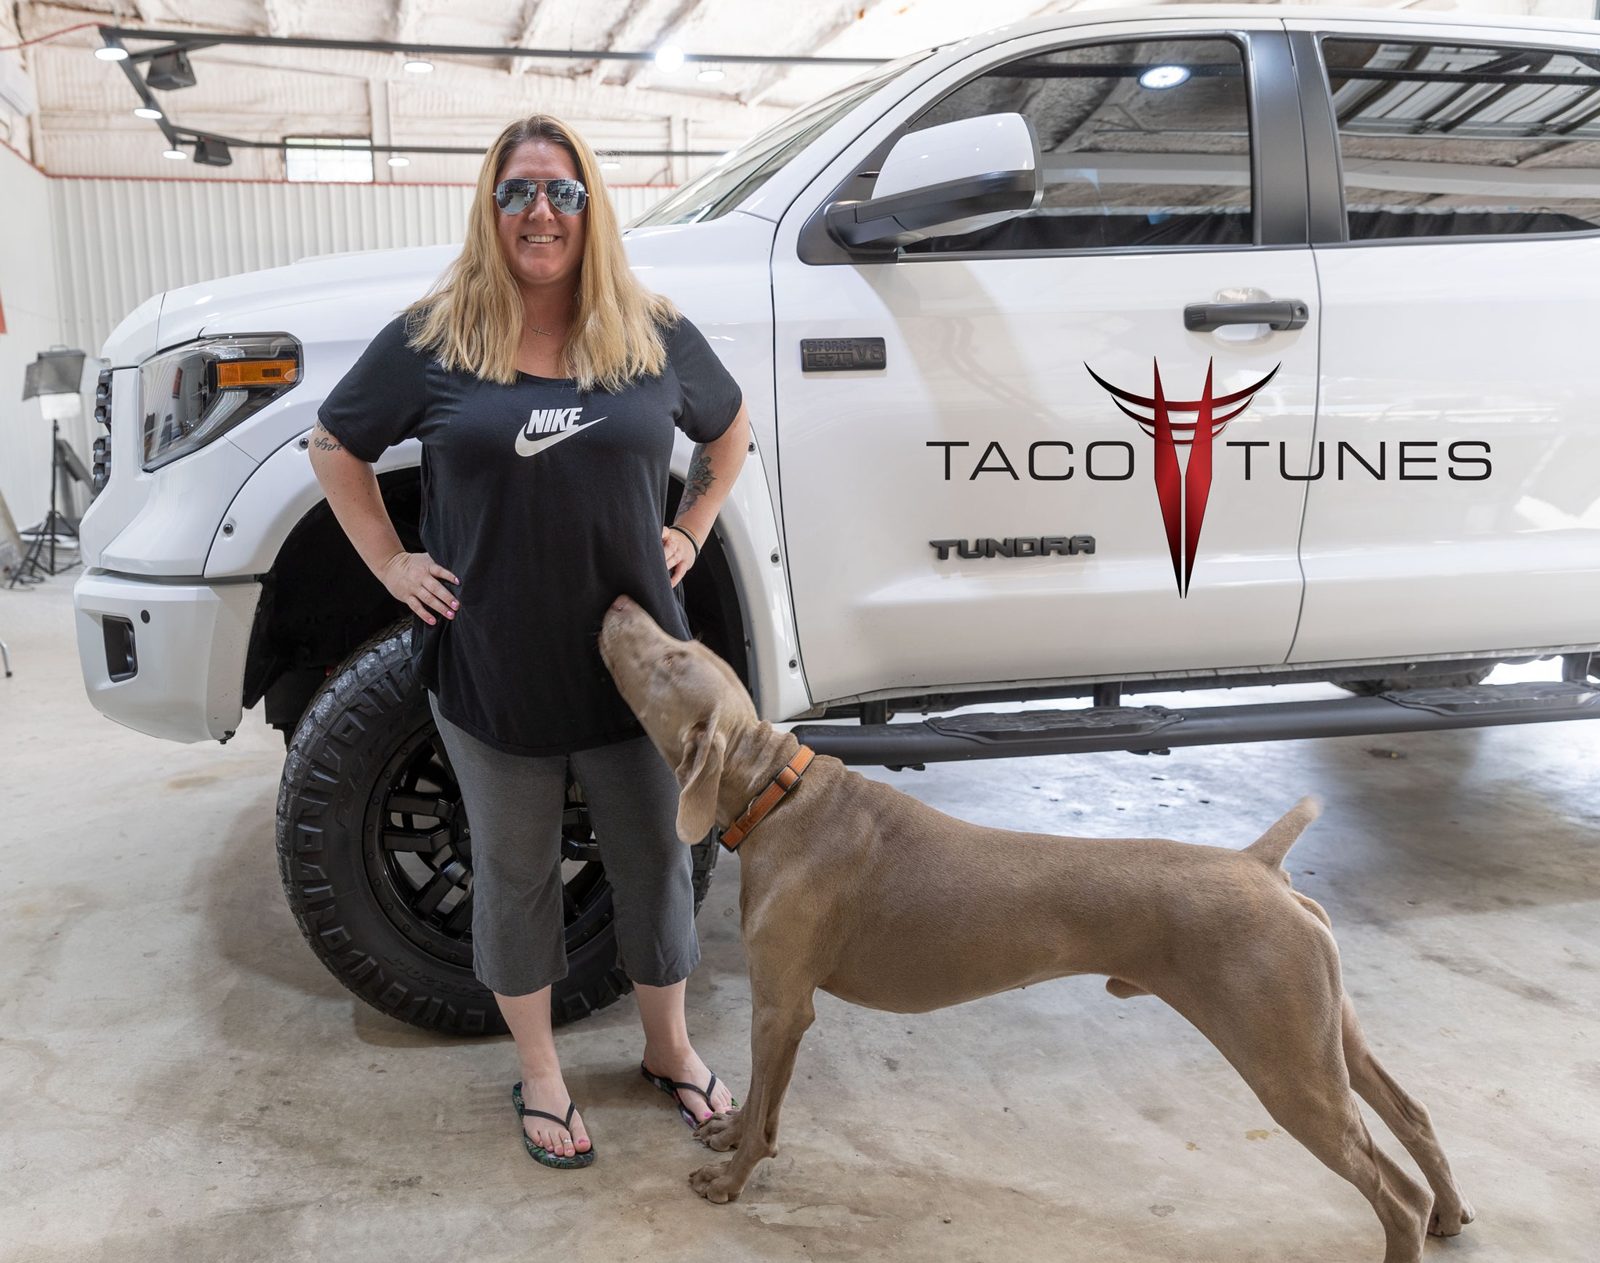
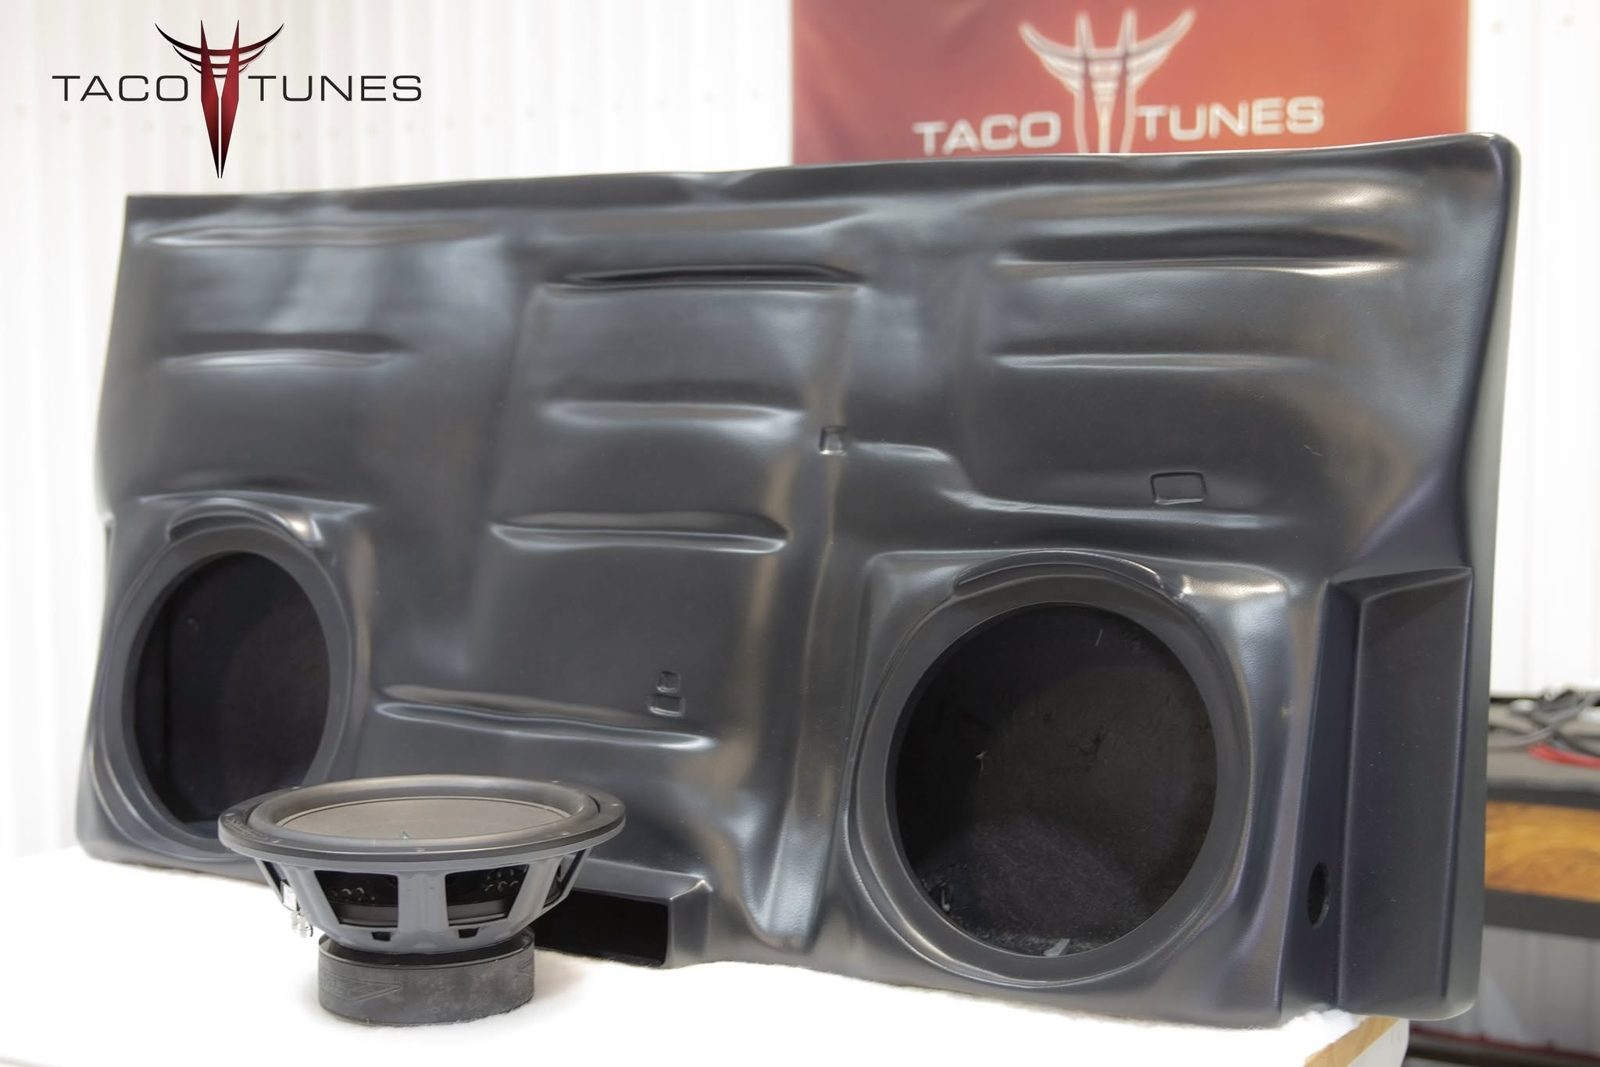
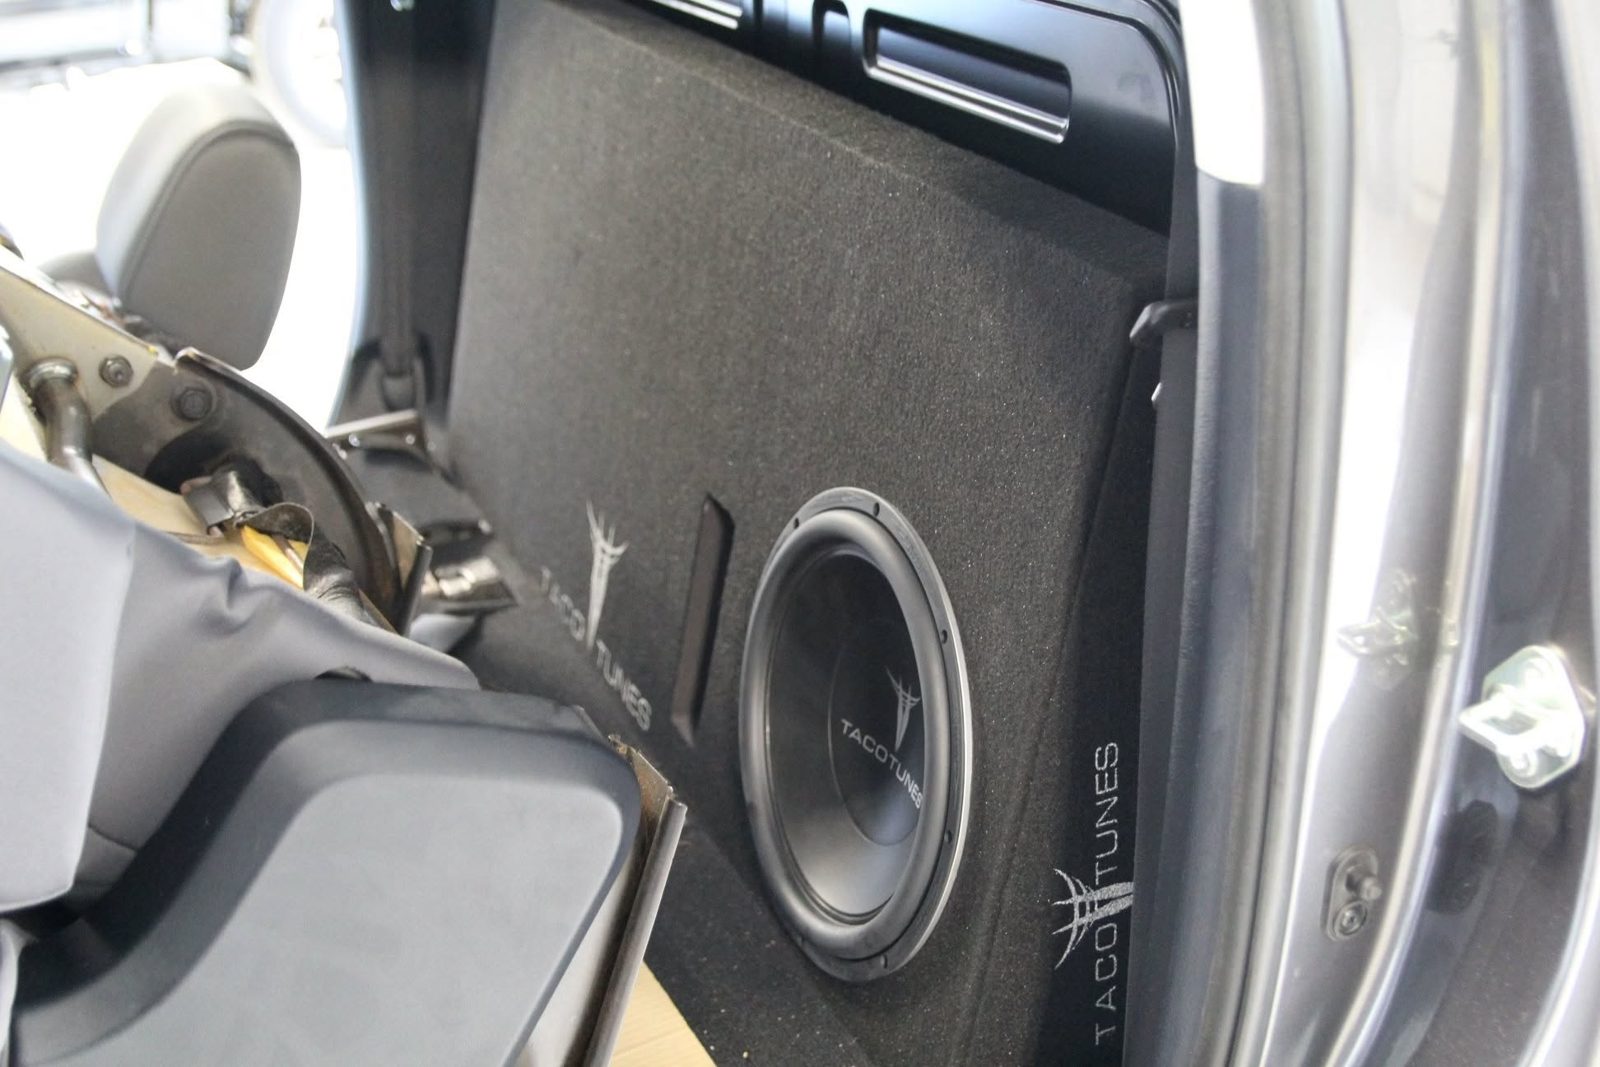
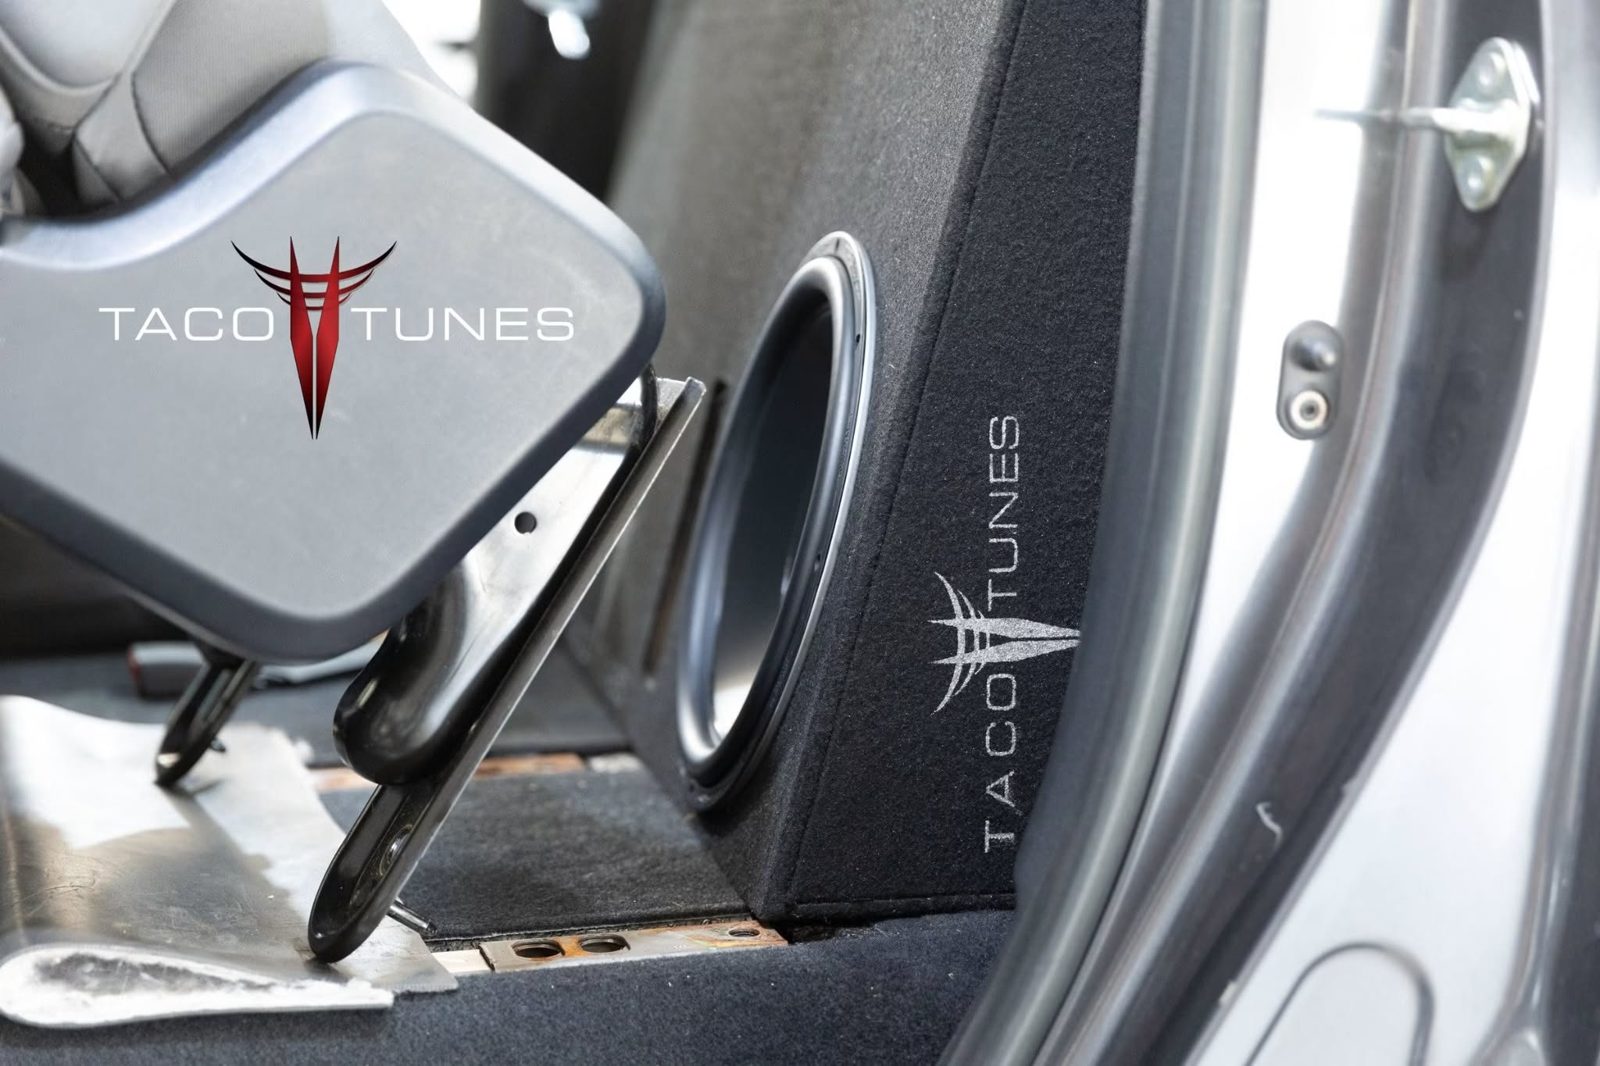
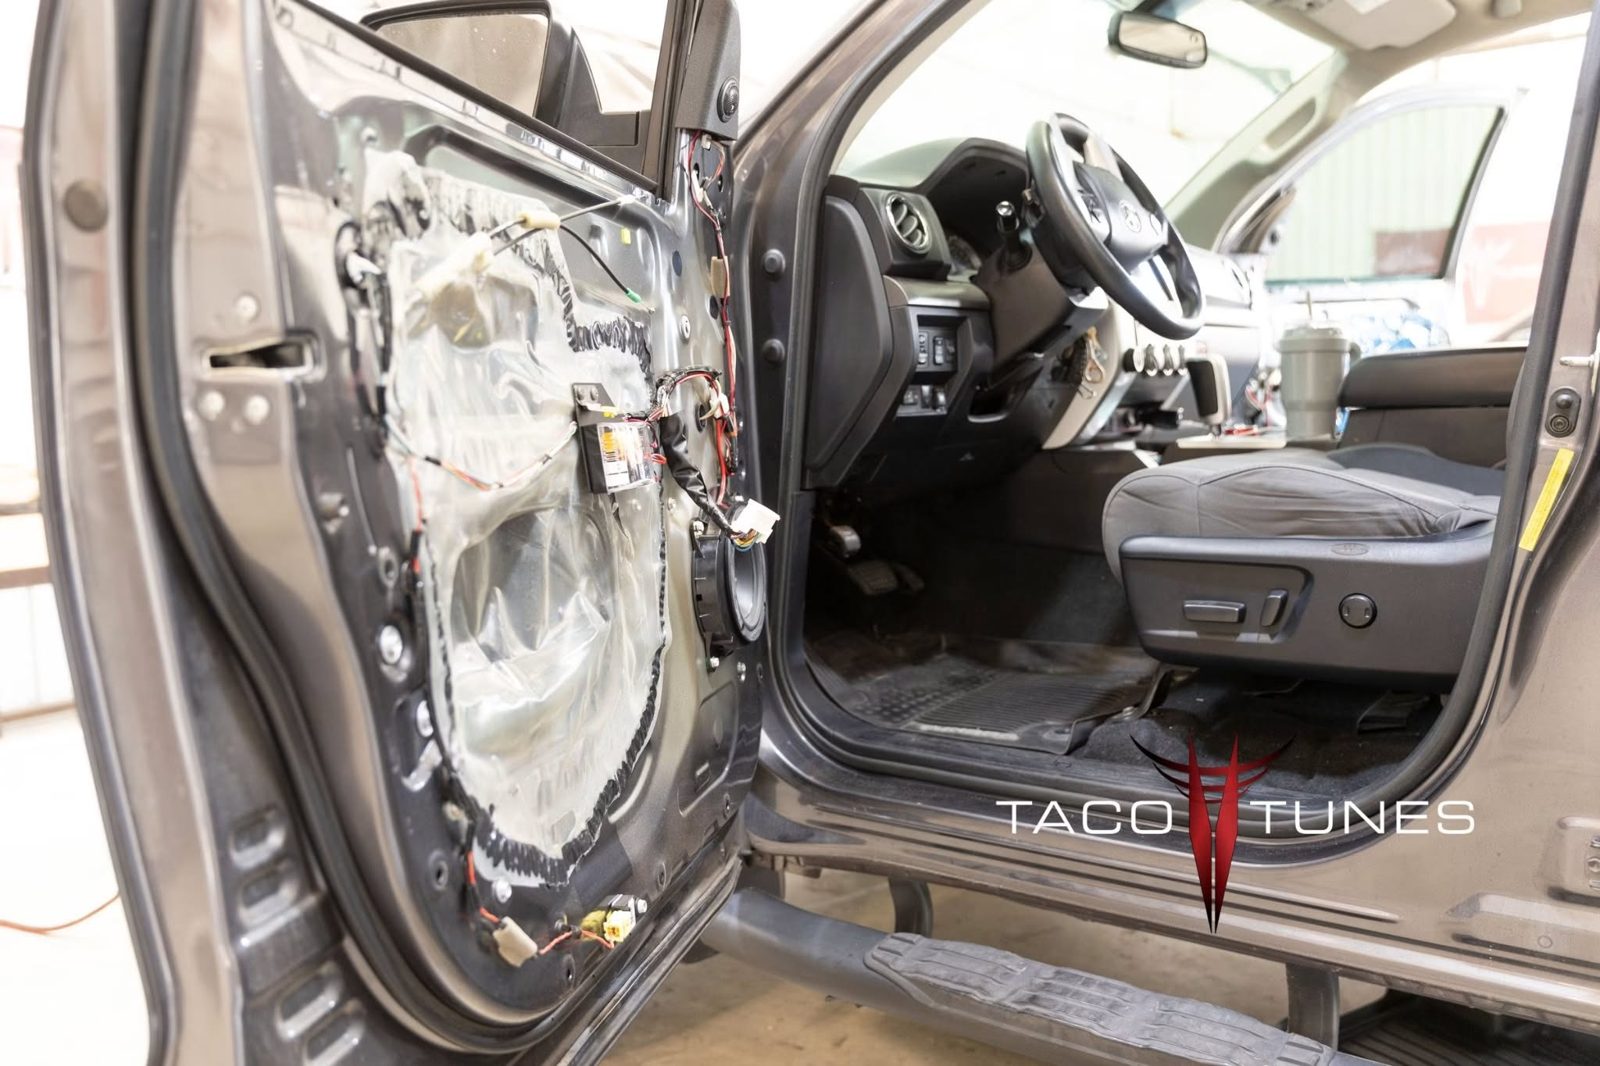
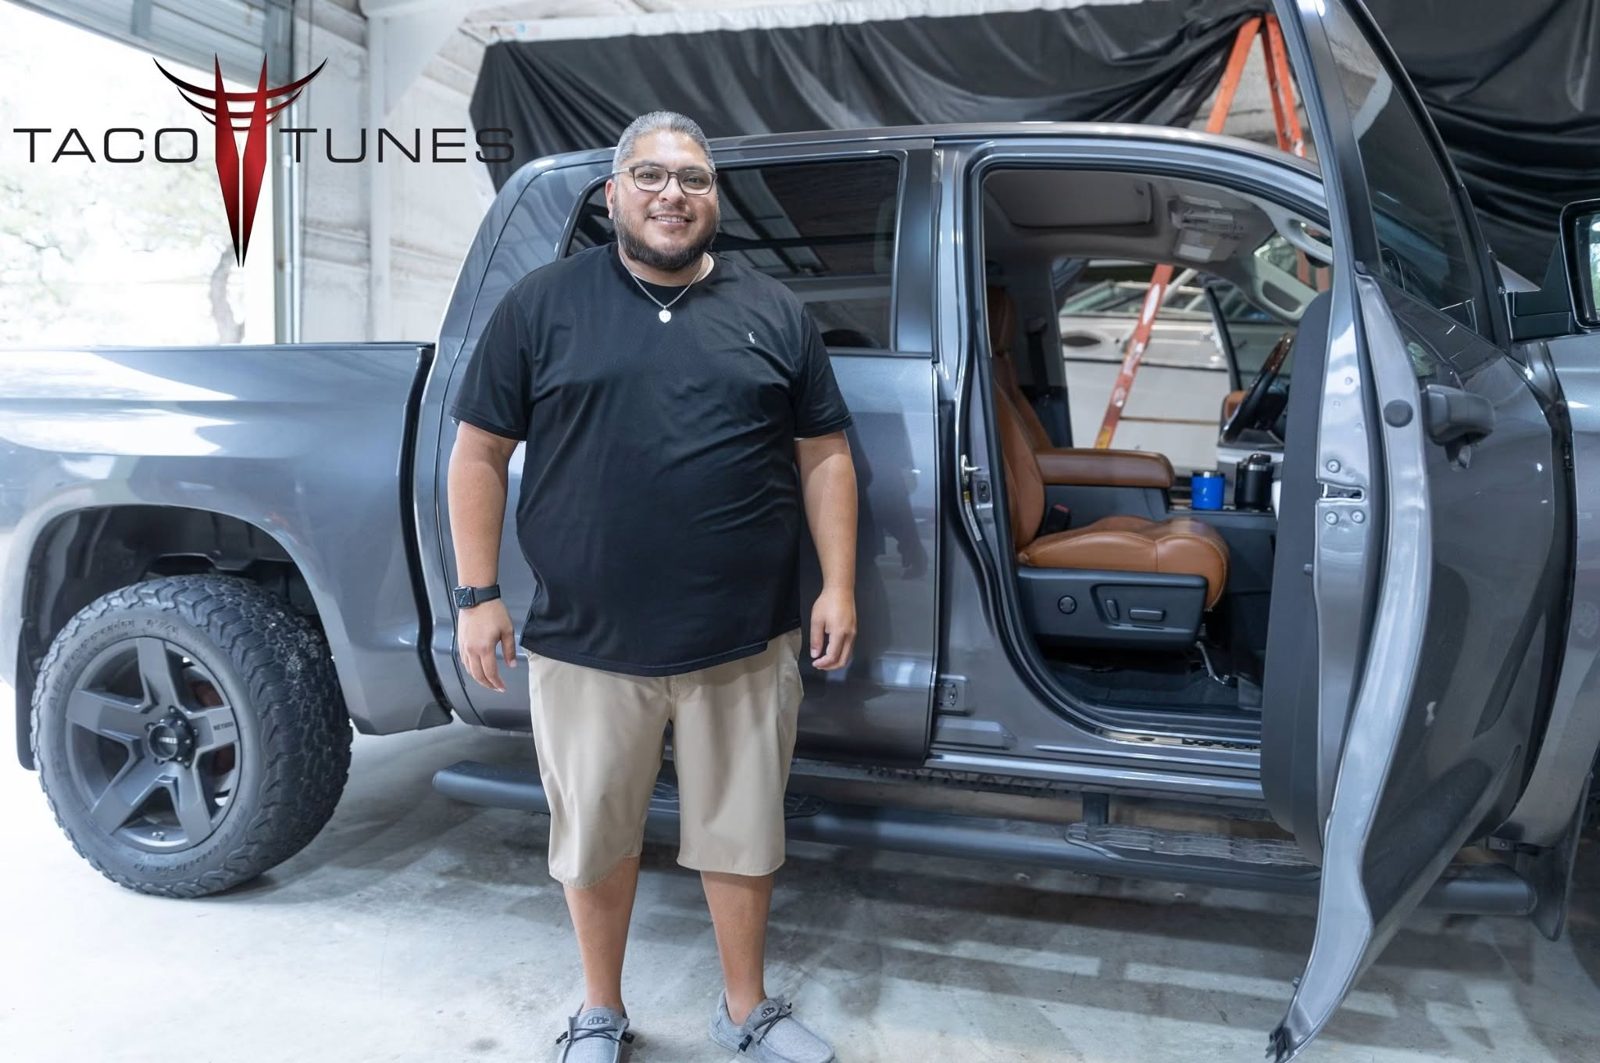
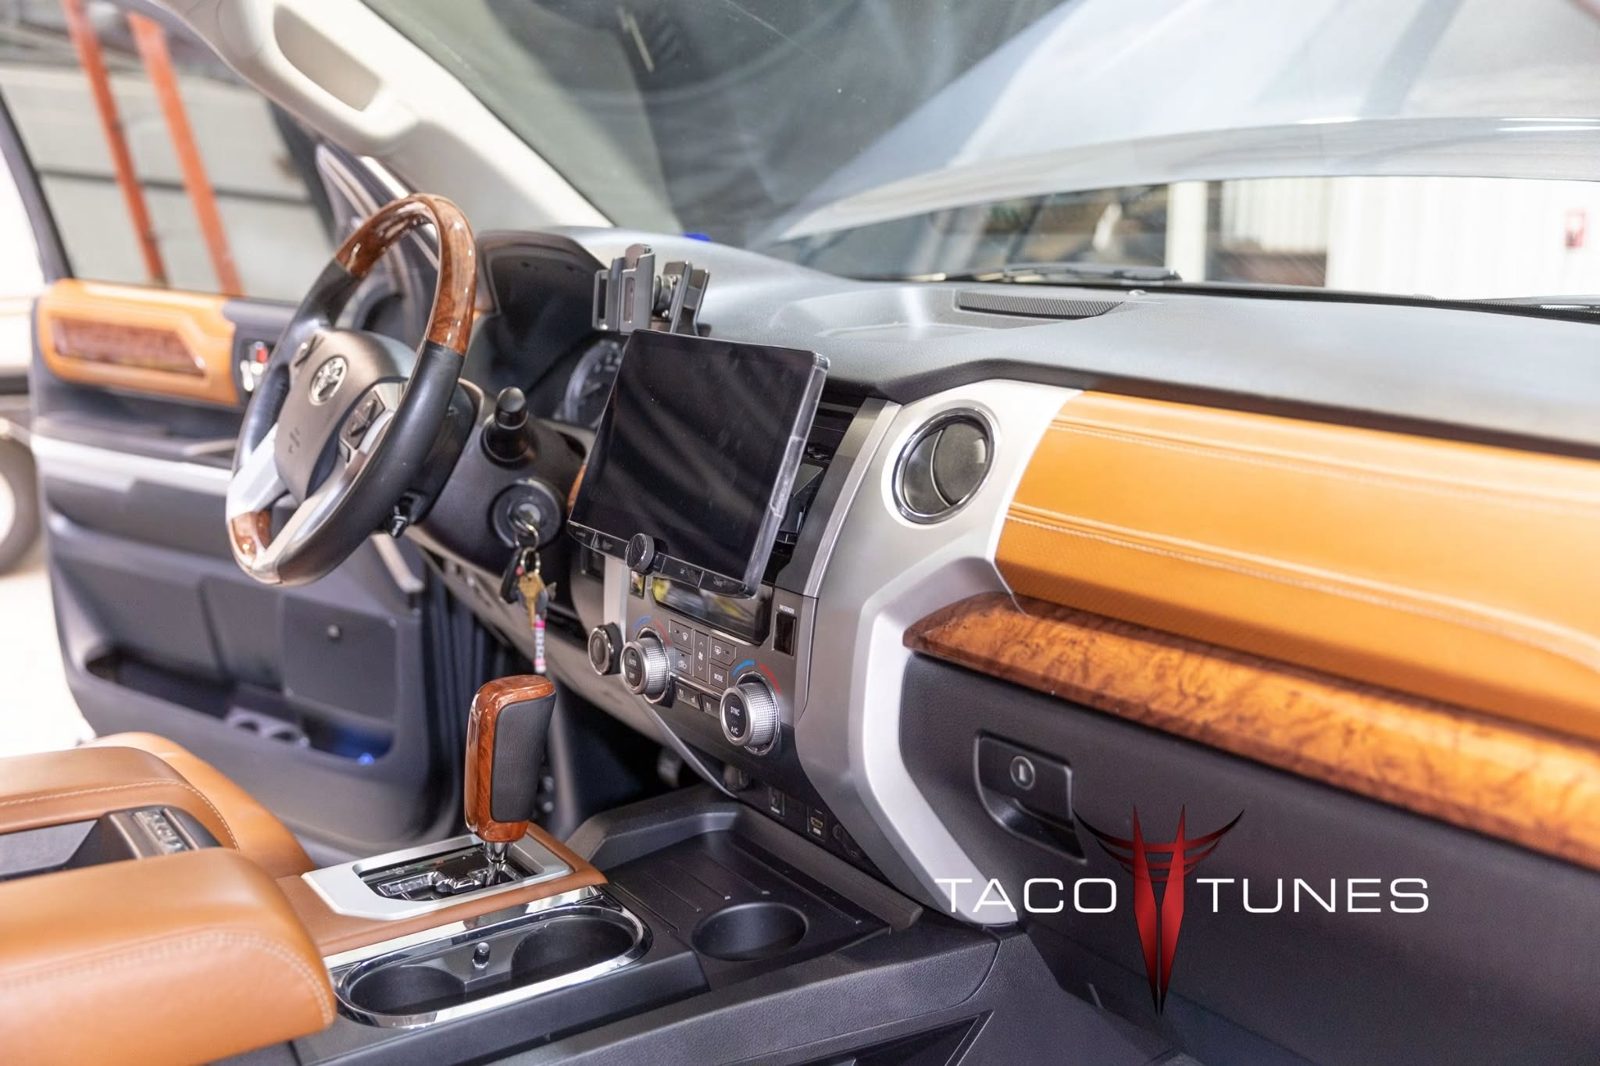
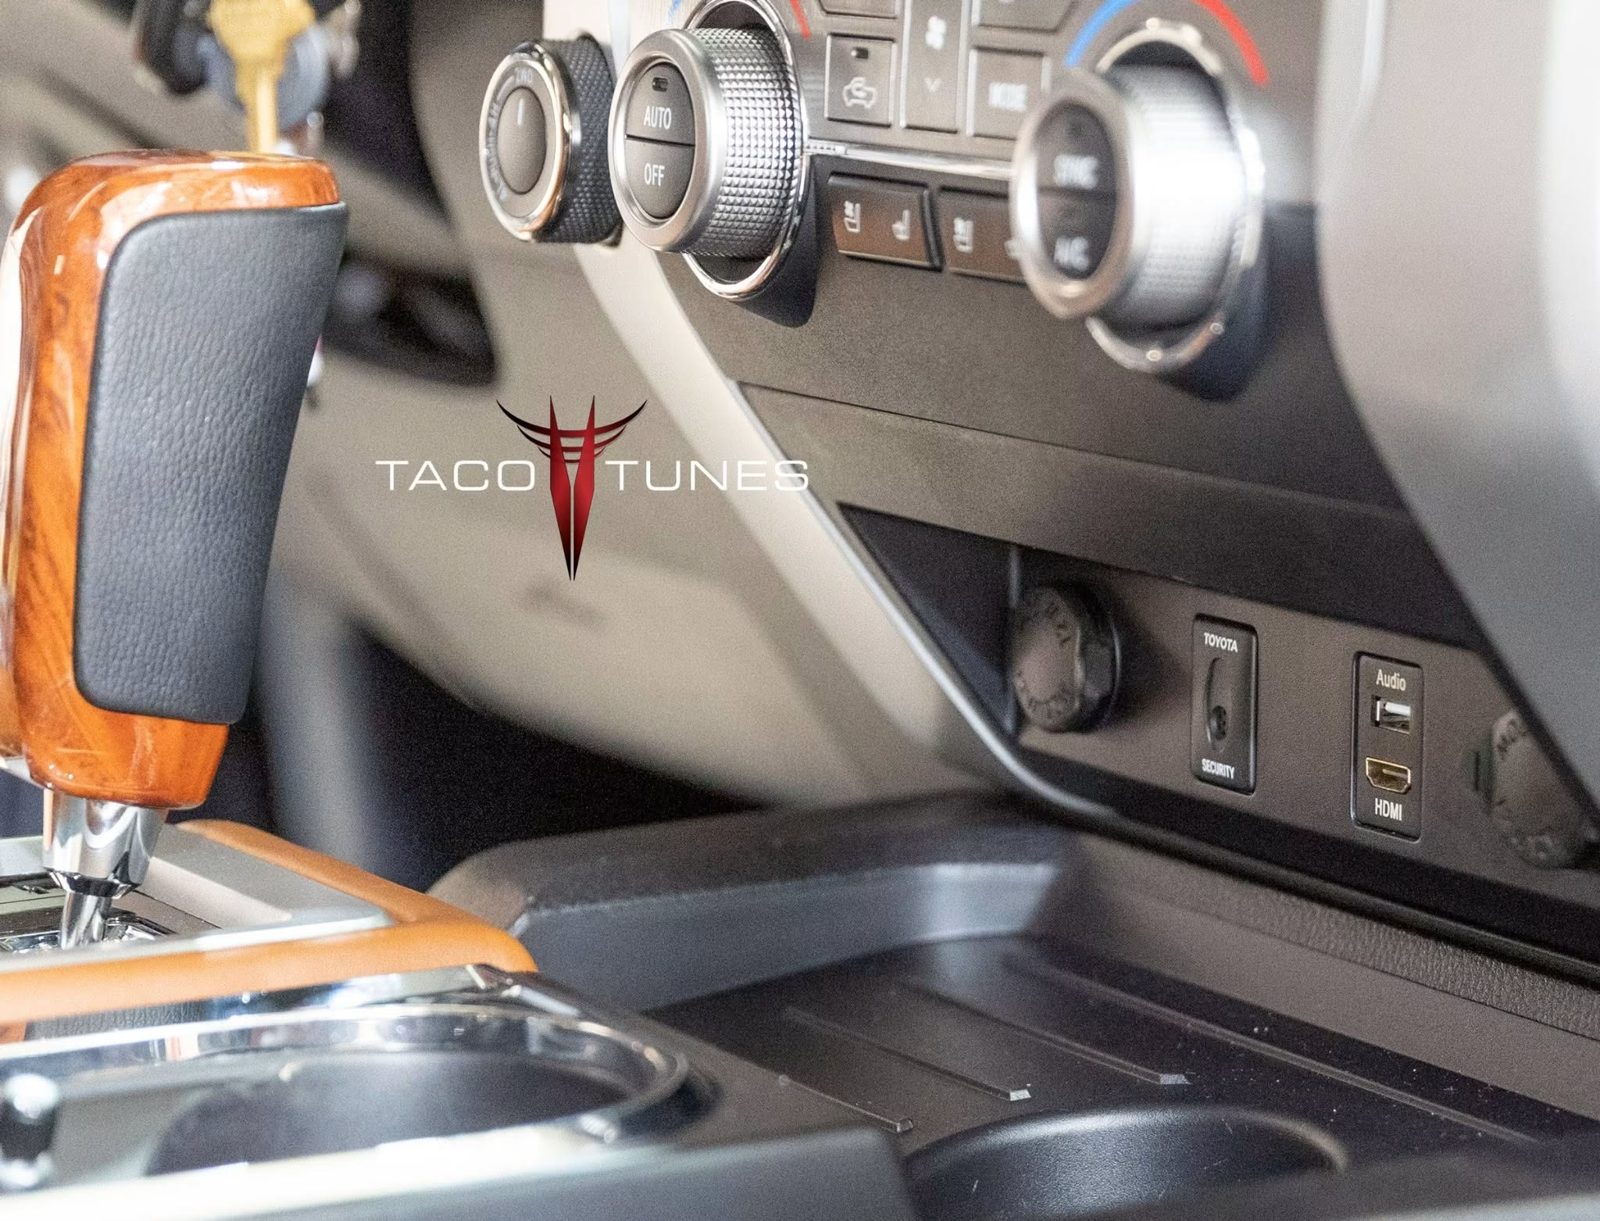
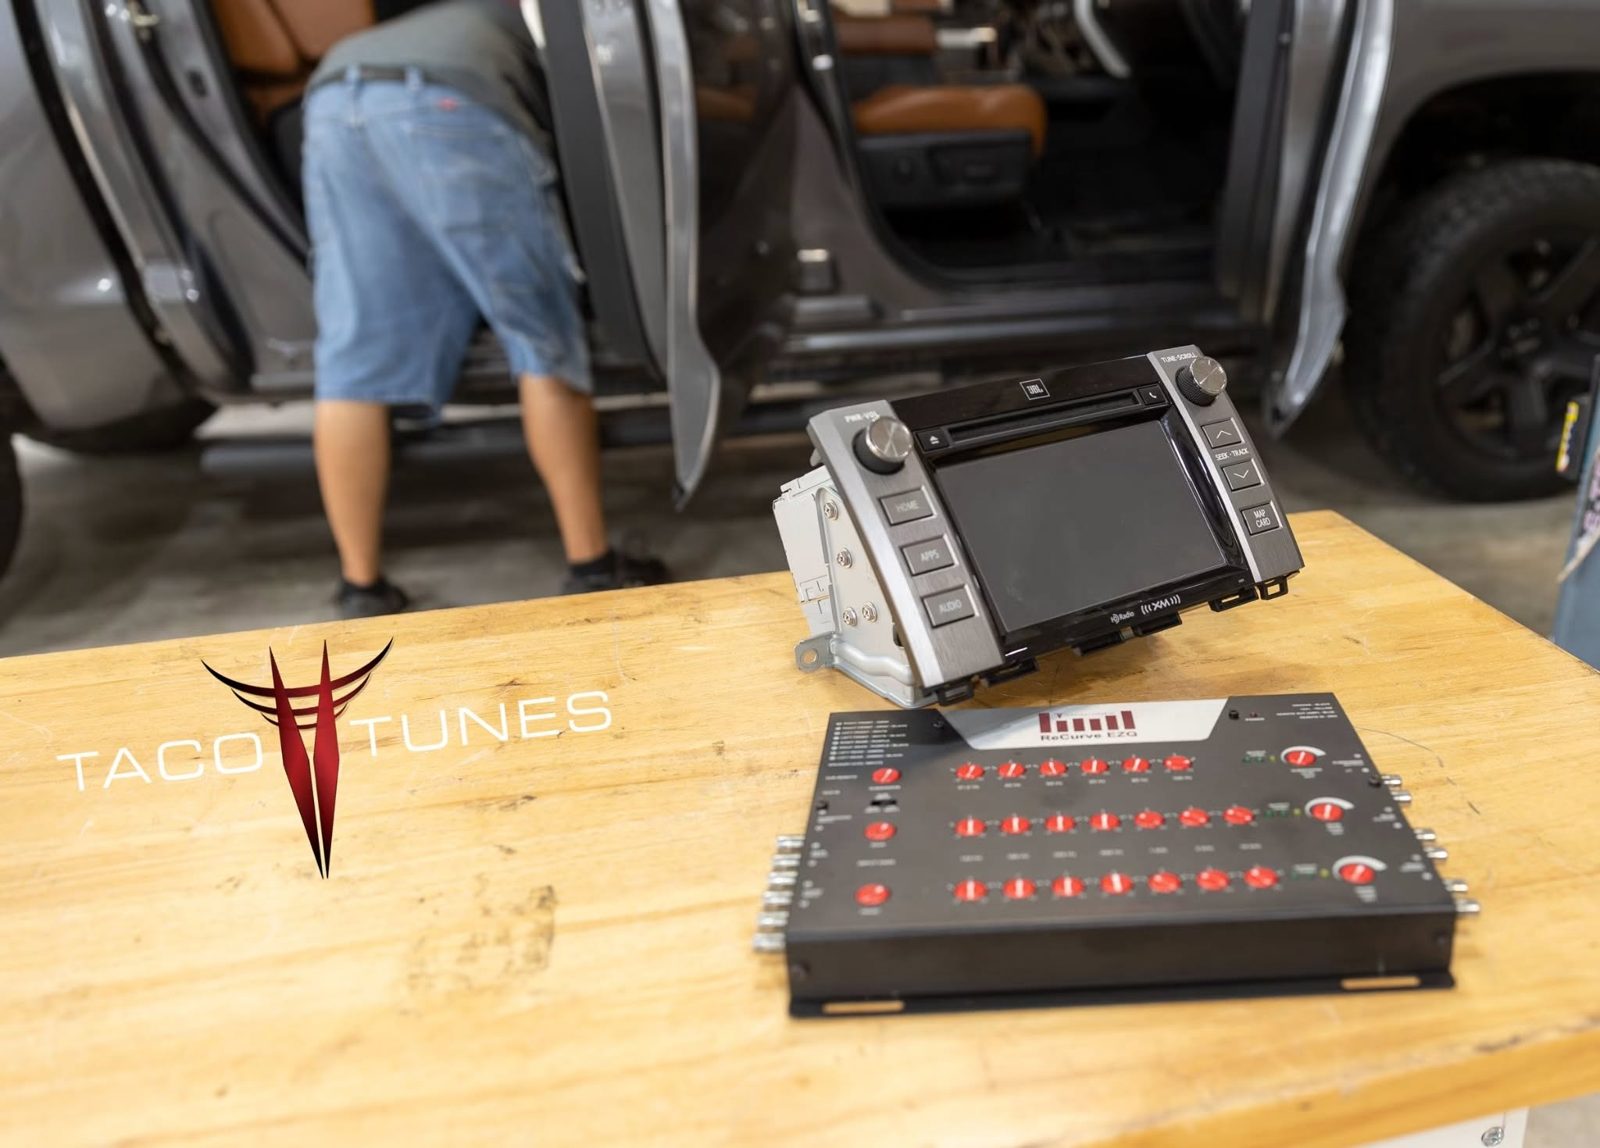
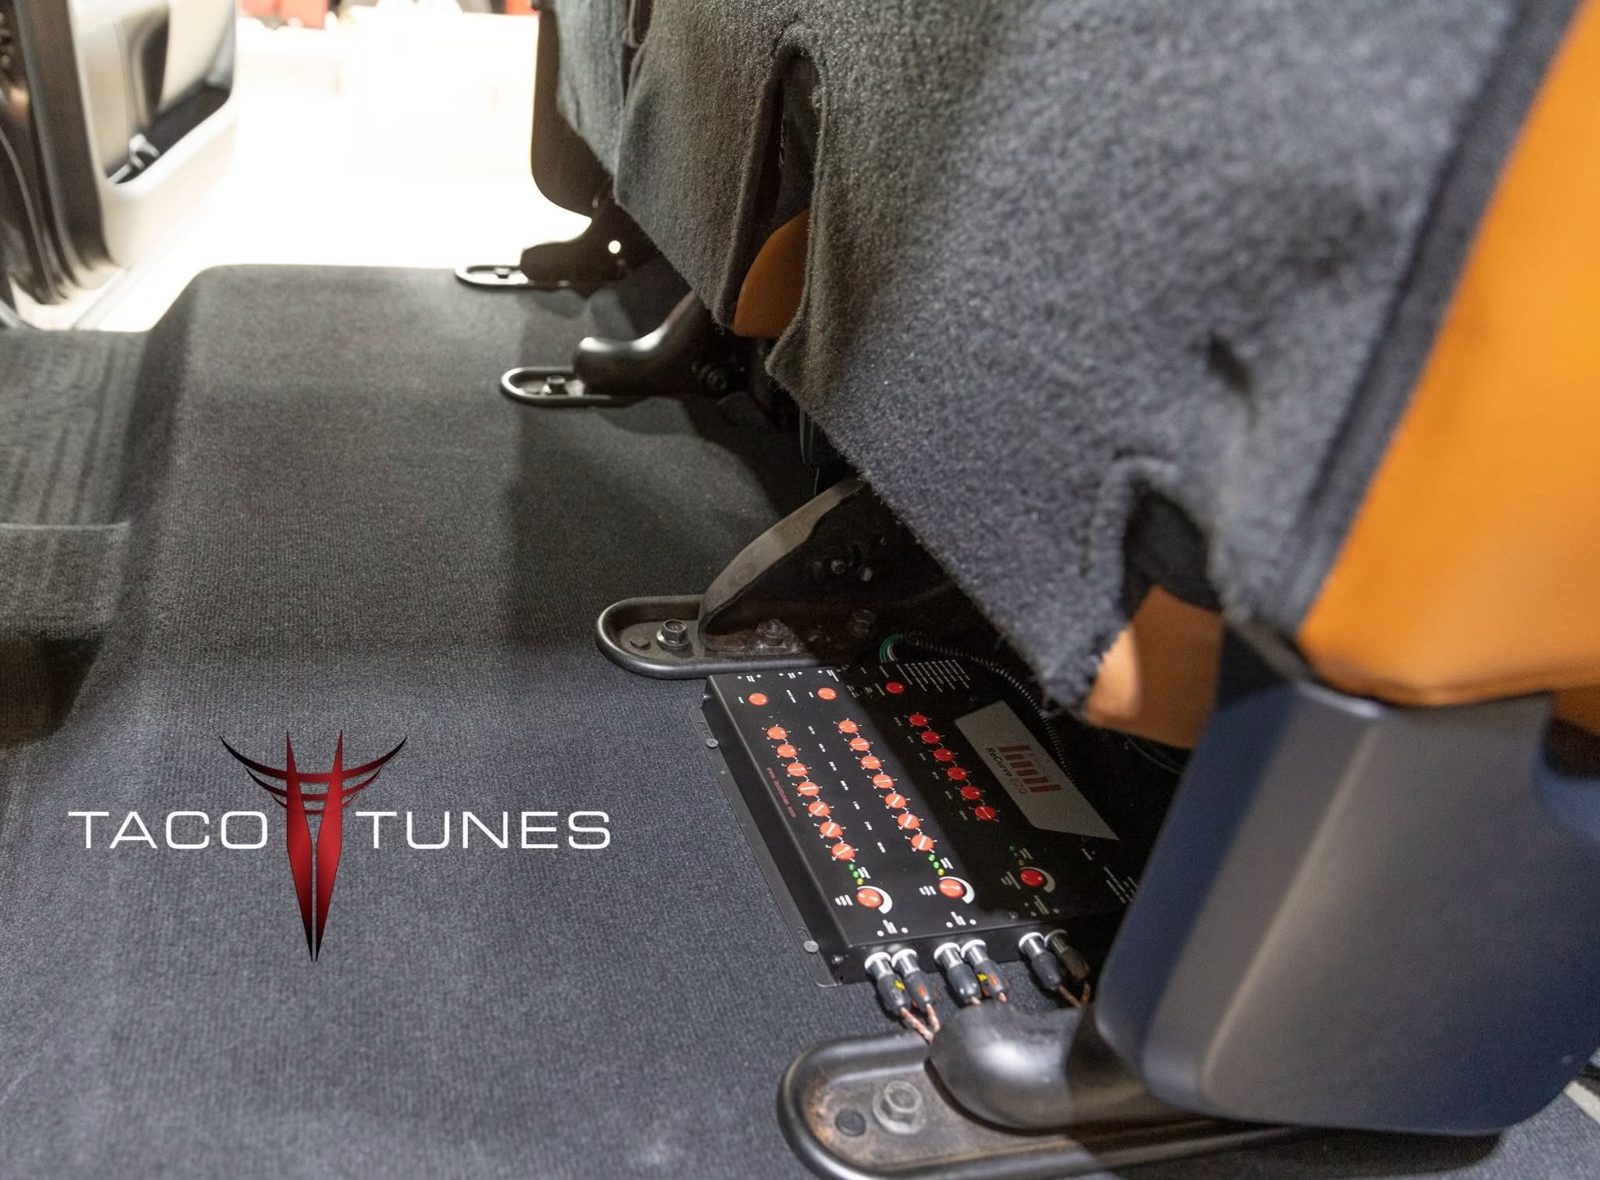
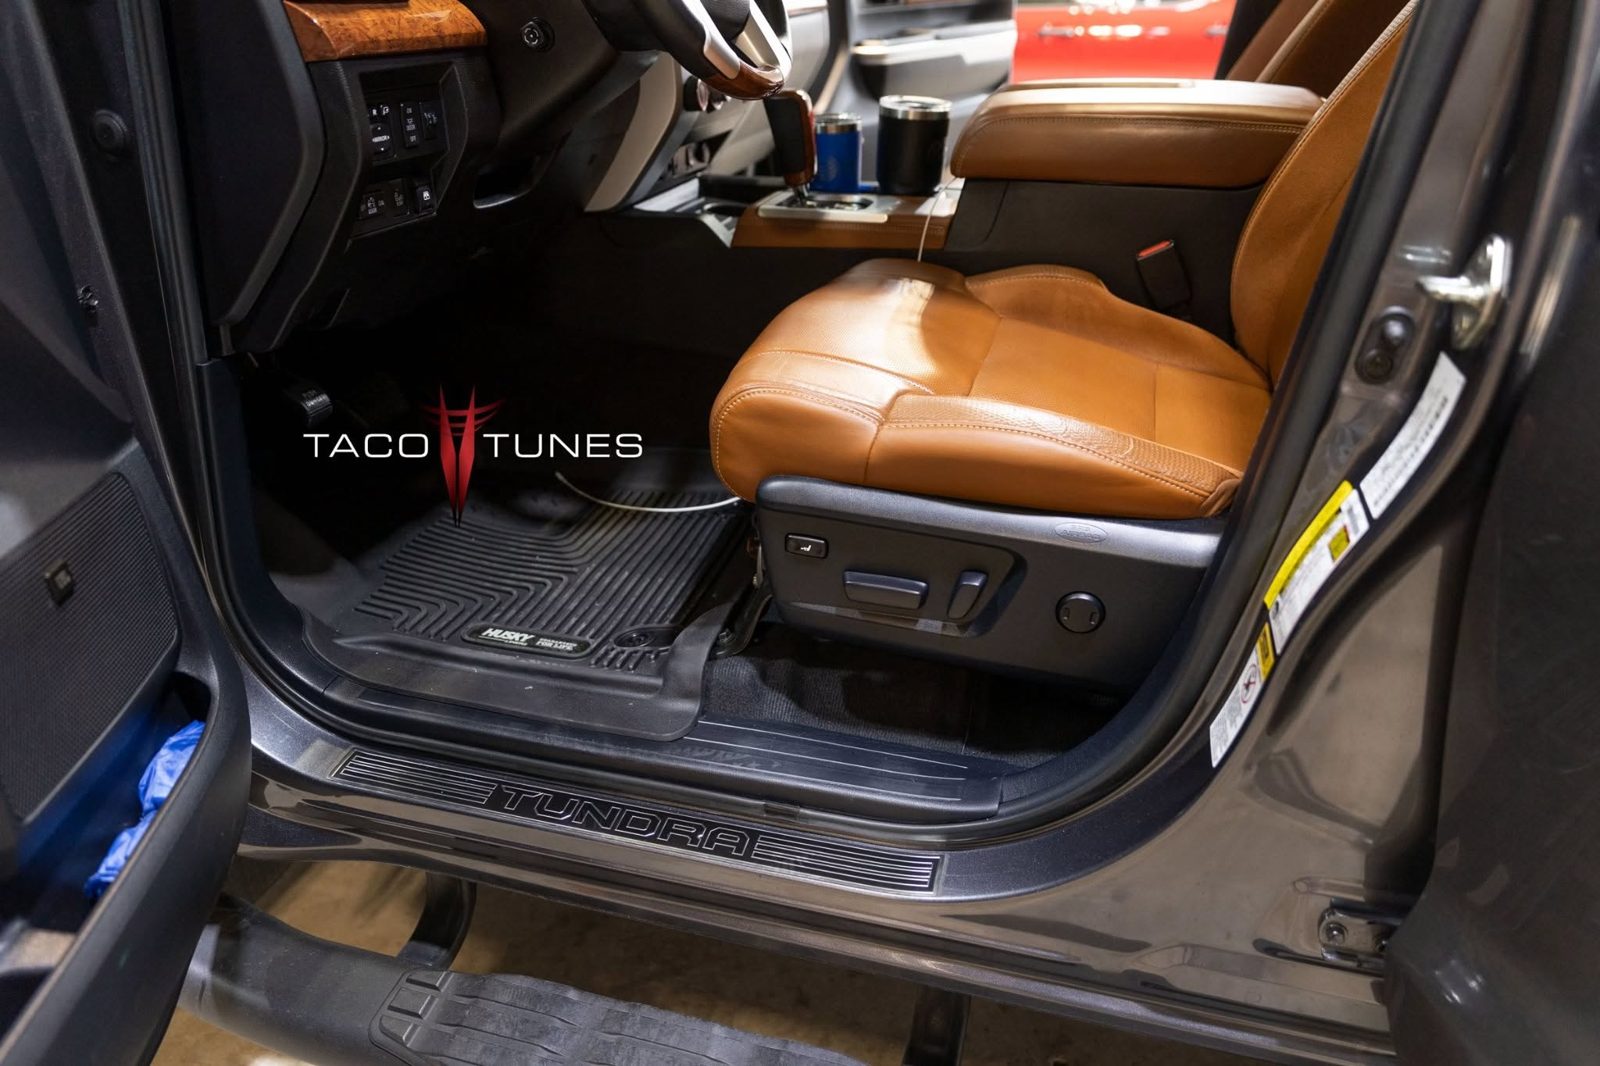
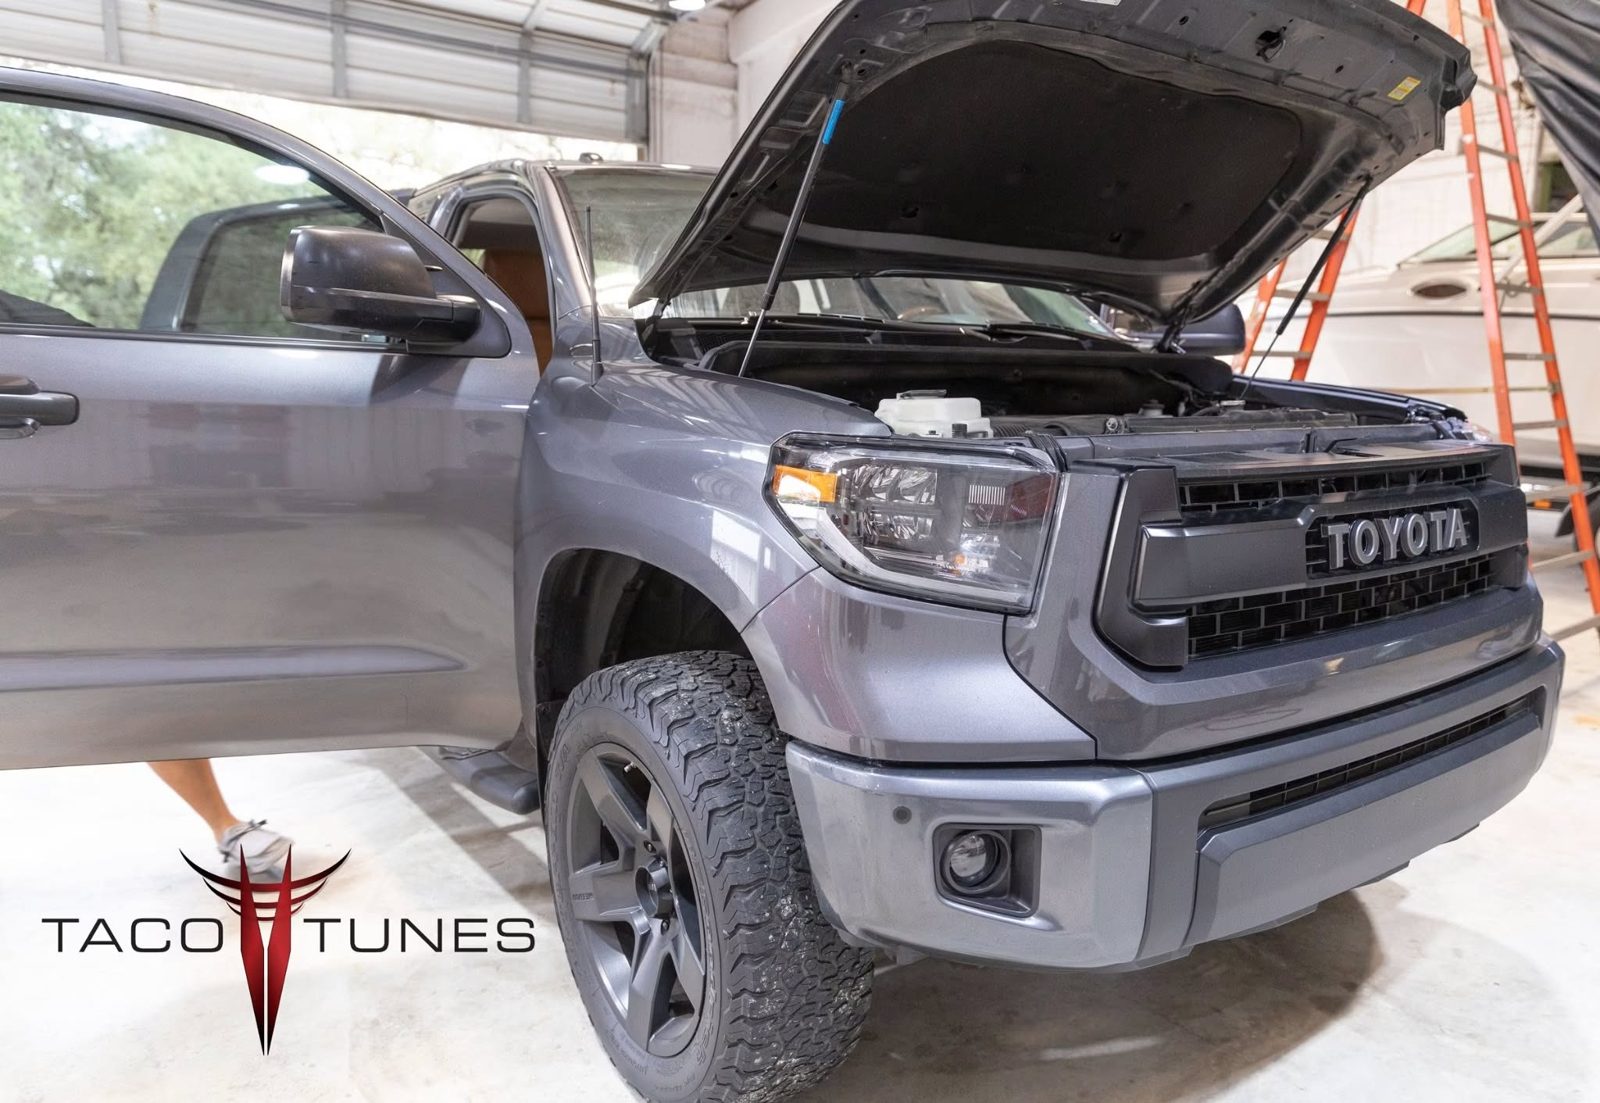
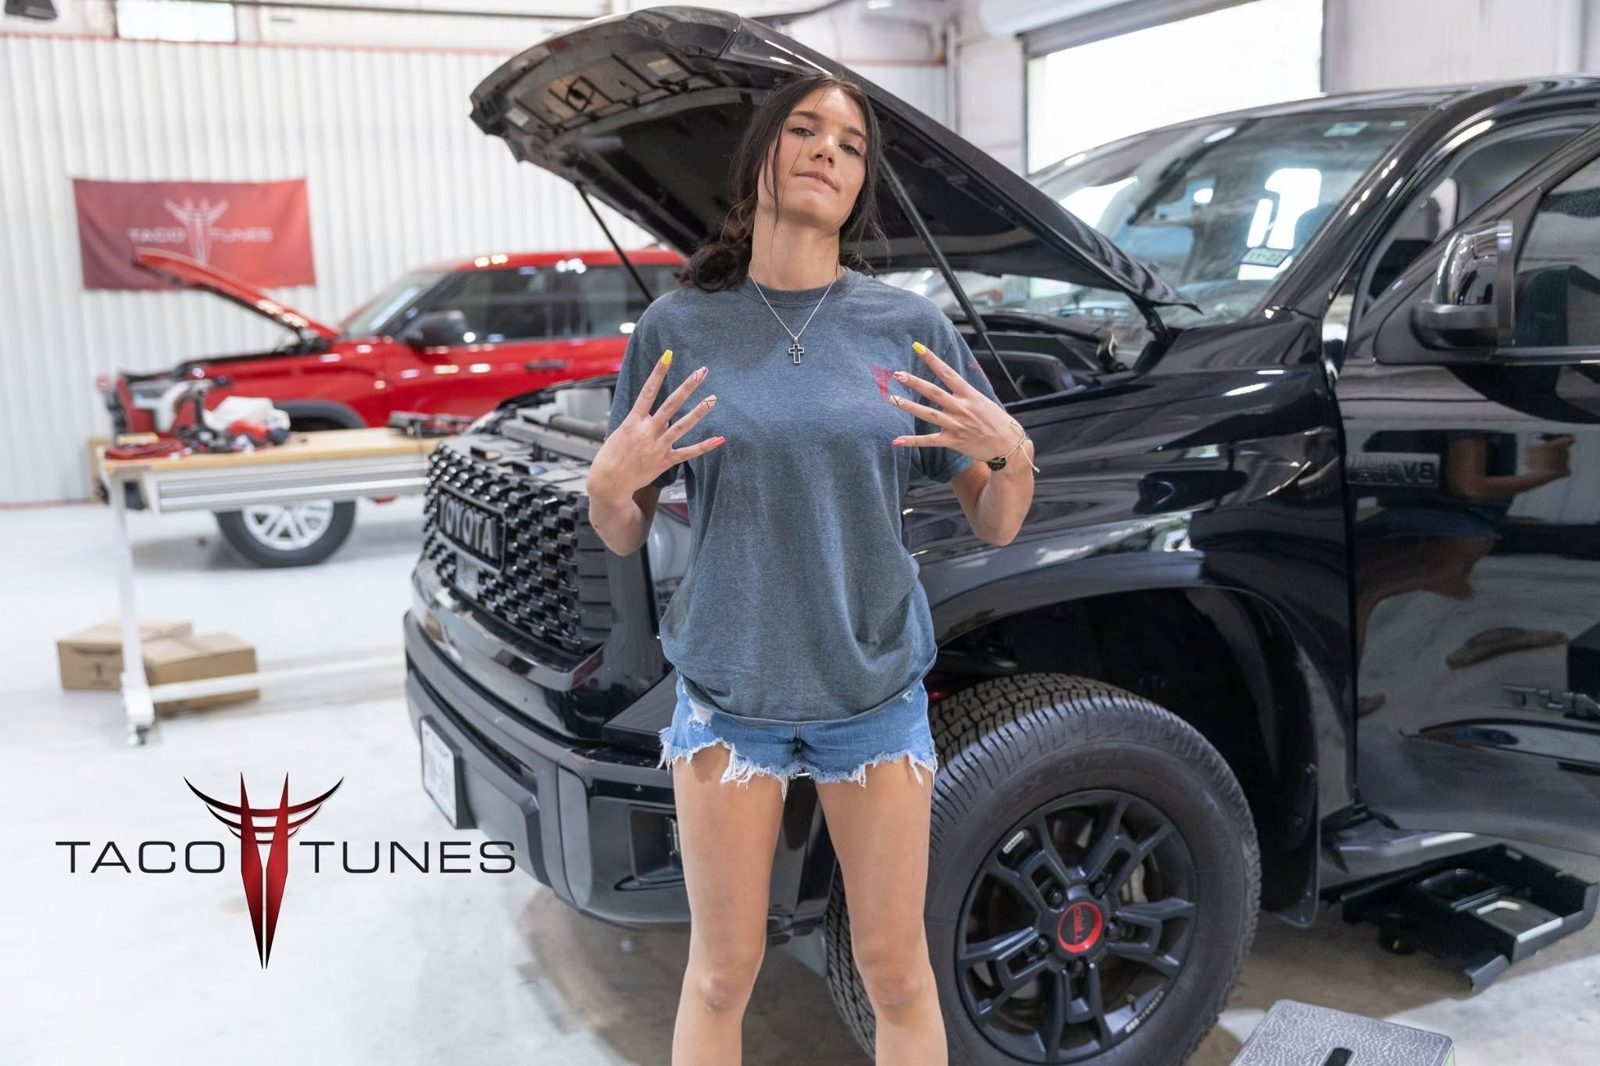
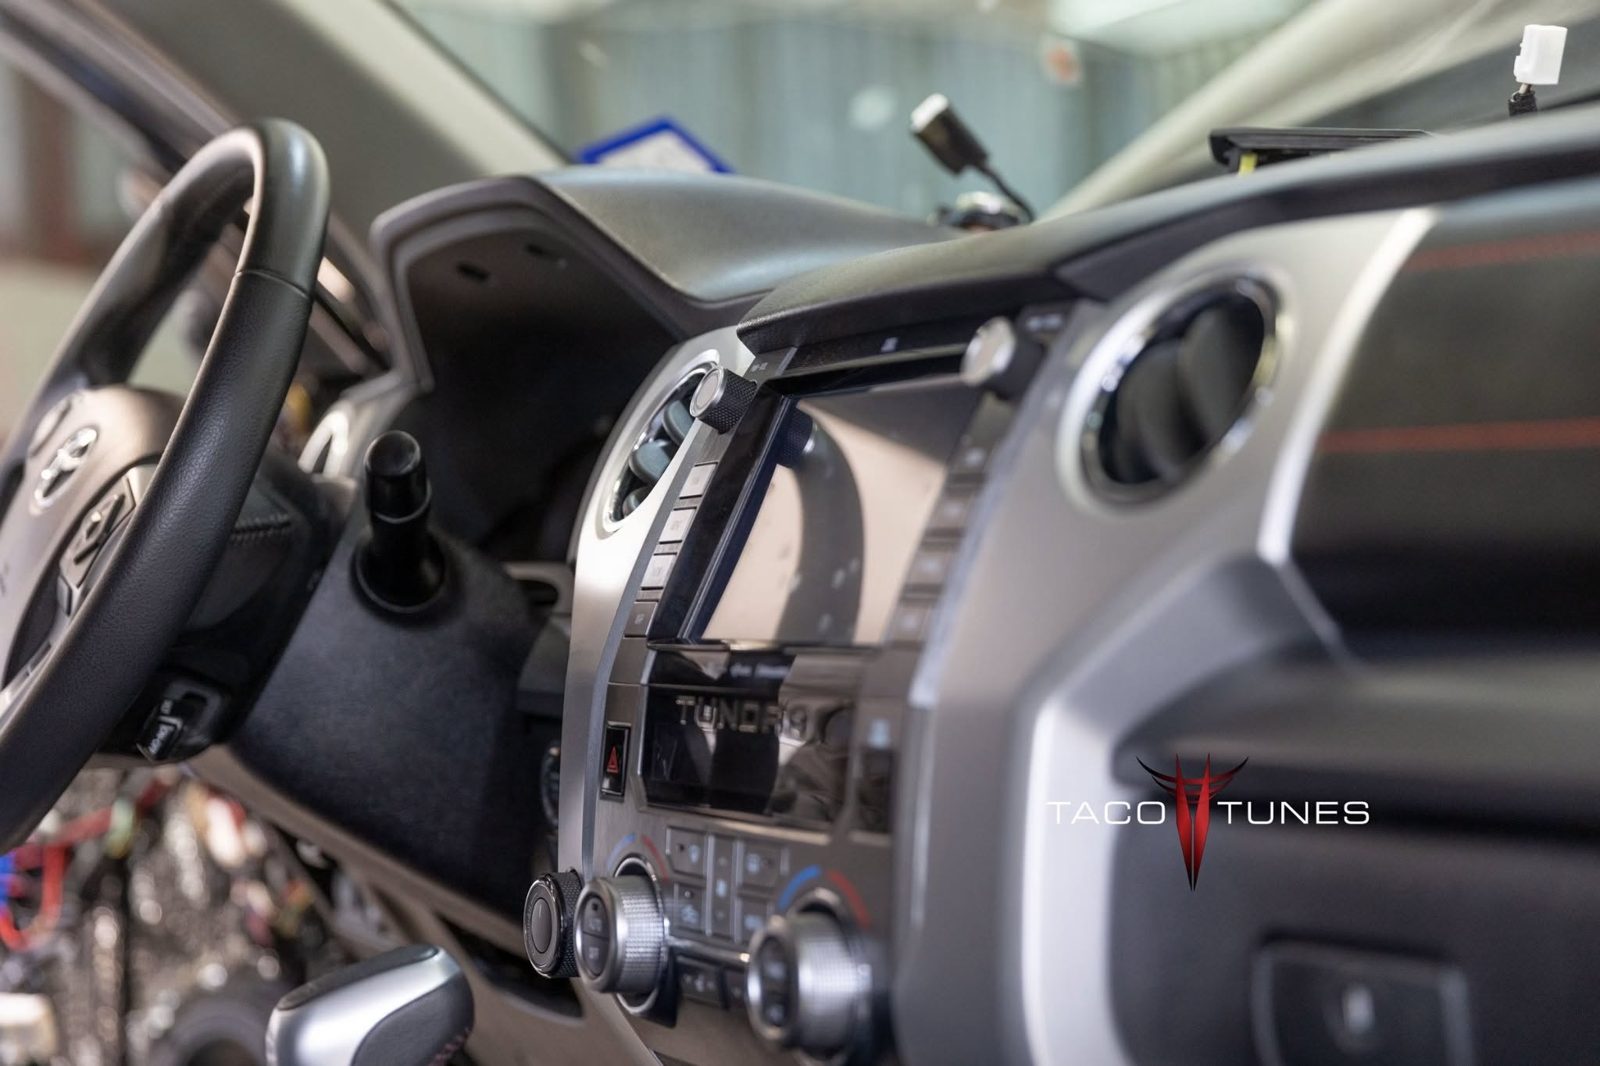
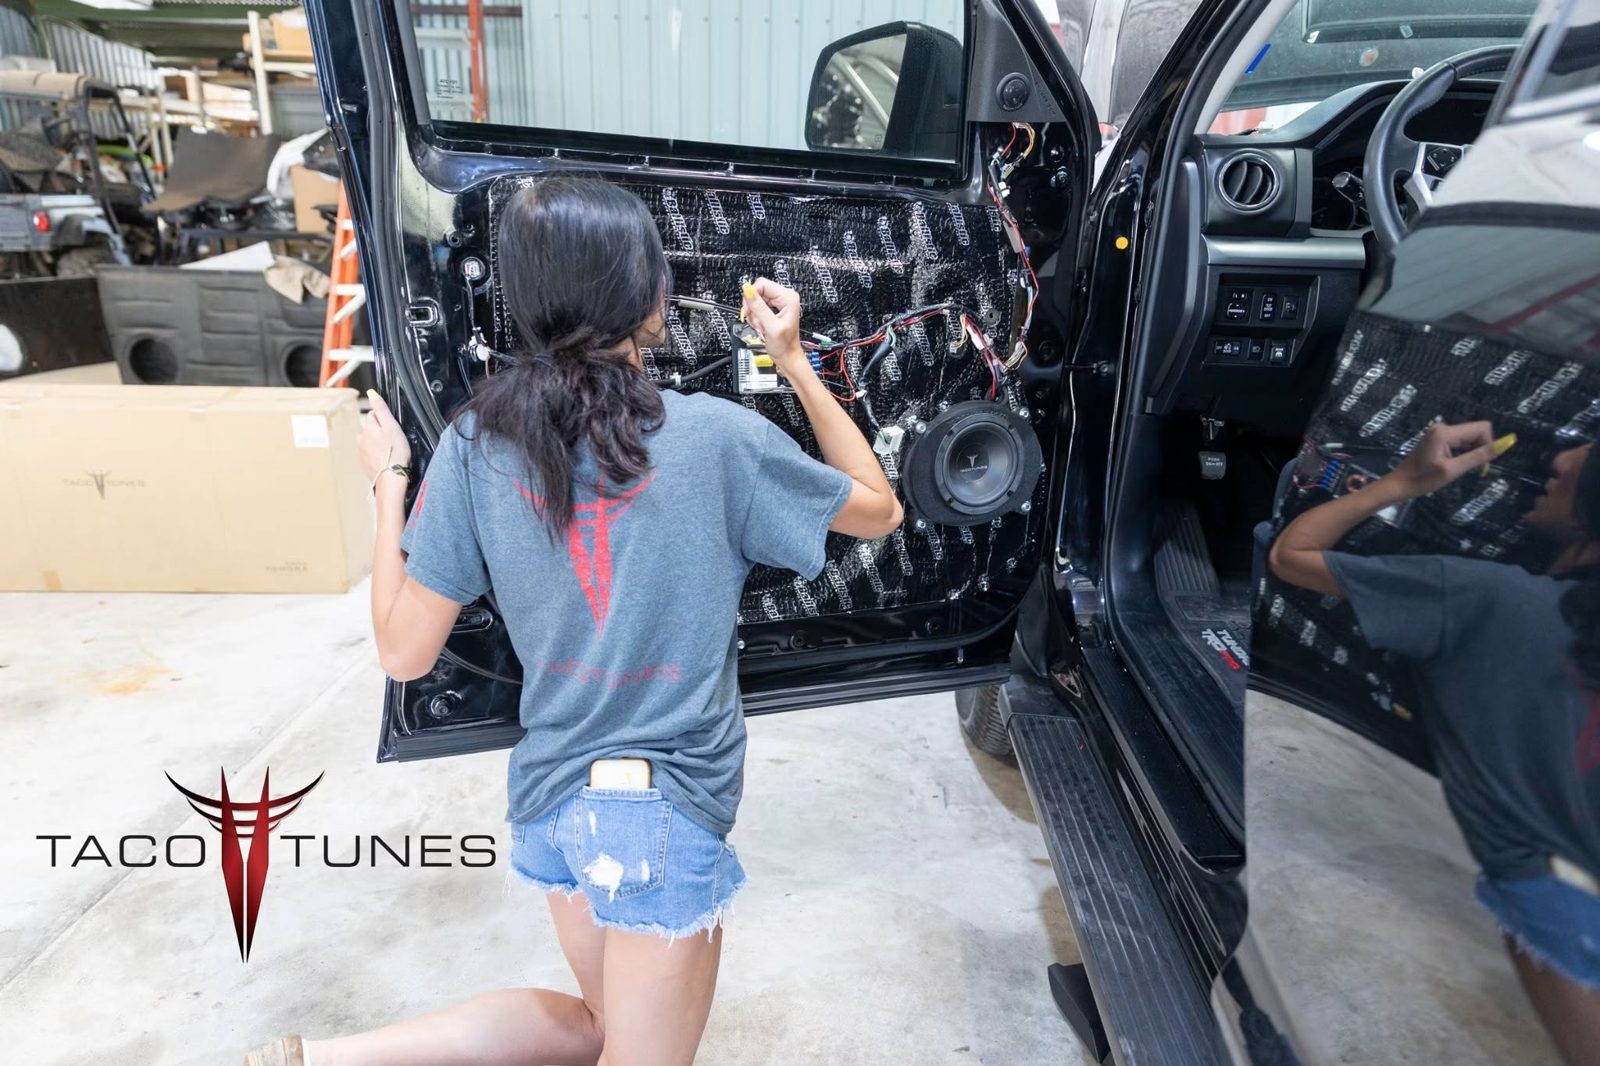
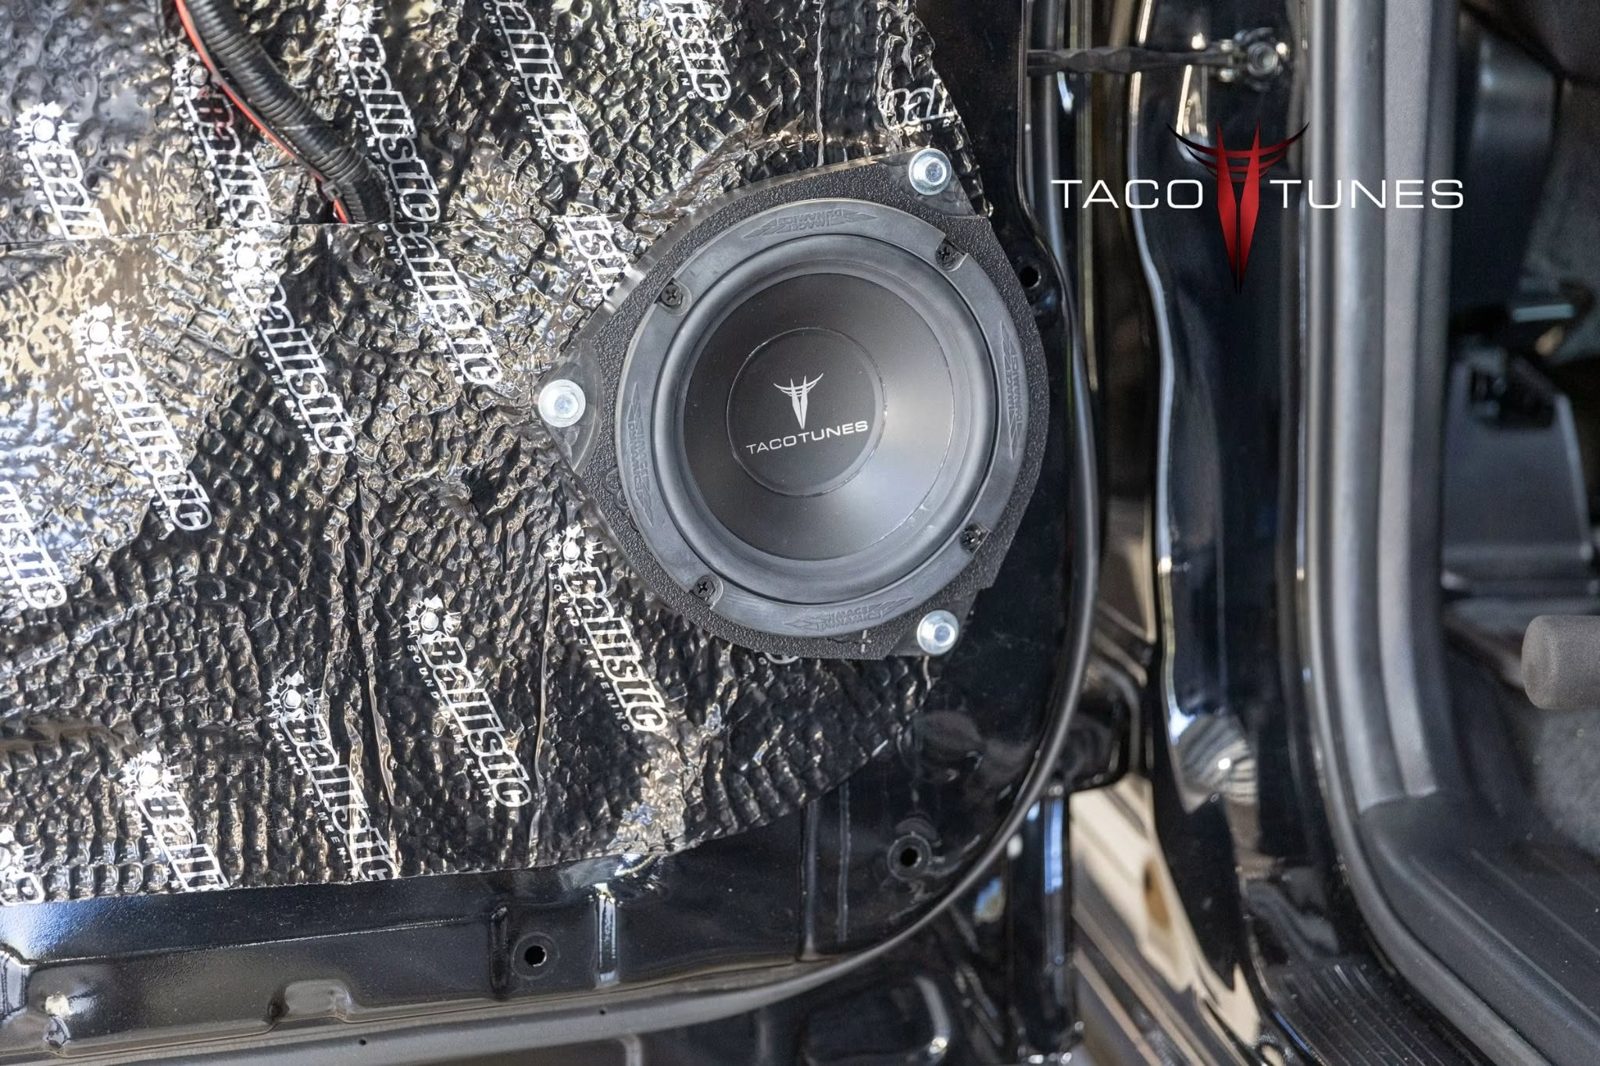
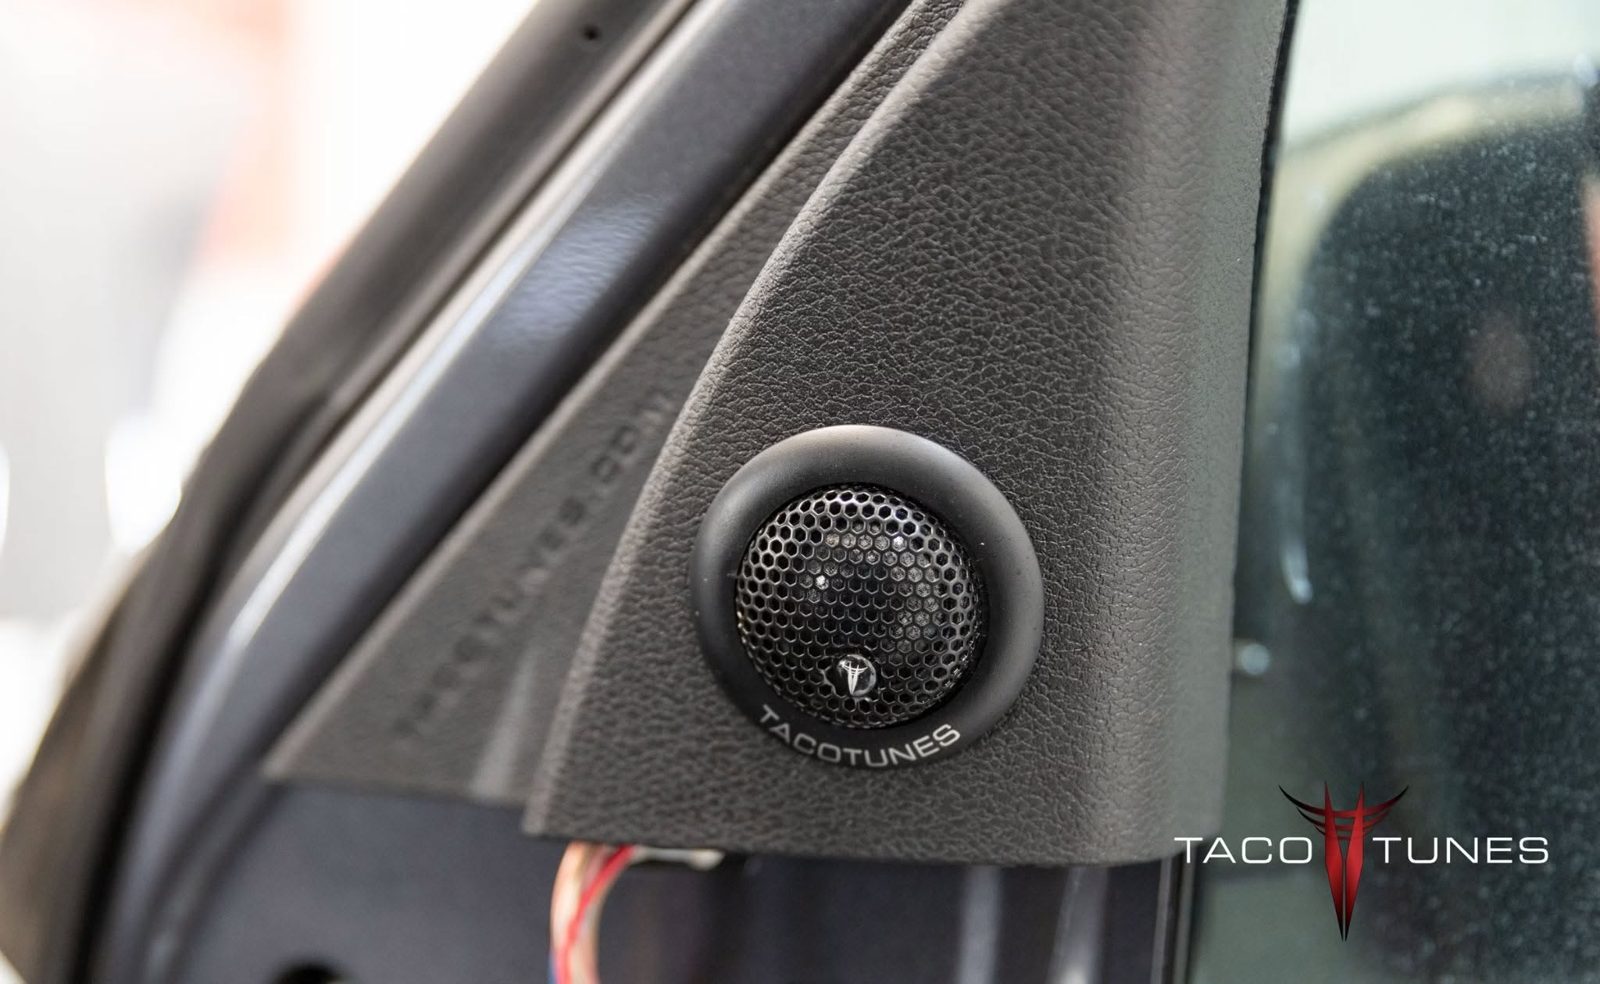
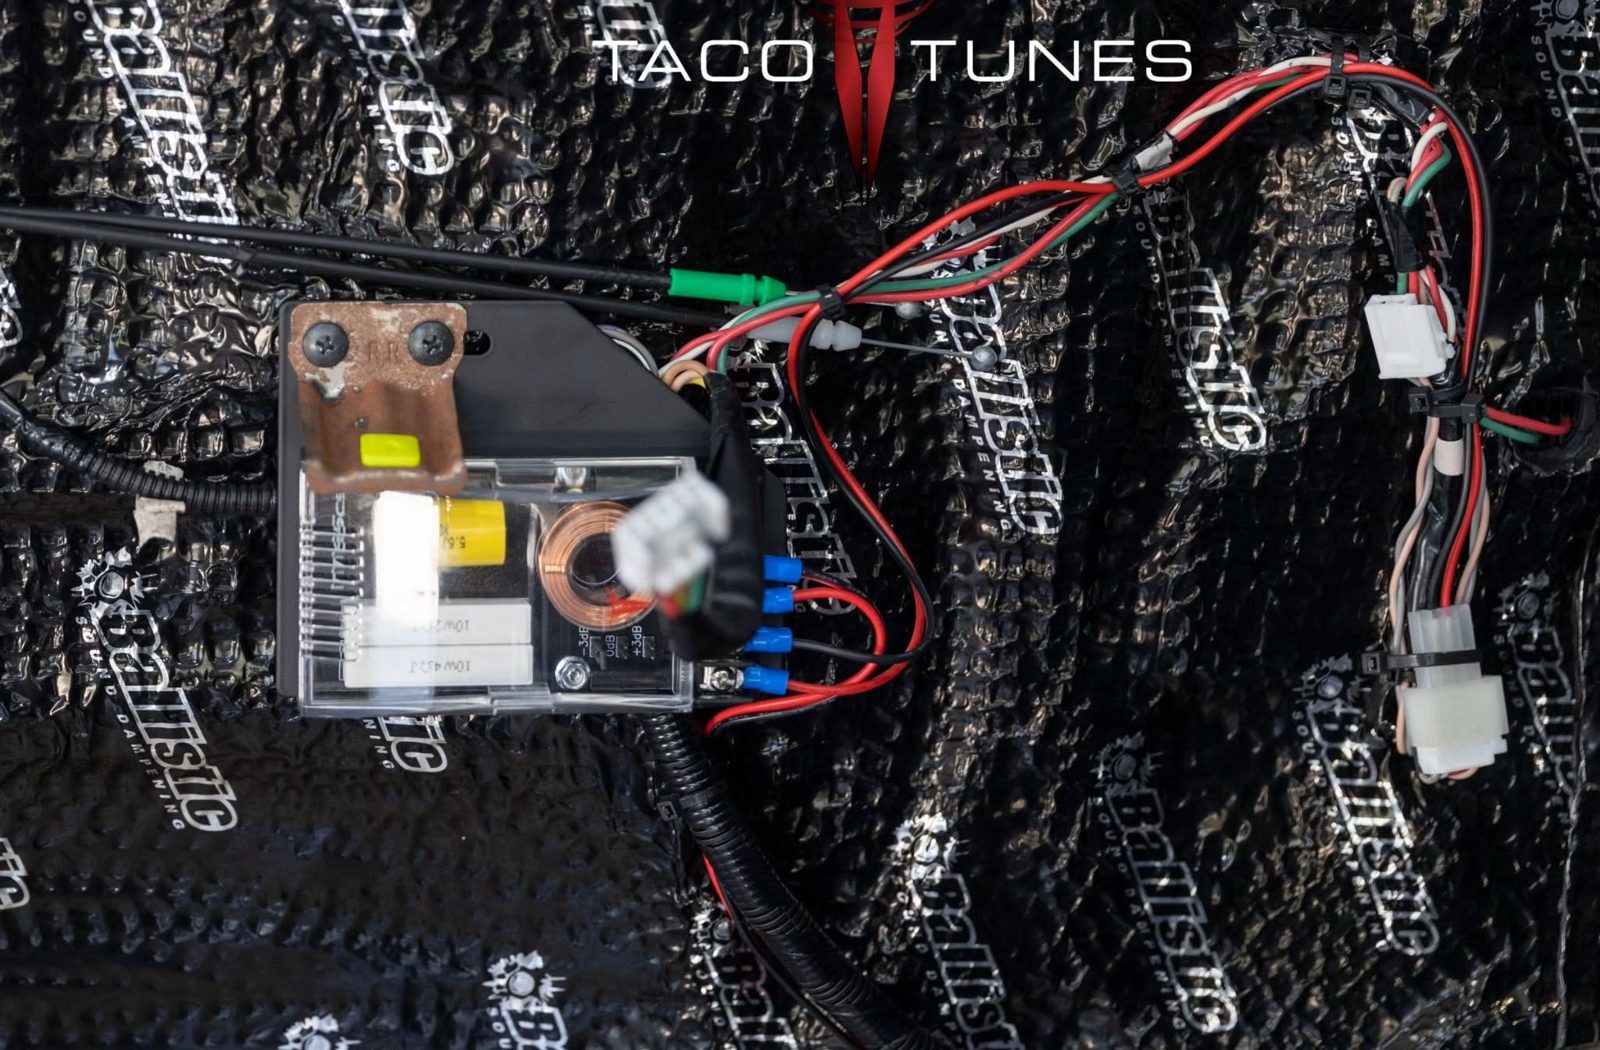
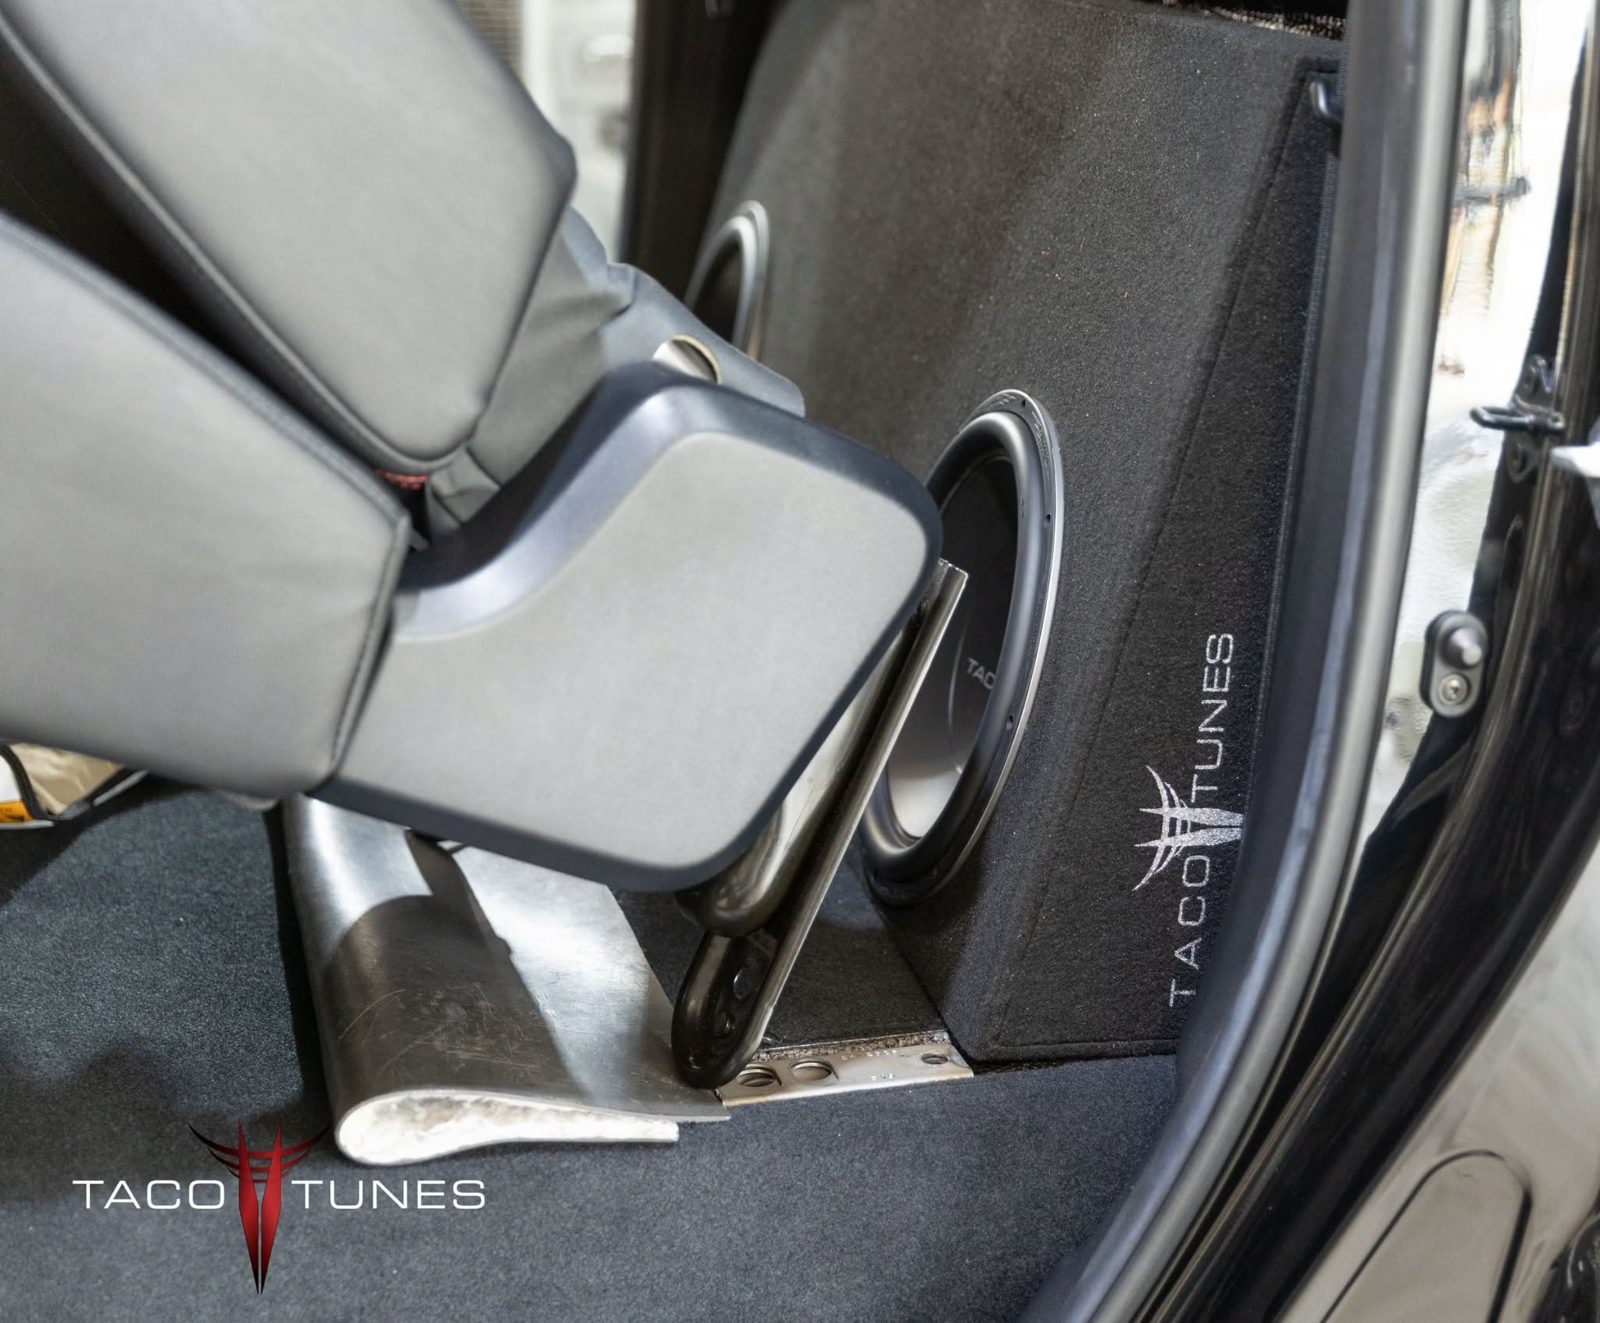
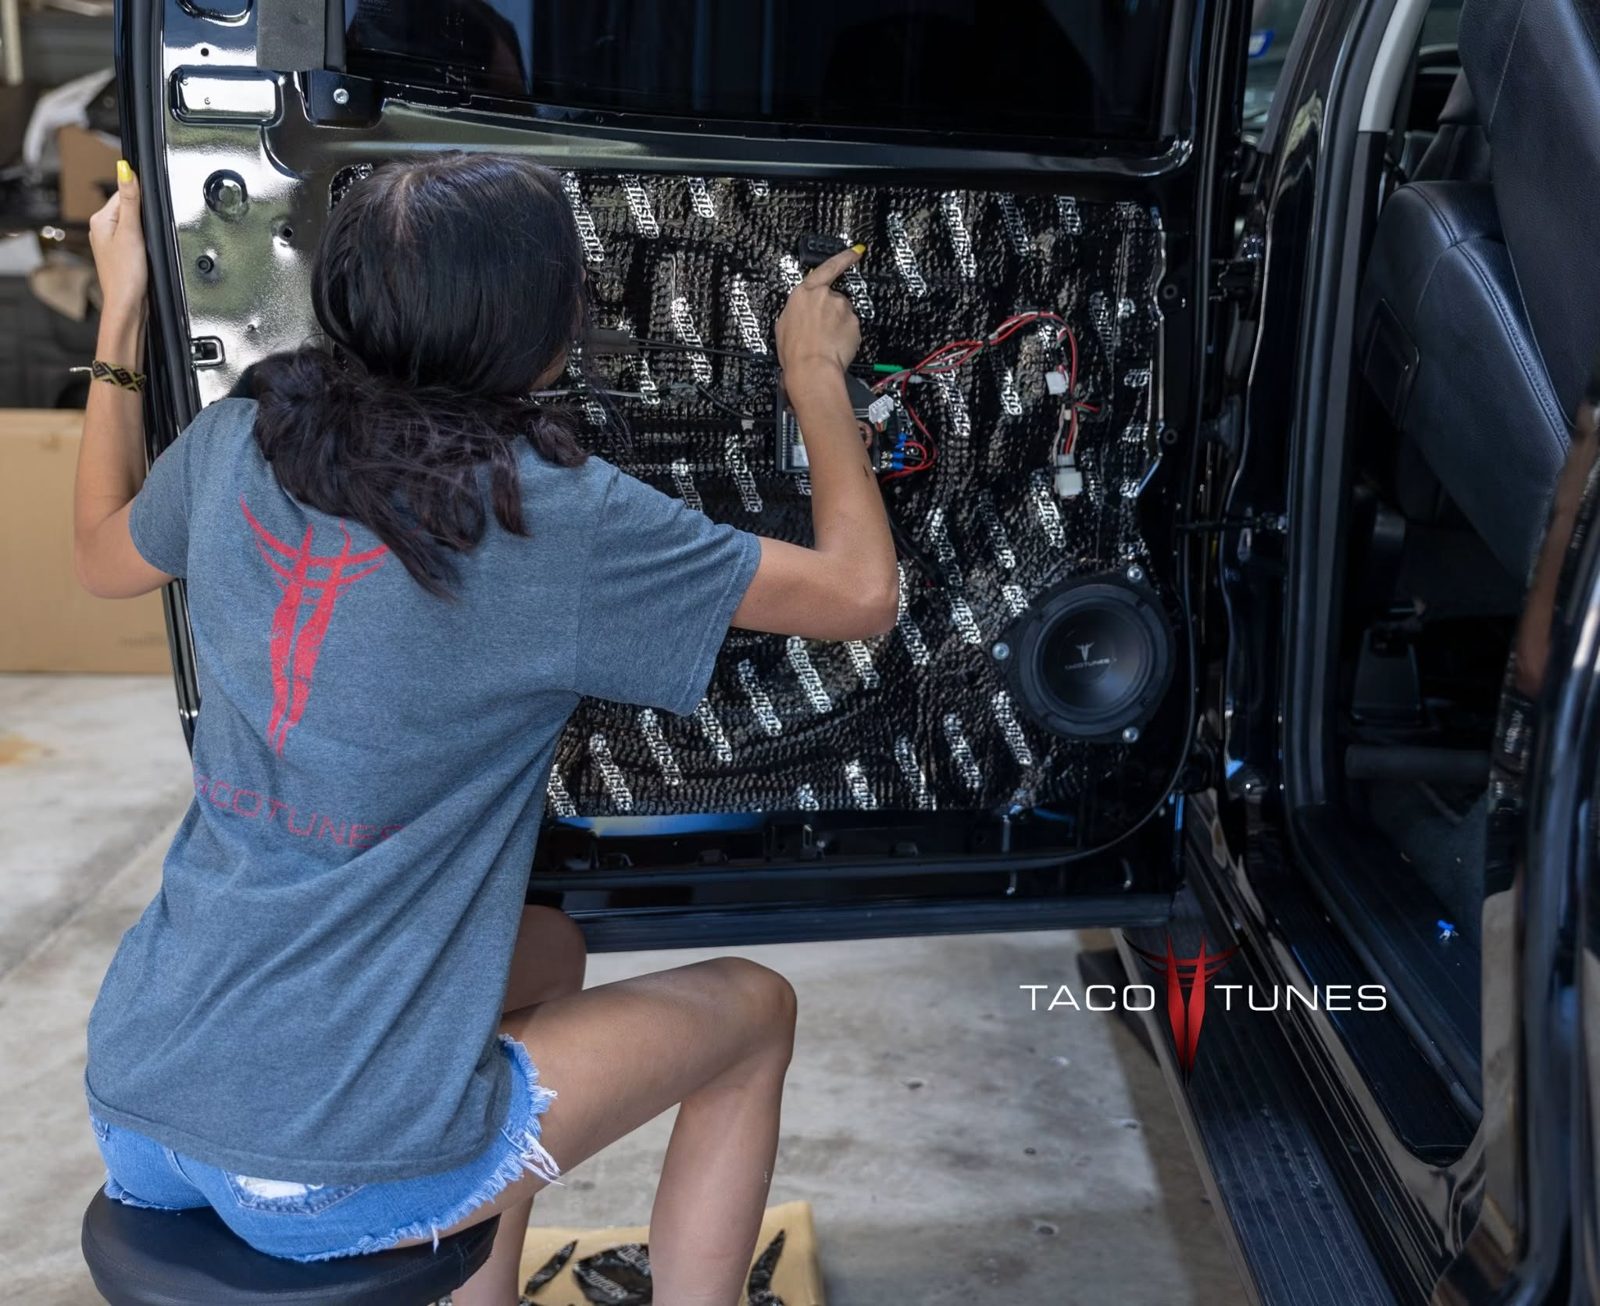
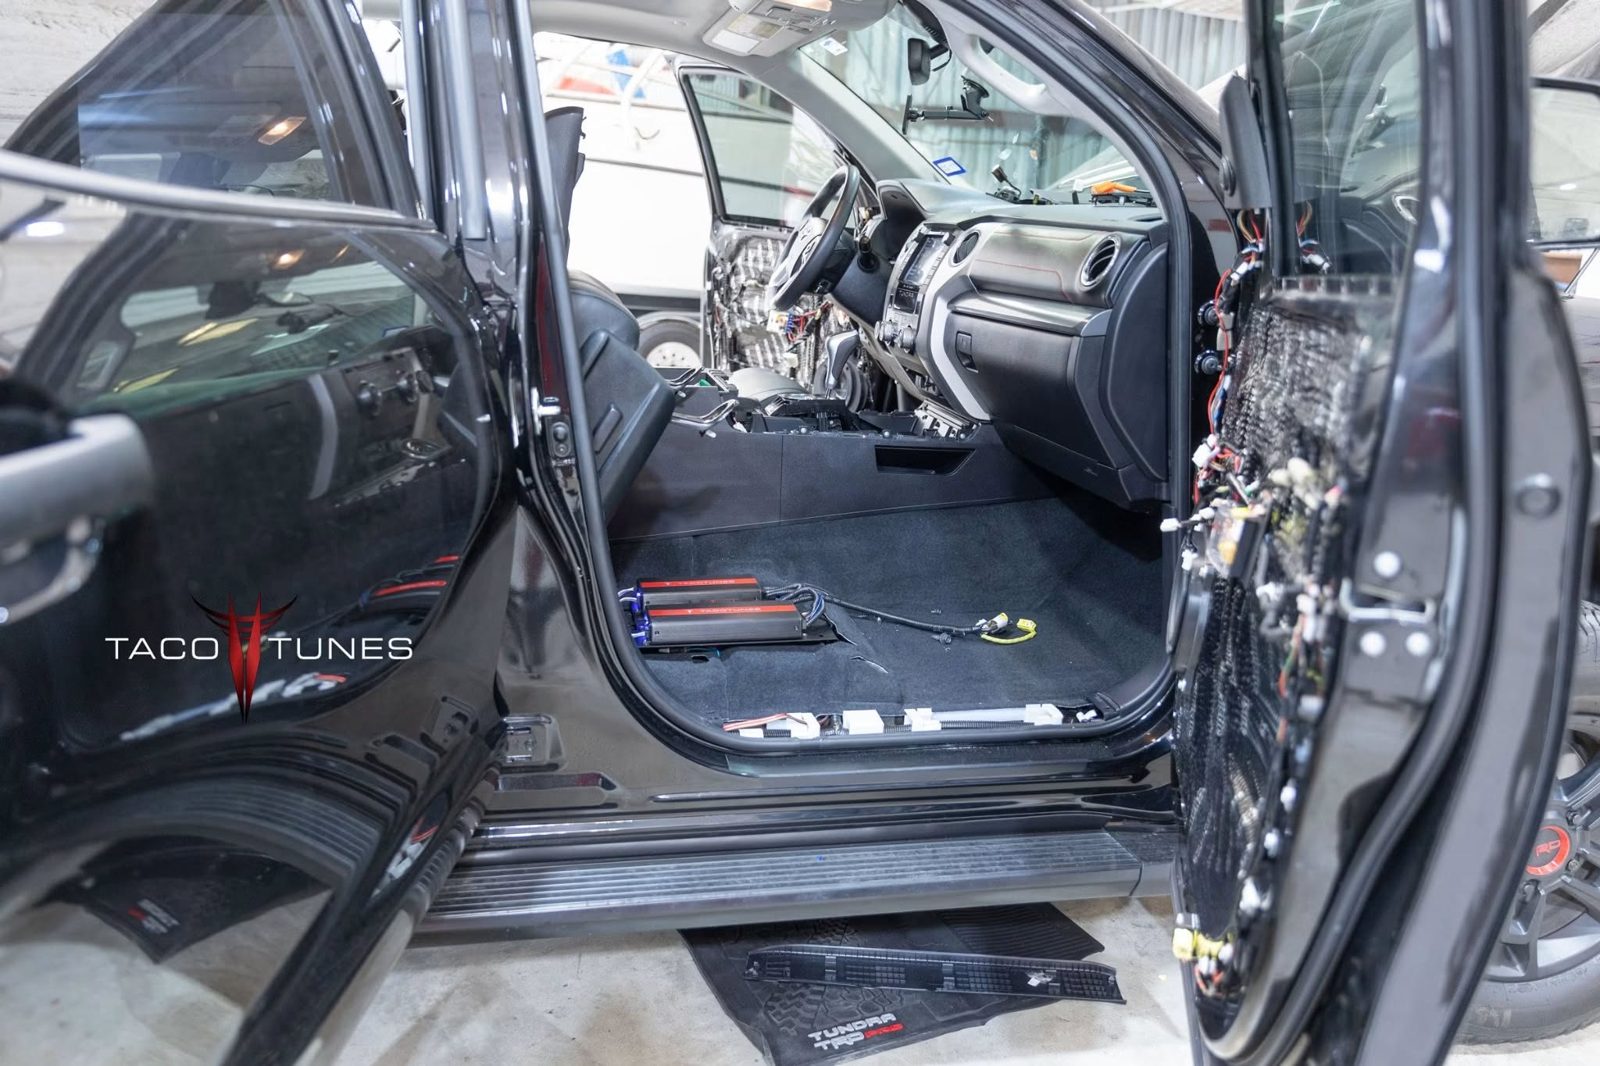
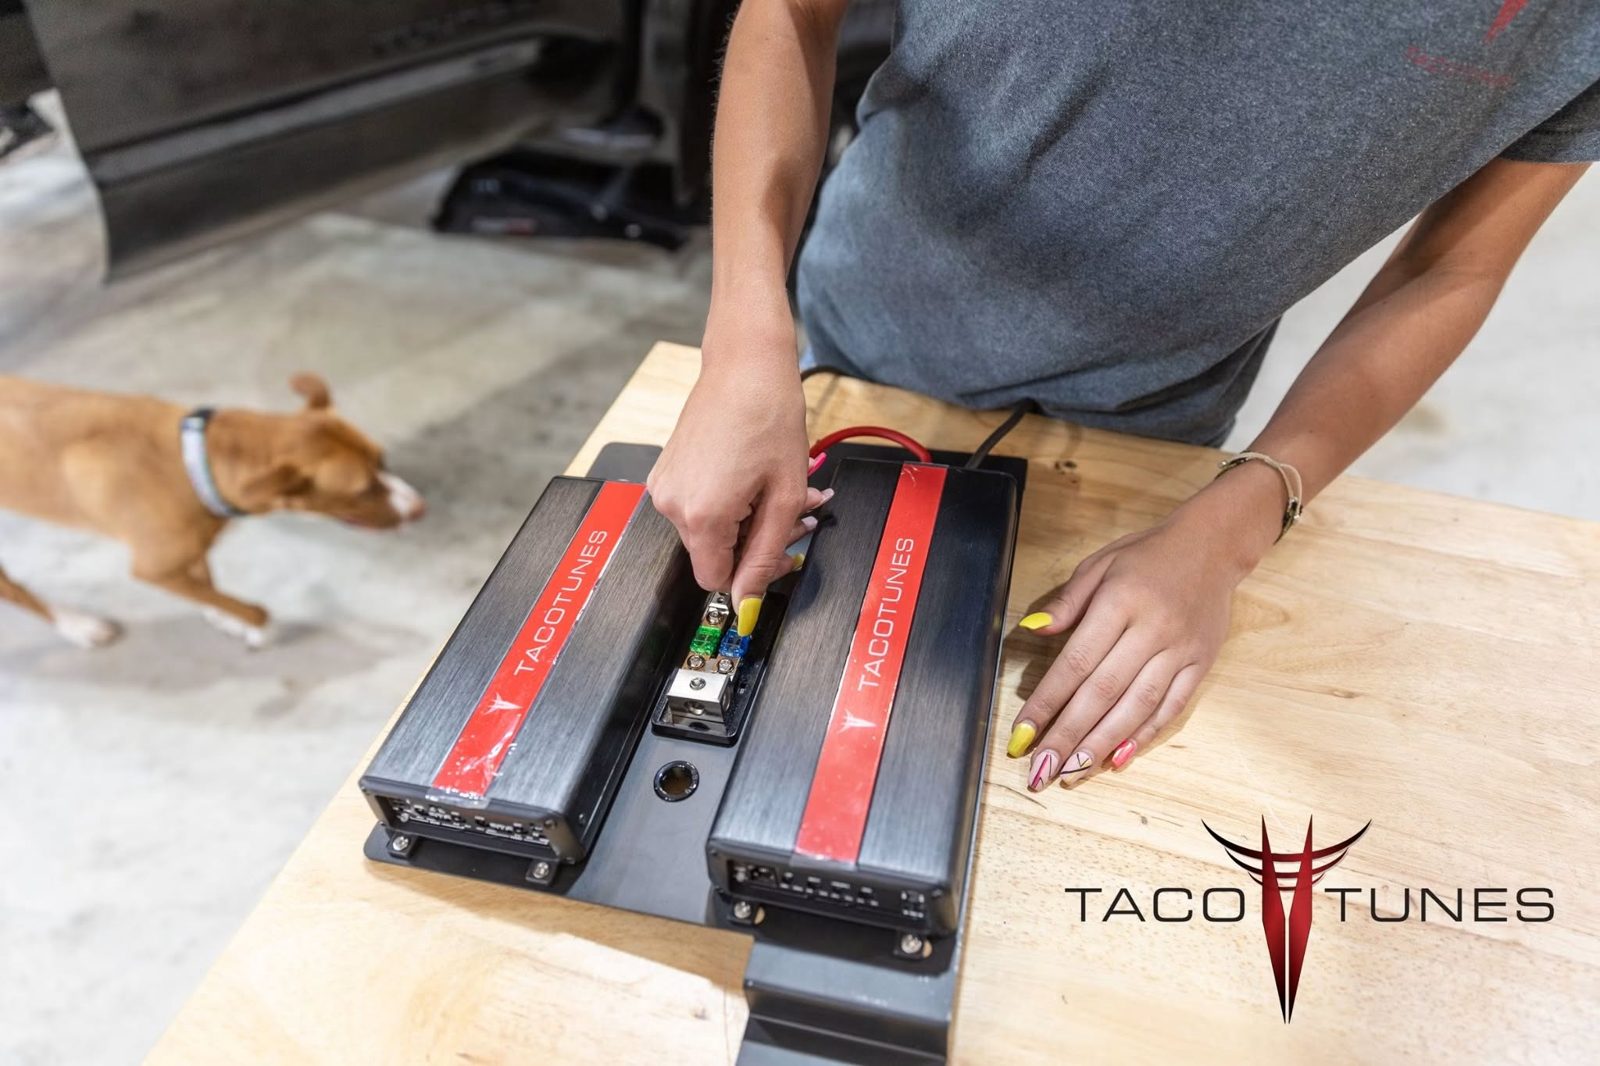
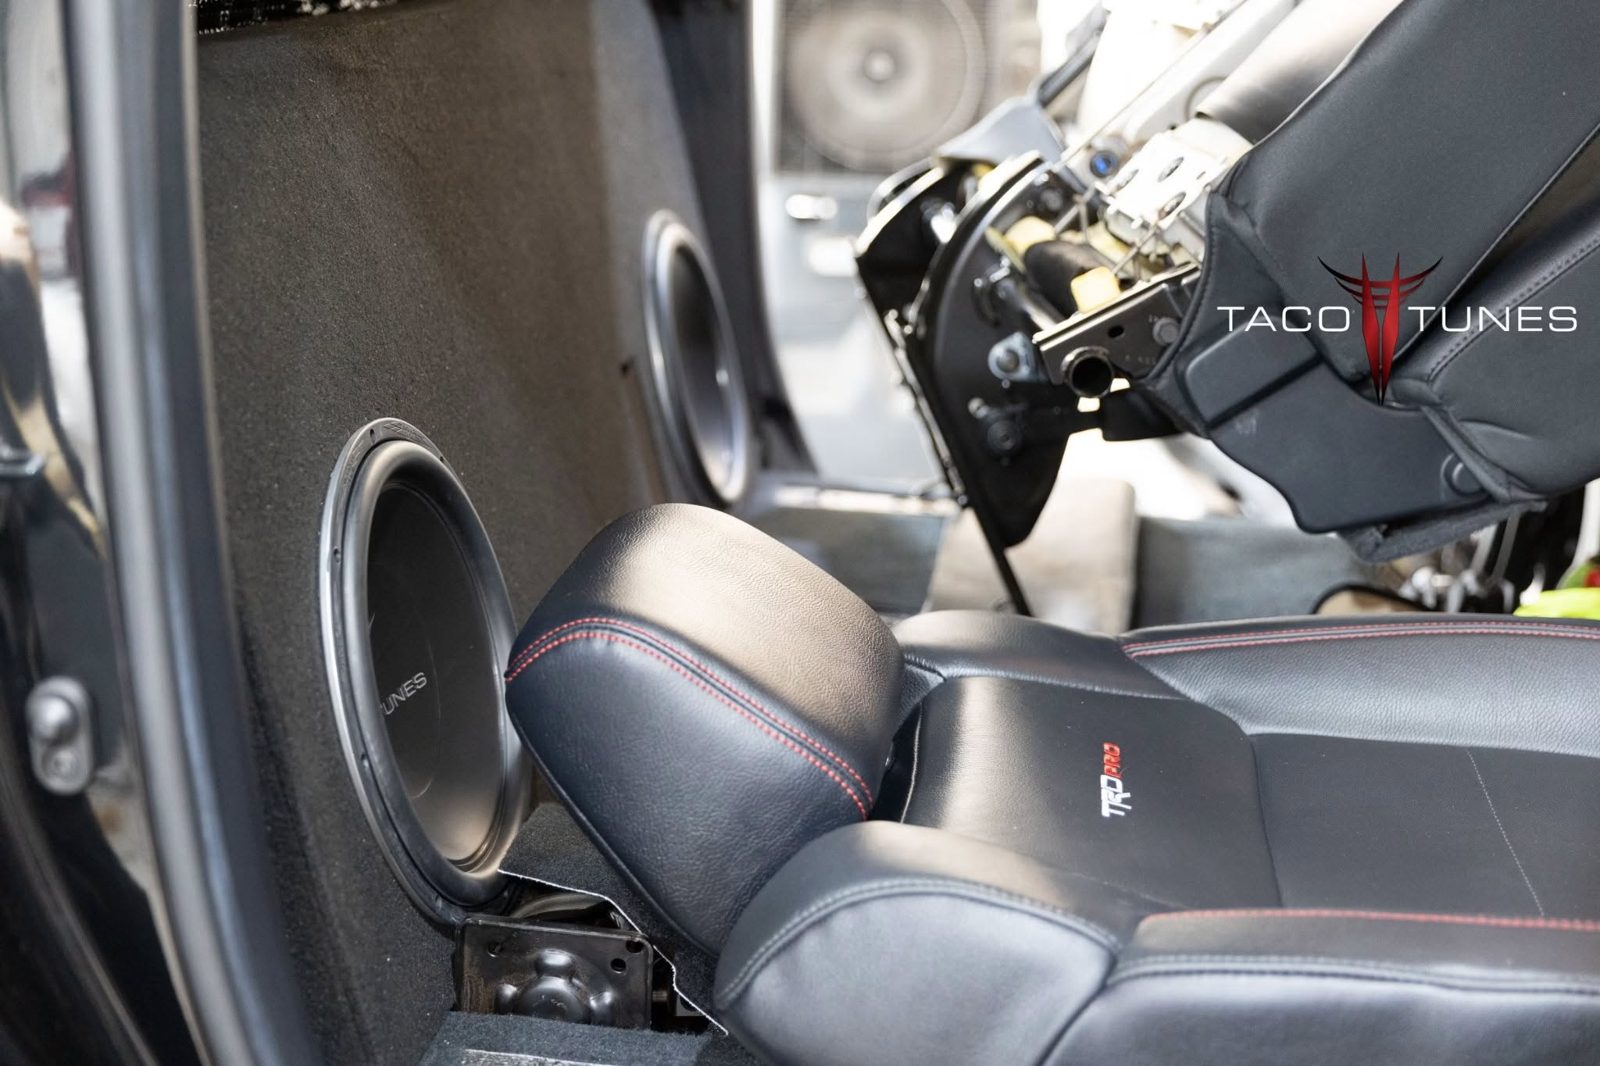
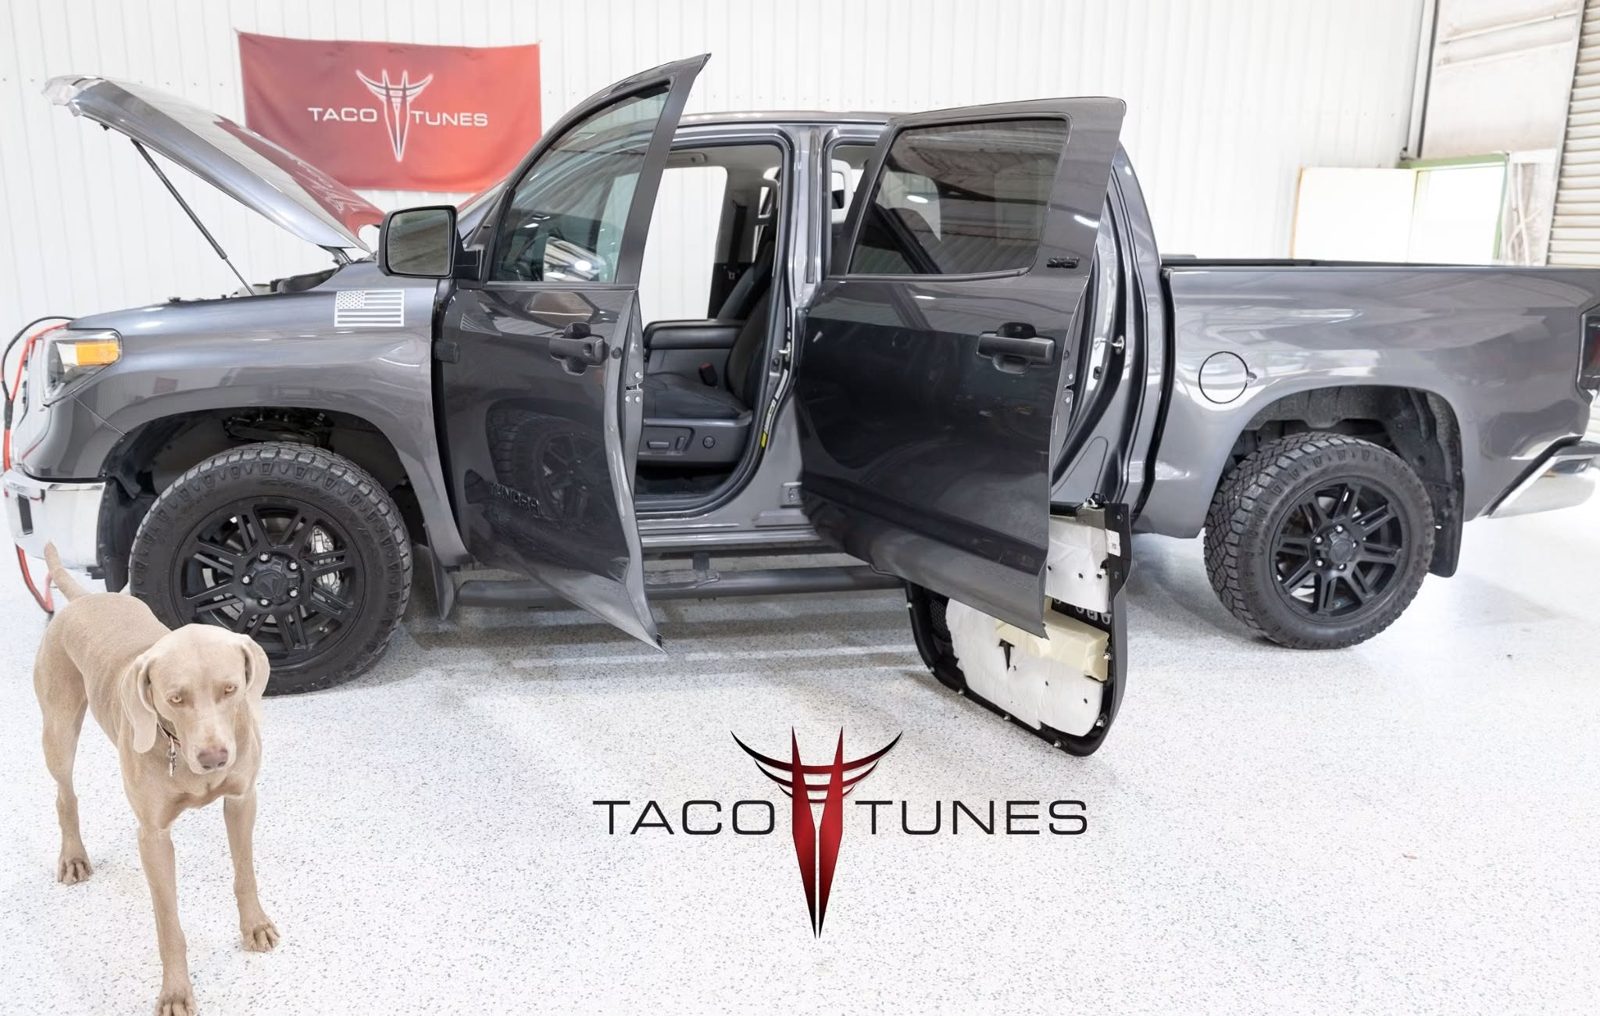
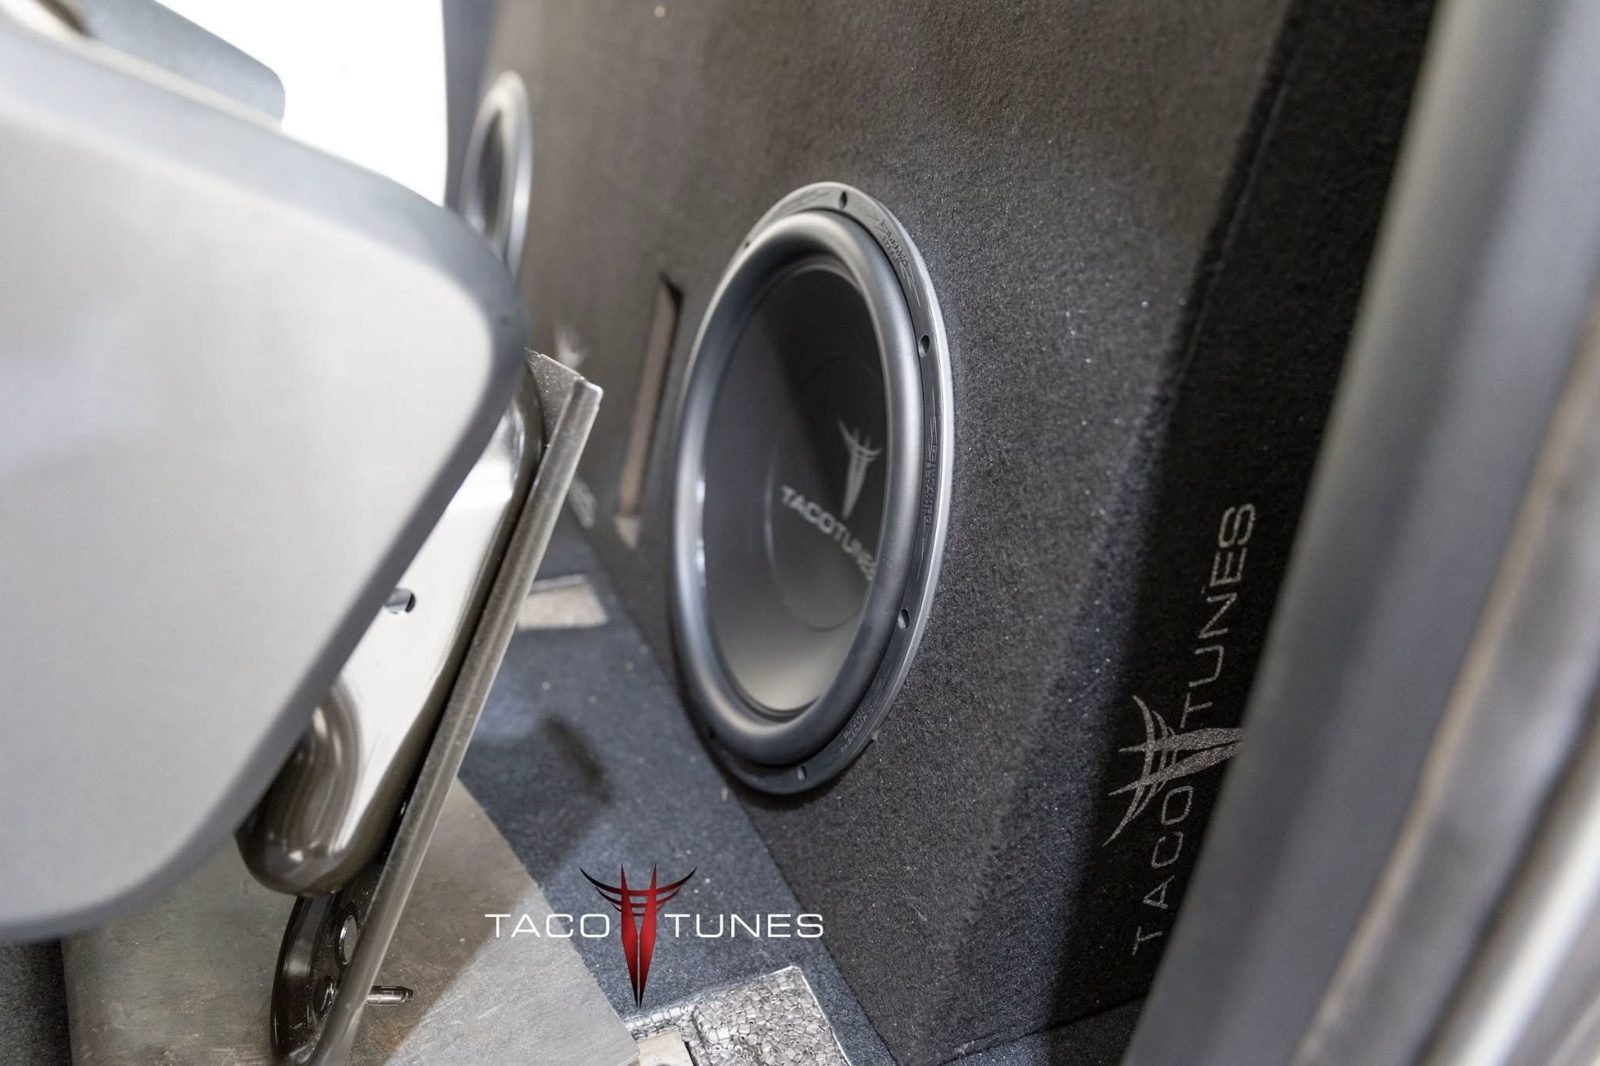
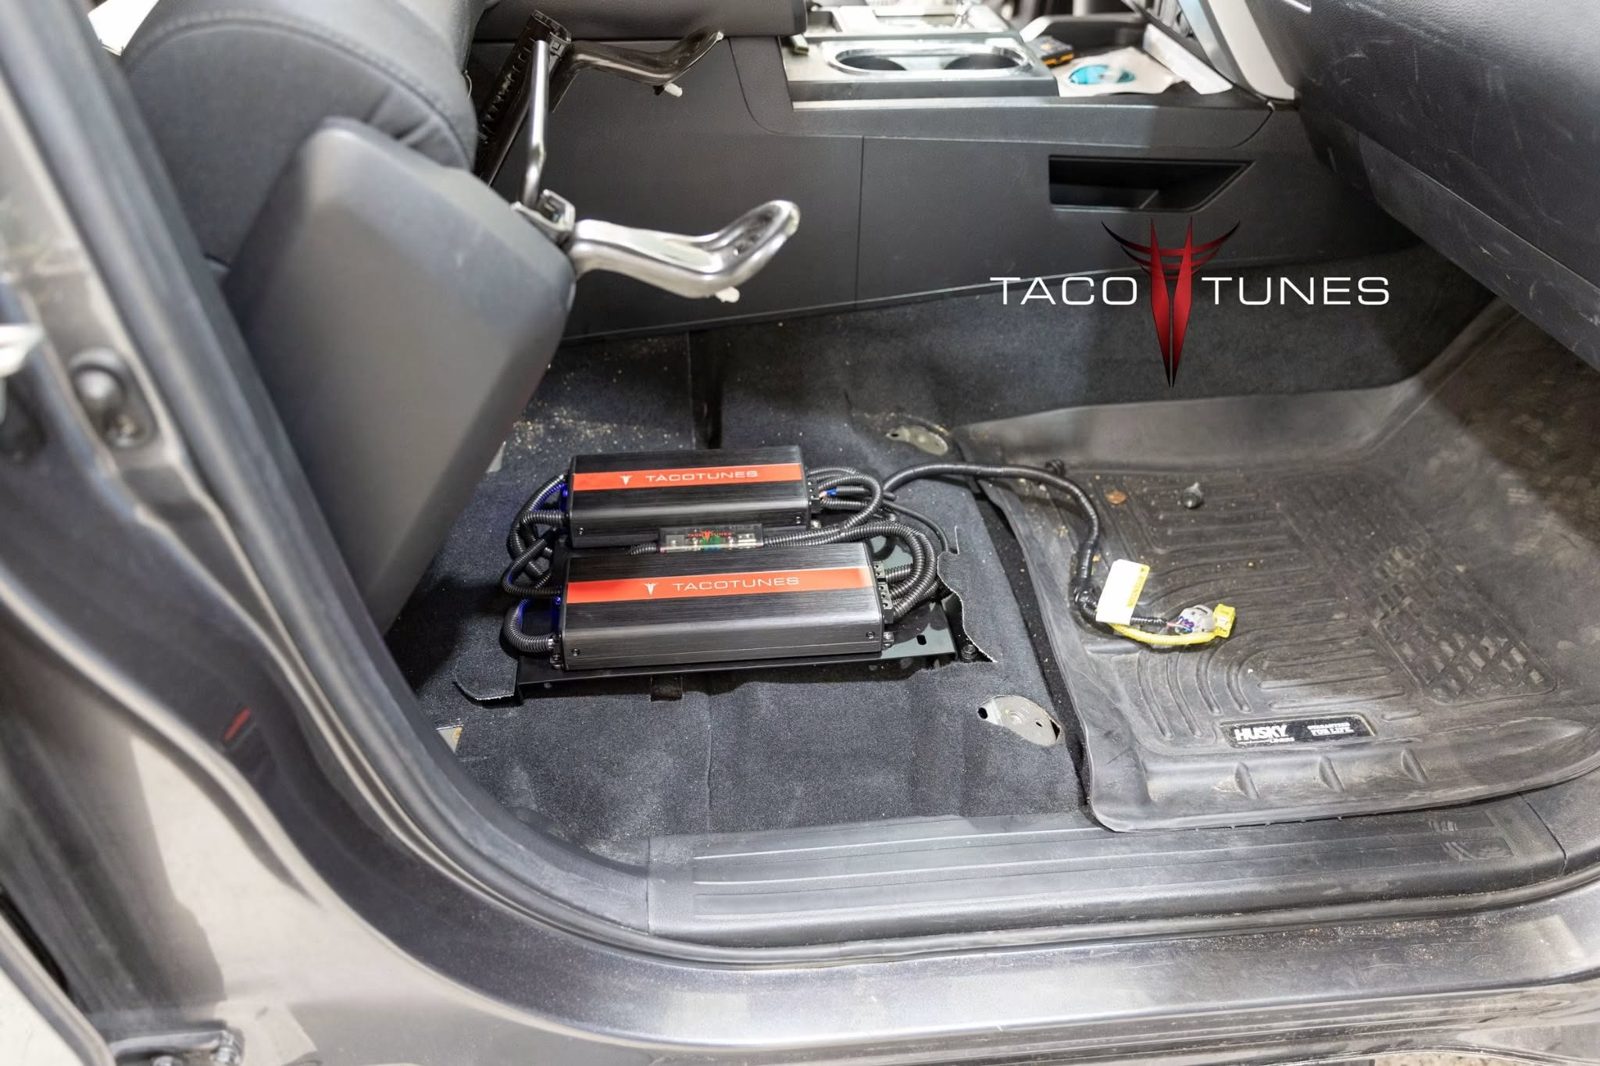
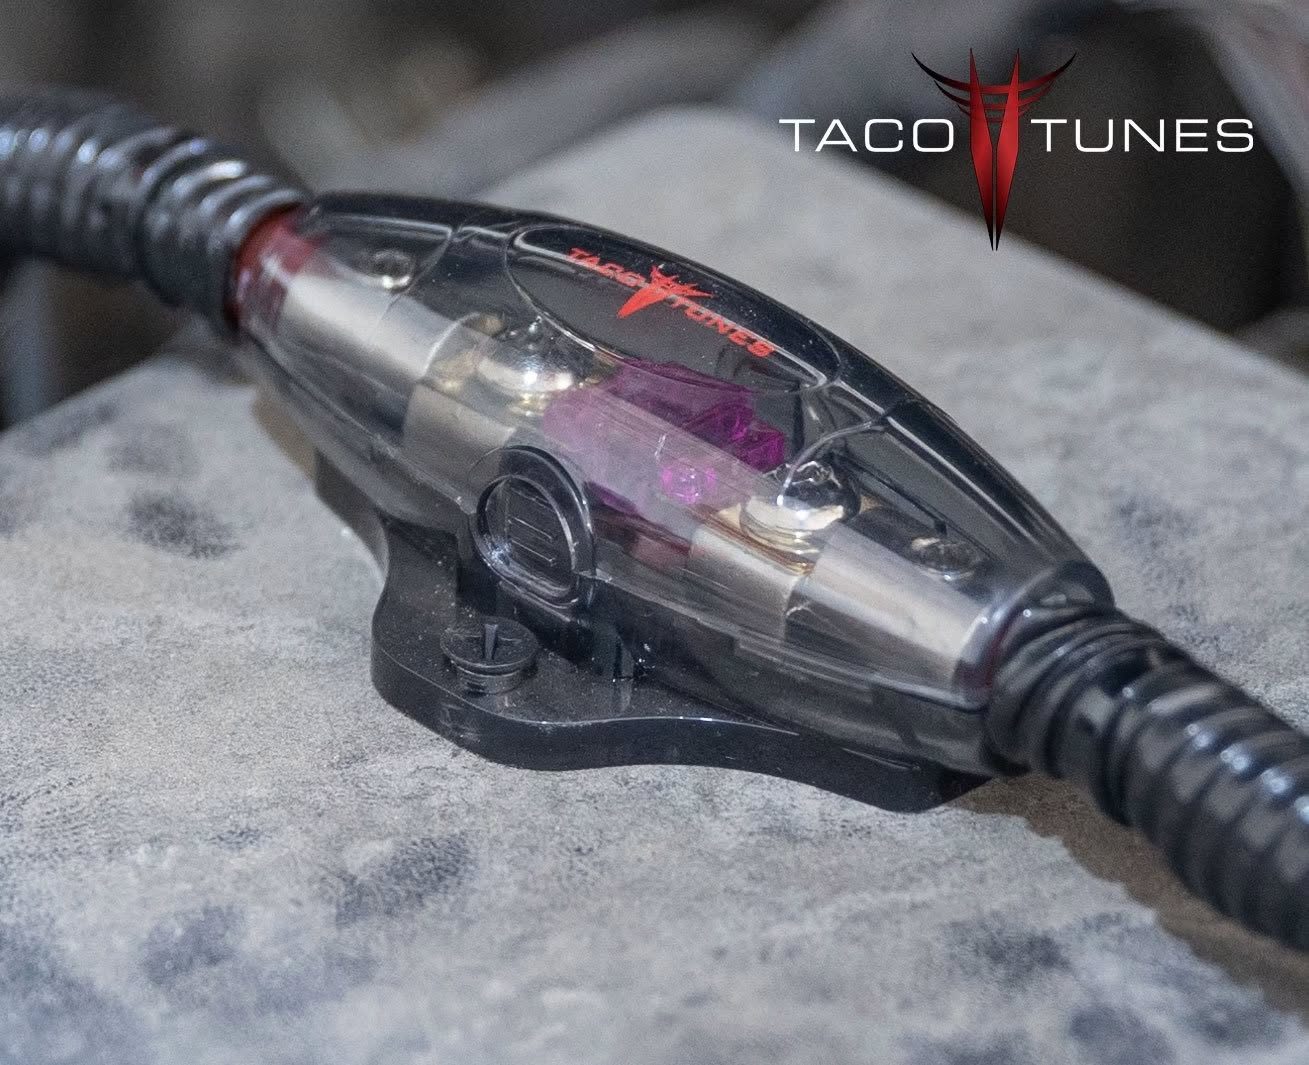
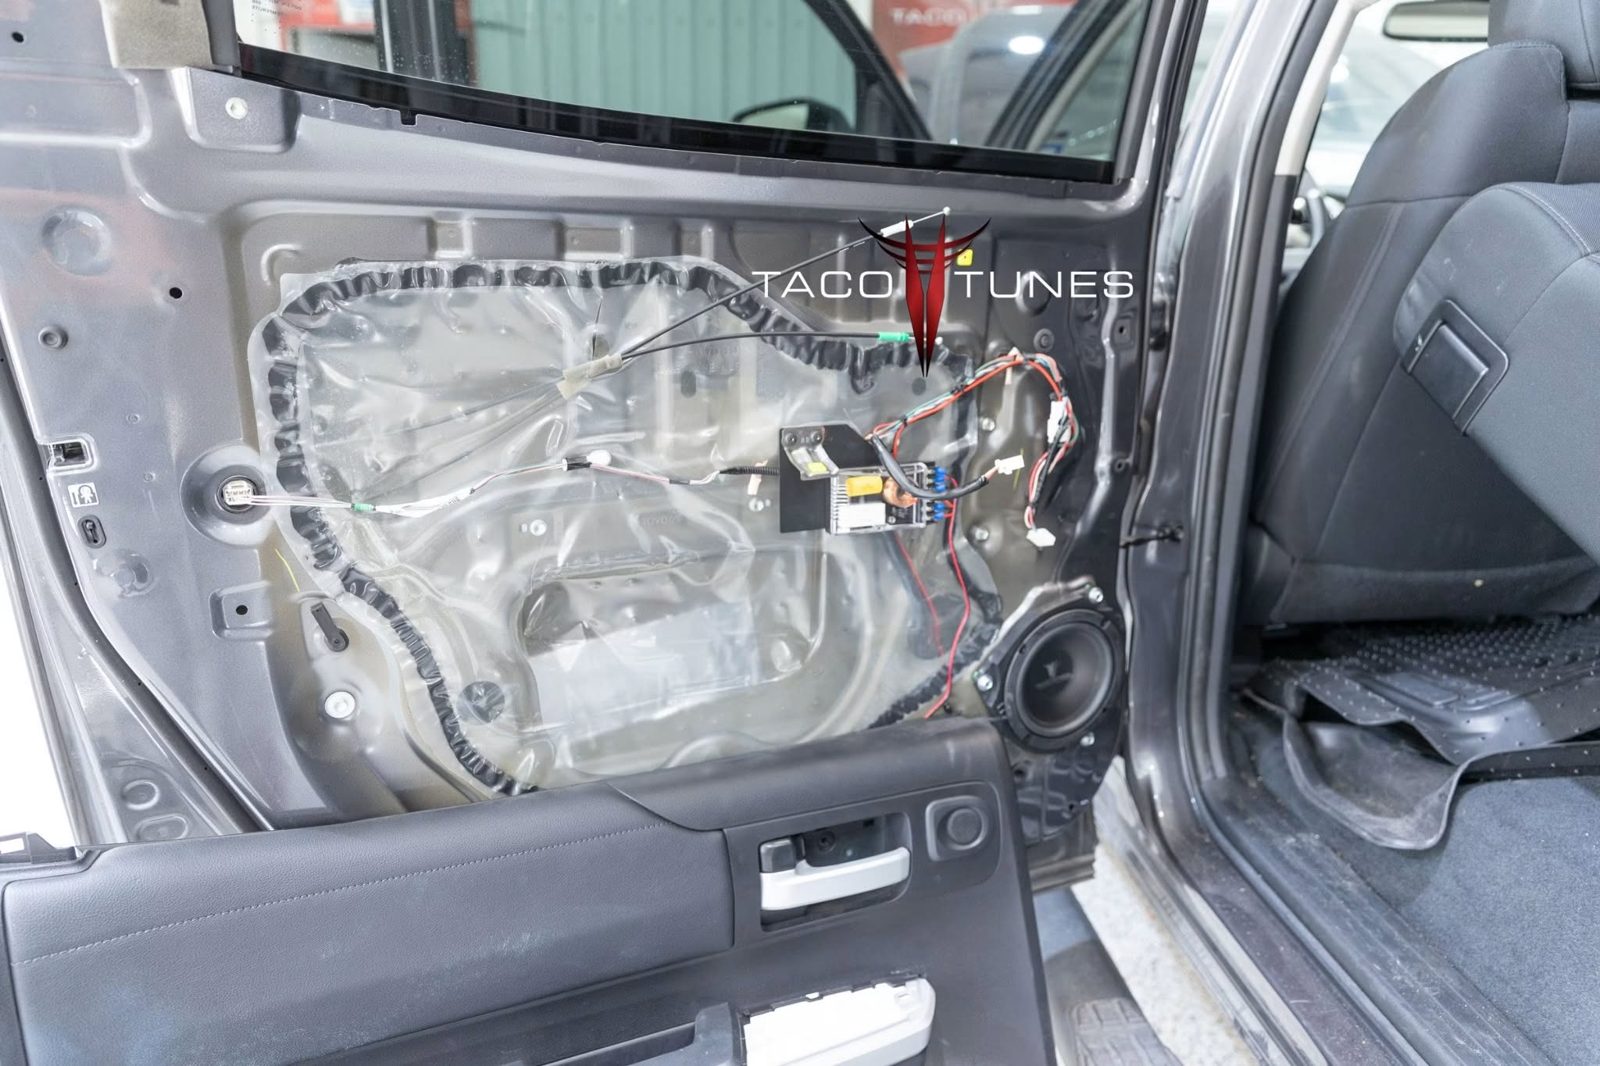
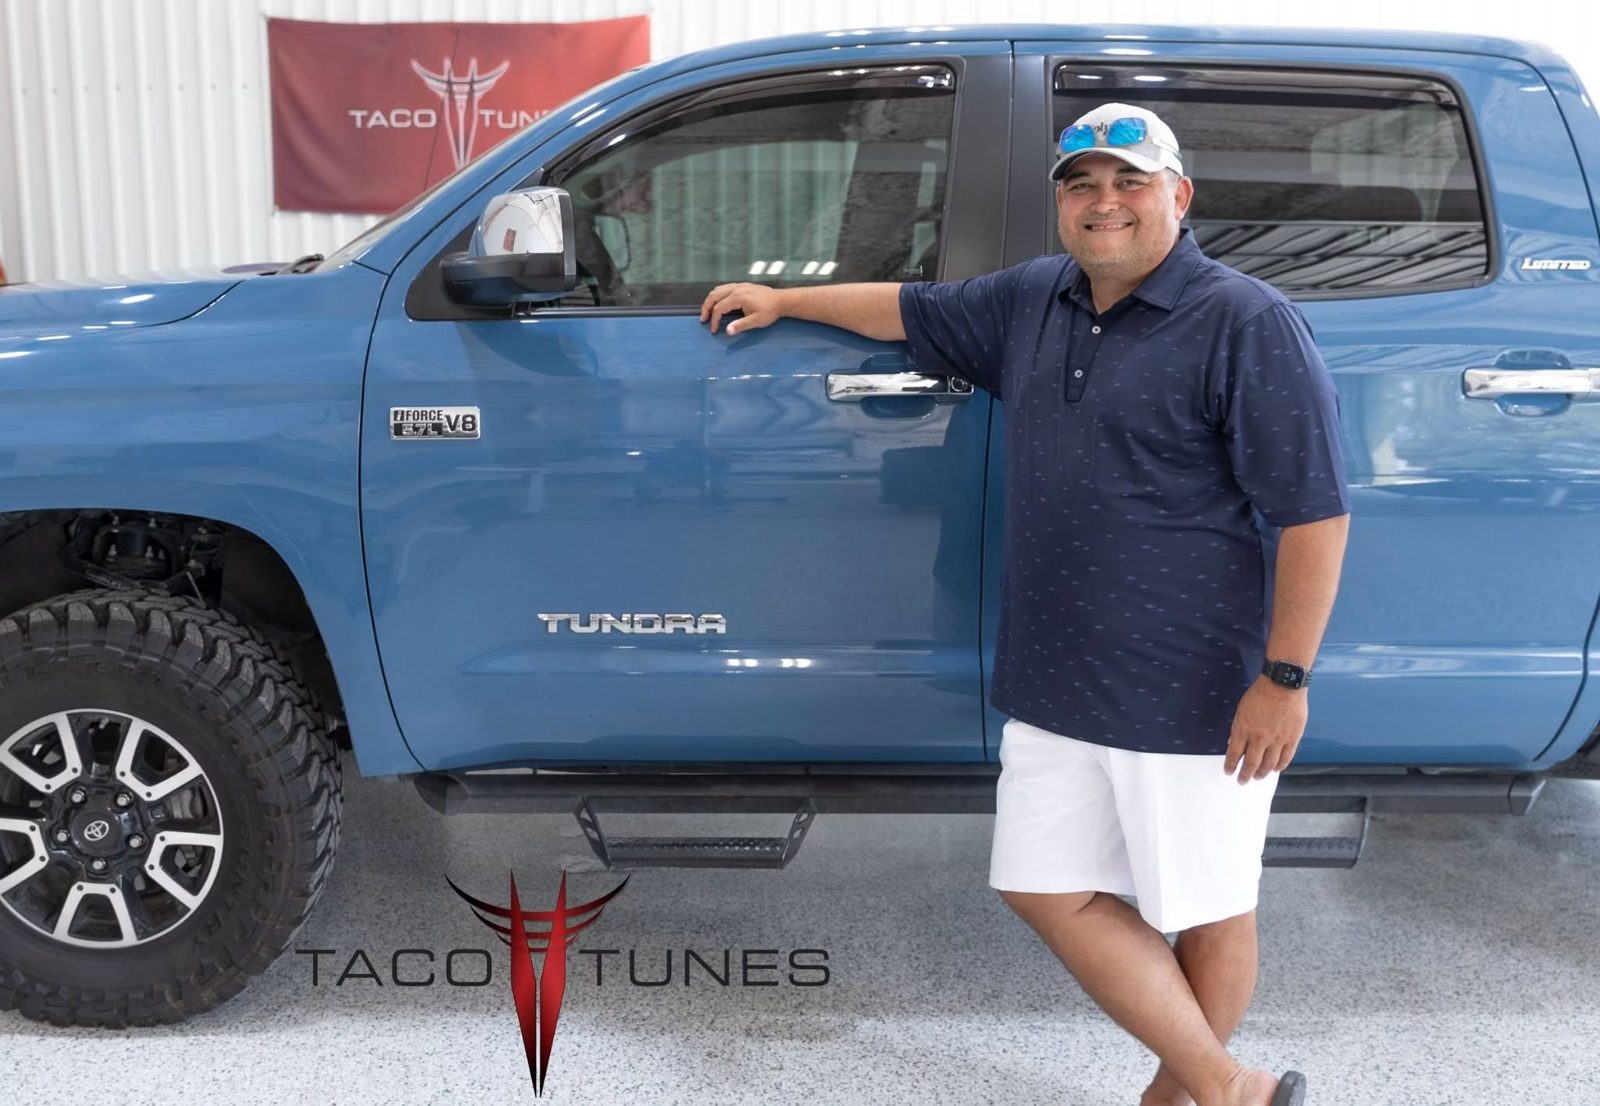
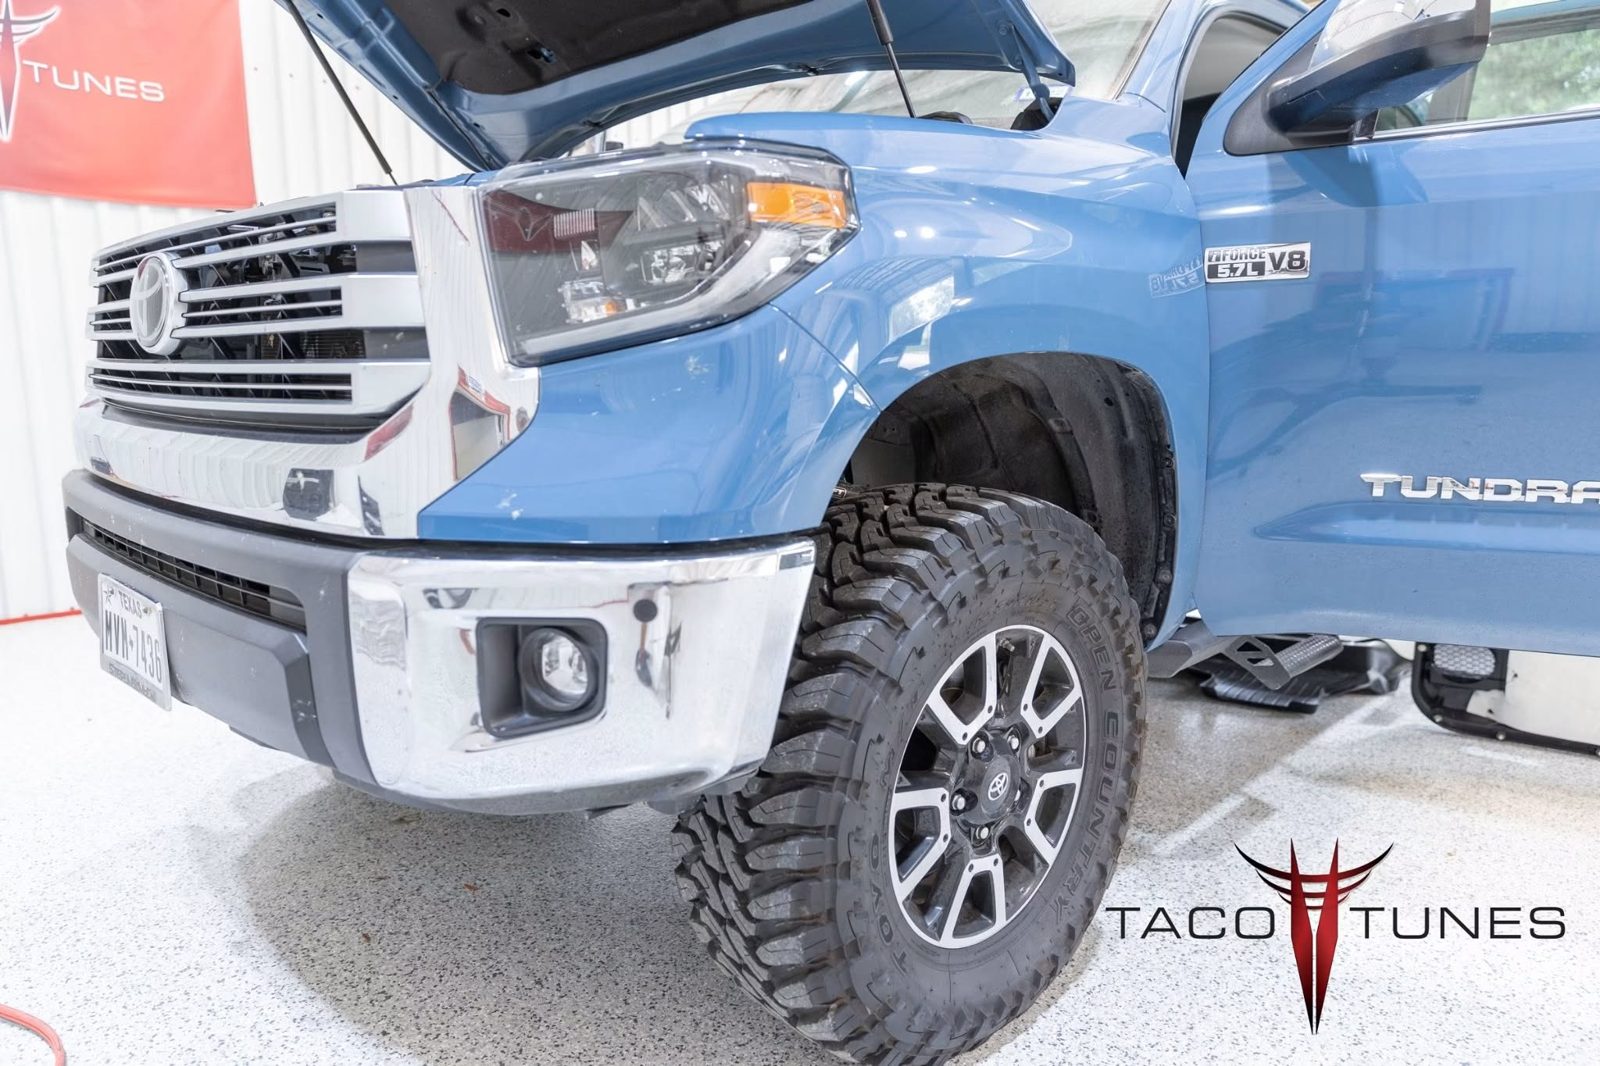
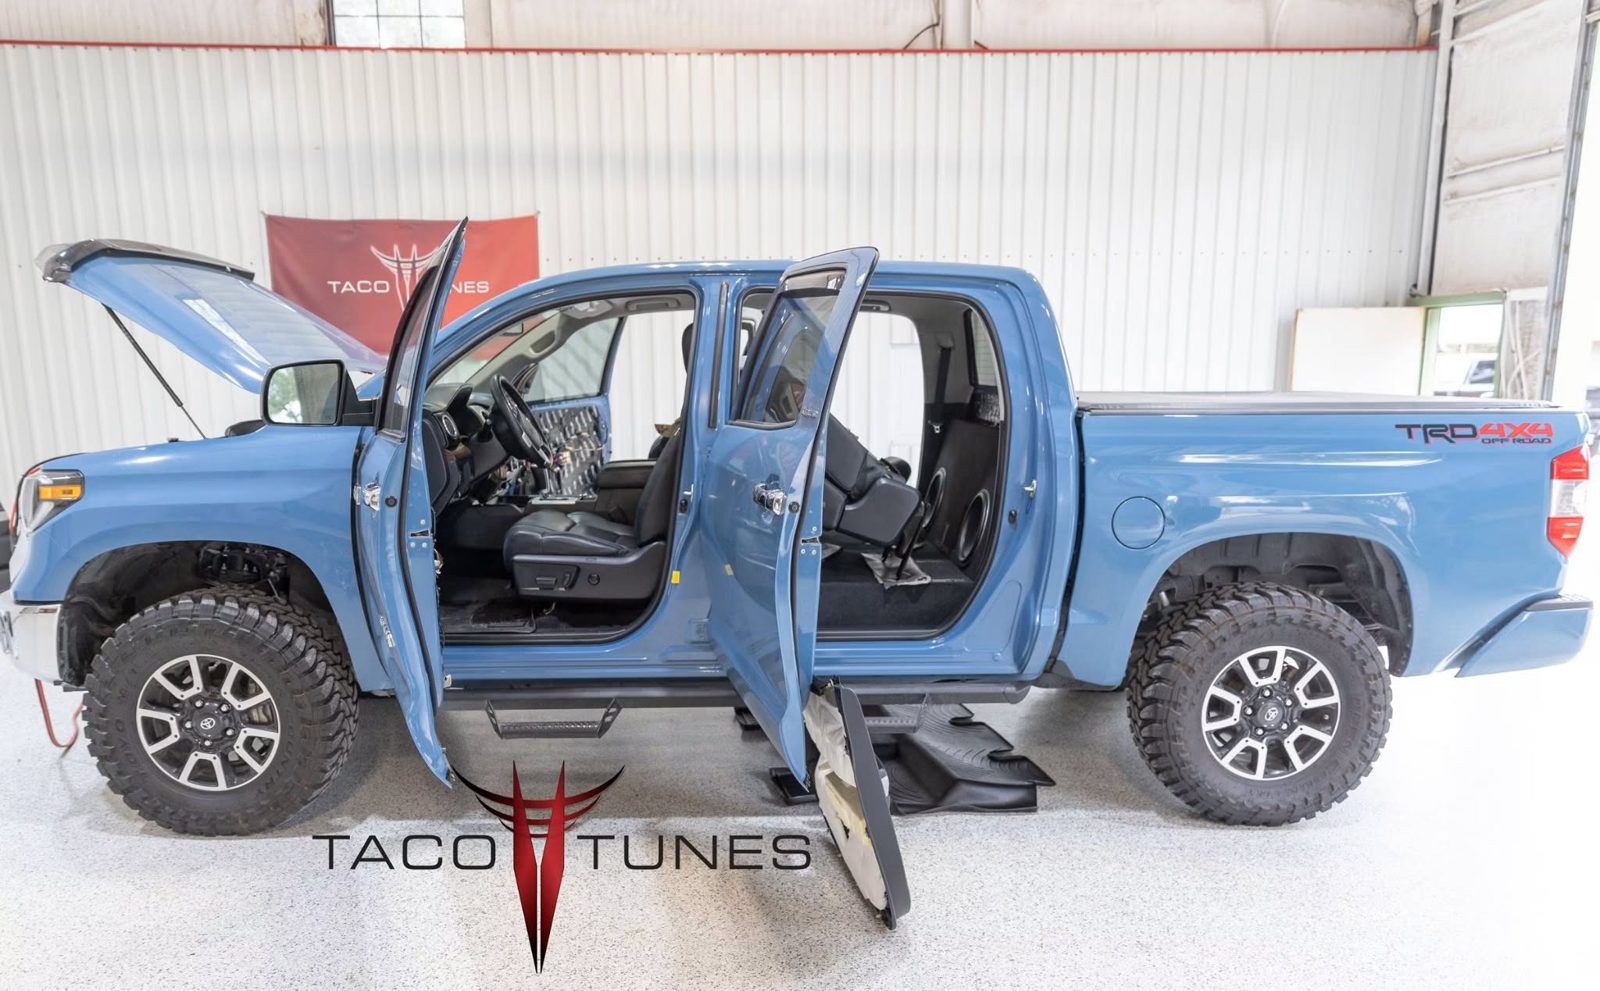
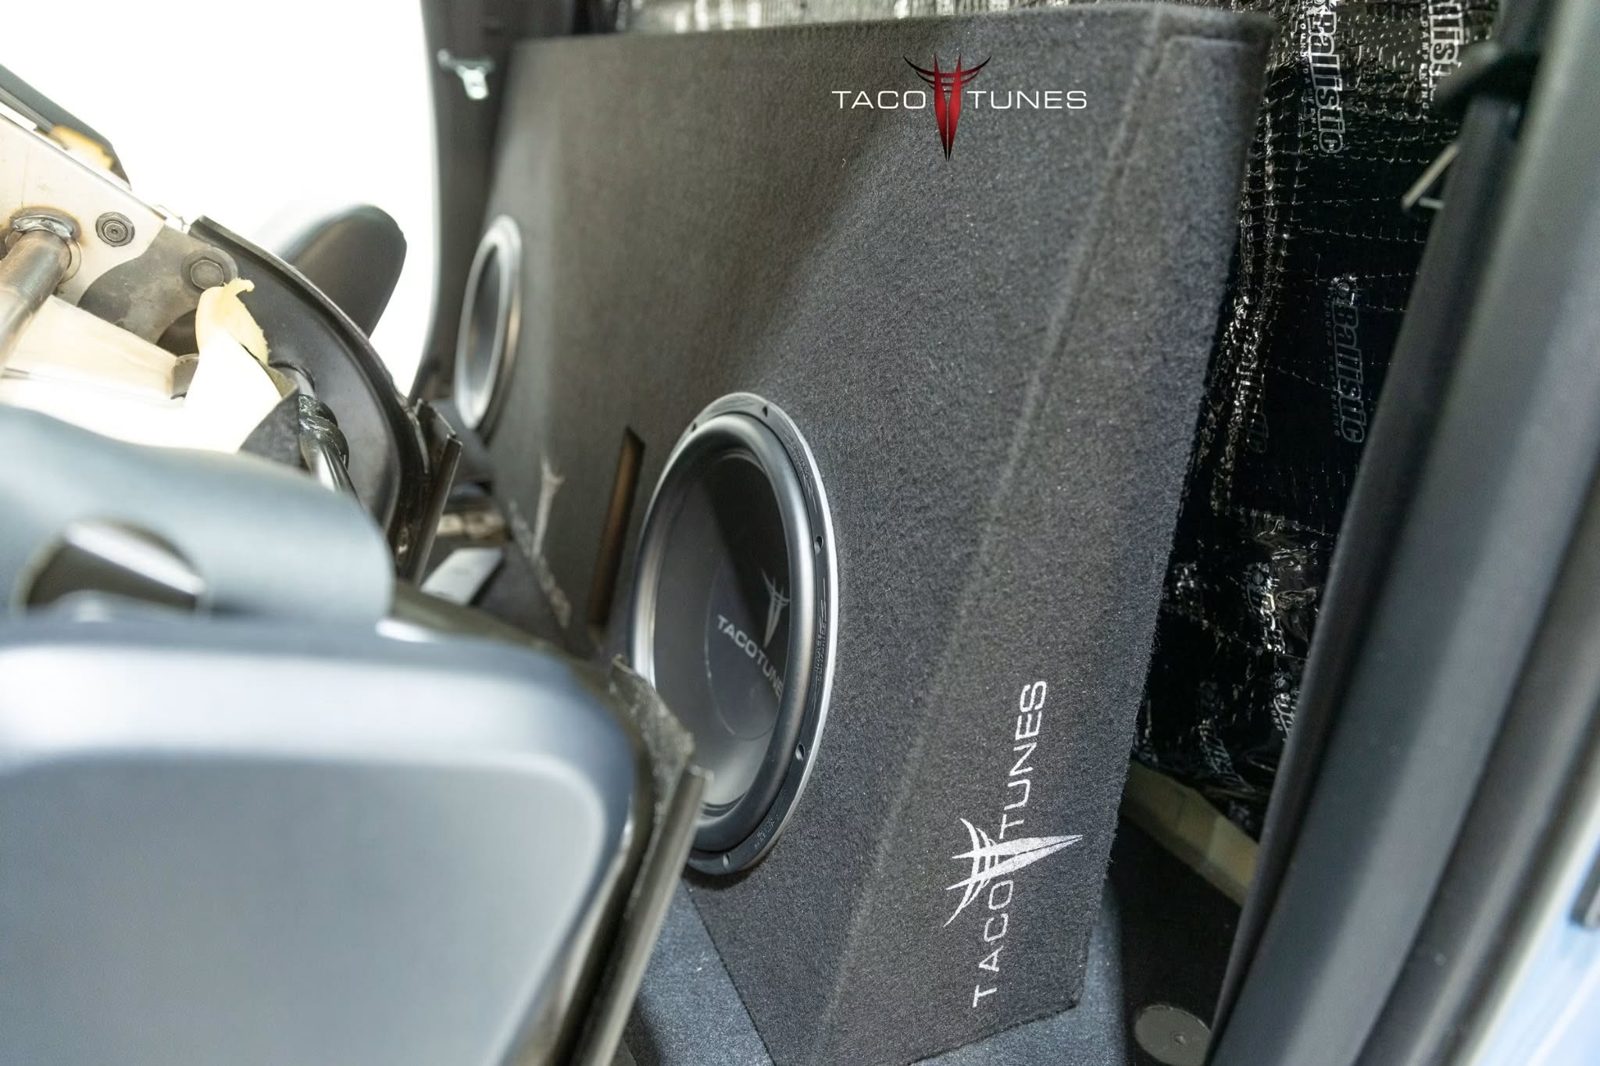
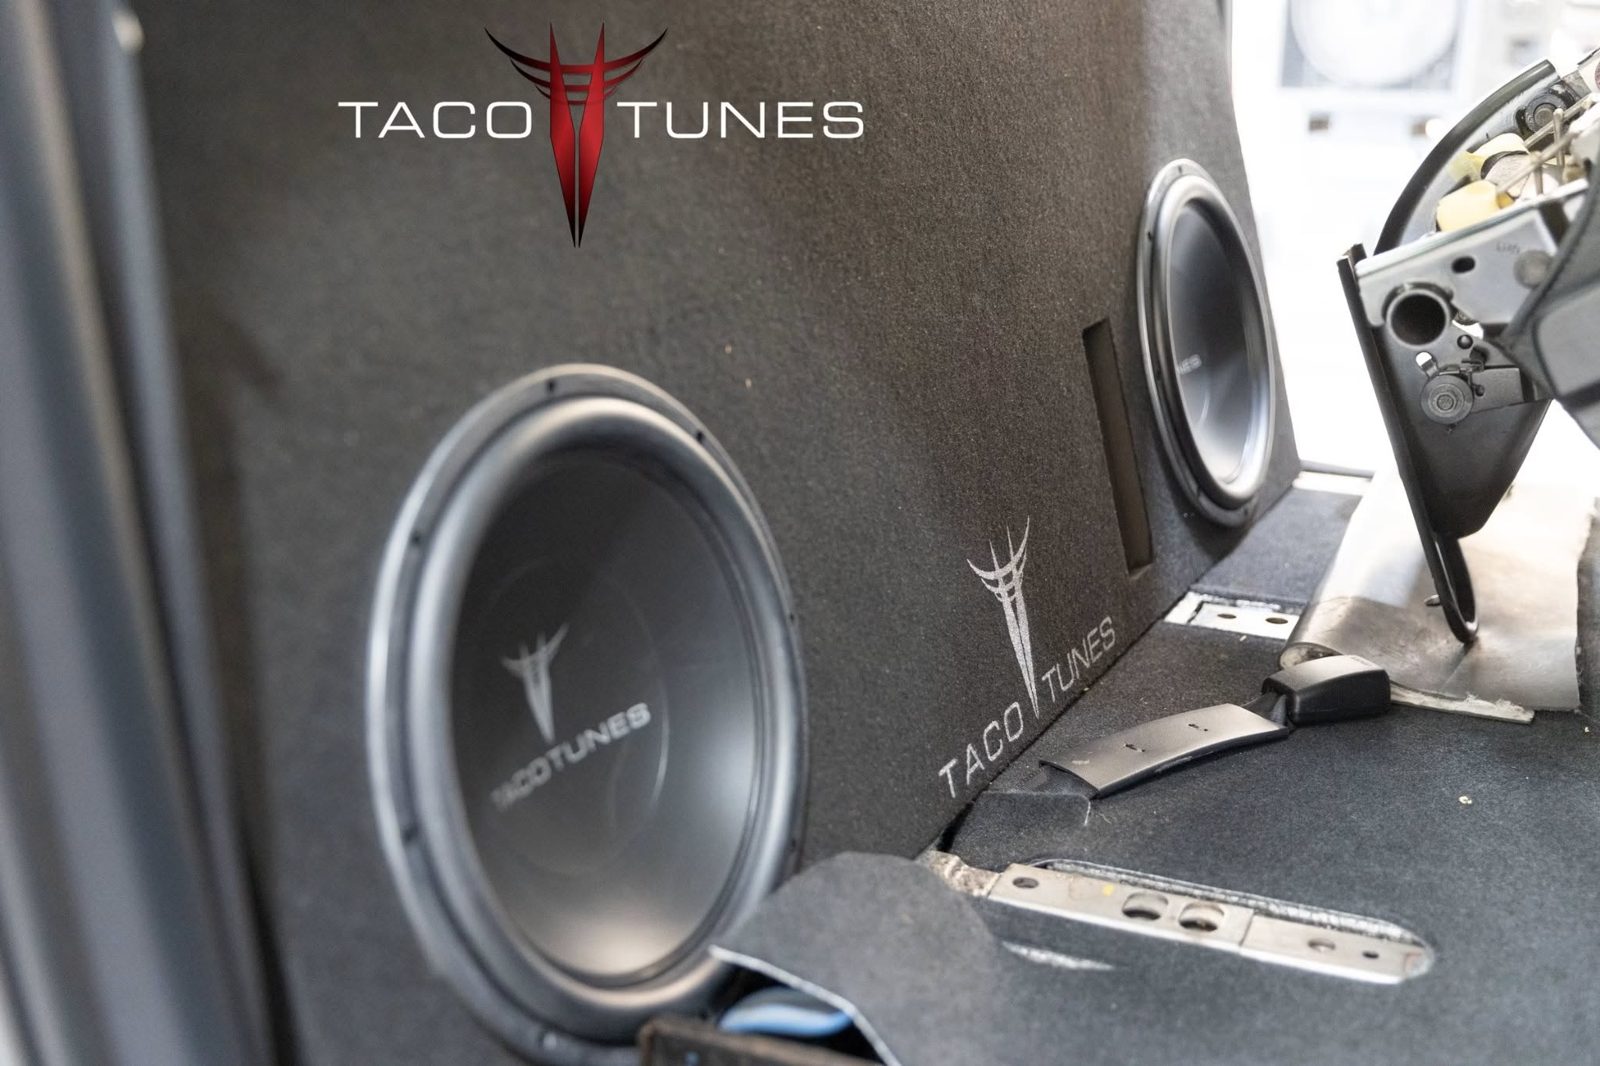
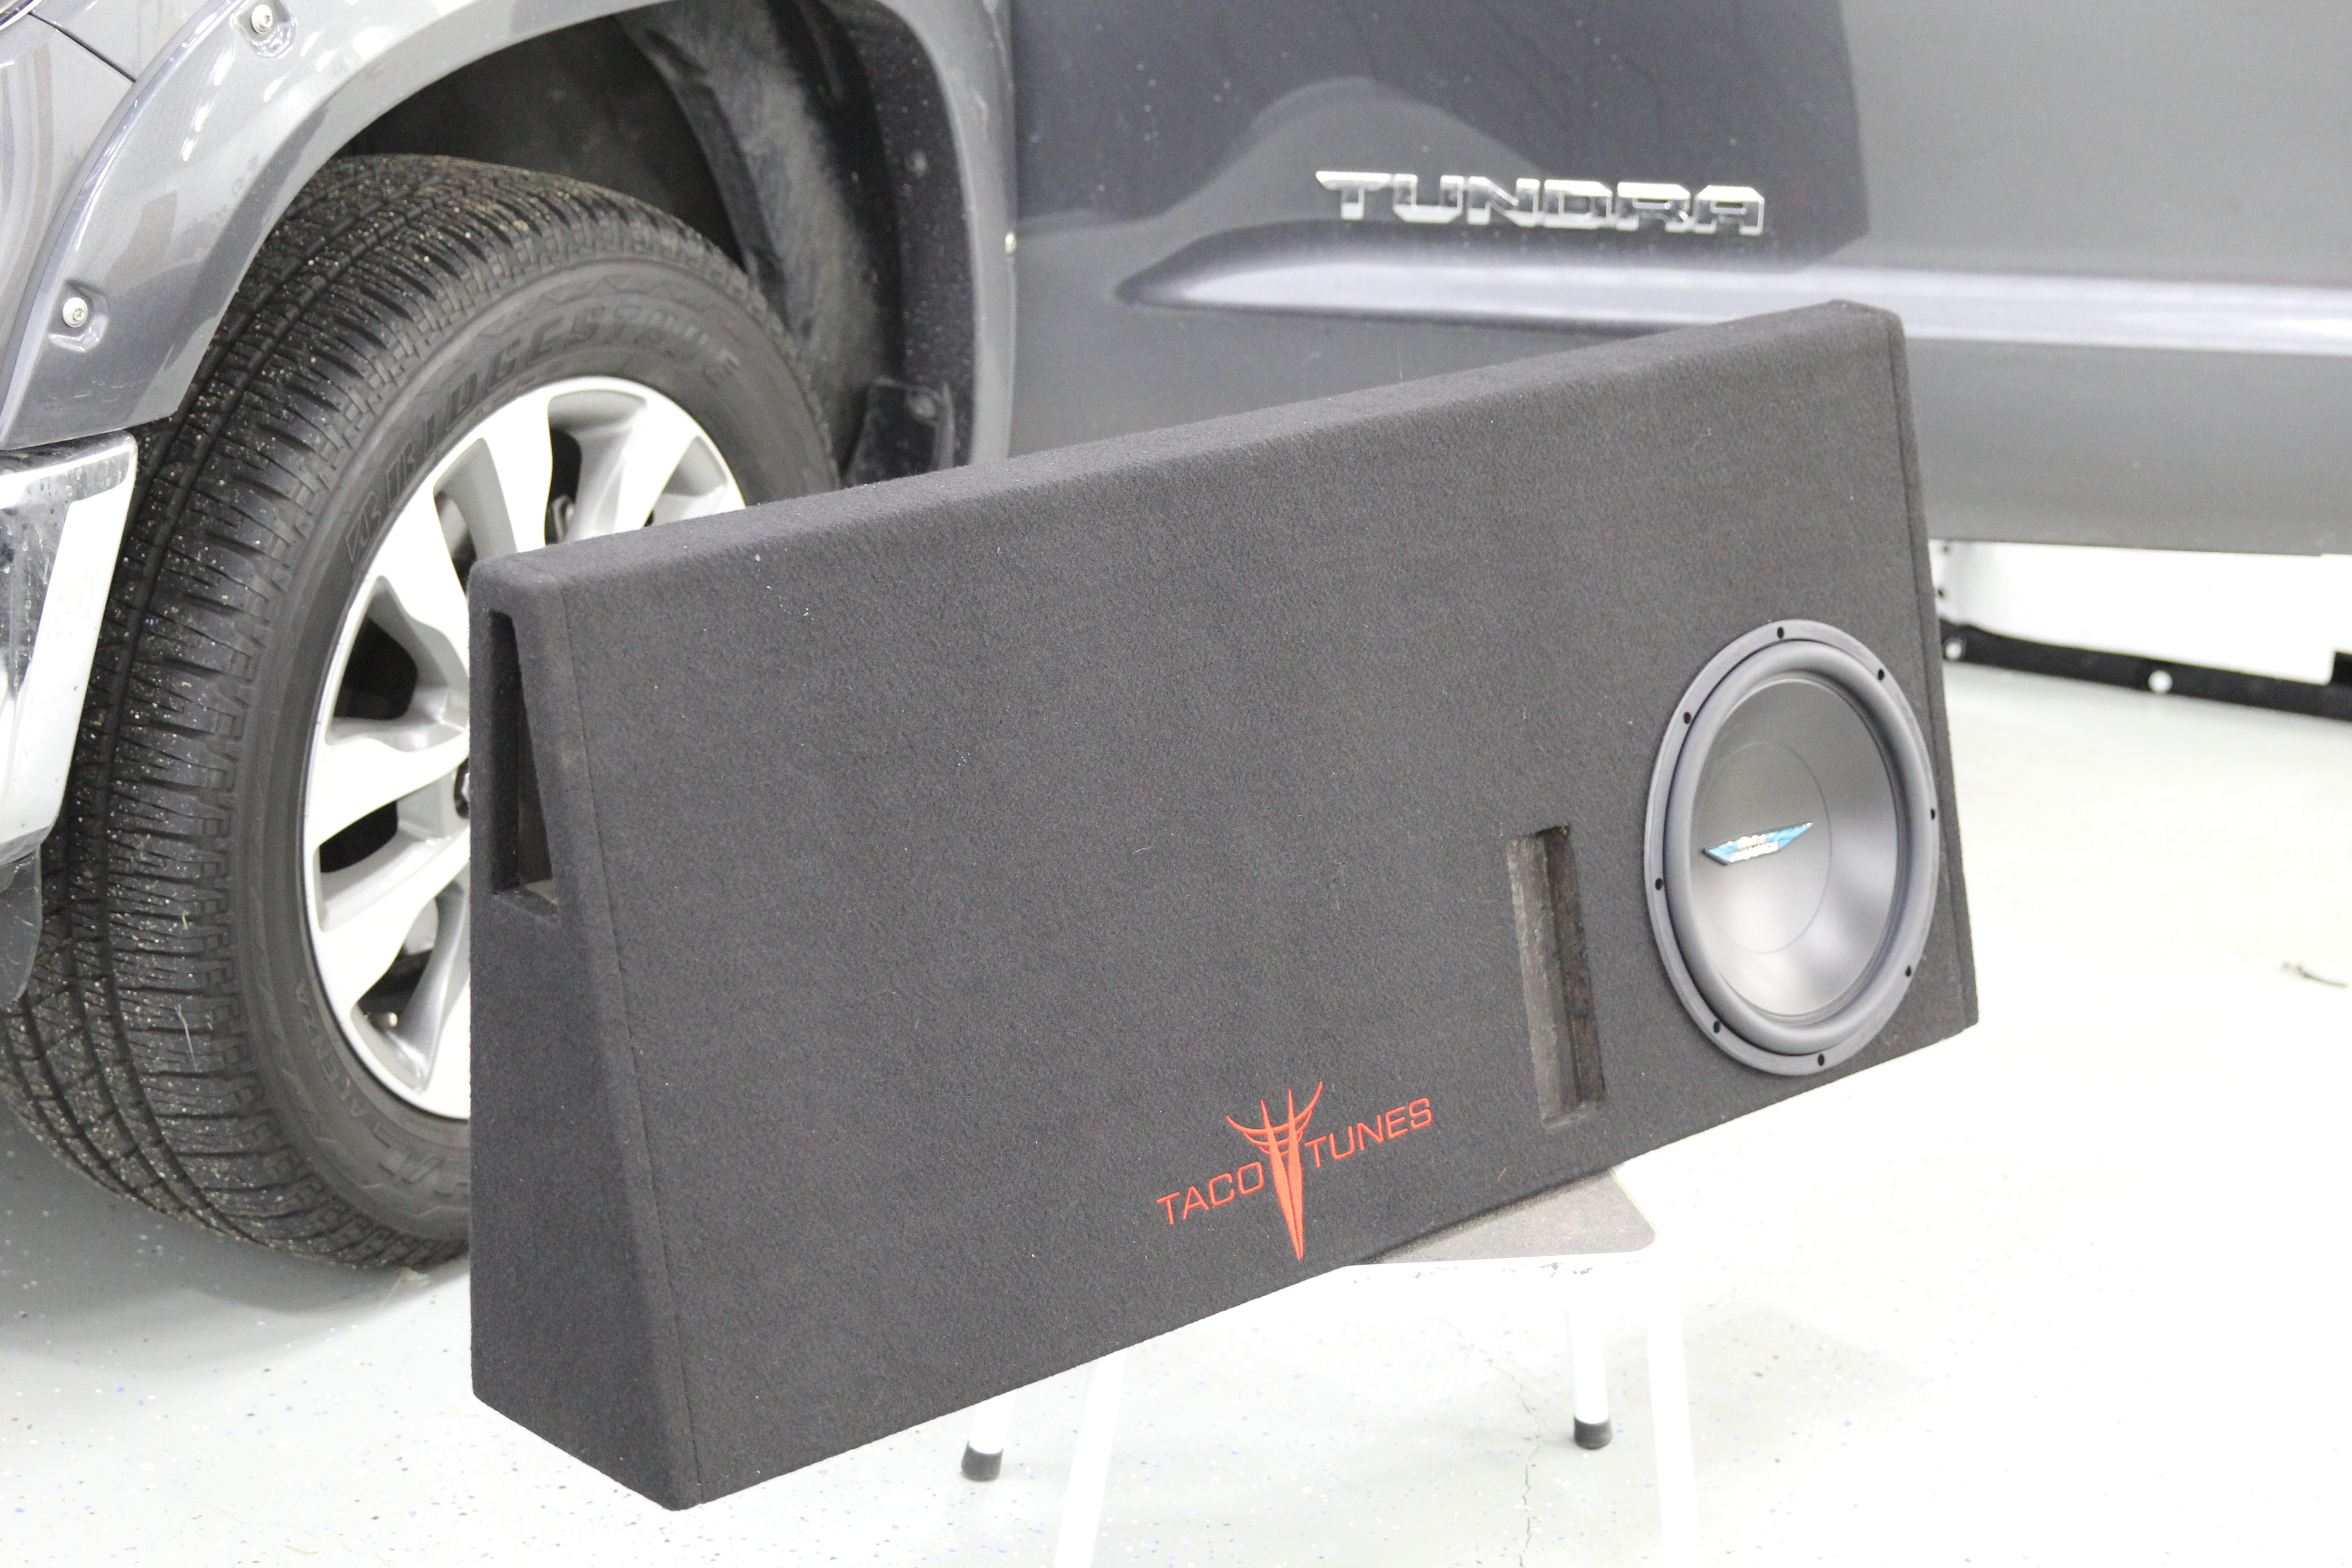
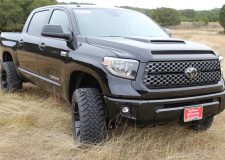
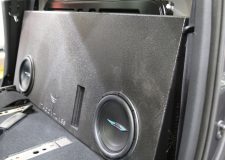
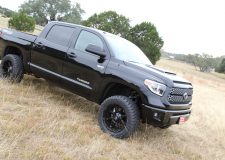
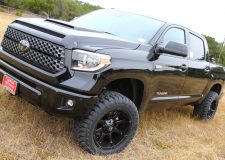
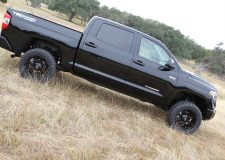
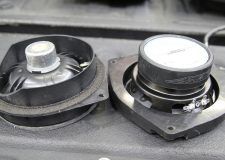
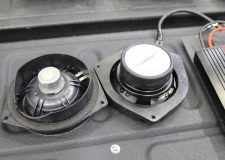
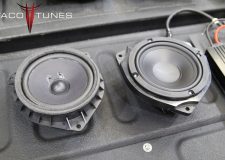
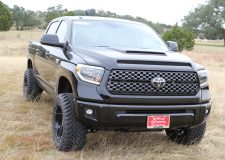
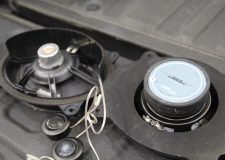
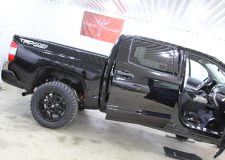
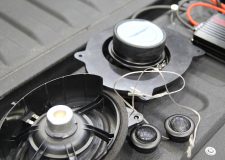
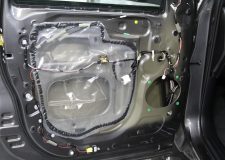
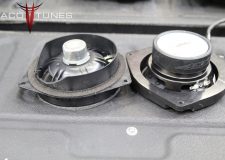
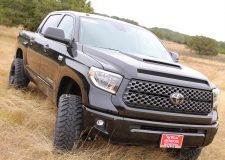
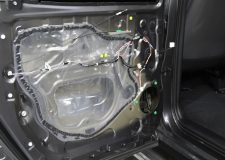
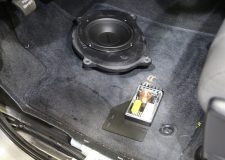
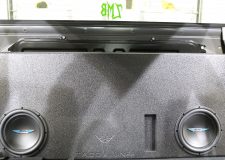
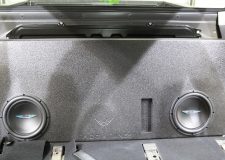
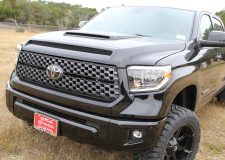
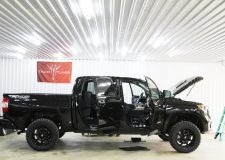
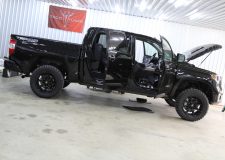
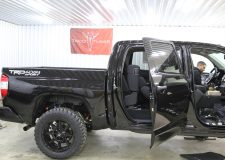
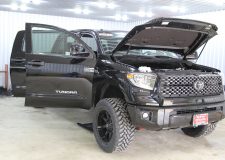
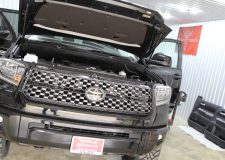
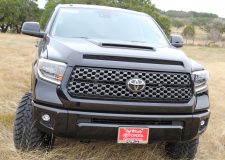
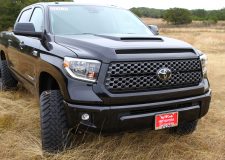
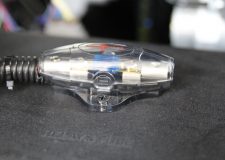
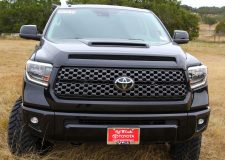
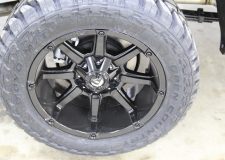
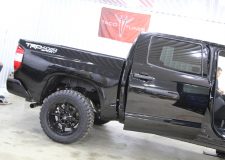
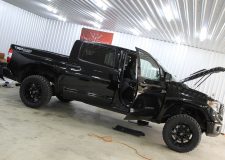
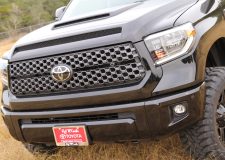
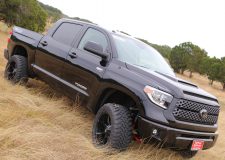
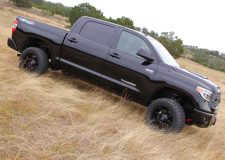
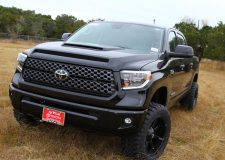
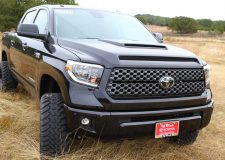
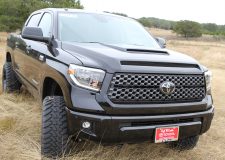
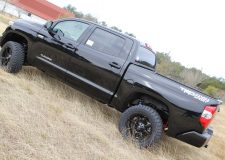
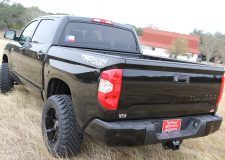
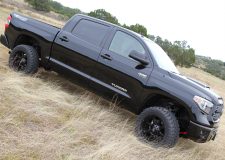
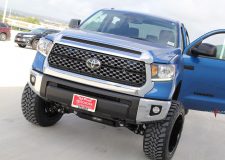
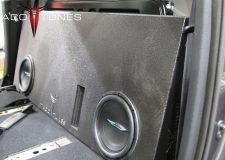
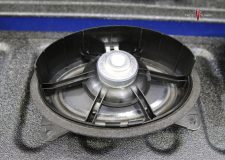
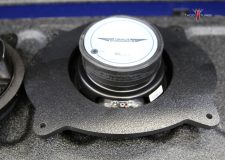
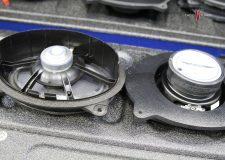
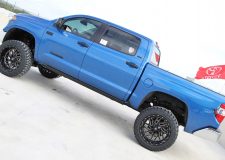
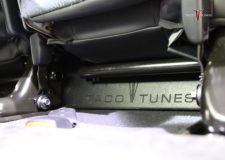
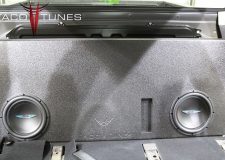
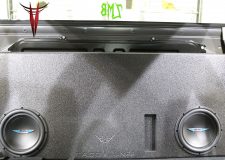
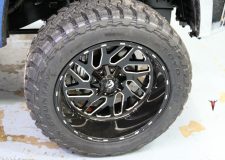
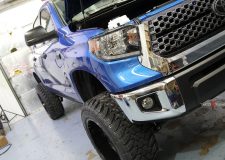
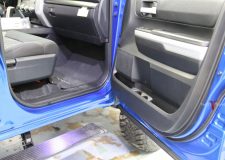
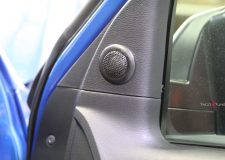
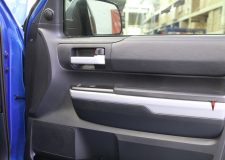
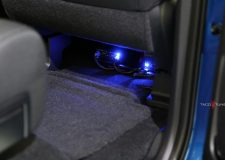
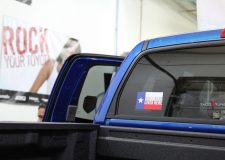
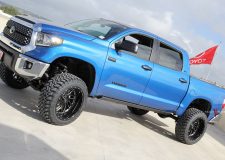
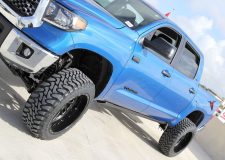
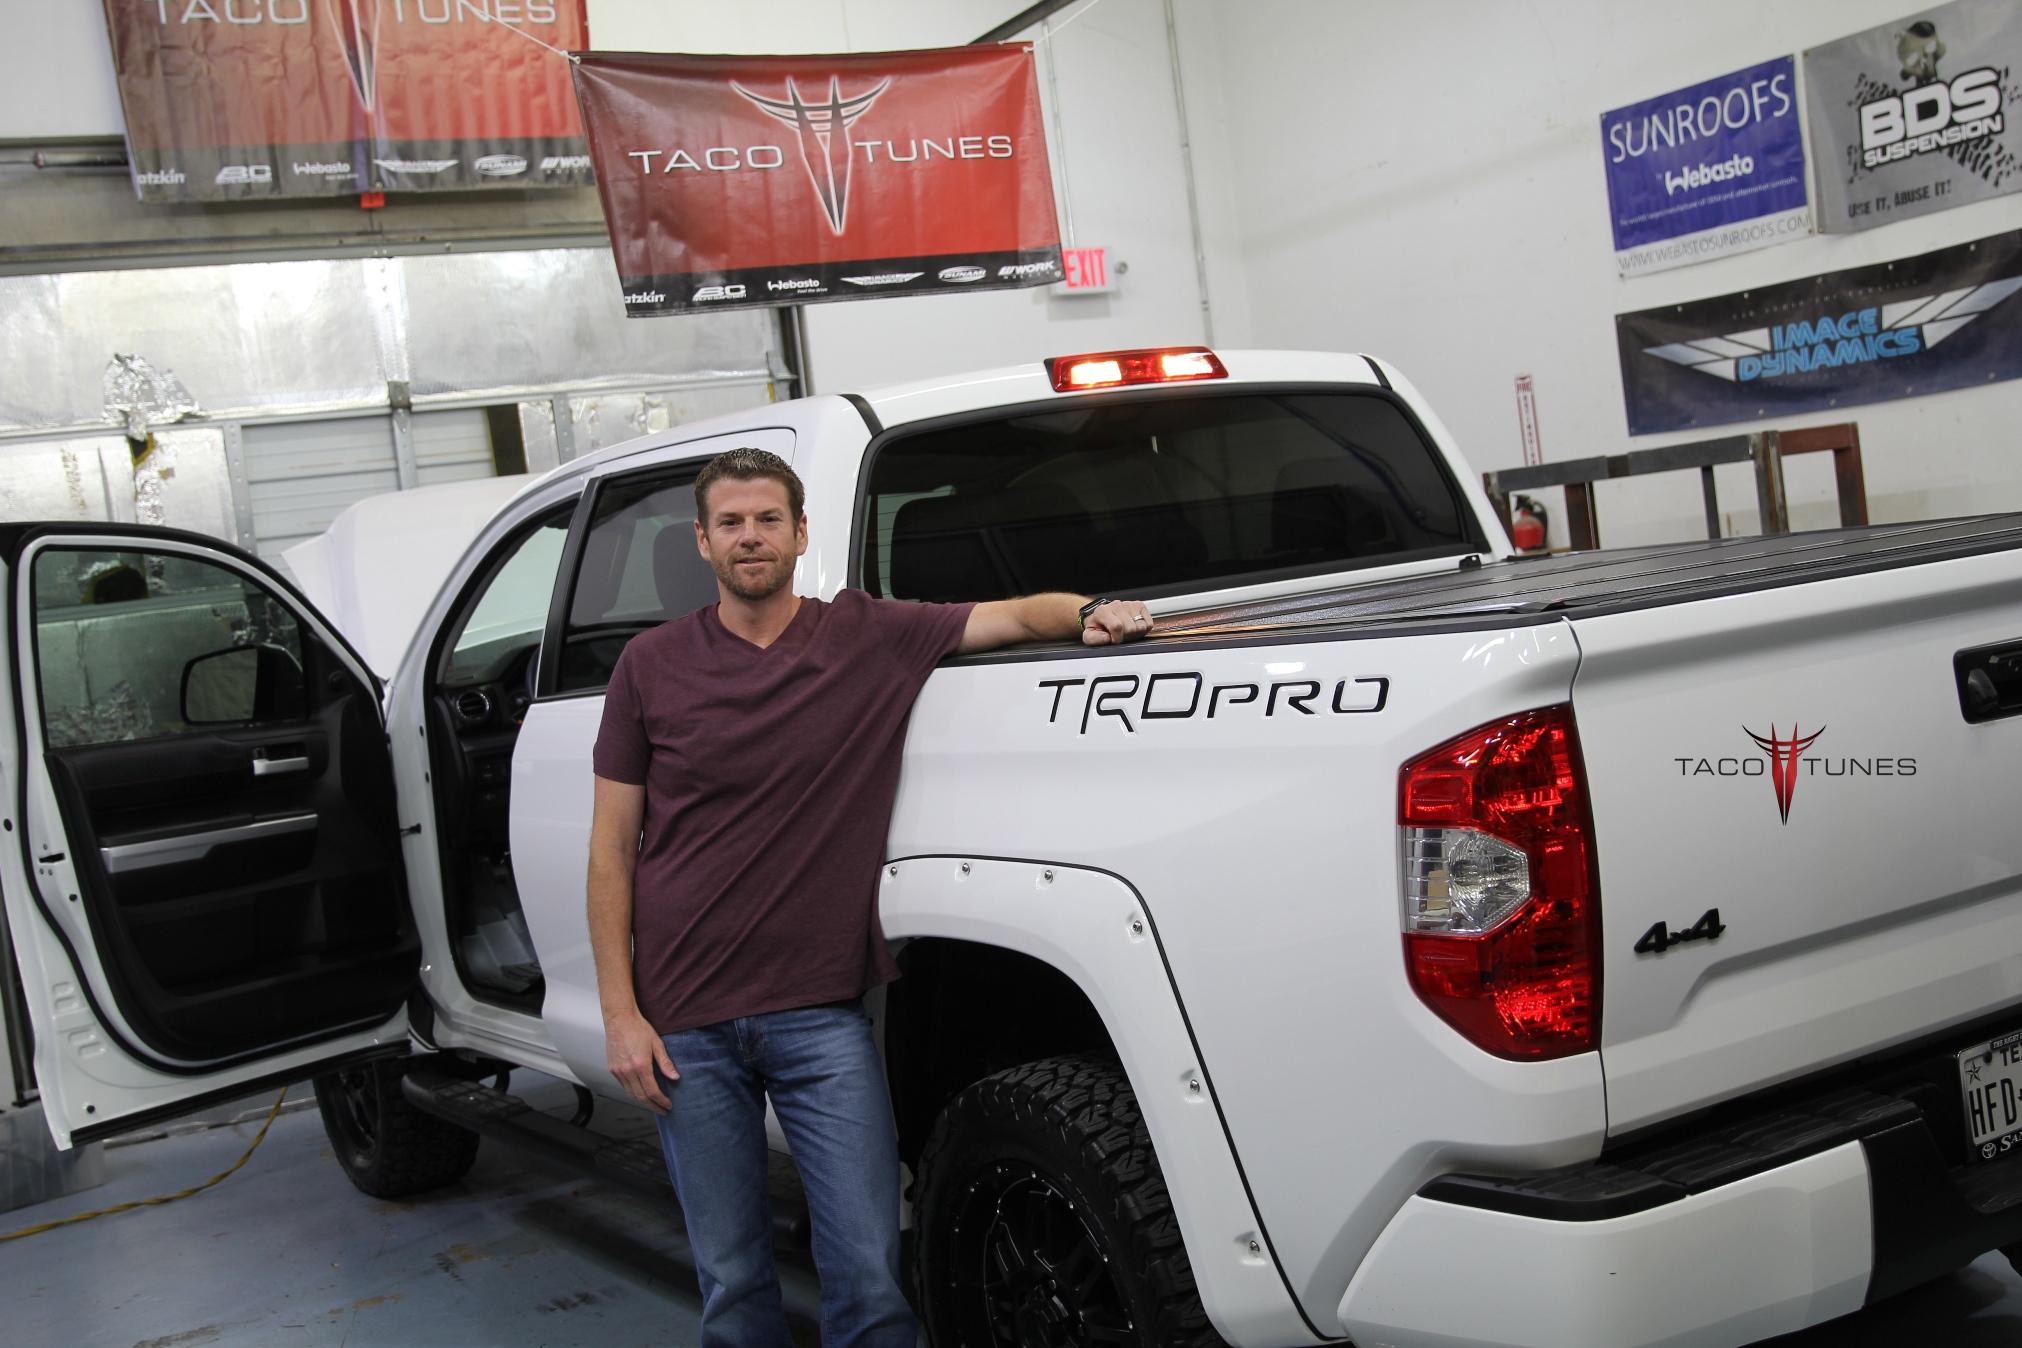
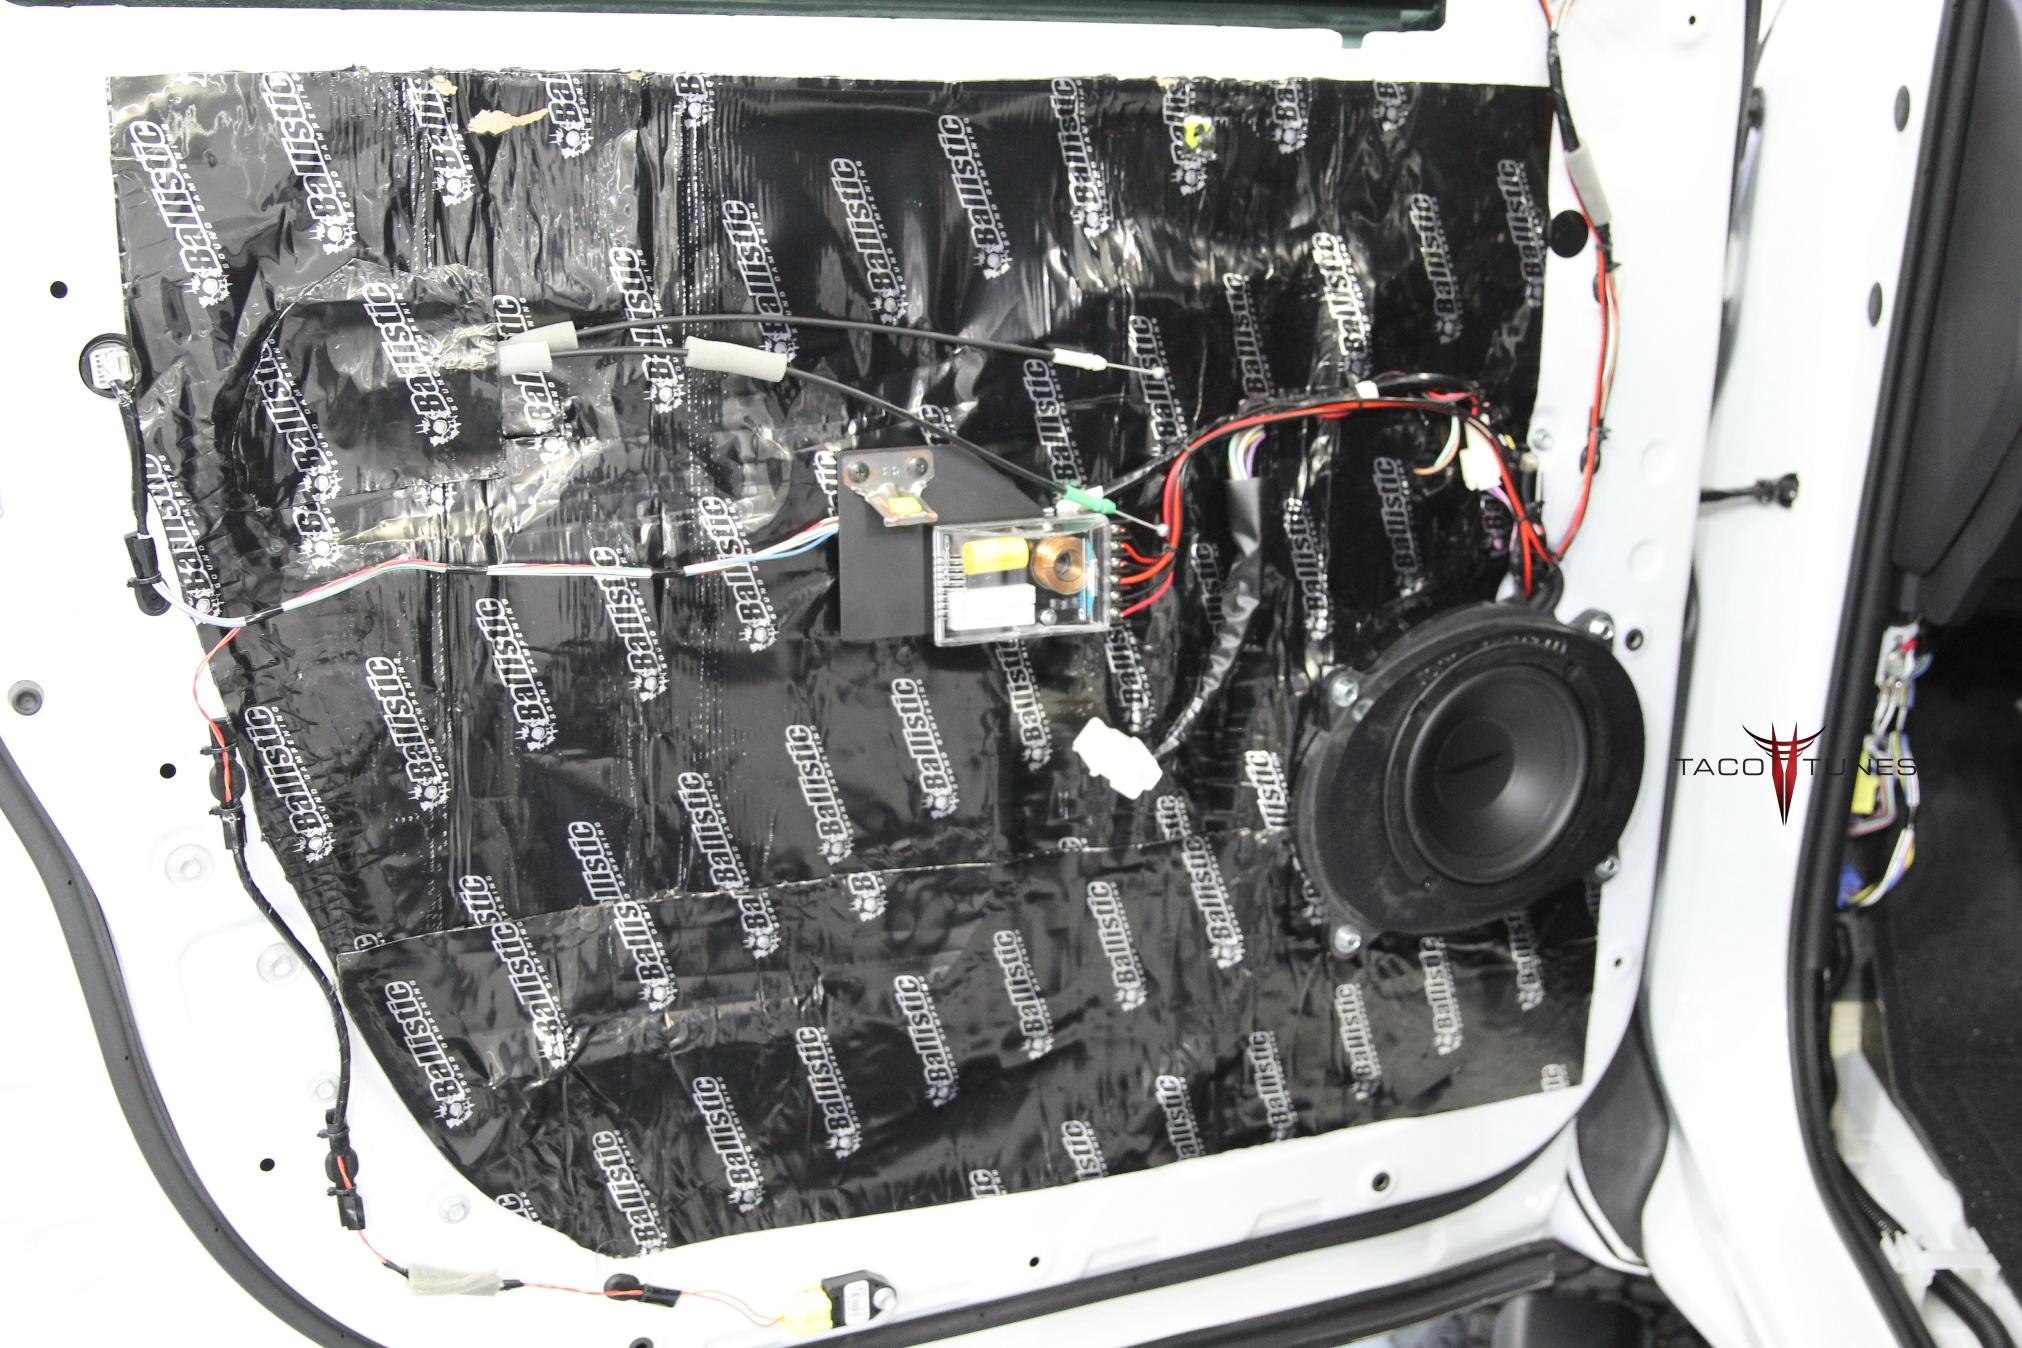
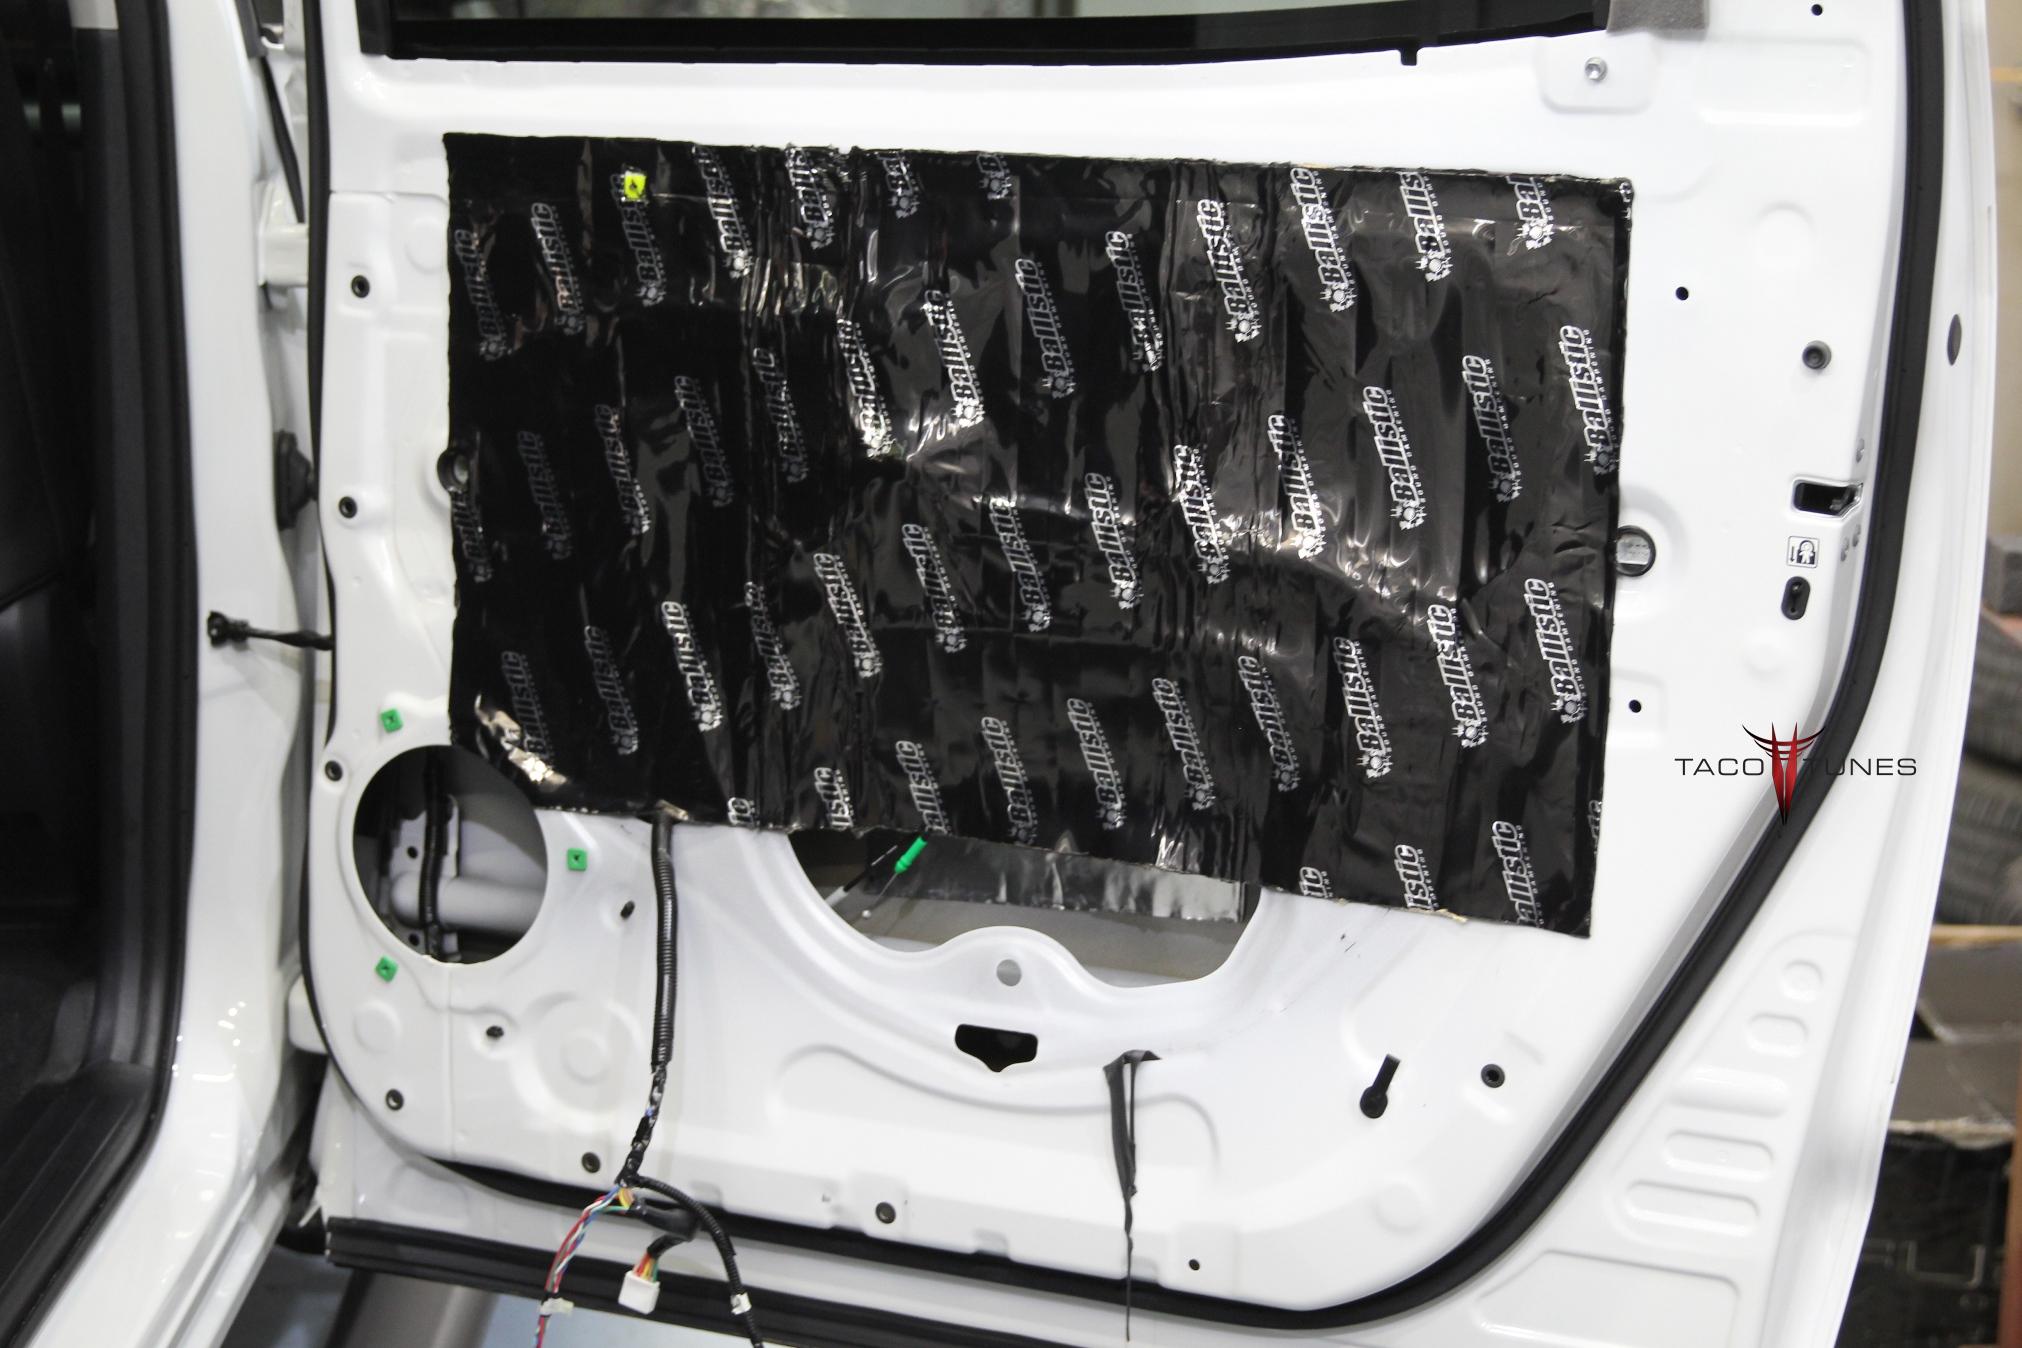
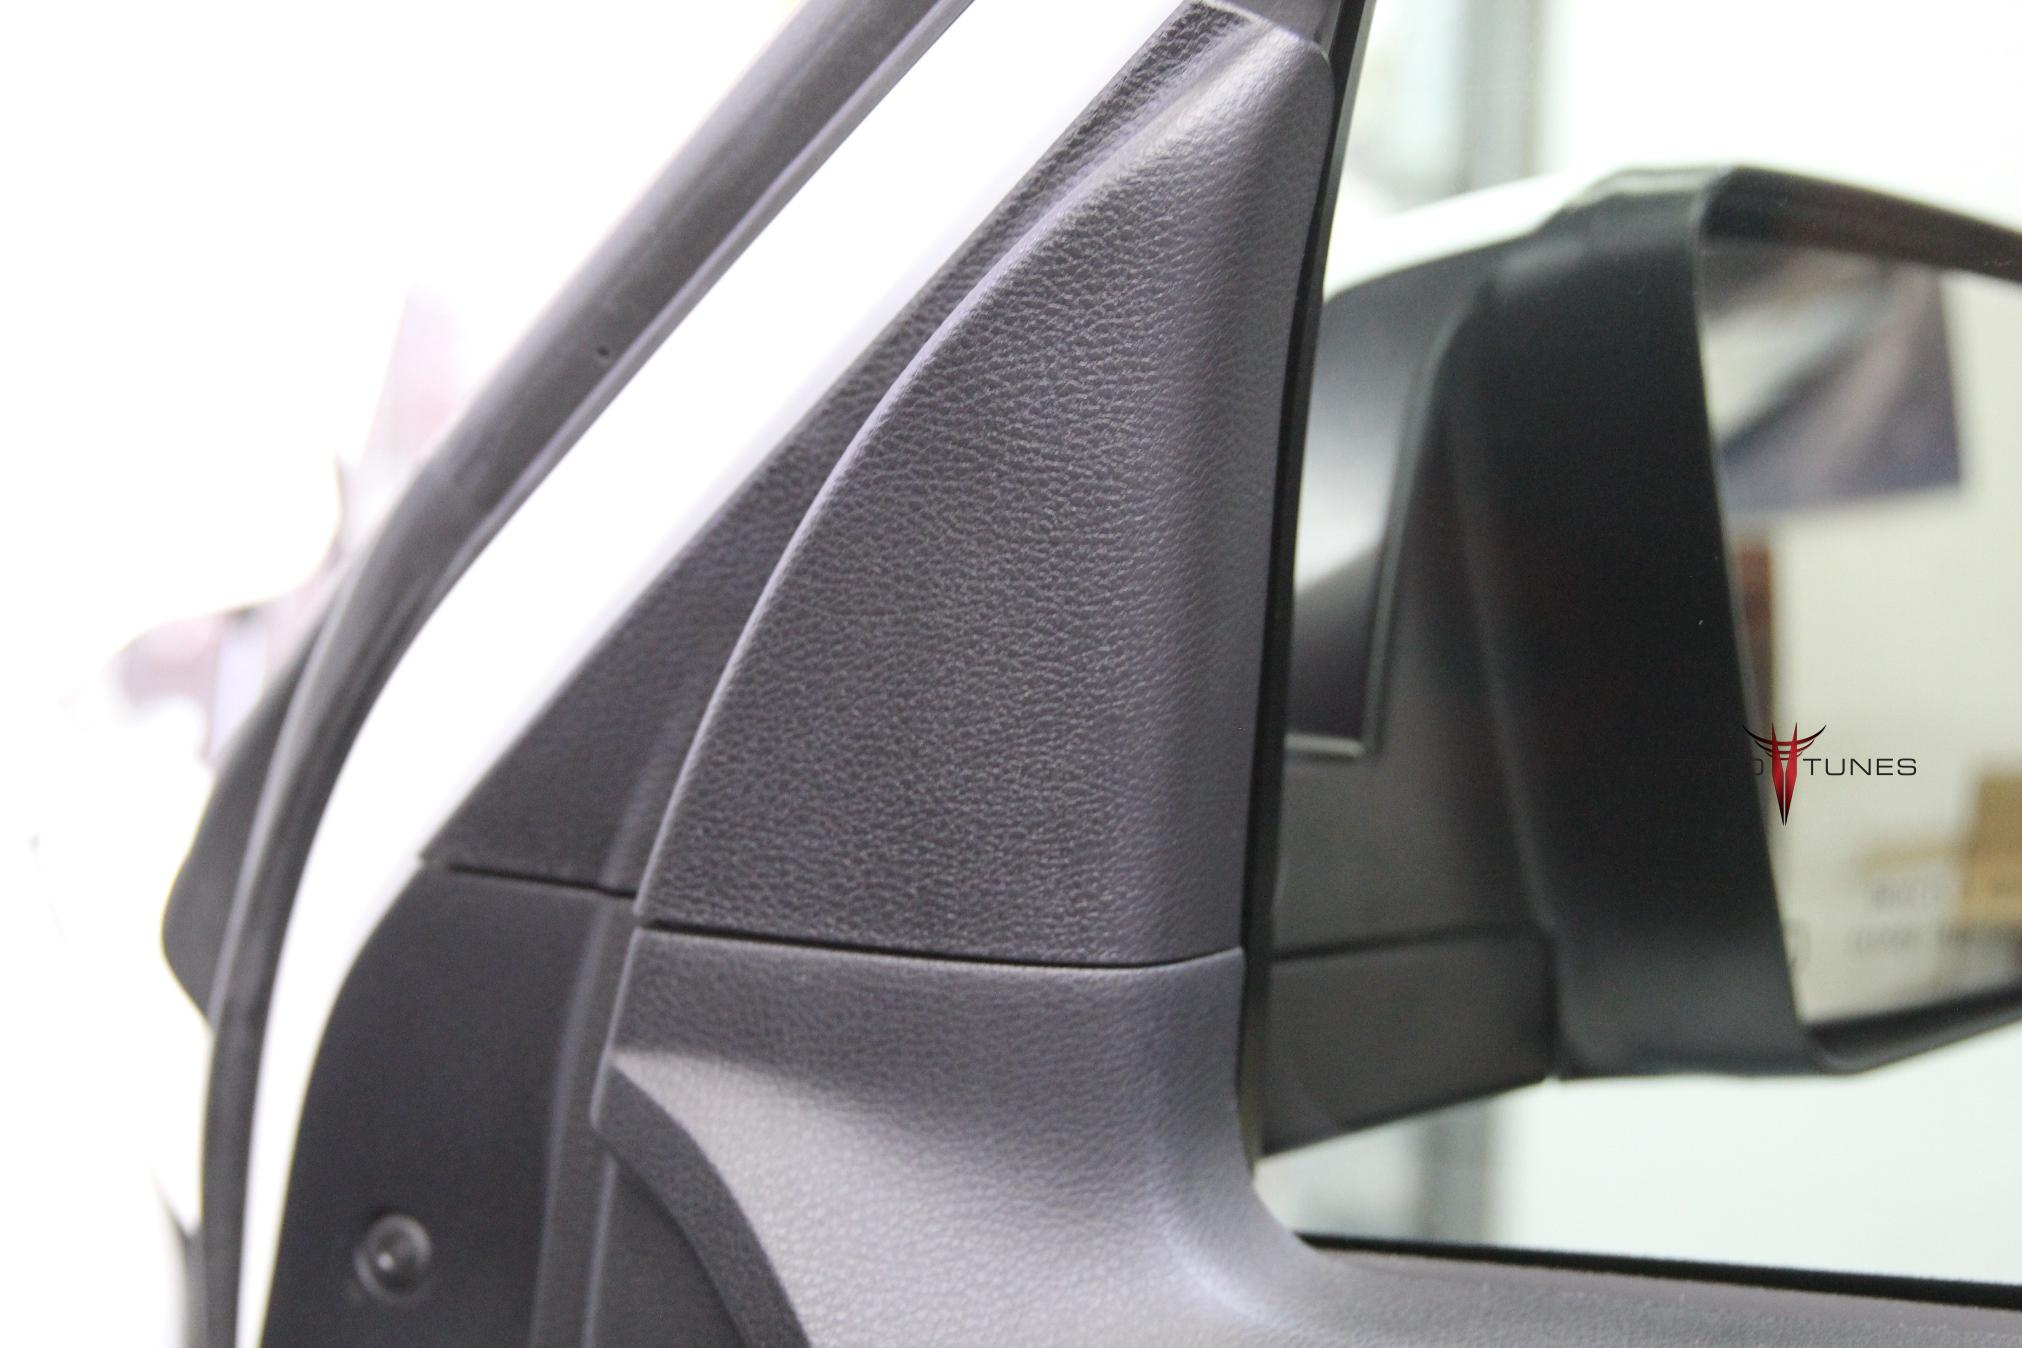
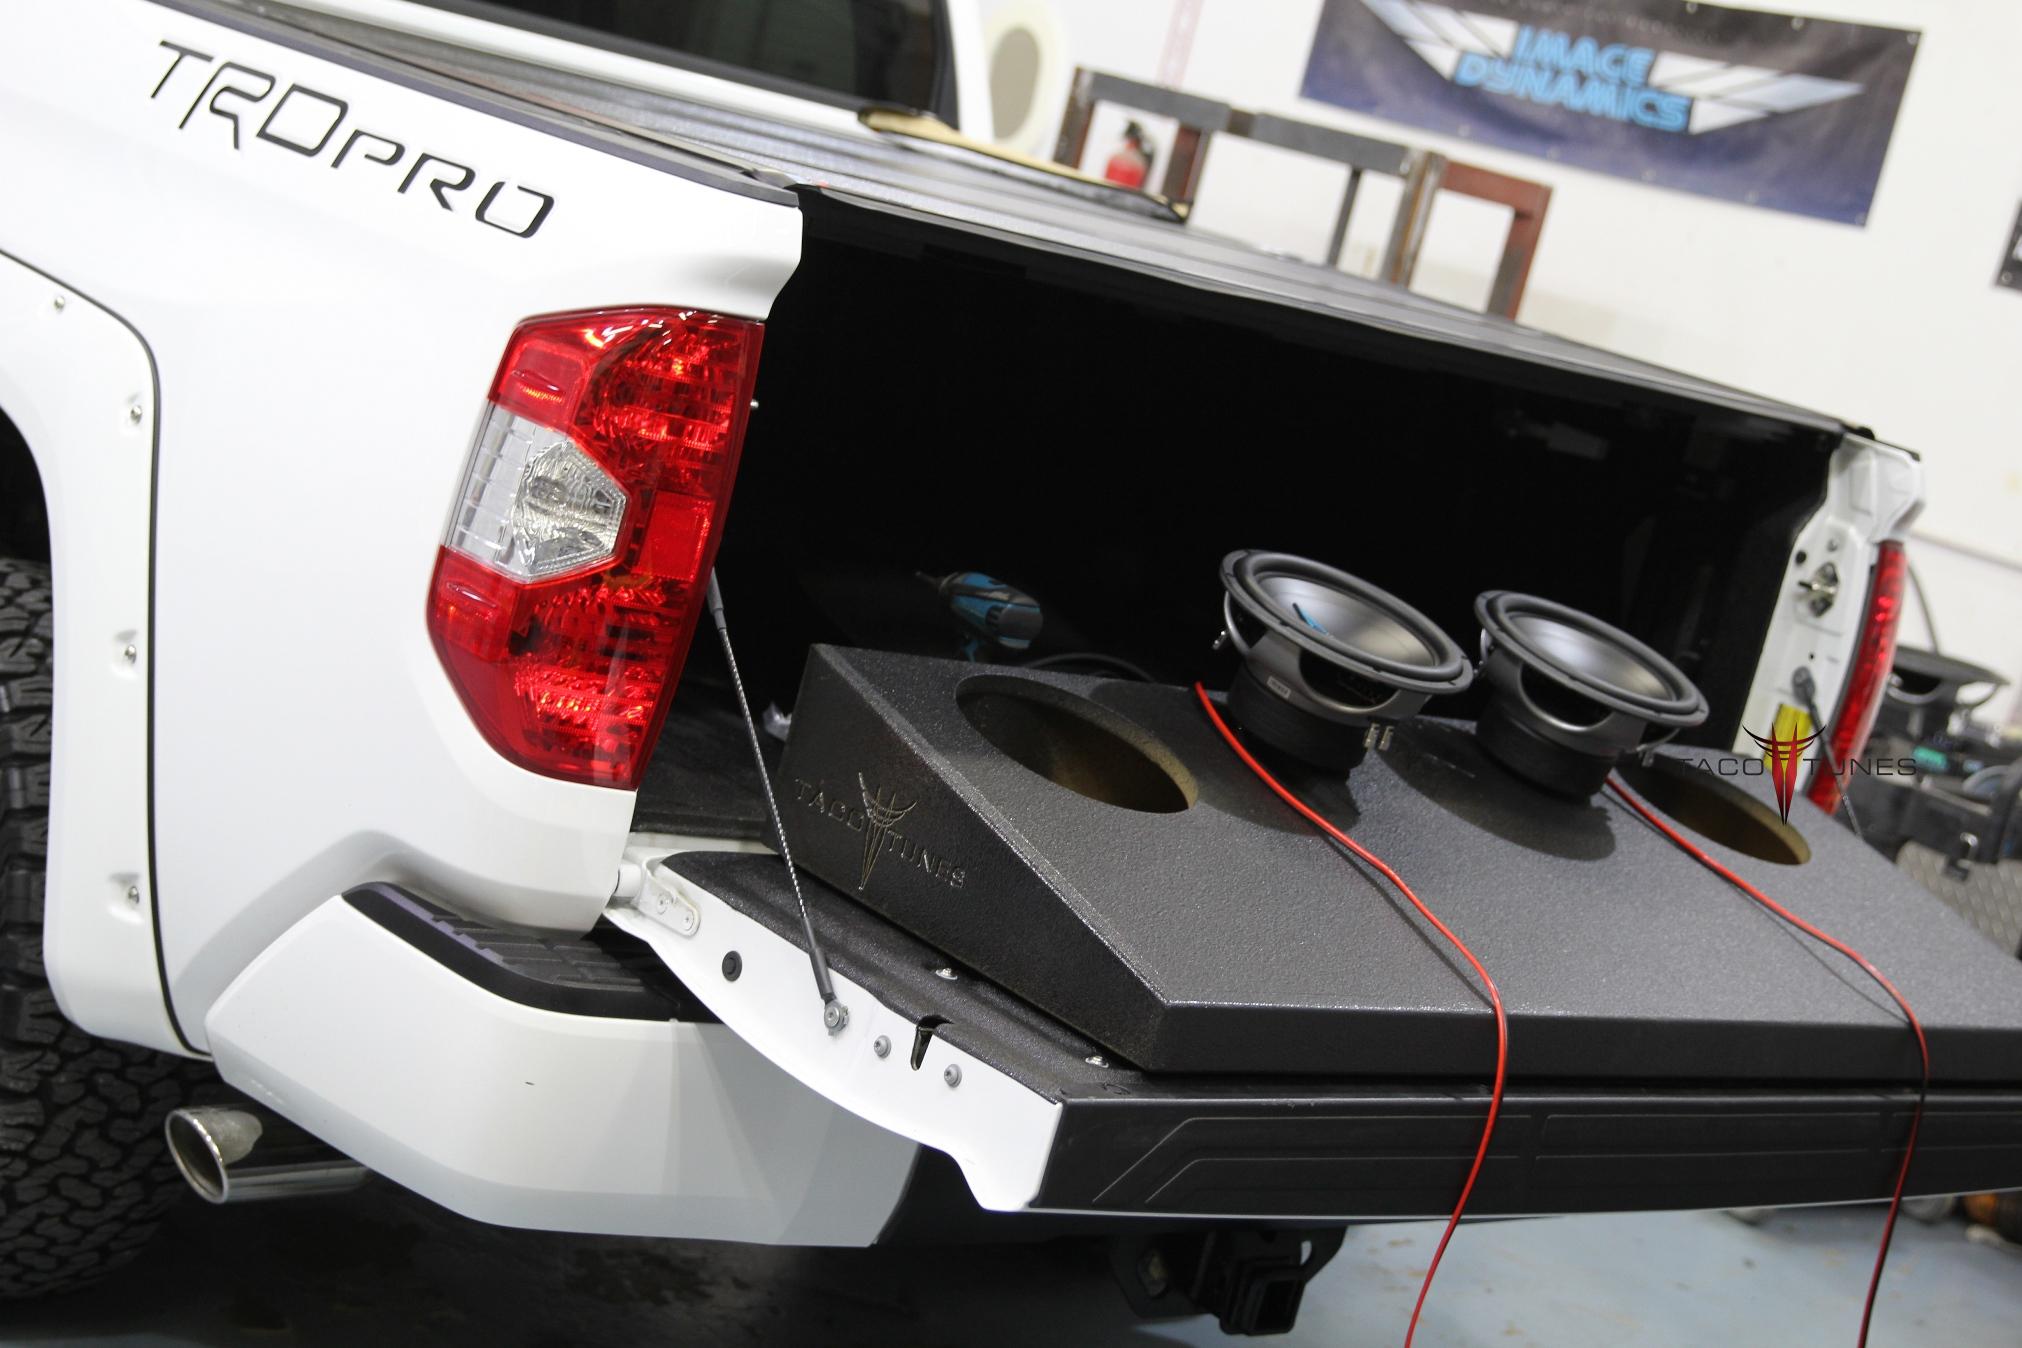
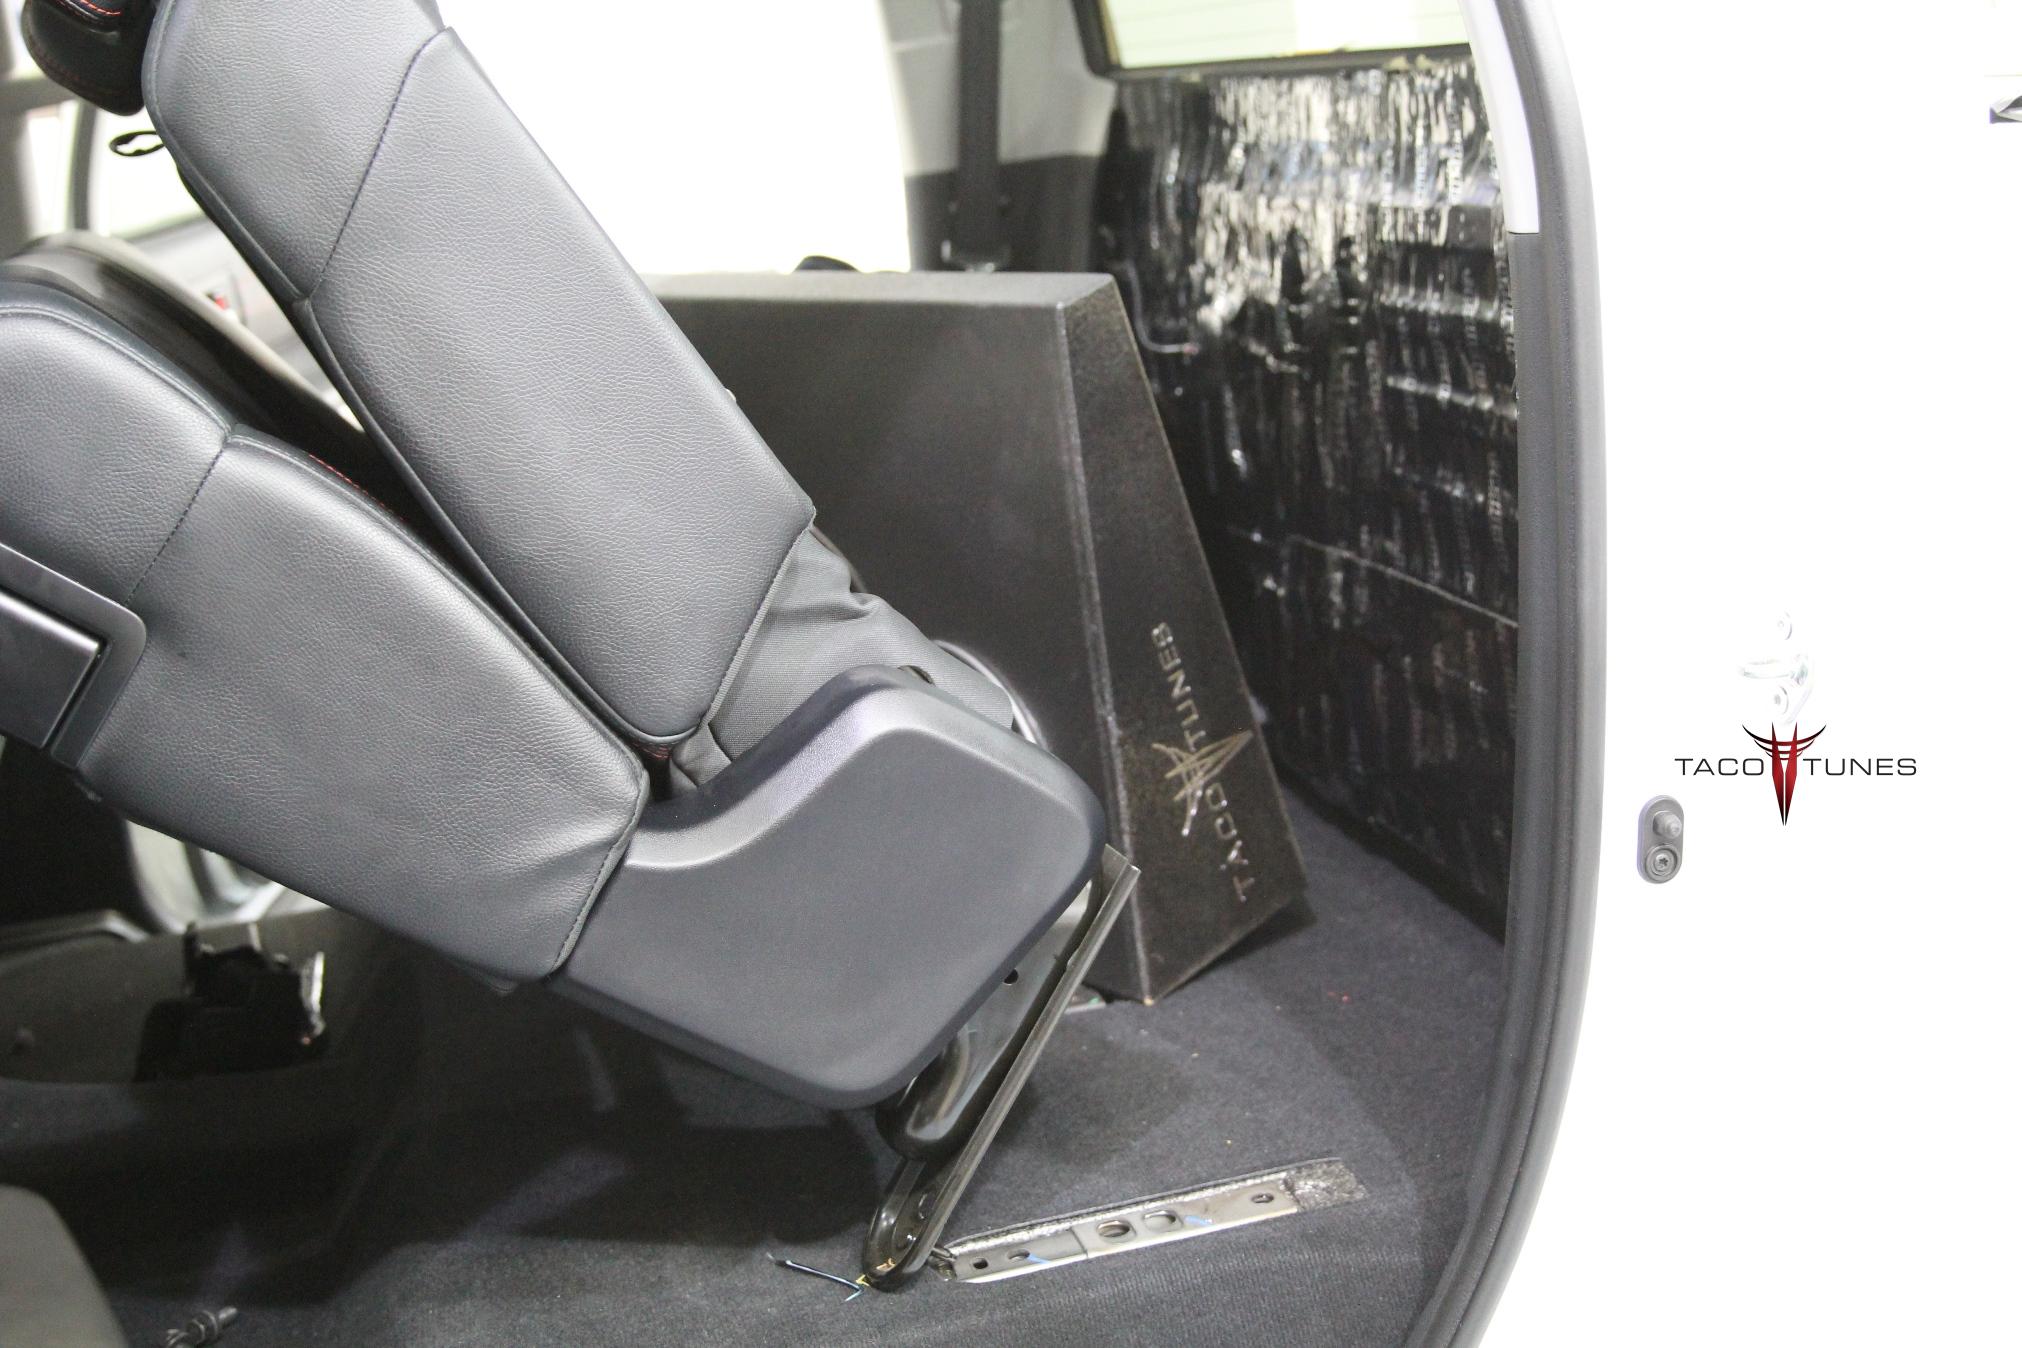
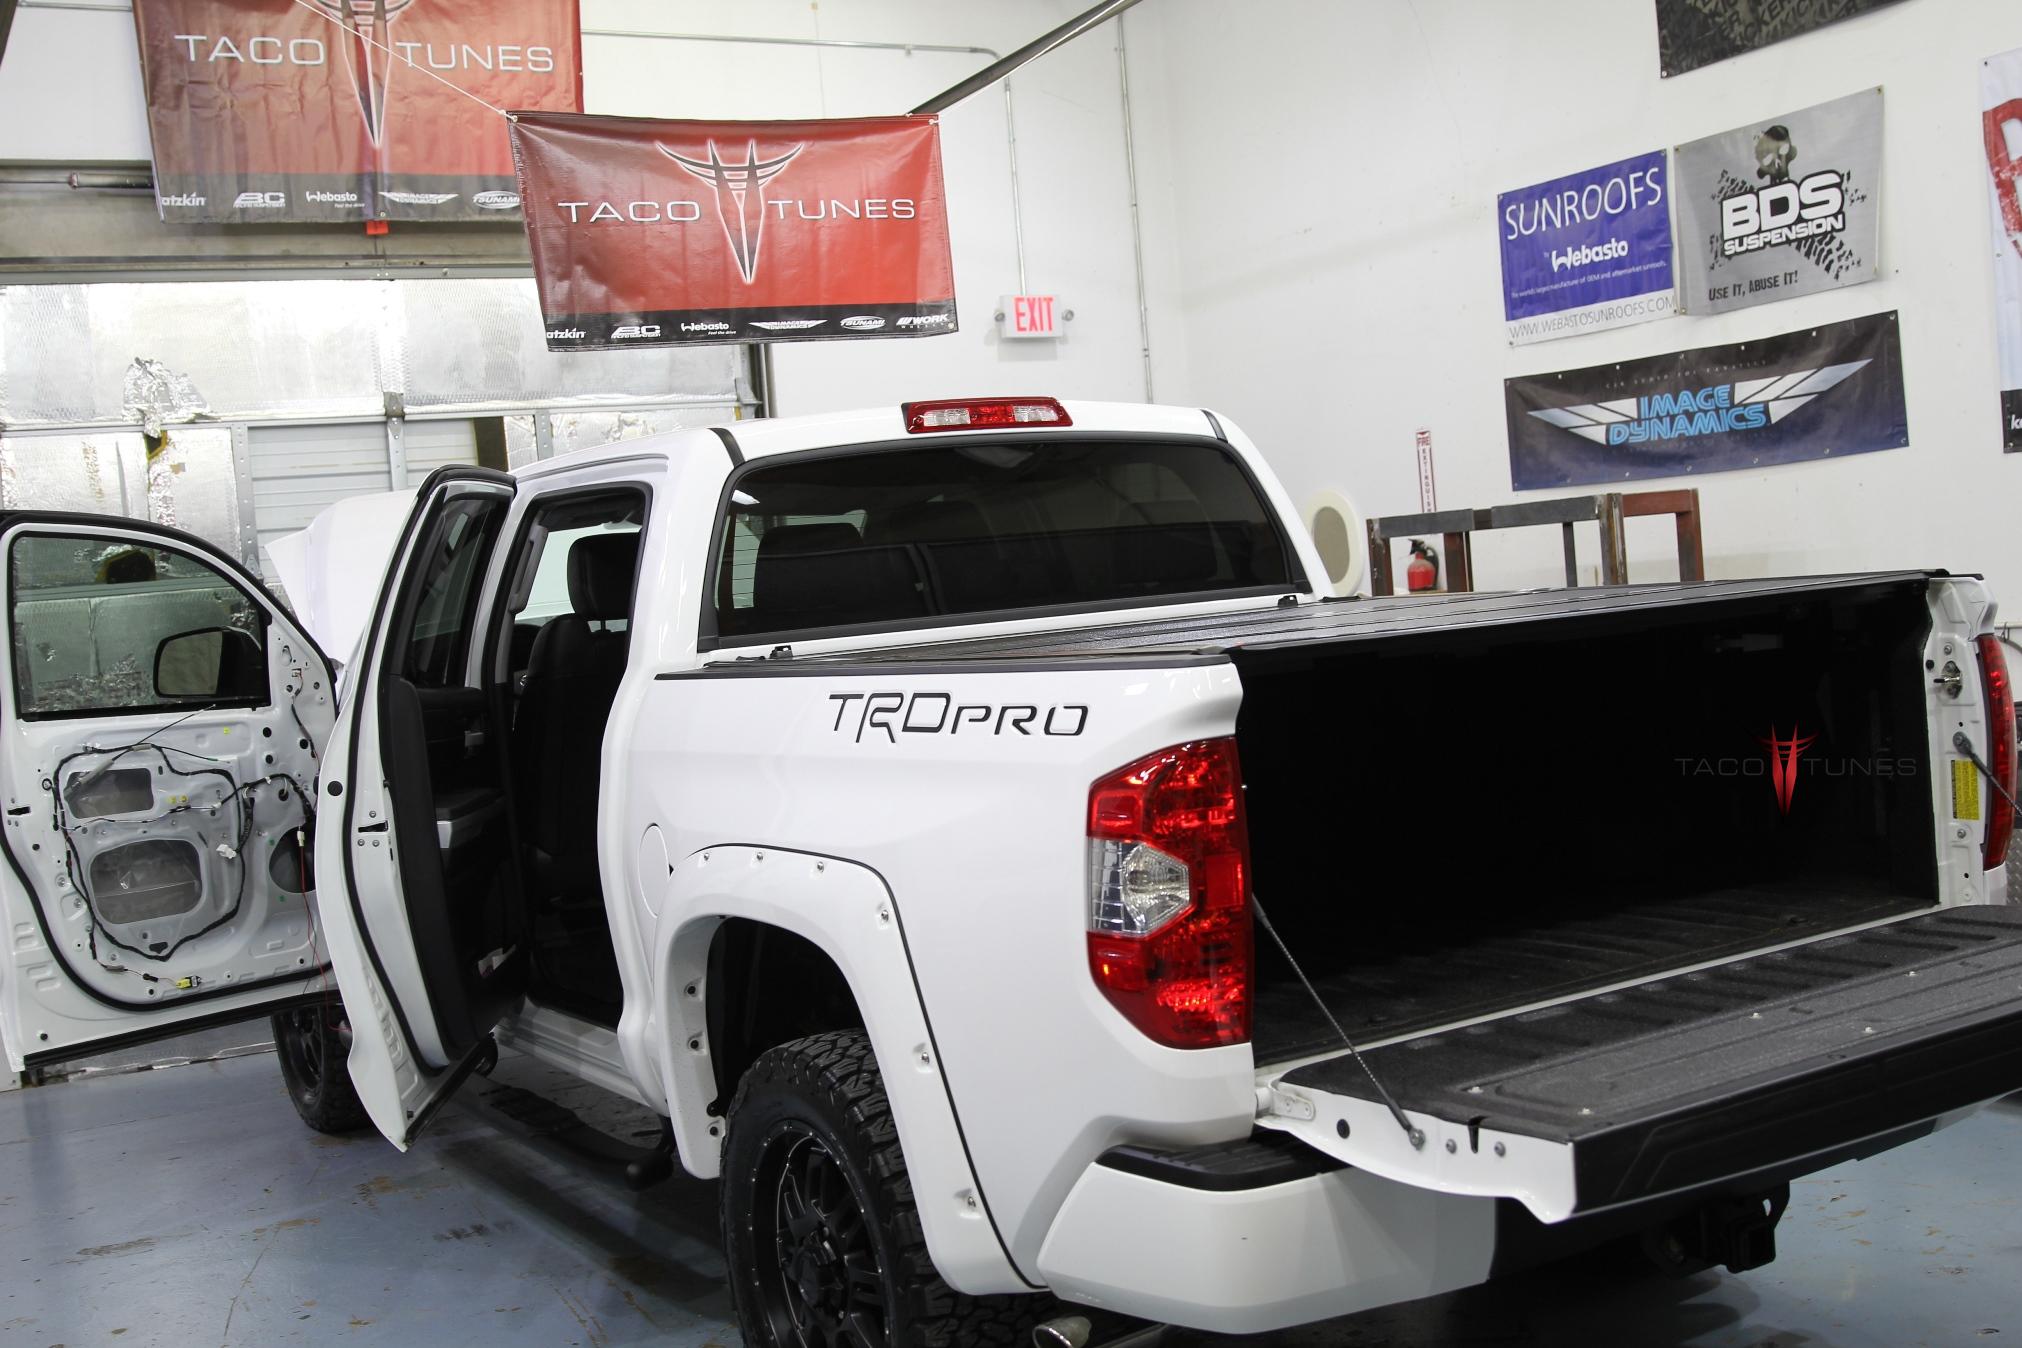
Big bass needs big airspace! At 4.2 cubic feet there is NO other subwoofer solution for your Toyota Tundra that will provide this much quality bass while keeping ALL your cab space! This massive box takes the shape of the rear wall and the shape of the seats. We did this to gain the absolute max space we could get behind the seat in your Tundra. Jessica is a local customer that came in to get her bass fix! Her bad ass Tundra needed some bad ass bass! When you are ready for amazing sound quality and bass that will rattle your eye balls – hit us up!
How big is the biggest Tundra subwoofer box you make?
Our largest fiberglass enclosure for the 2007-2021 Tundra CrewMax has 4.2 cubic feet of air space. It follows the shape of the rear wall and seats, so you get serious bass and keep all of your cab space.
What is the advantage of a fiberglass subwoofer enclosure?
A custom fiberglass enclosure can be molded to the truck’s shape, giving maximum air space behind the rear seat. More air space lets the subwoofers play deeper and louder.
Ported or sealed: which subwoofer box is best for a truck?
When space and budget allow, nearly all of our customers choose a ported box. A well-designed ported enclosure with plenty of air space gives deeper, louder bass than a shallow-mount sub, especially at lower volumes.
Huge thank you to Laurent for making the drive from Austin to have us install our system 1A into your 2017 Toyota Tundra CrewMax!
Vehicle
2017 Toyota Tundra CrewMax
System
System 1A
Customer from
Austin
Posted
August 2022
Shop
Taco Tunes, San Antonio, TX
The Audio System 1A includes the following: Gen 2 Tundra Factory Integration System: 2 Harness Plug and Play system – no cutting or splicing any of your wires in your new Tundra.
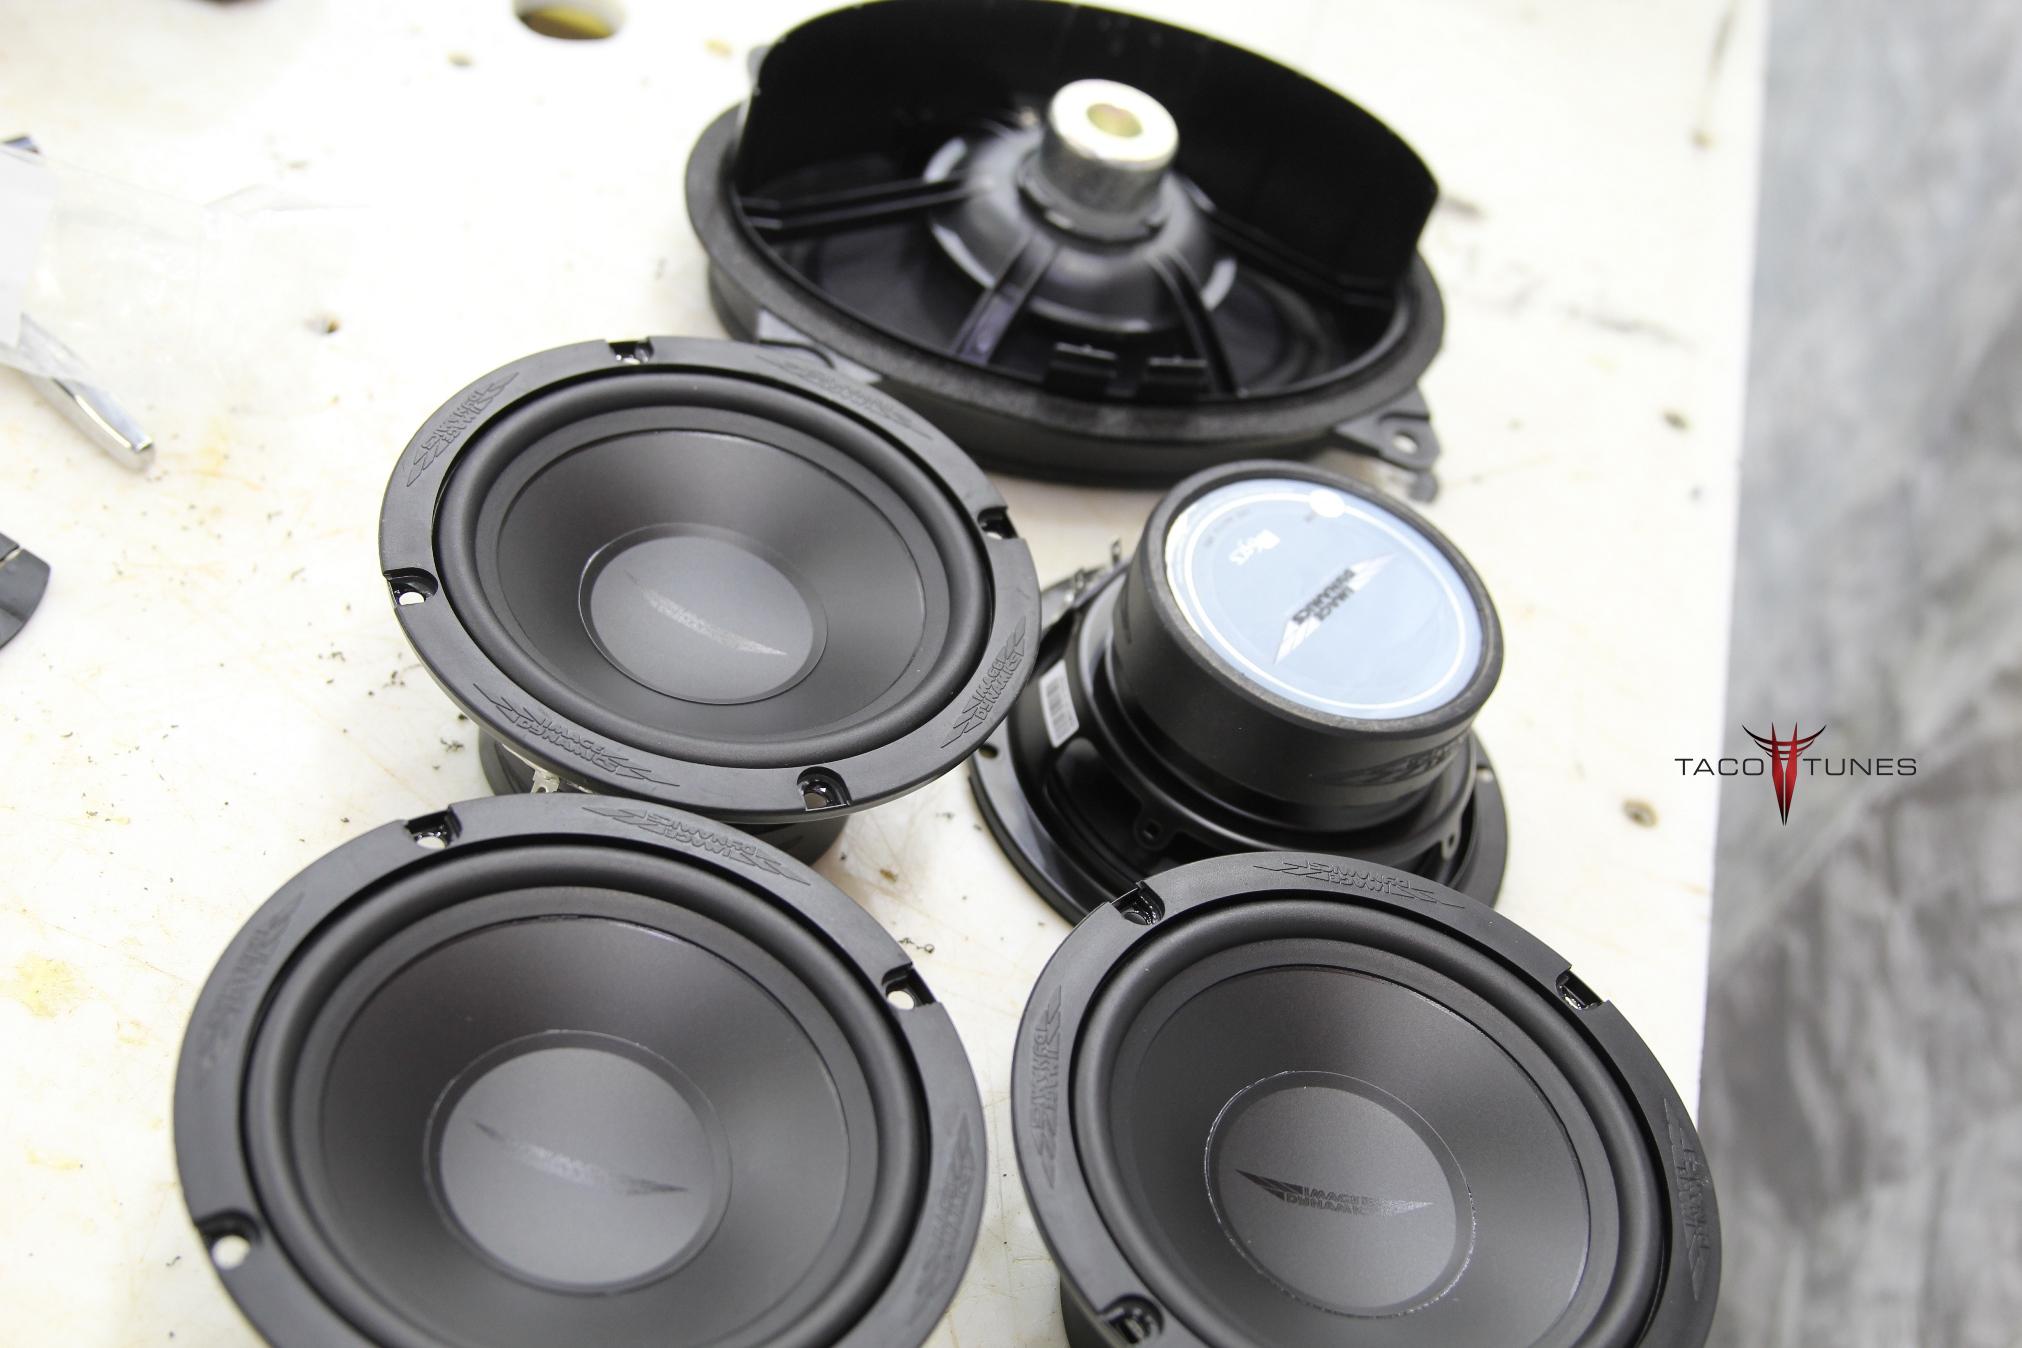
Front Door Component Speakers
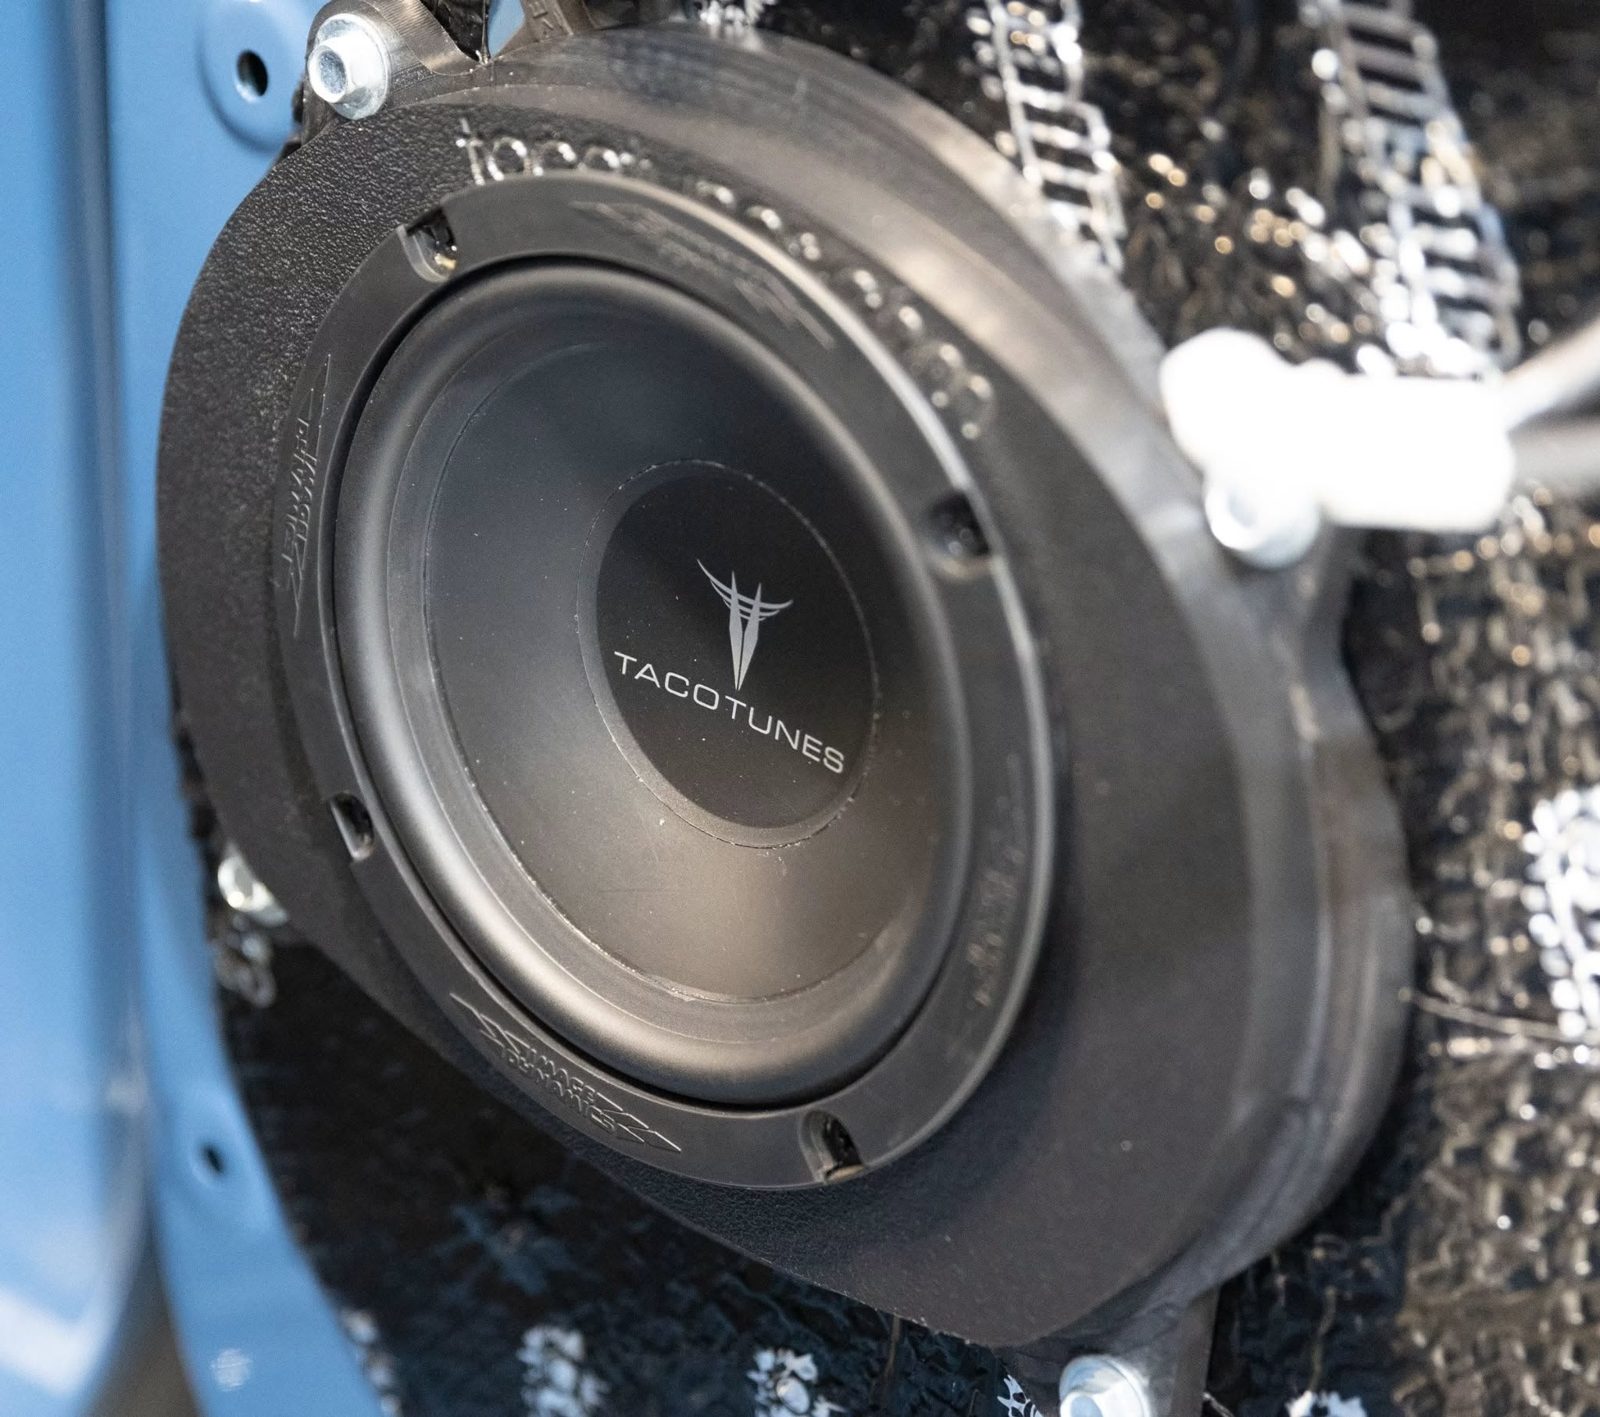
Tacotunes.com TT65CS Component Speakers
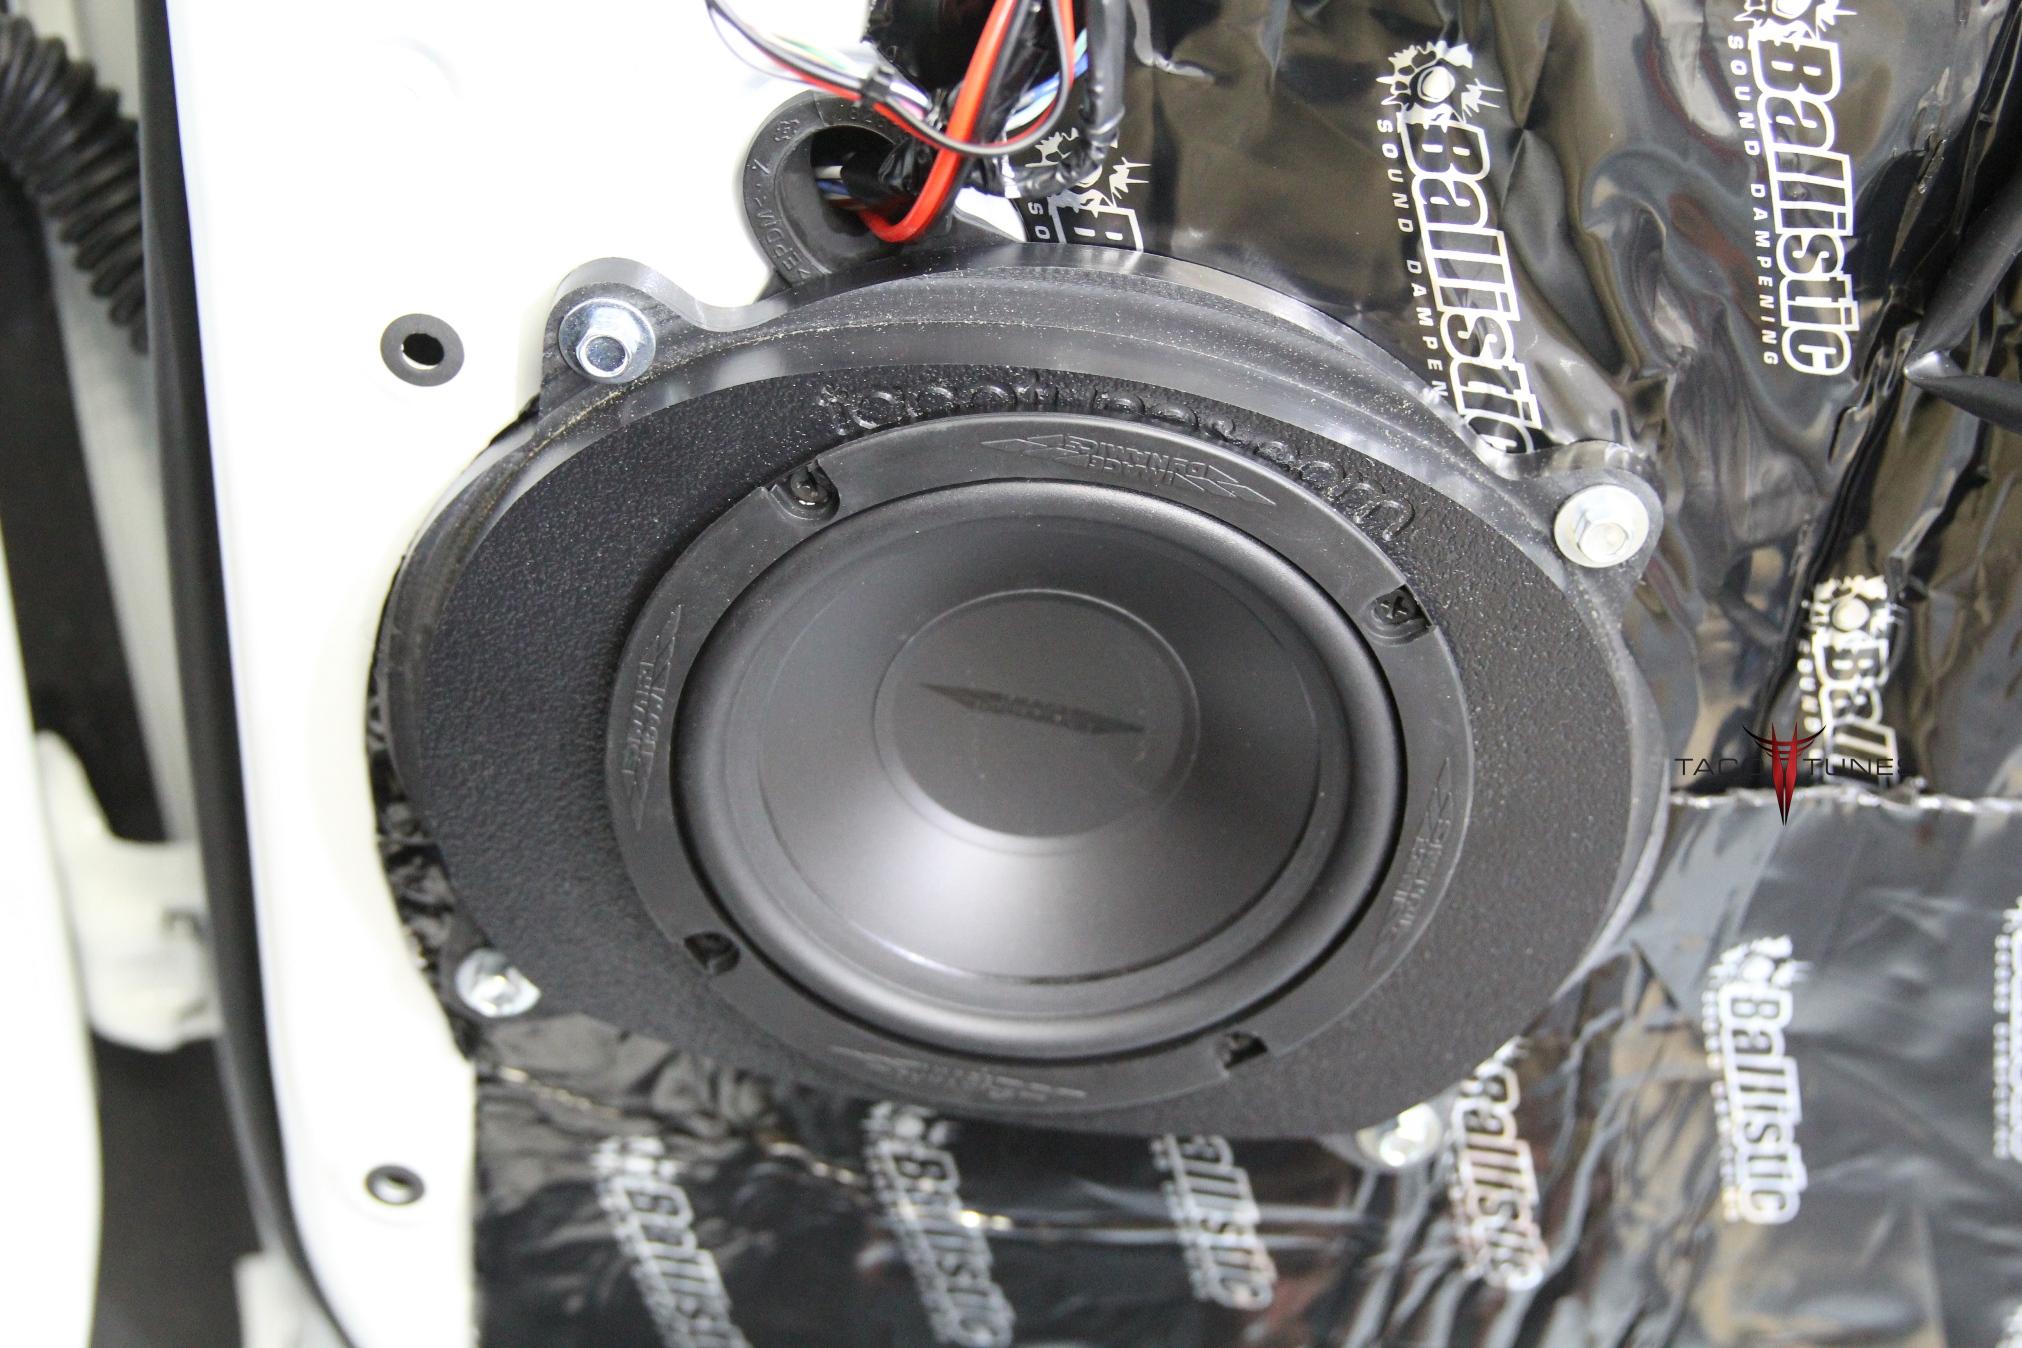
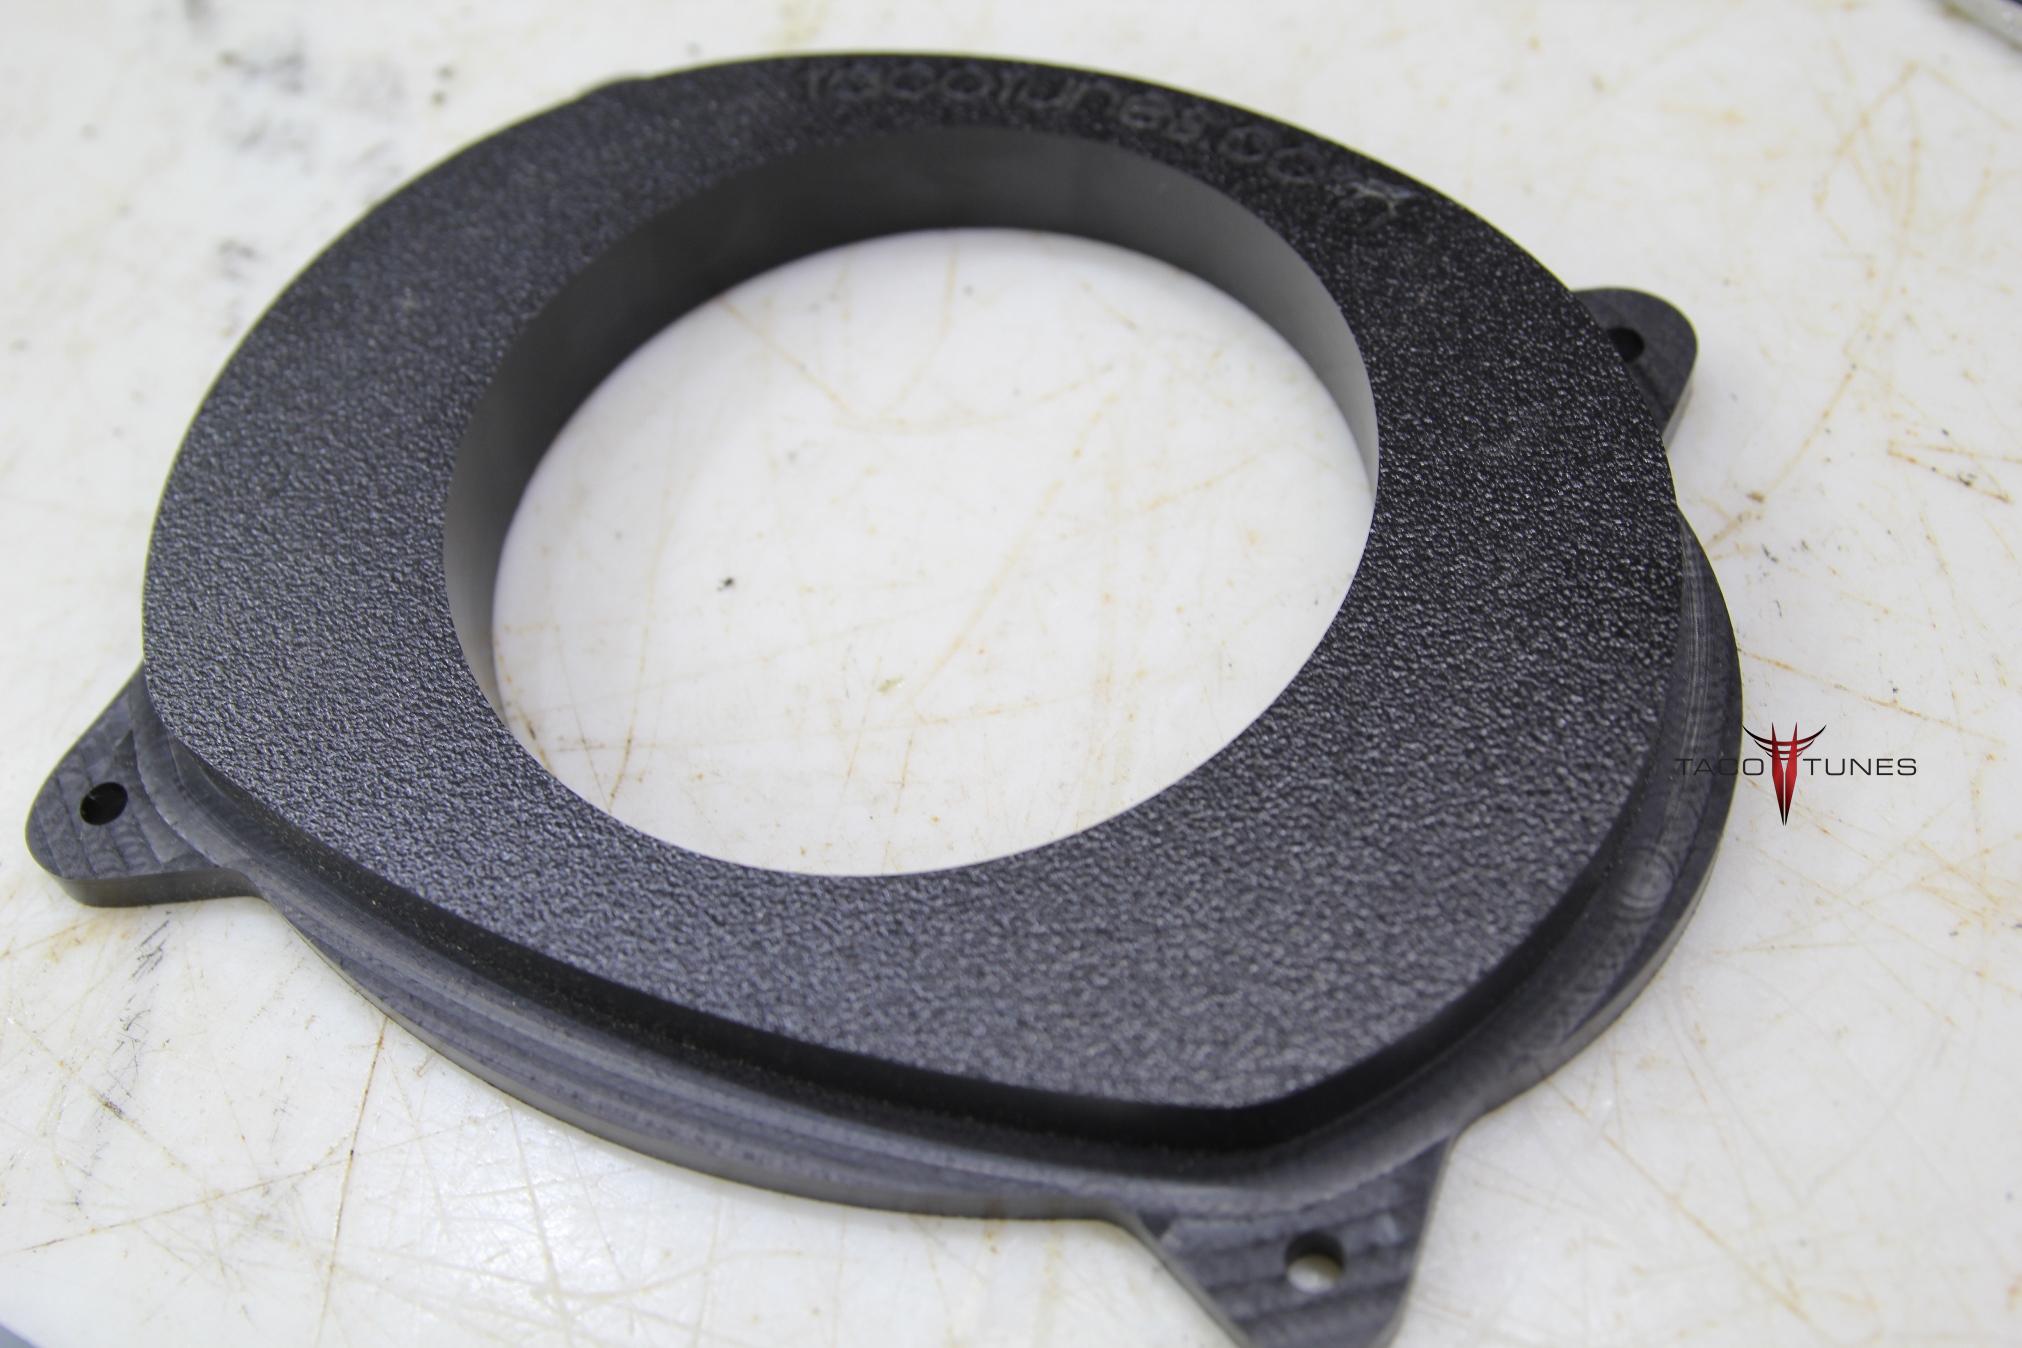
Tacotunes.com heavy duty speaker mounts cut to 5.6”
TT65 Mid bass Drivers -100 Watts RMS
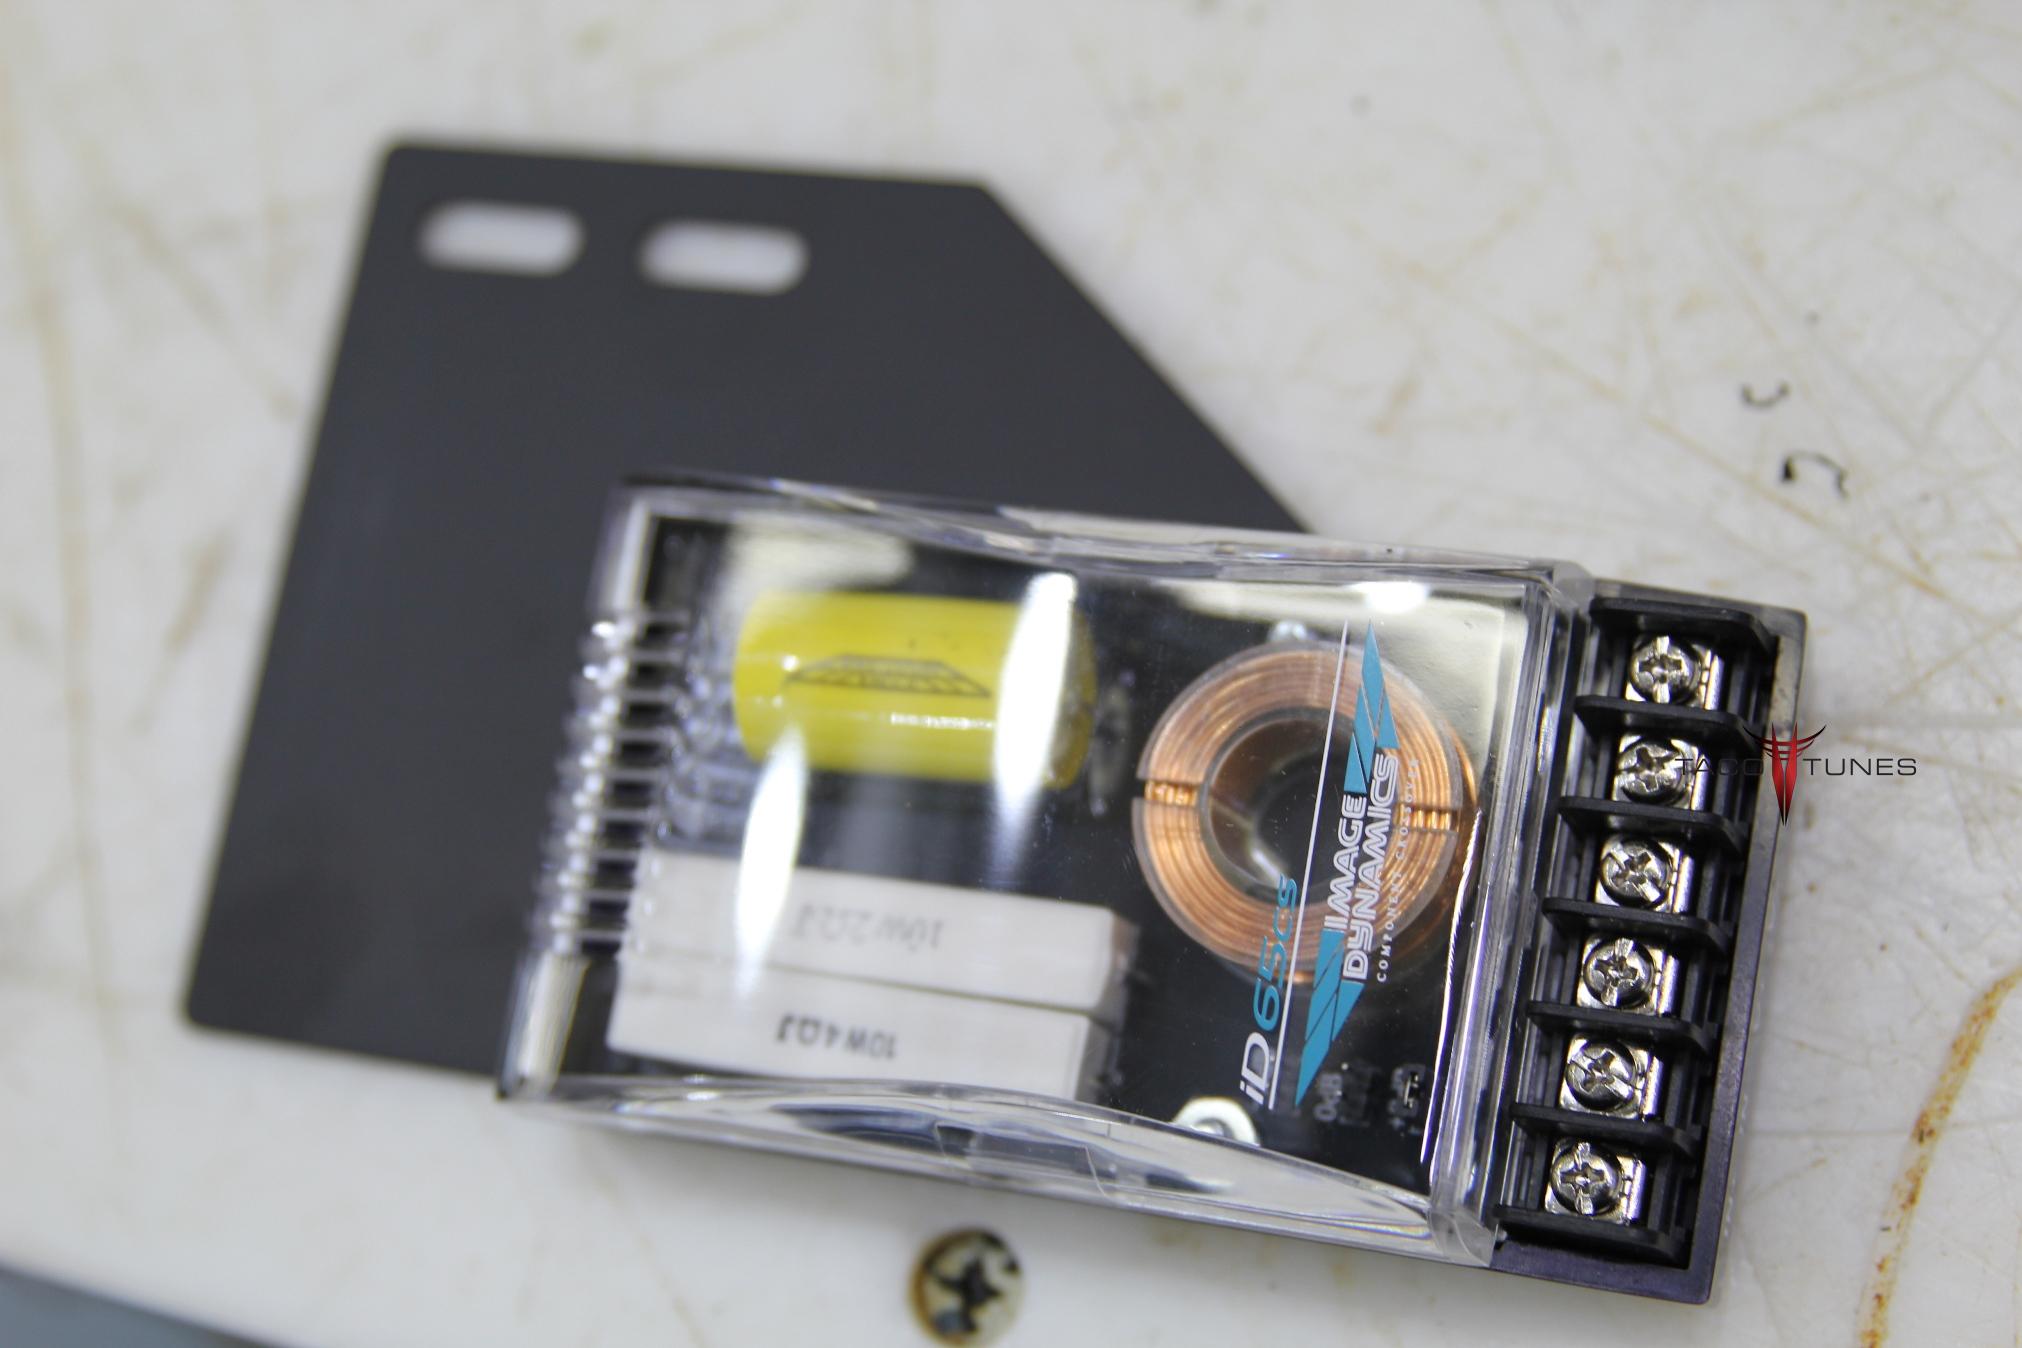
TT65 Crossover
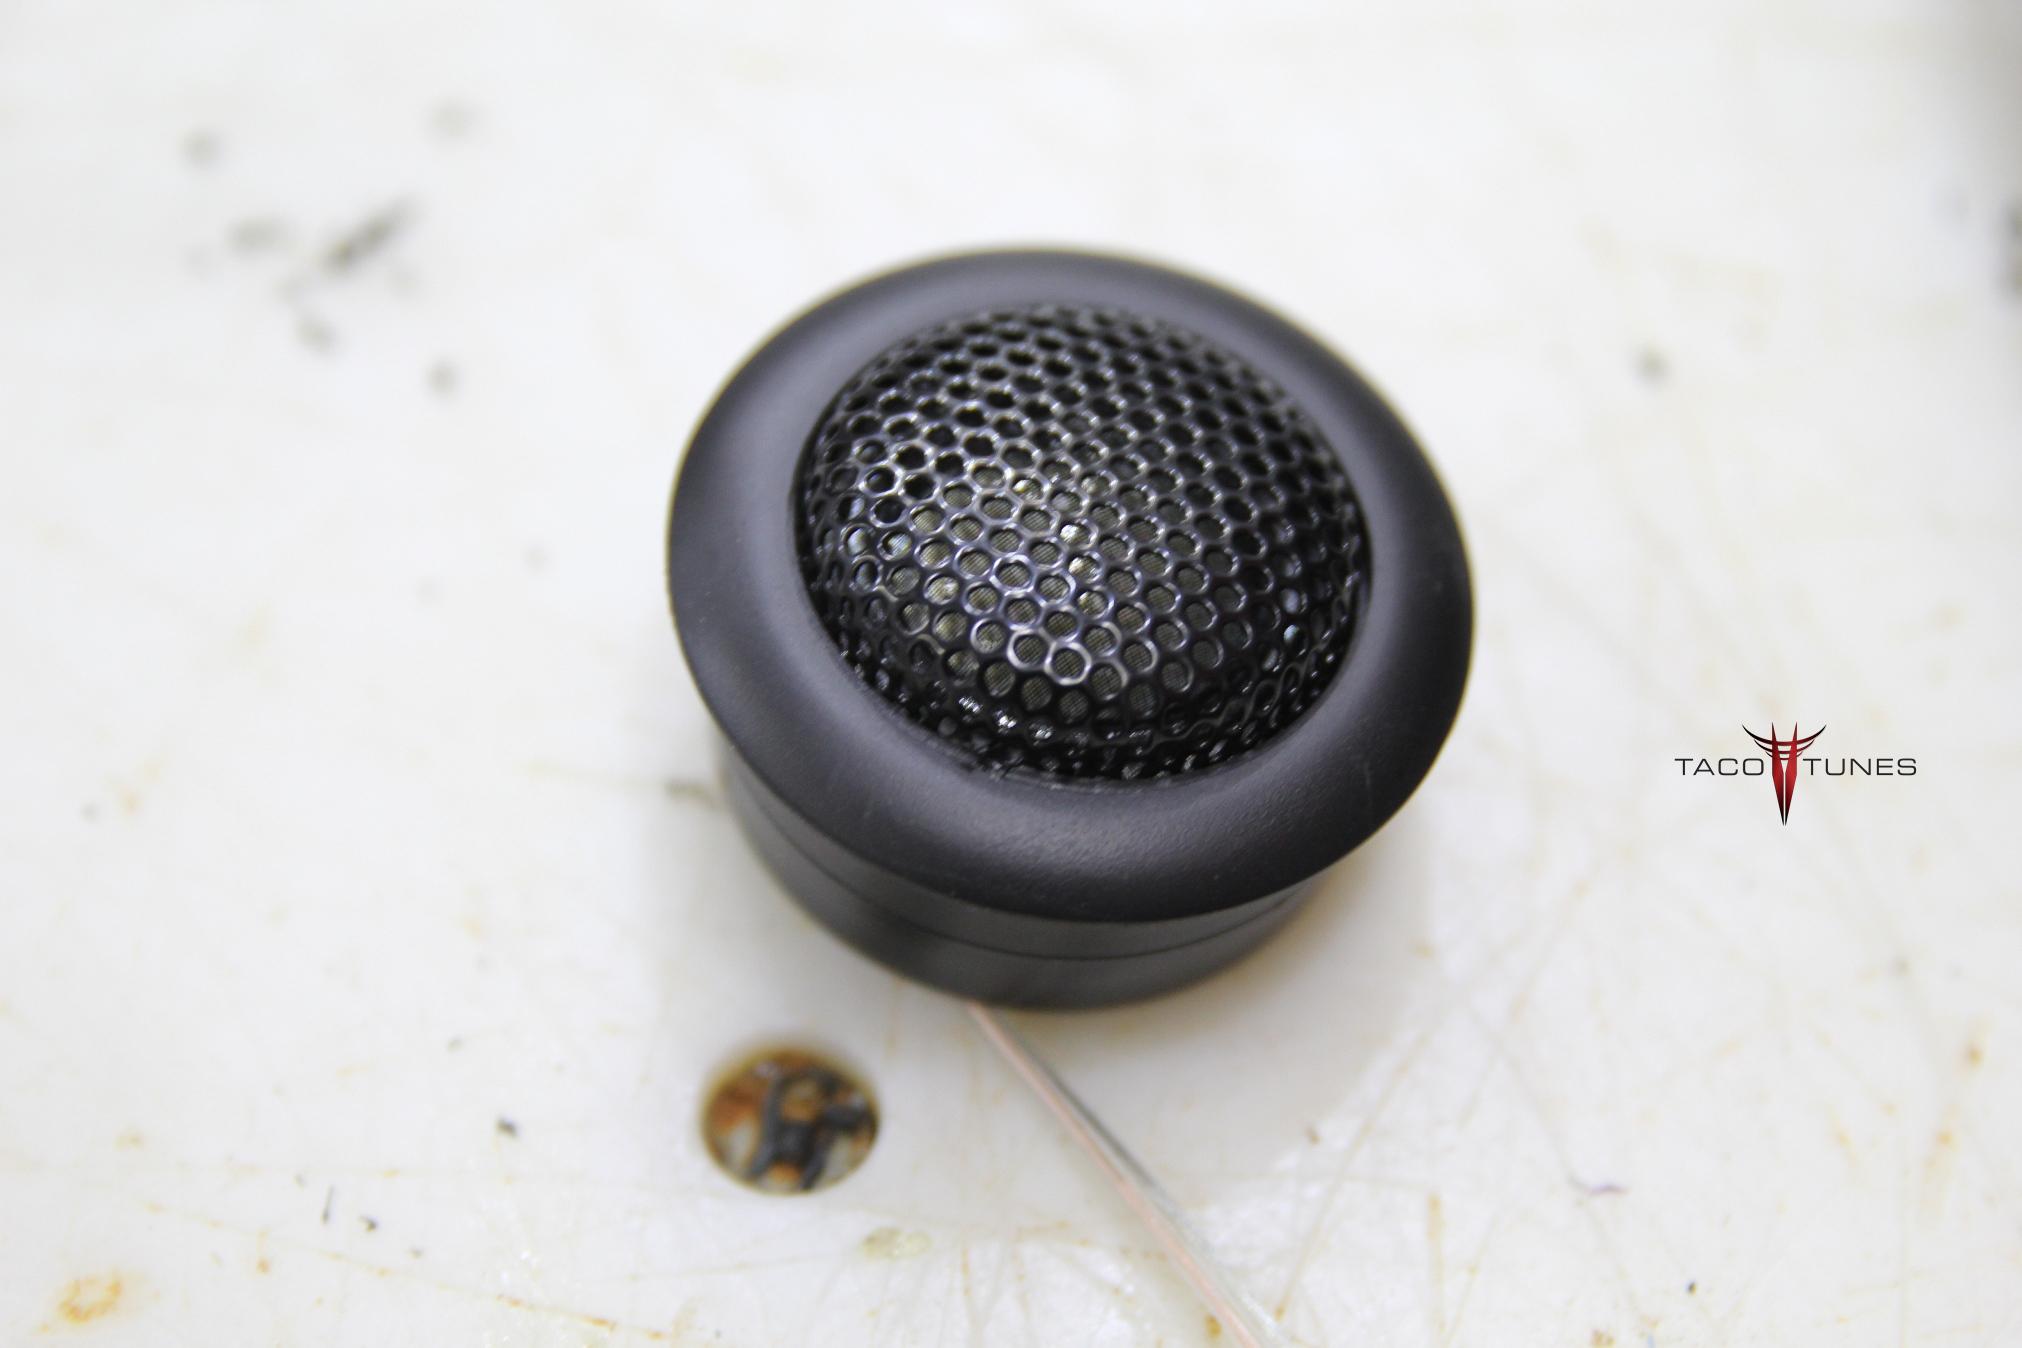
TT65 Tweeter
Tacotunes.com Front Door Speaker Wire Harness Adapters
Tacotunes.com Dash Speaker Wire Harness Adapters
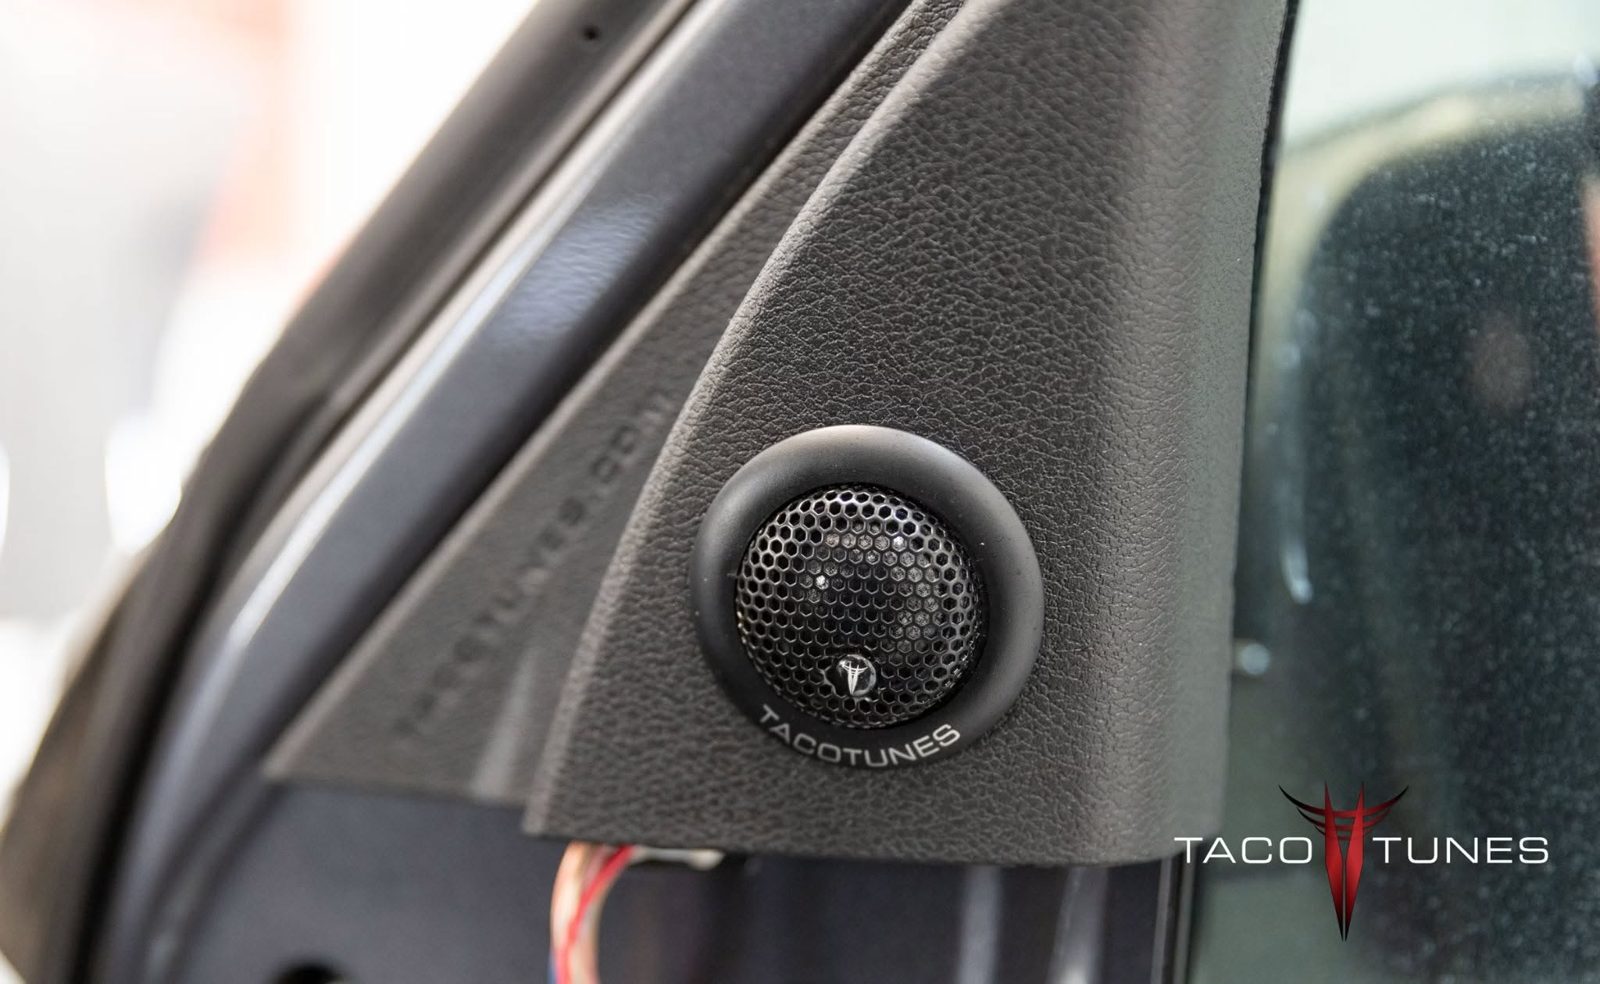
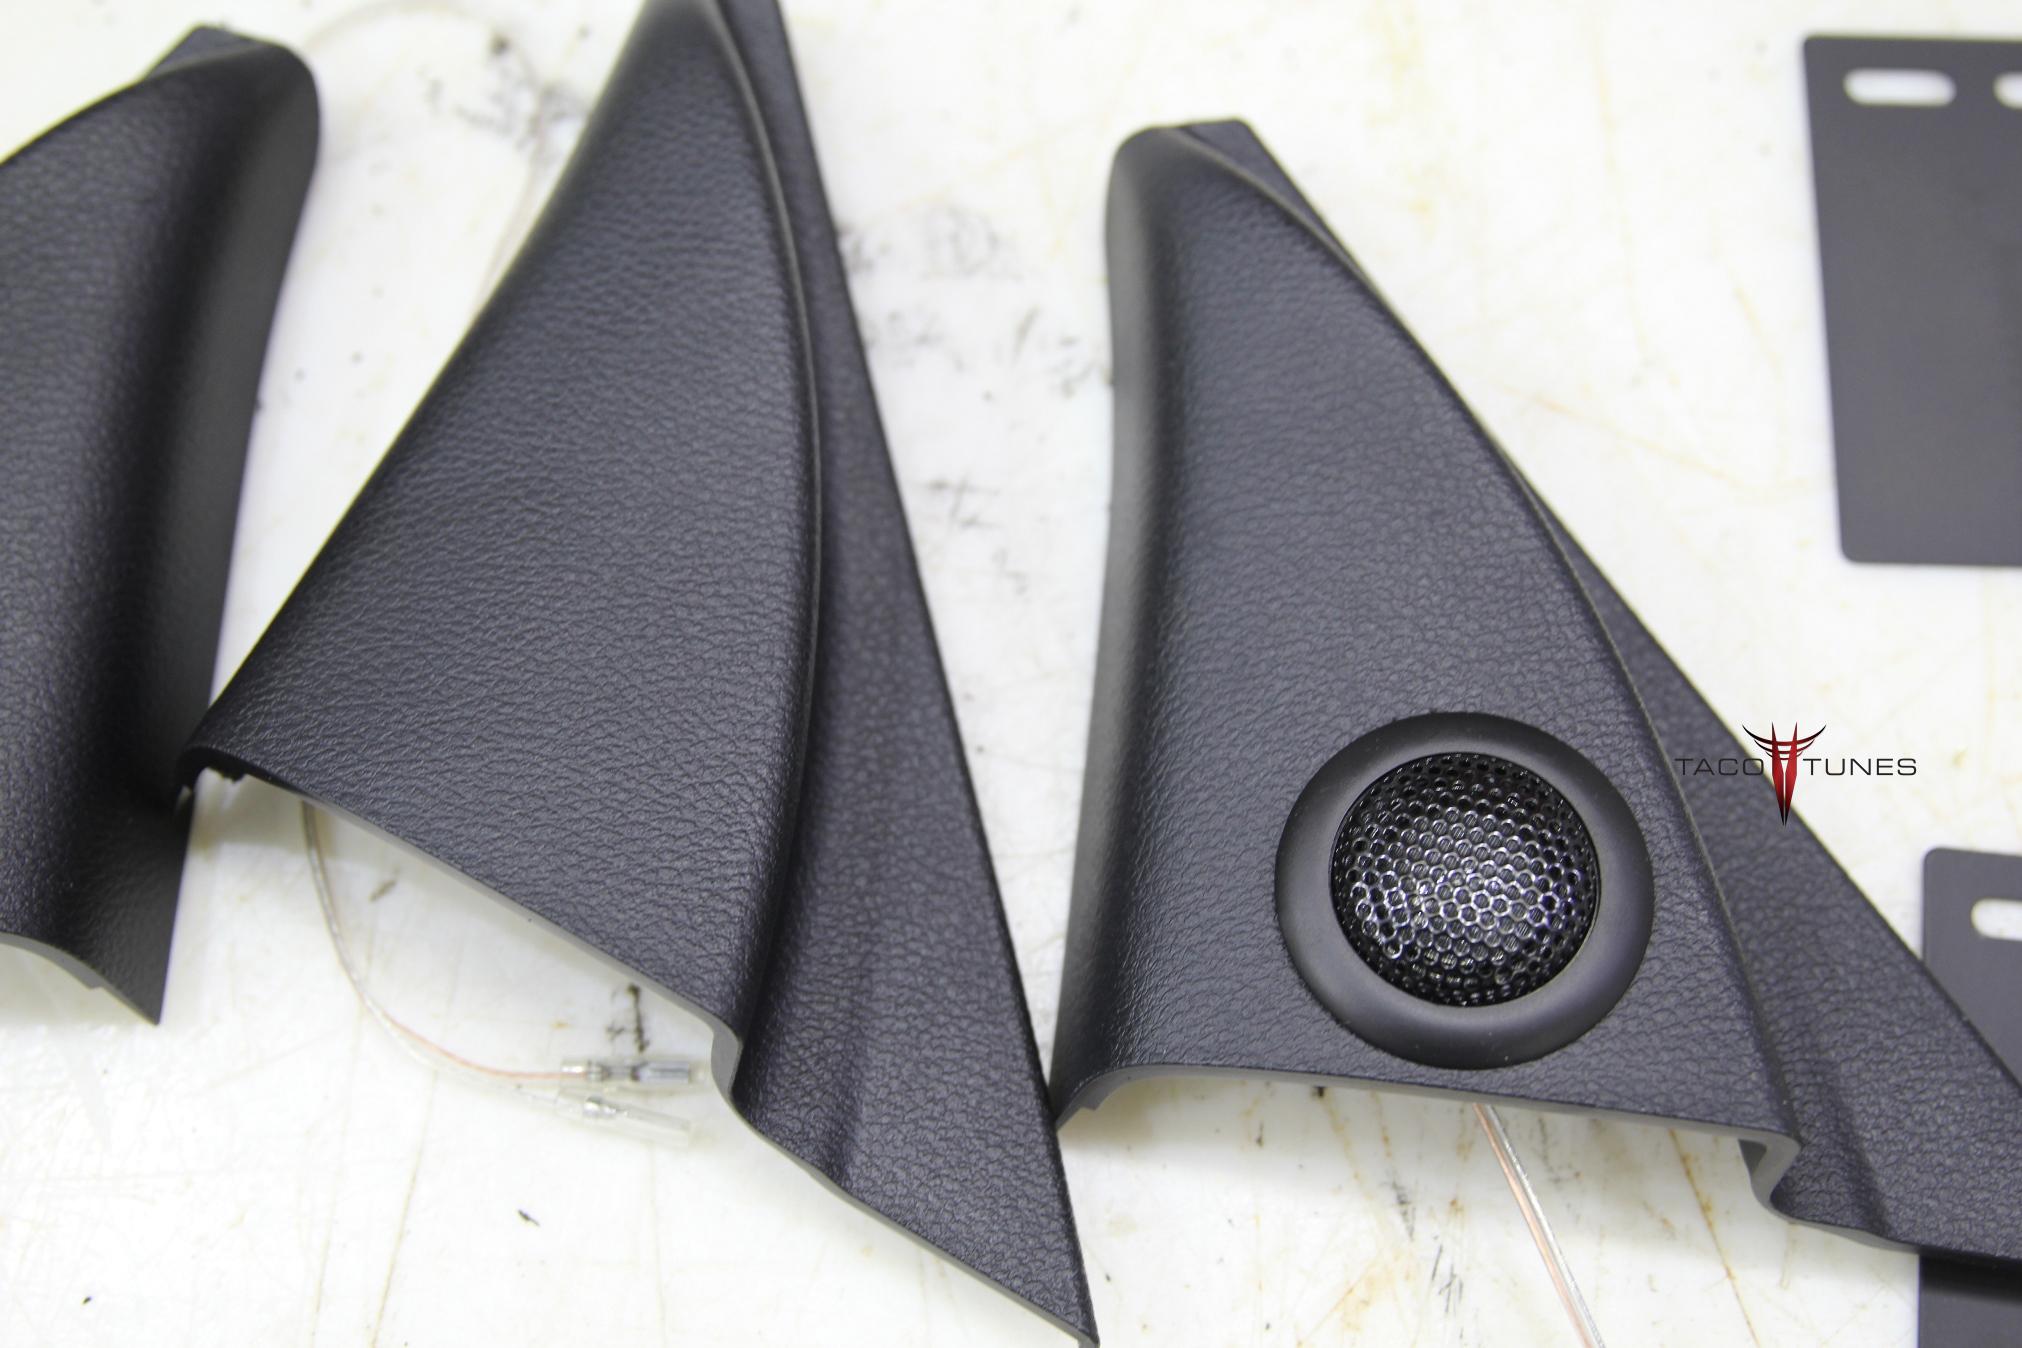
Tweeters Installed in dash location using tweeter adapters.
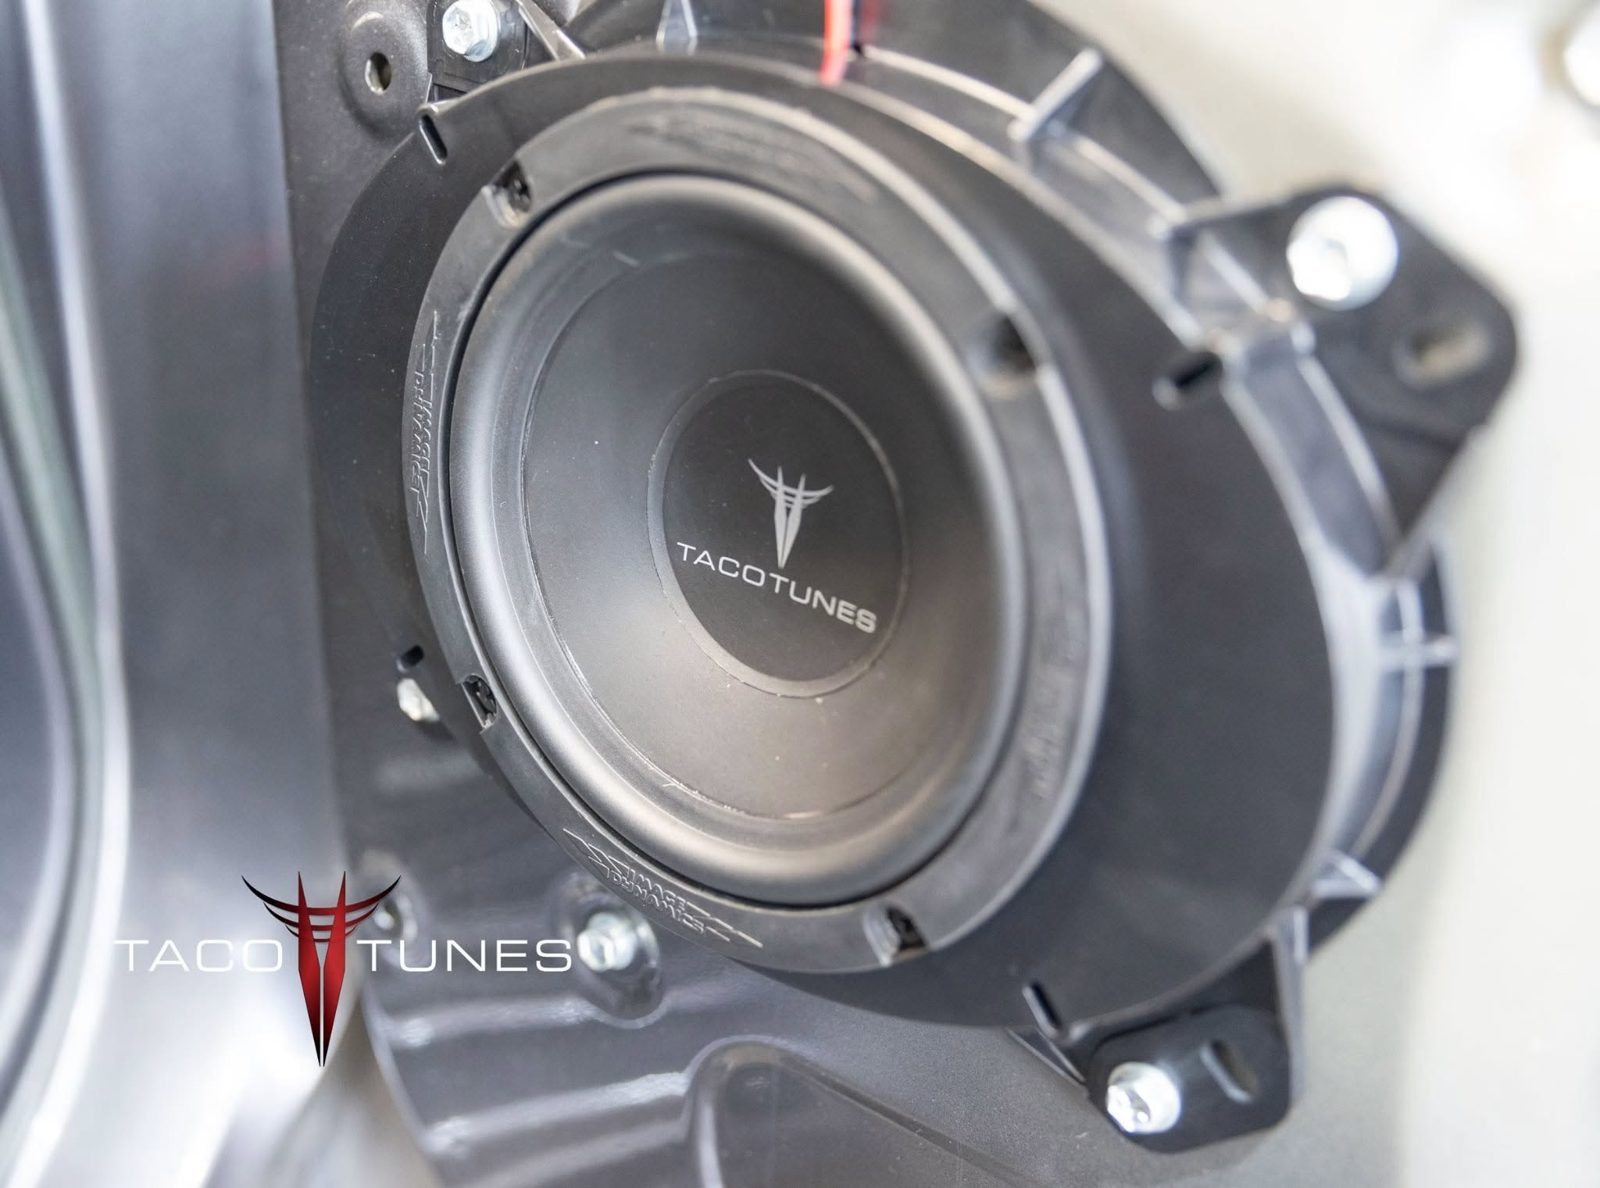
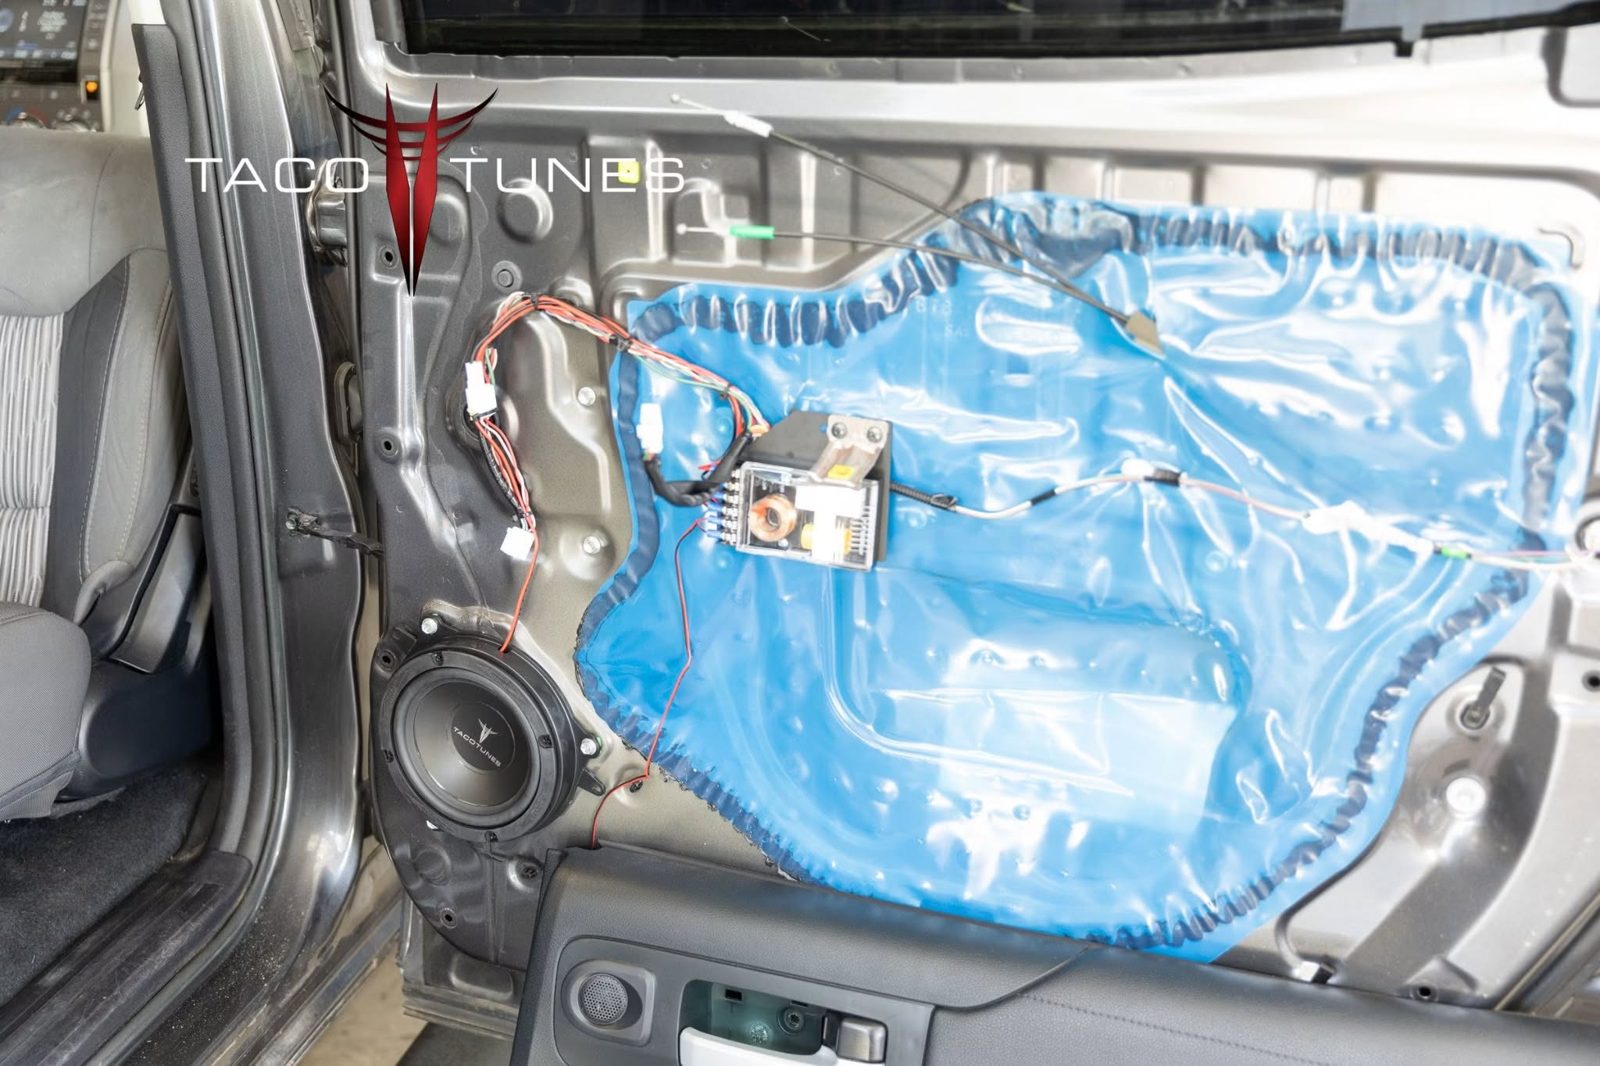
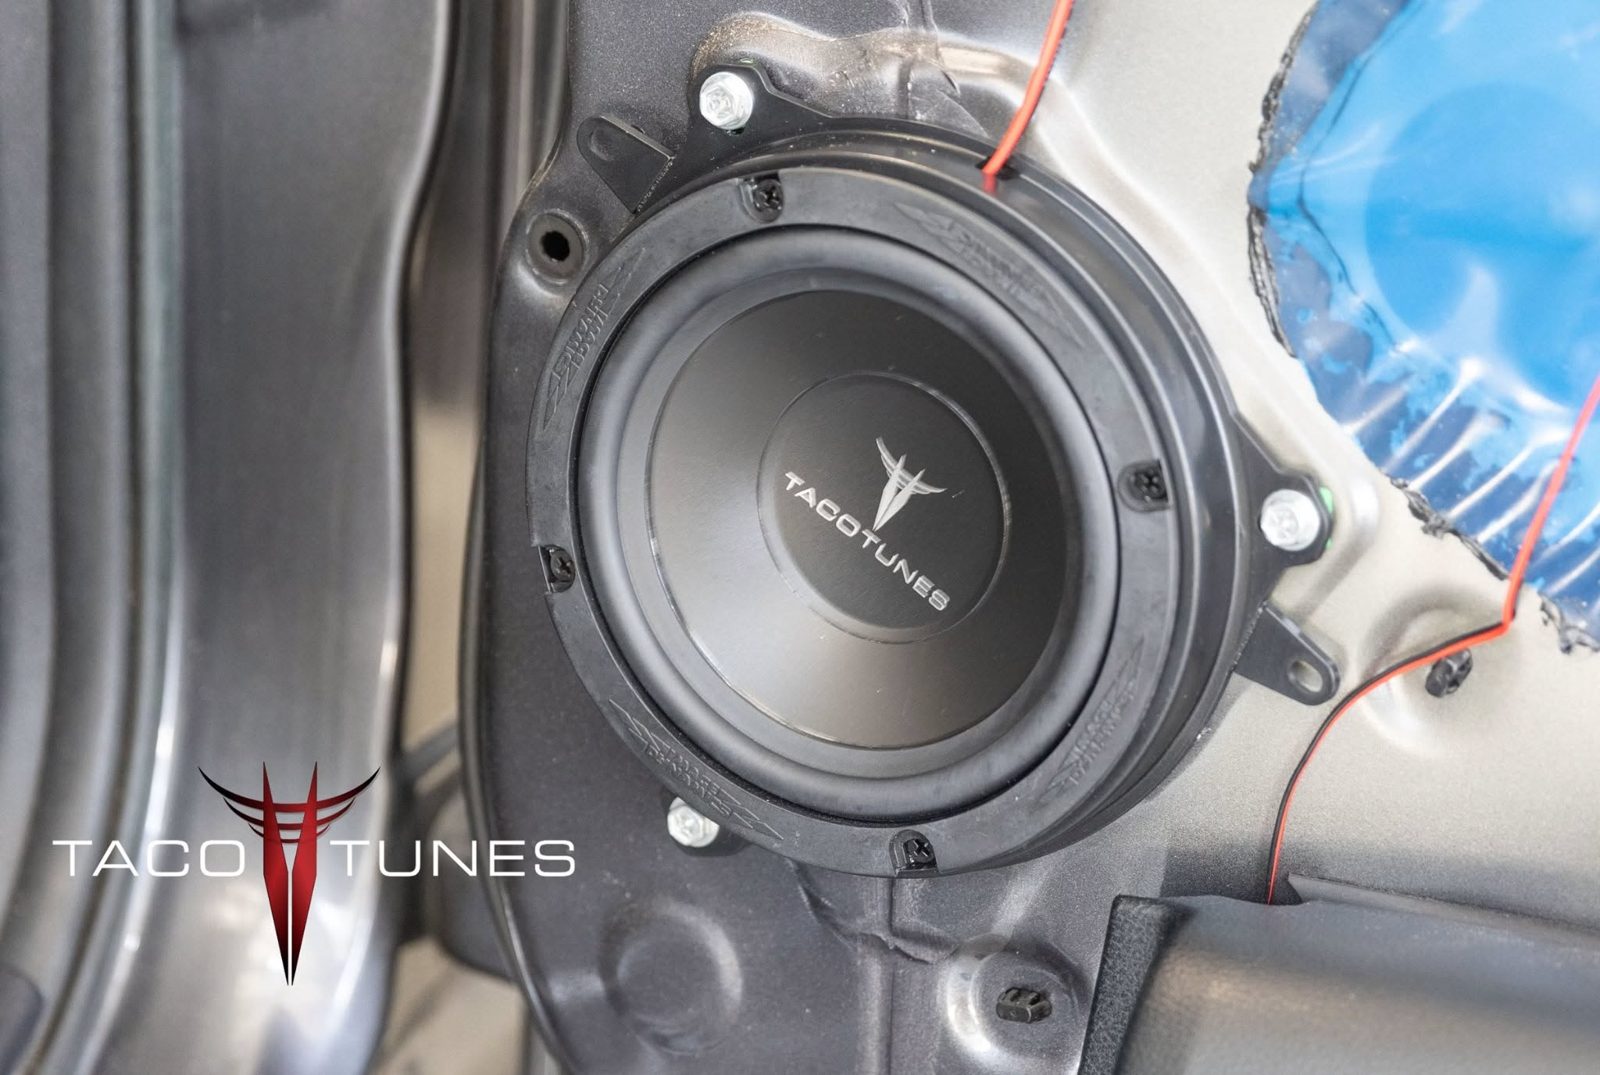
Rear Door Components
Tacotunes.com TT65CS Component Speakers
Tacotunes.com heavy duty speaker mounts cut to 5.6”
TT65 Mid bass drivers Handles -100 watts RMS
TT65 Crossover
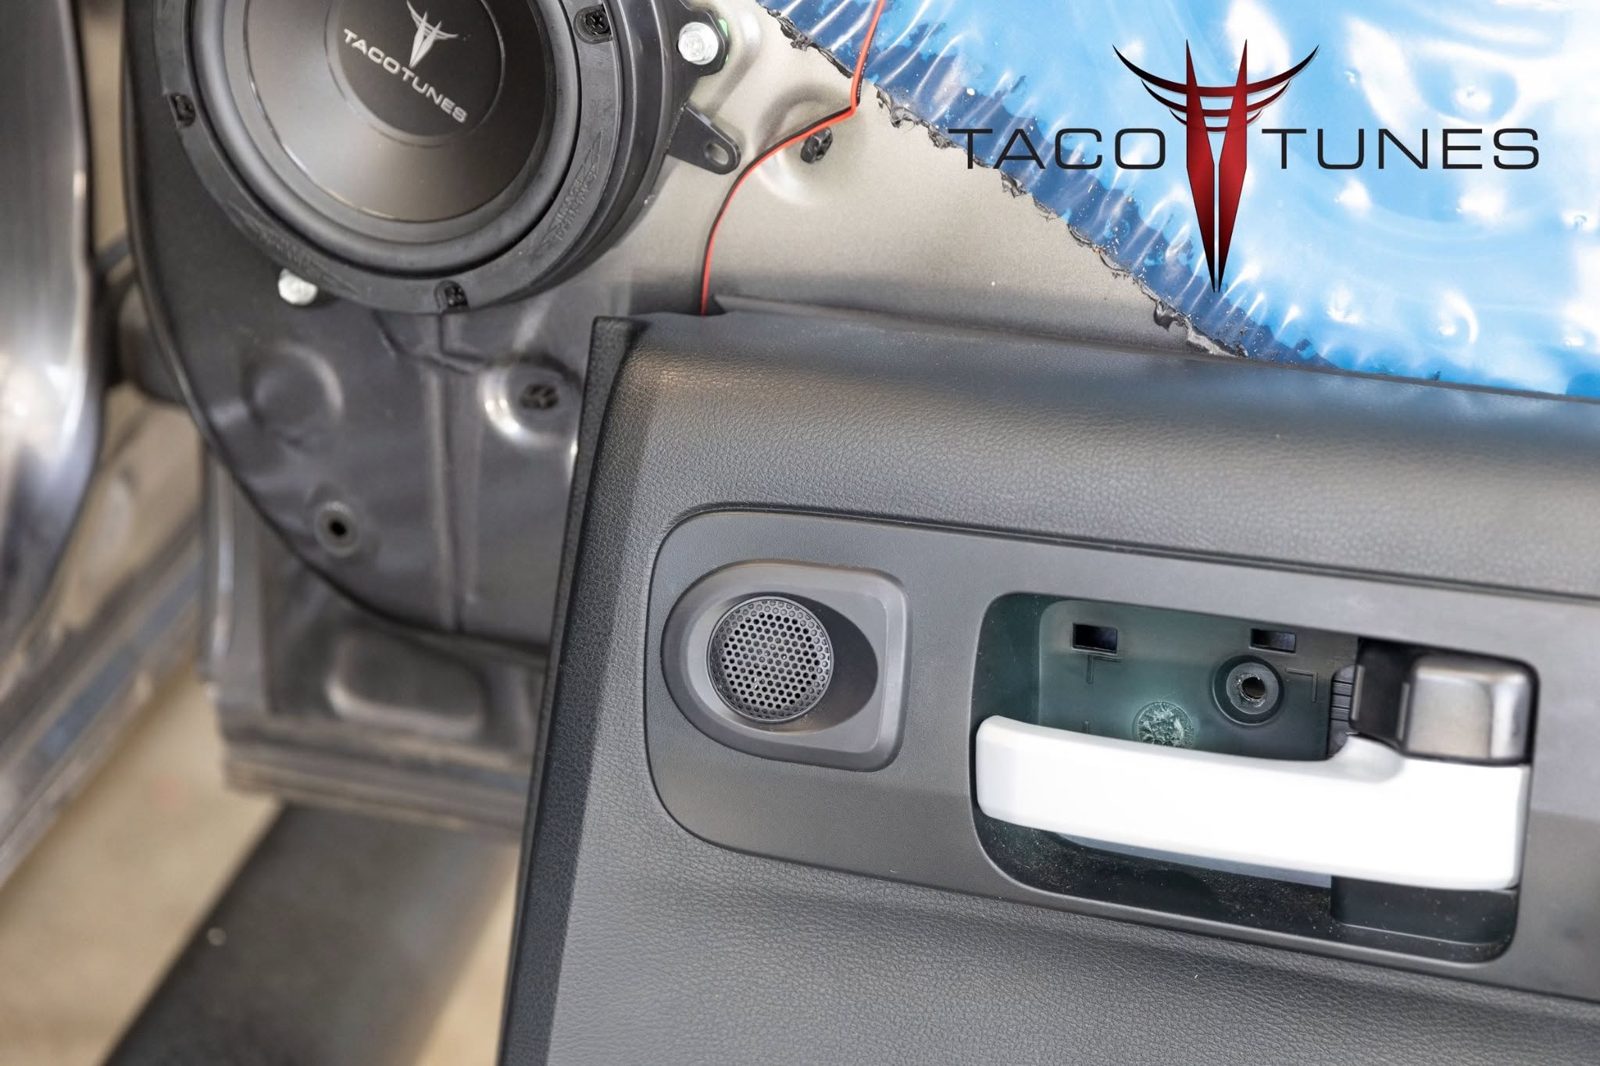
TT65 Tweeter
Tacotunes.com Tweeter Harness Adapters
Tweeters will fit in stock door location
Amps
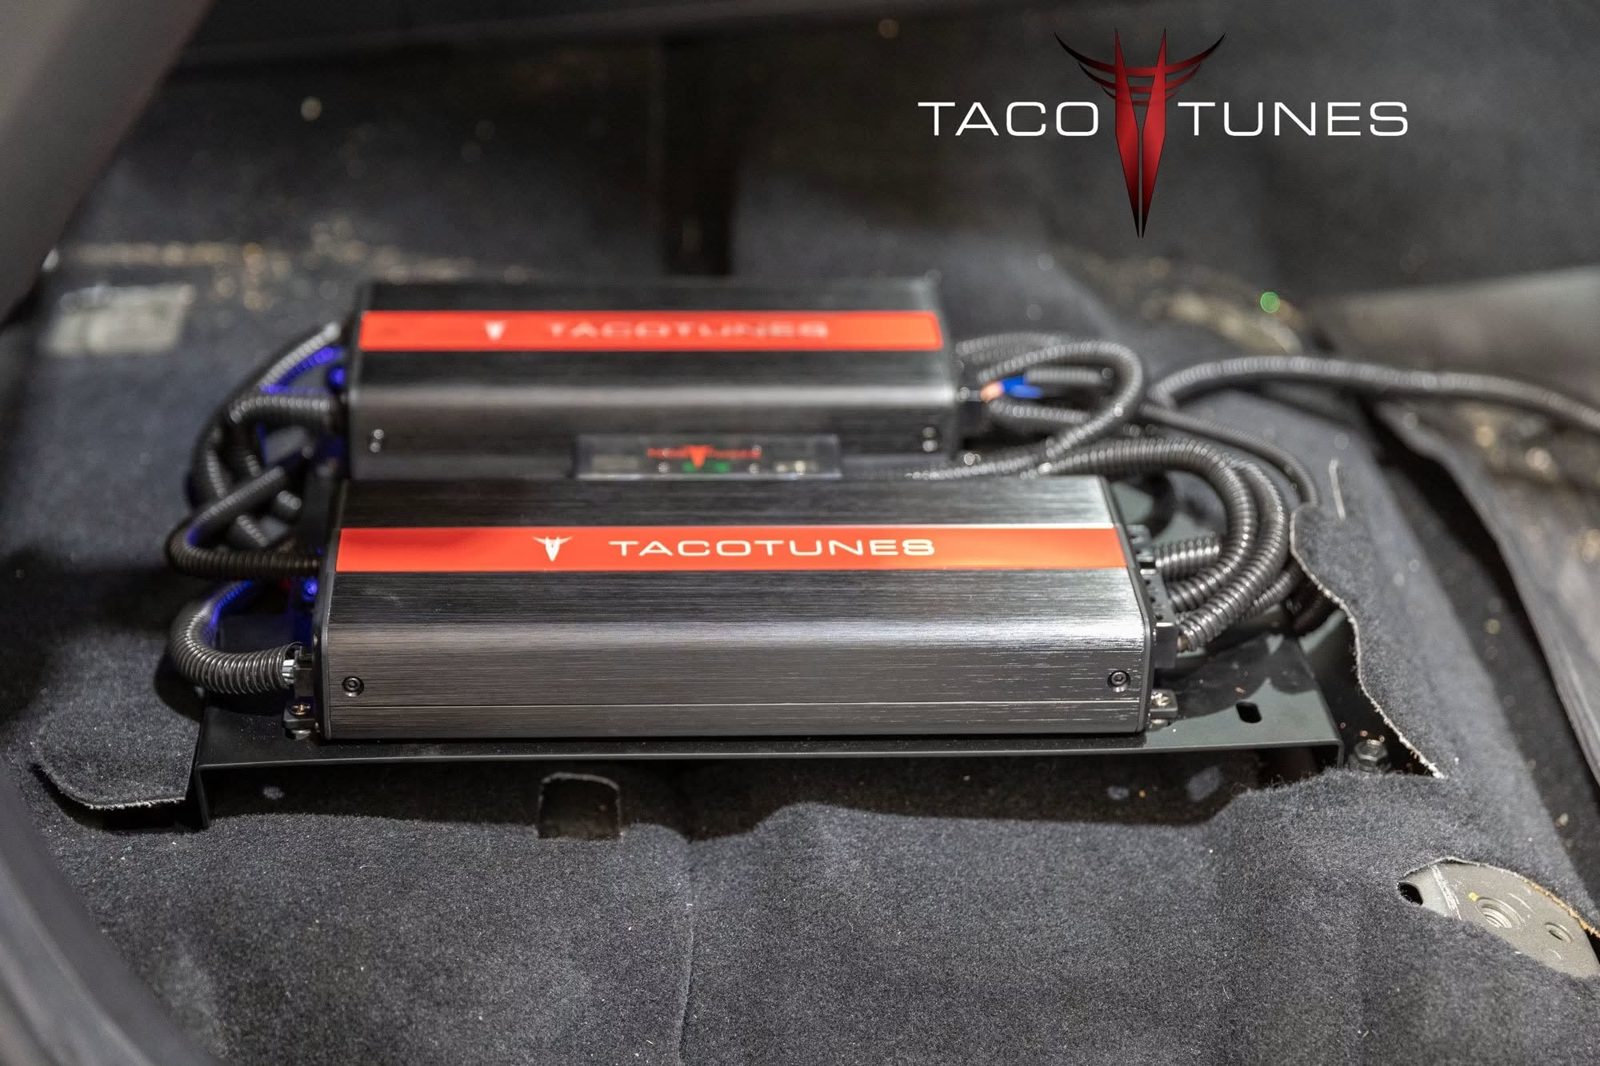
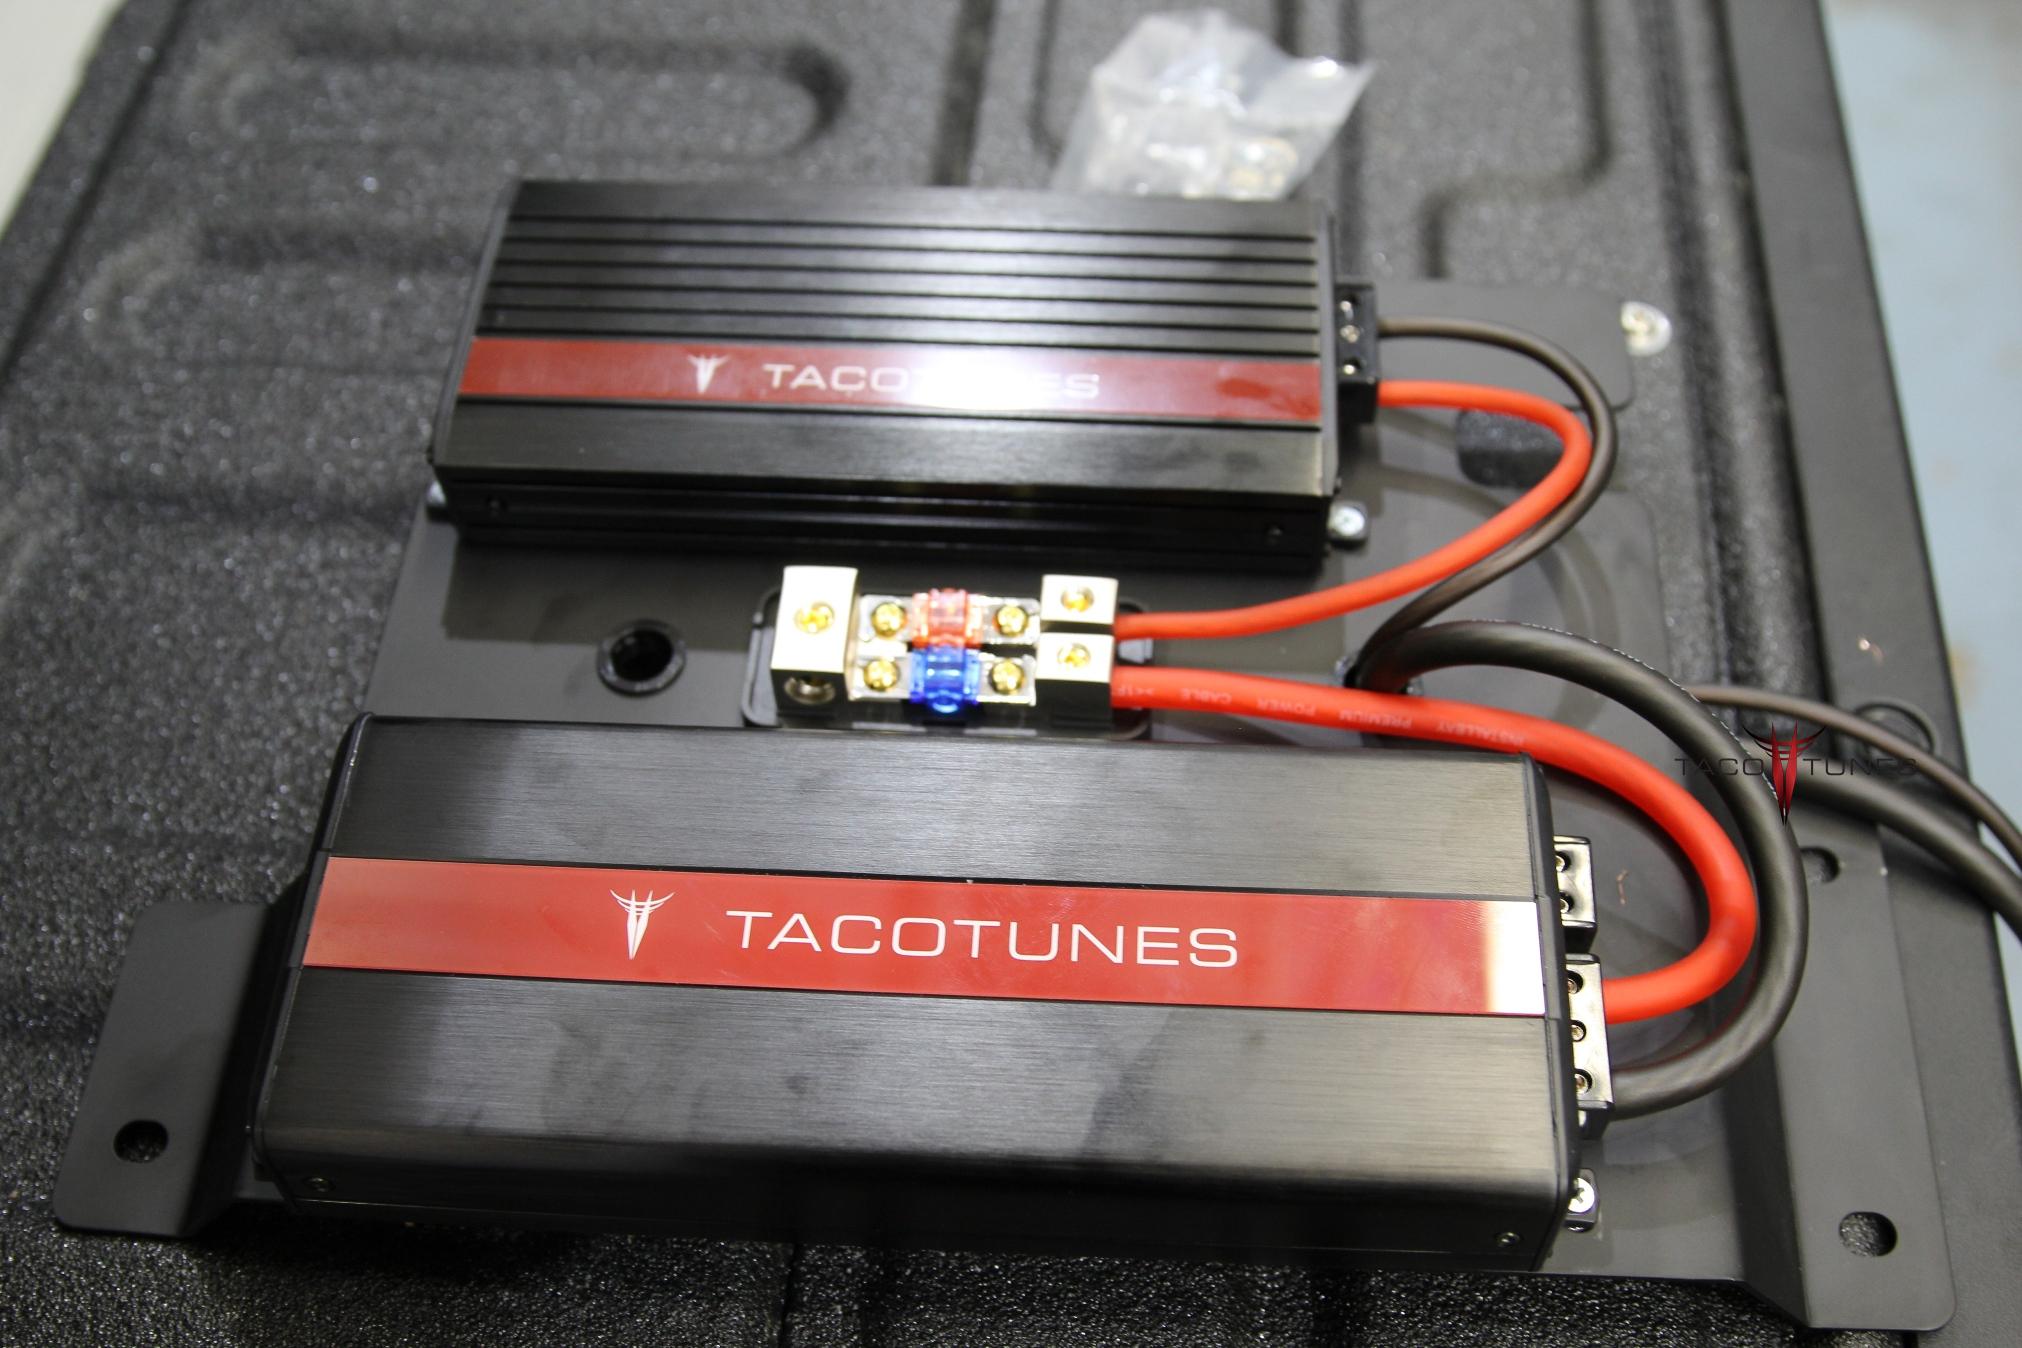
tacotunes.com TXD10005 -5 Channel Amp
80 watts x 4 to each speaker and 450 x 1 (subwoofer)
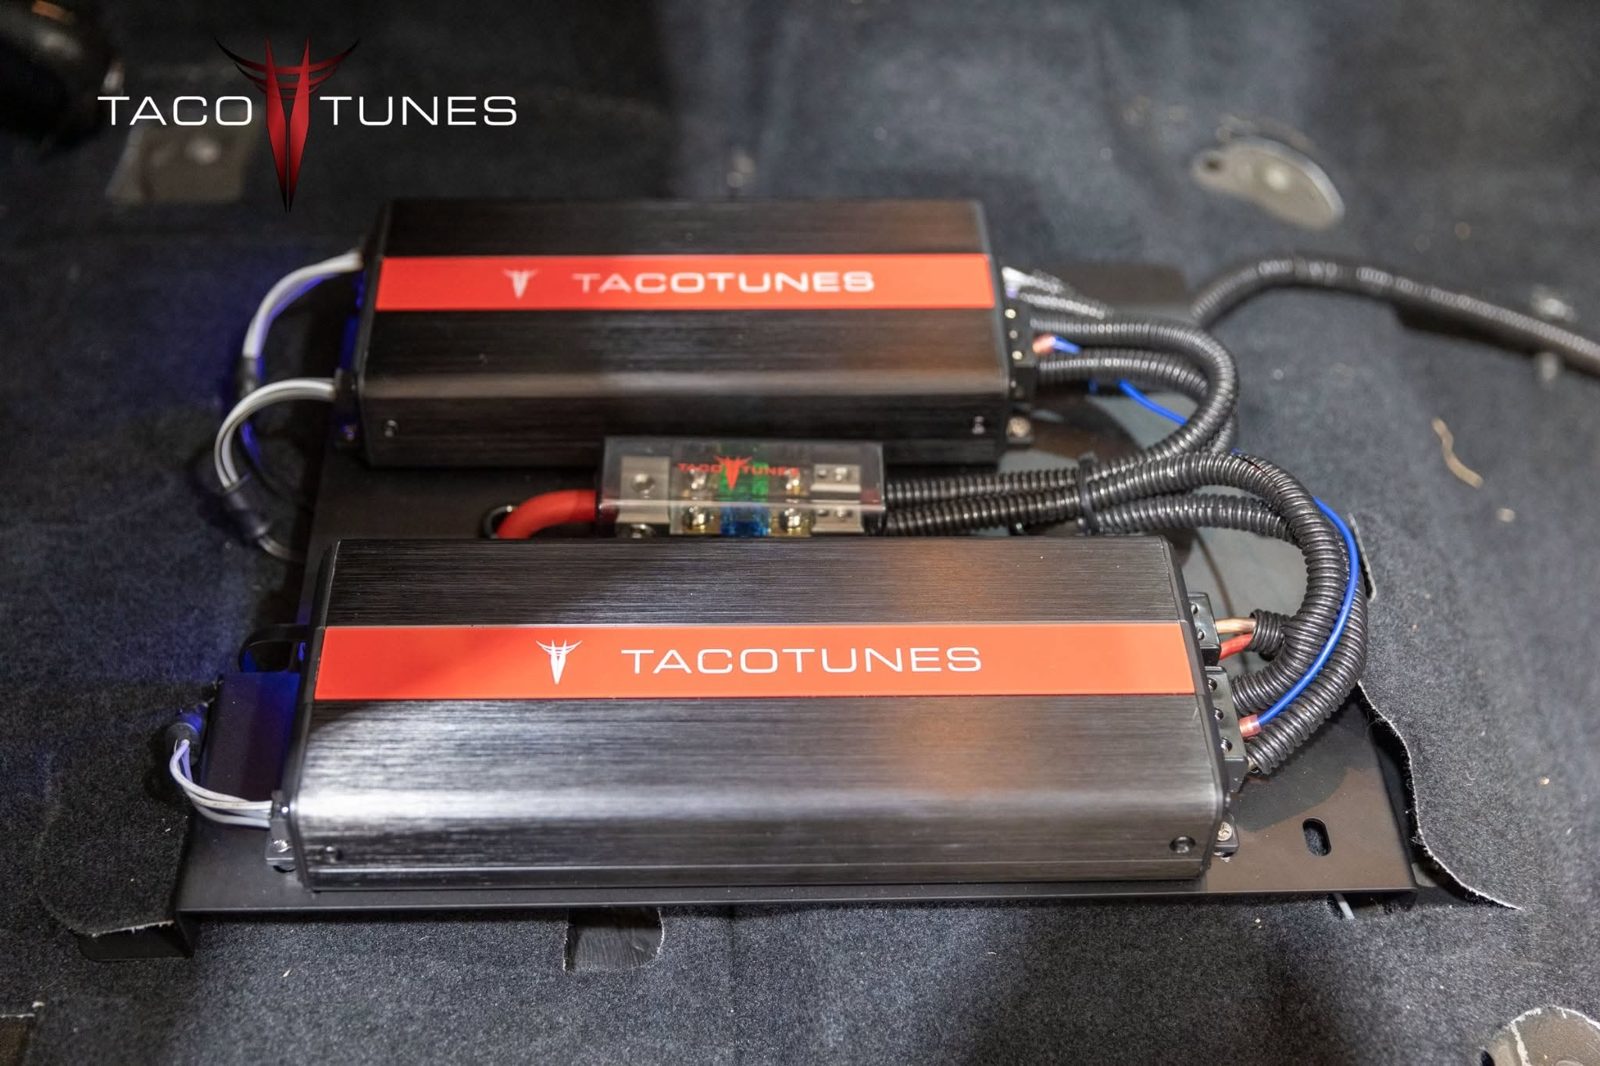
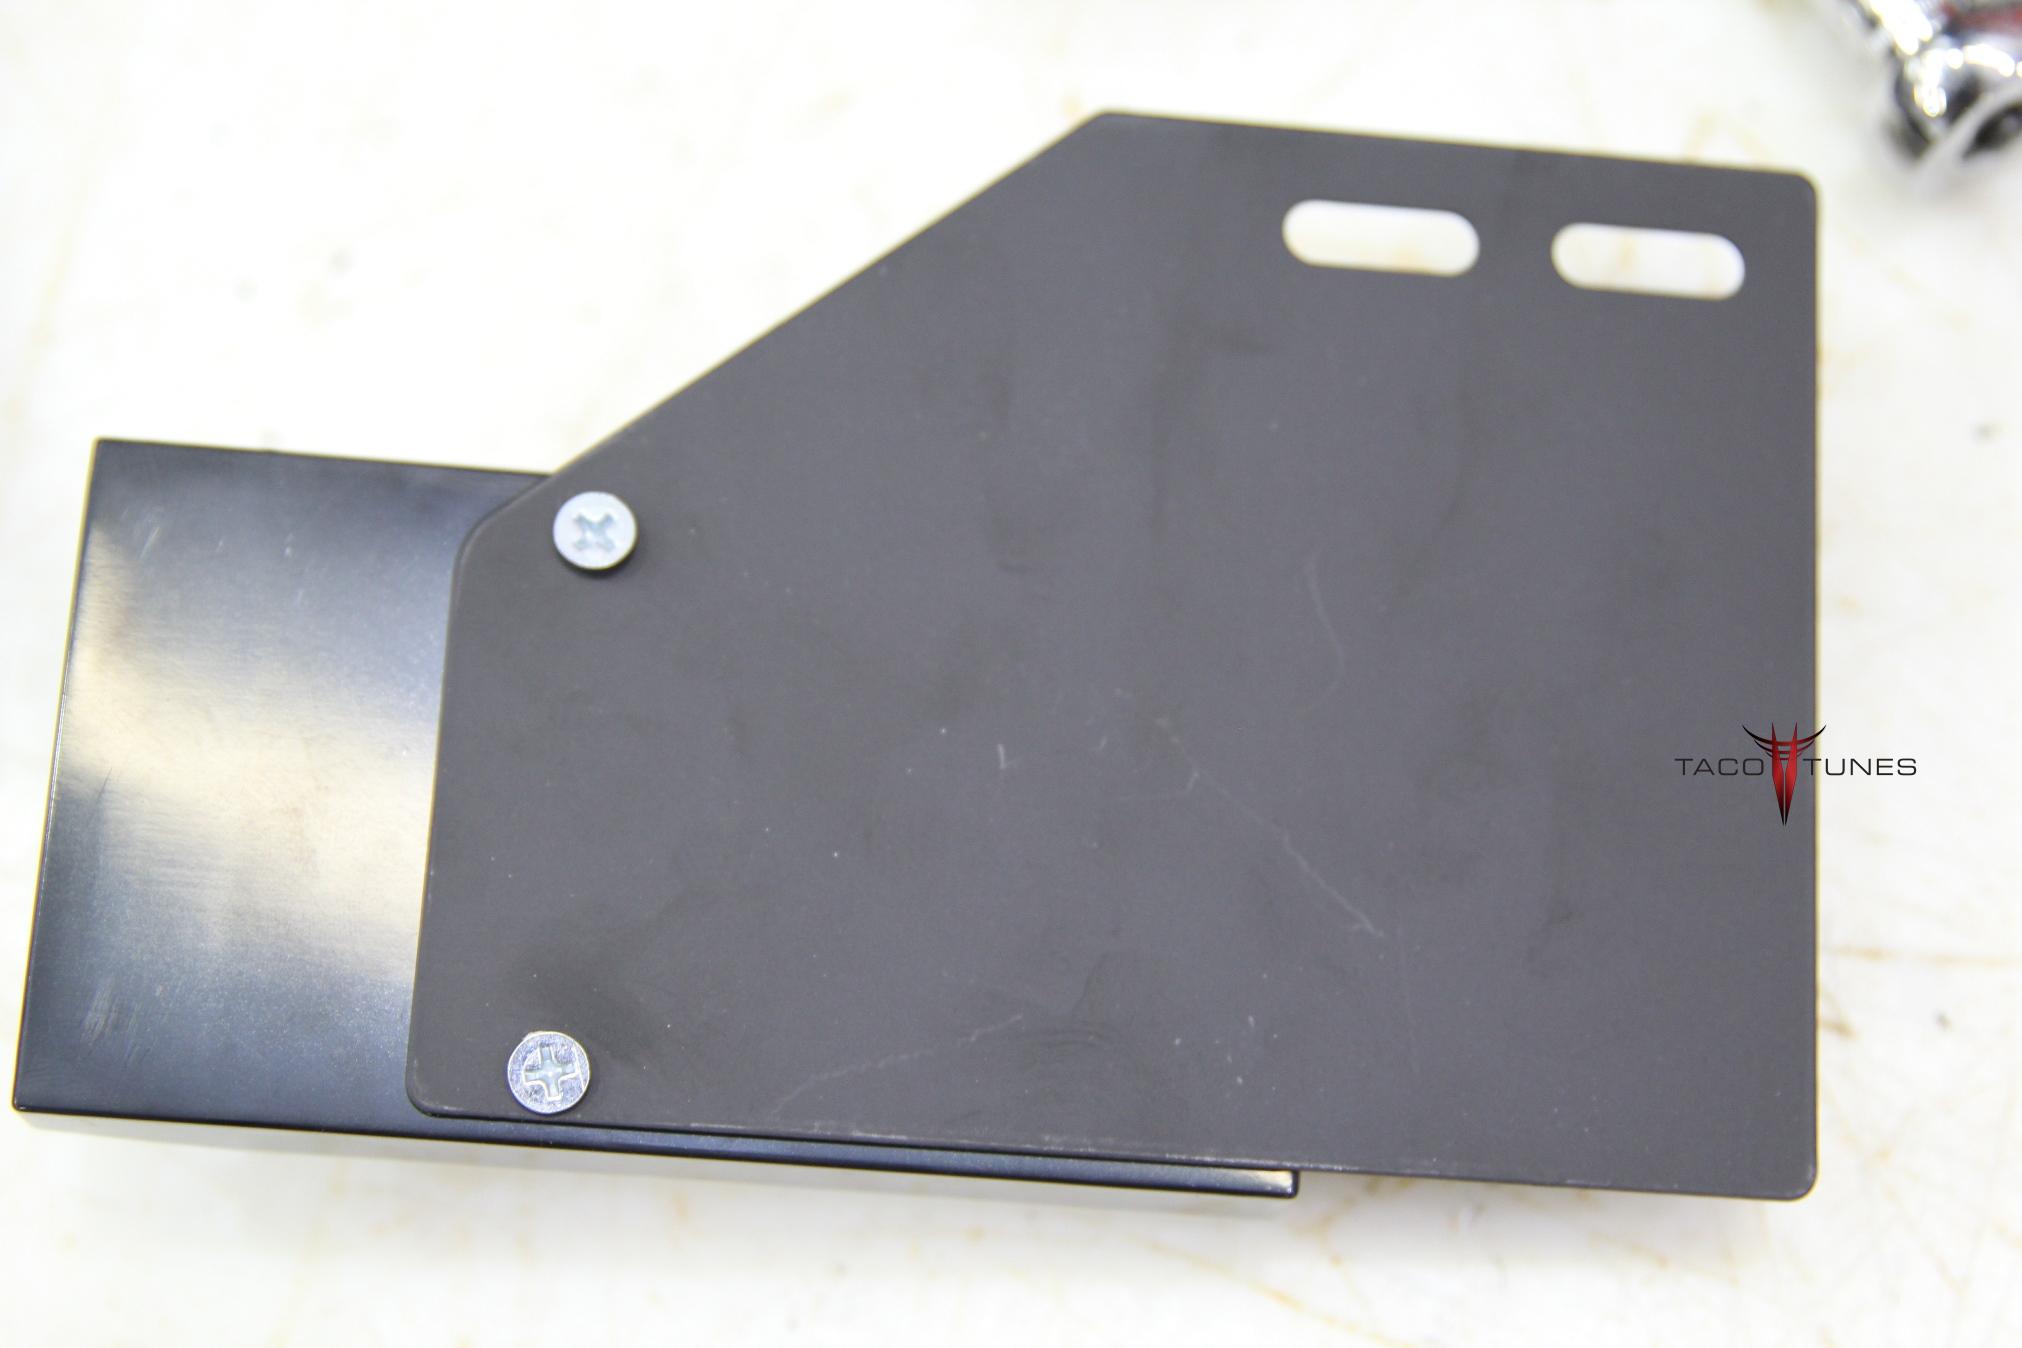
Laser Cut Amp Rack that bolts to factory mounting location. Don’t let audio shops drill holes in your floors!
Subwoofer(s)
Subwoofer Box & Subwoofers
Tacotunes.com 12” Subwoofer Box
Tacotunes.com TT12 12” subwoofer
NOTE: Be sure to check out our larger setups for your Tundra!
Install photos
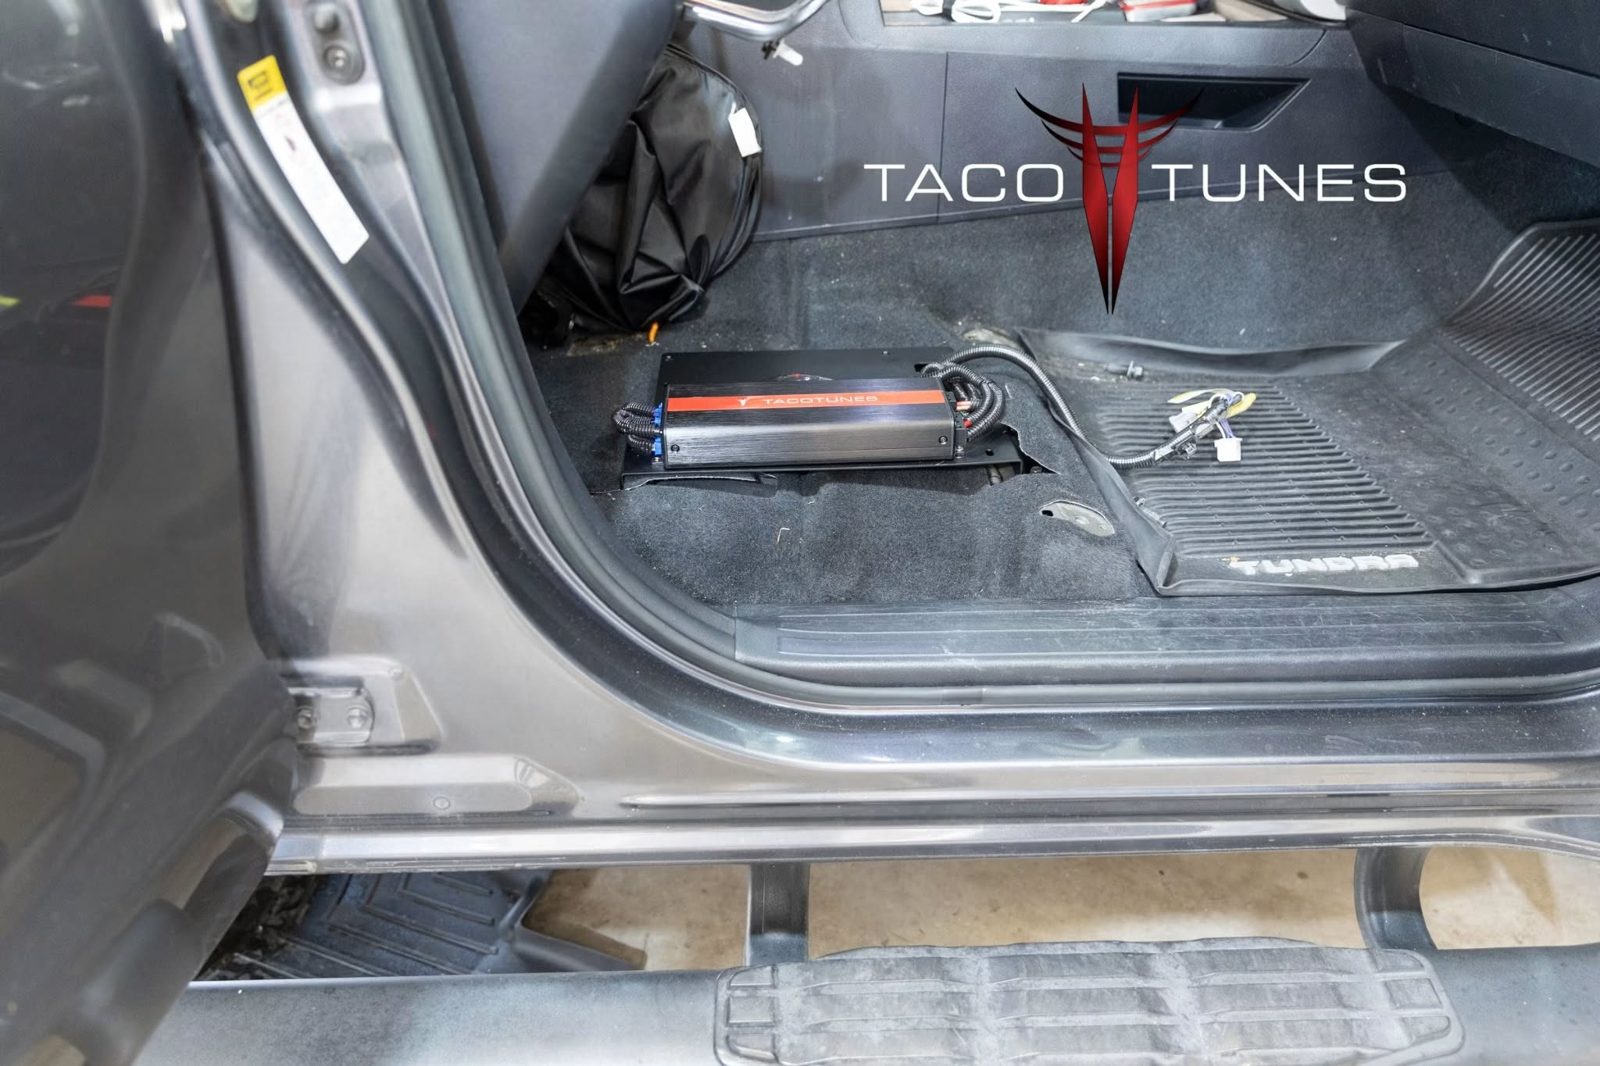
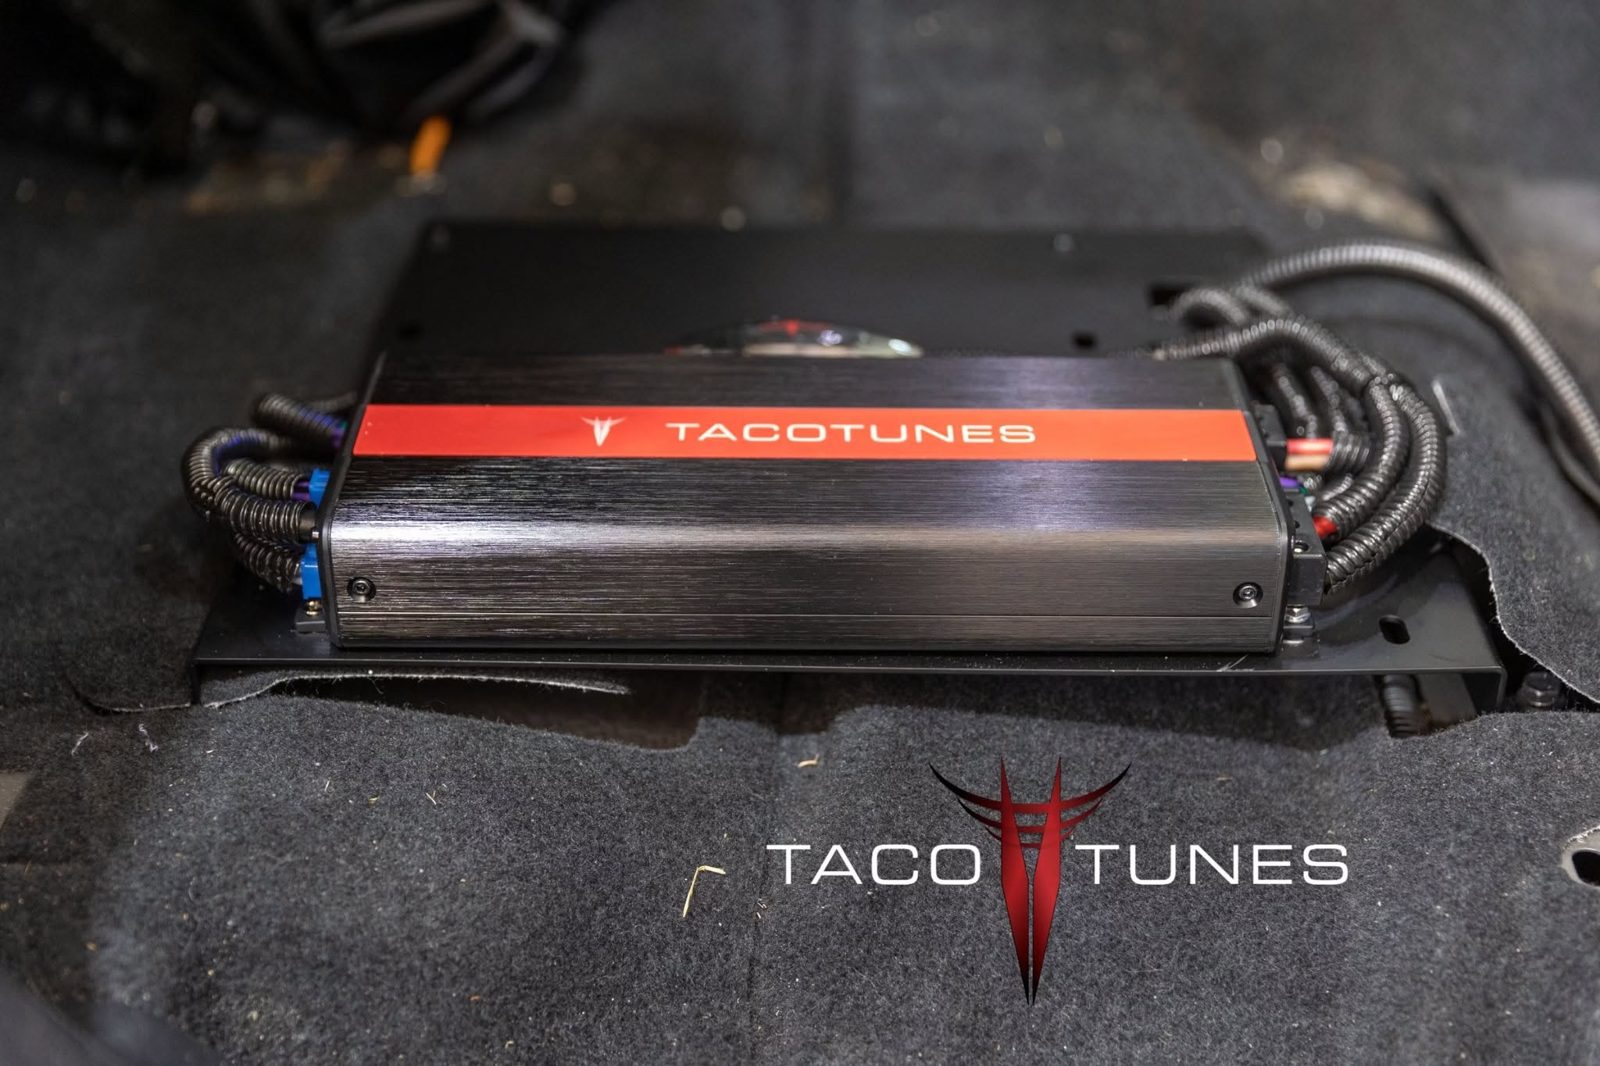
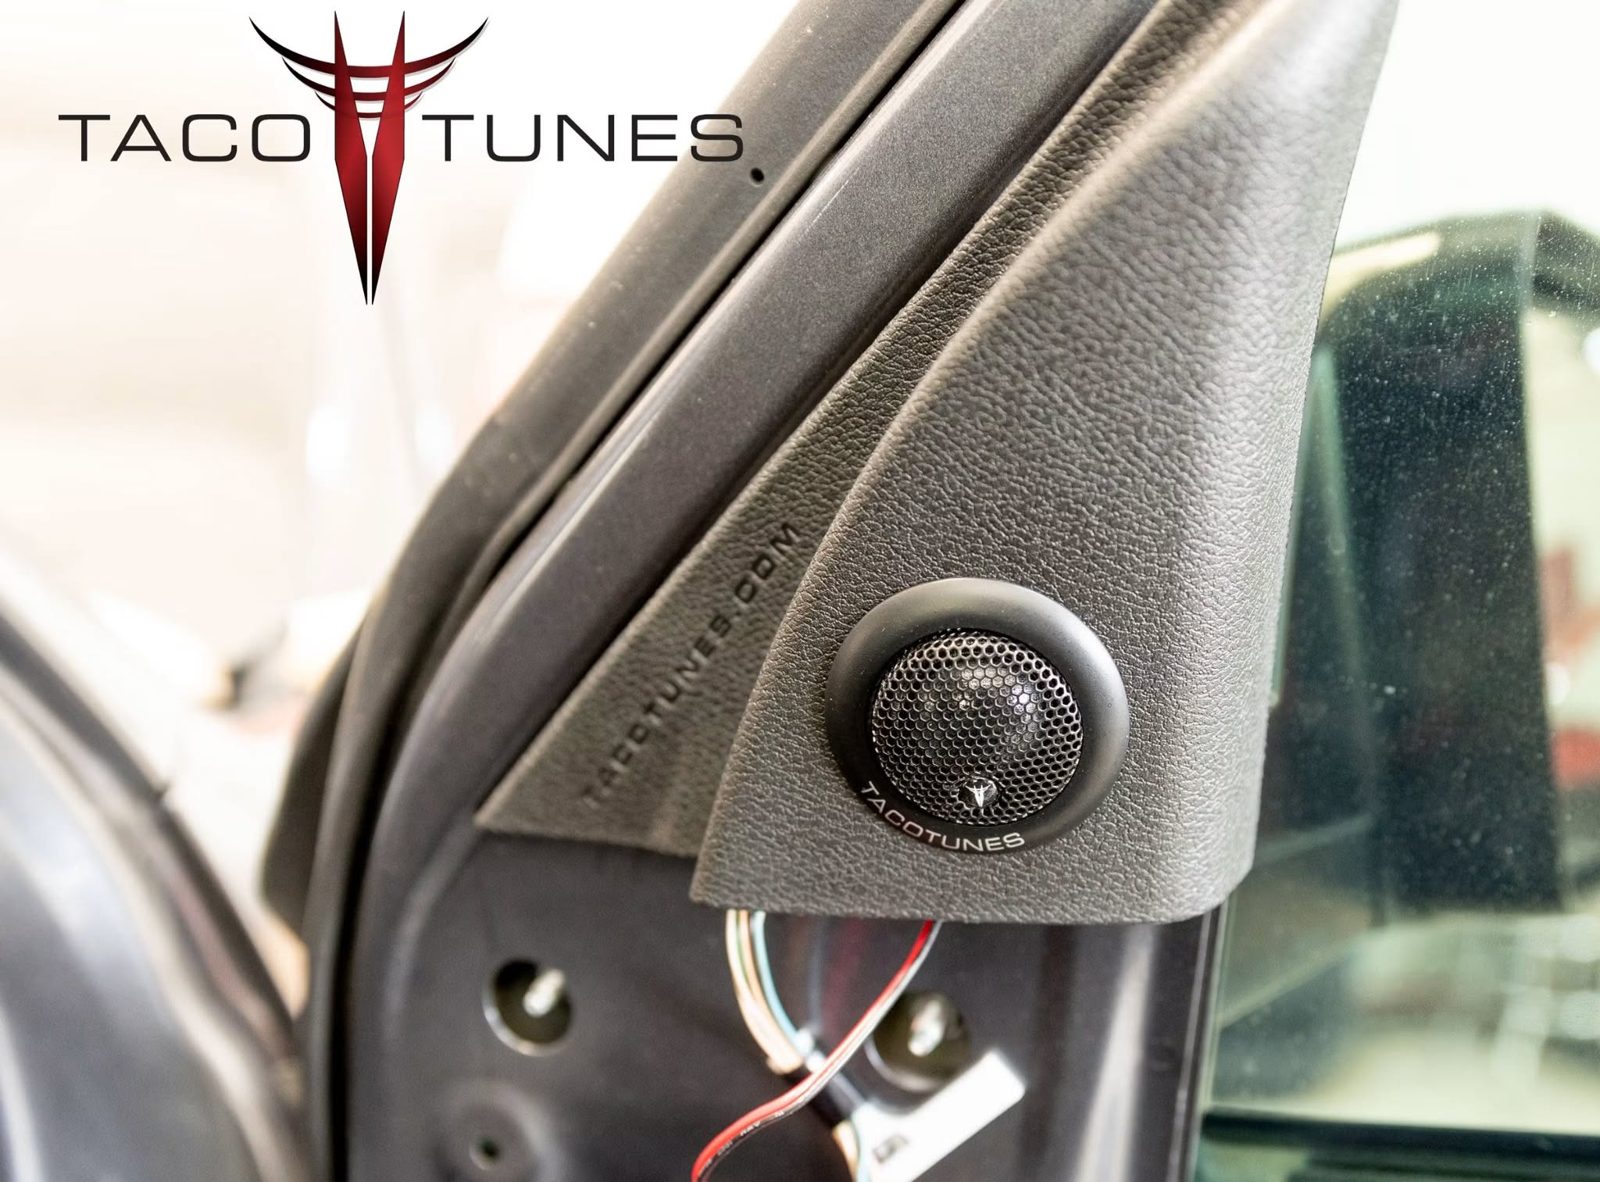
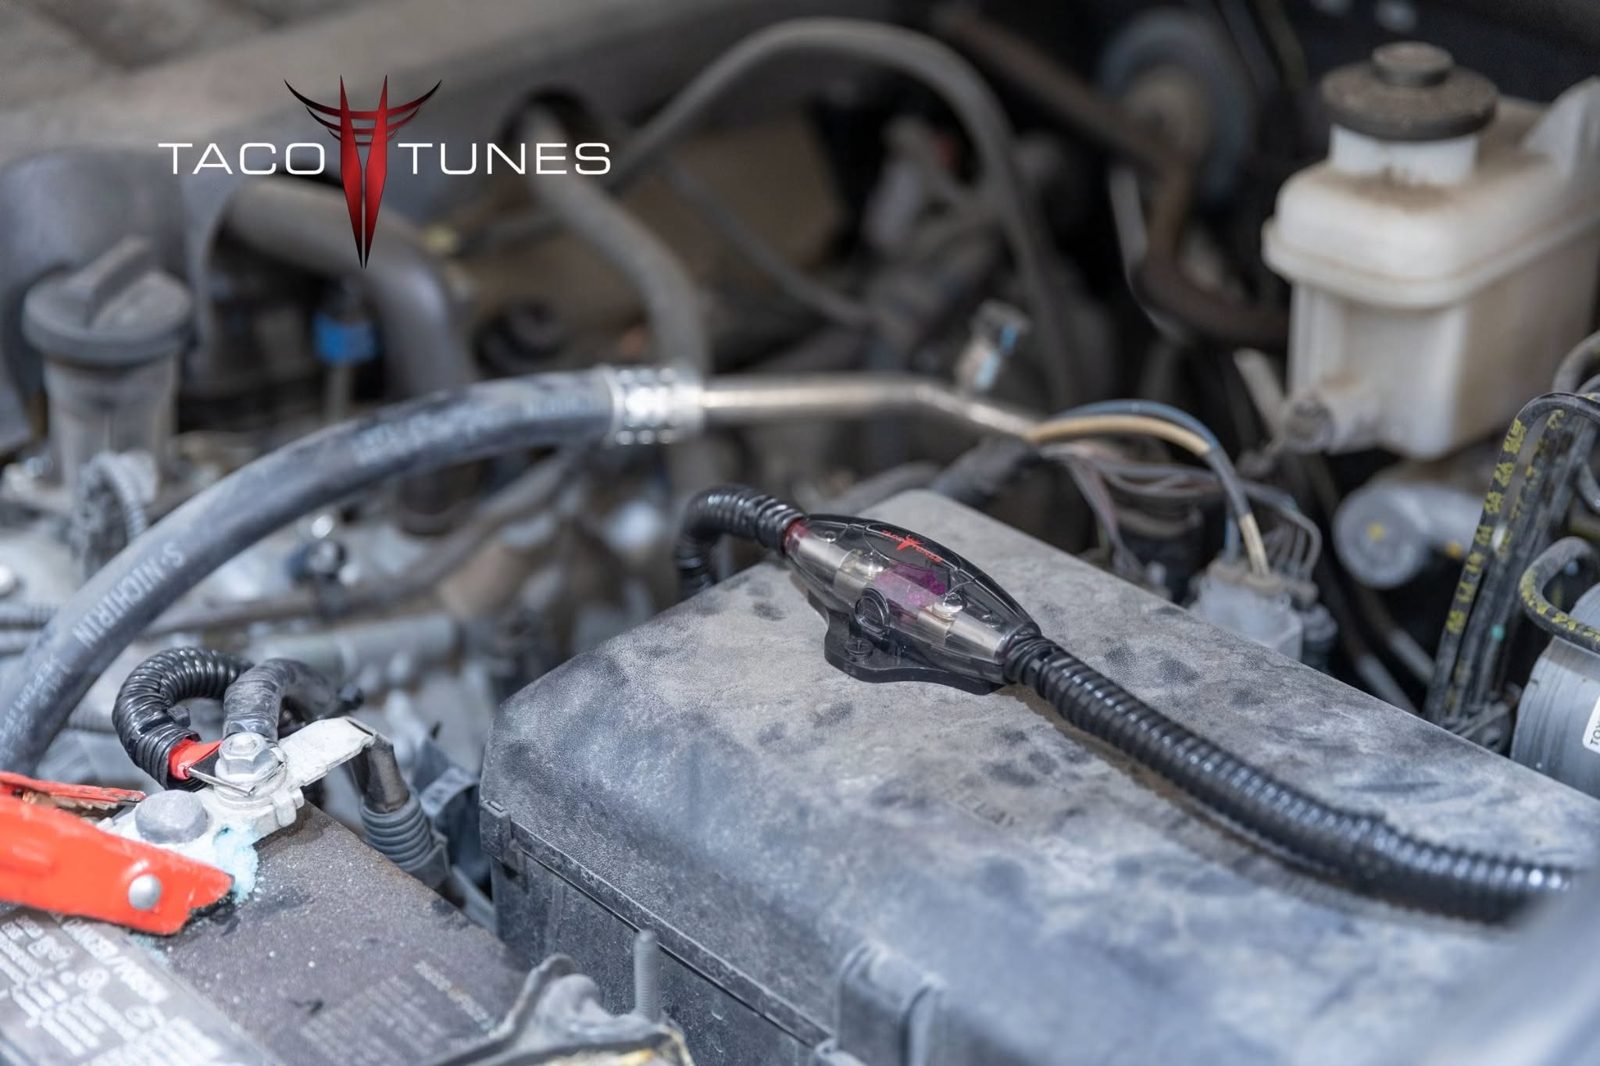
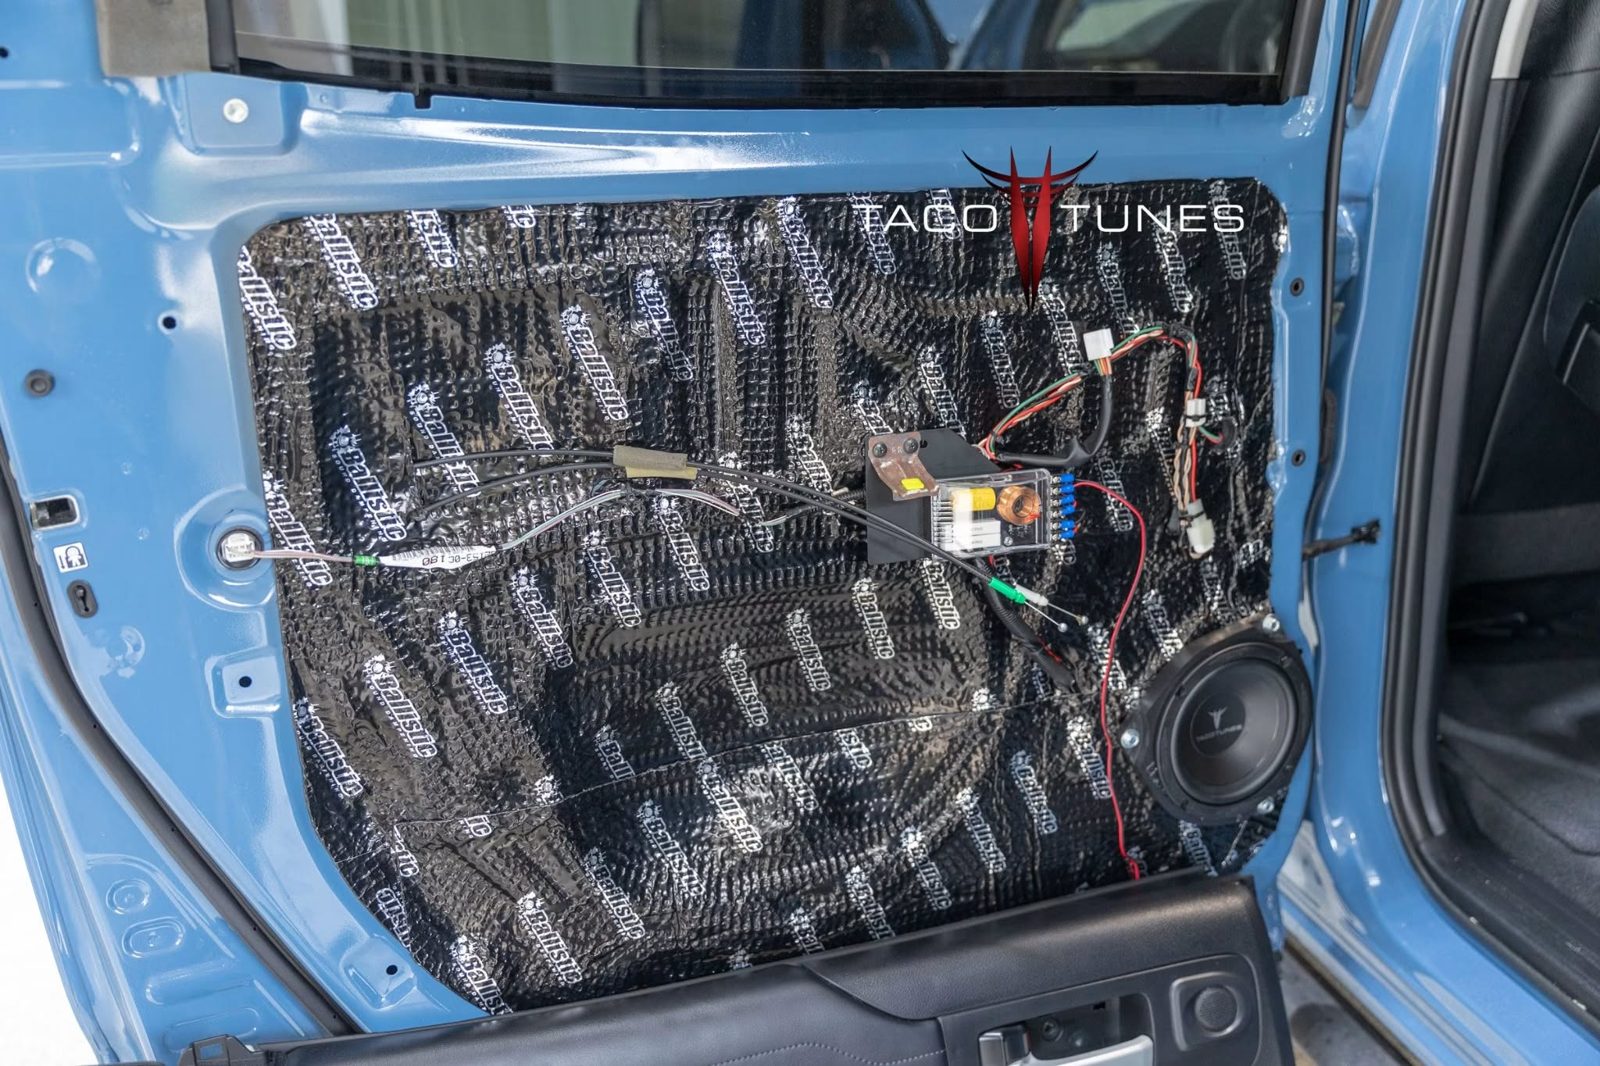
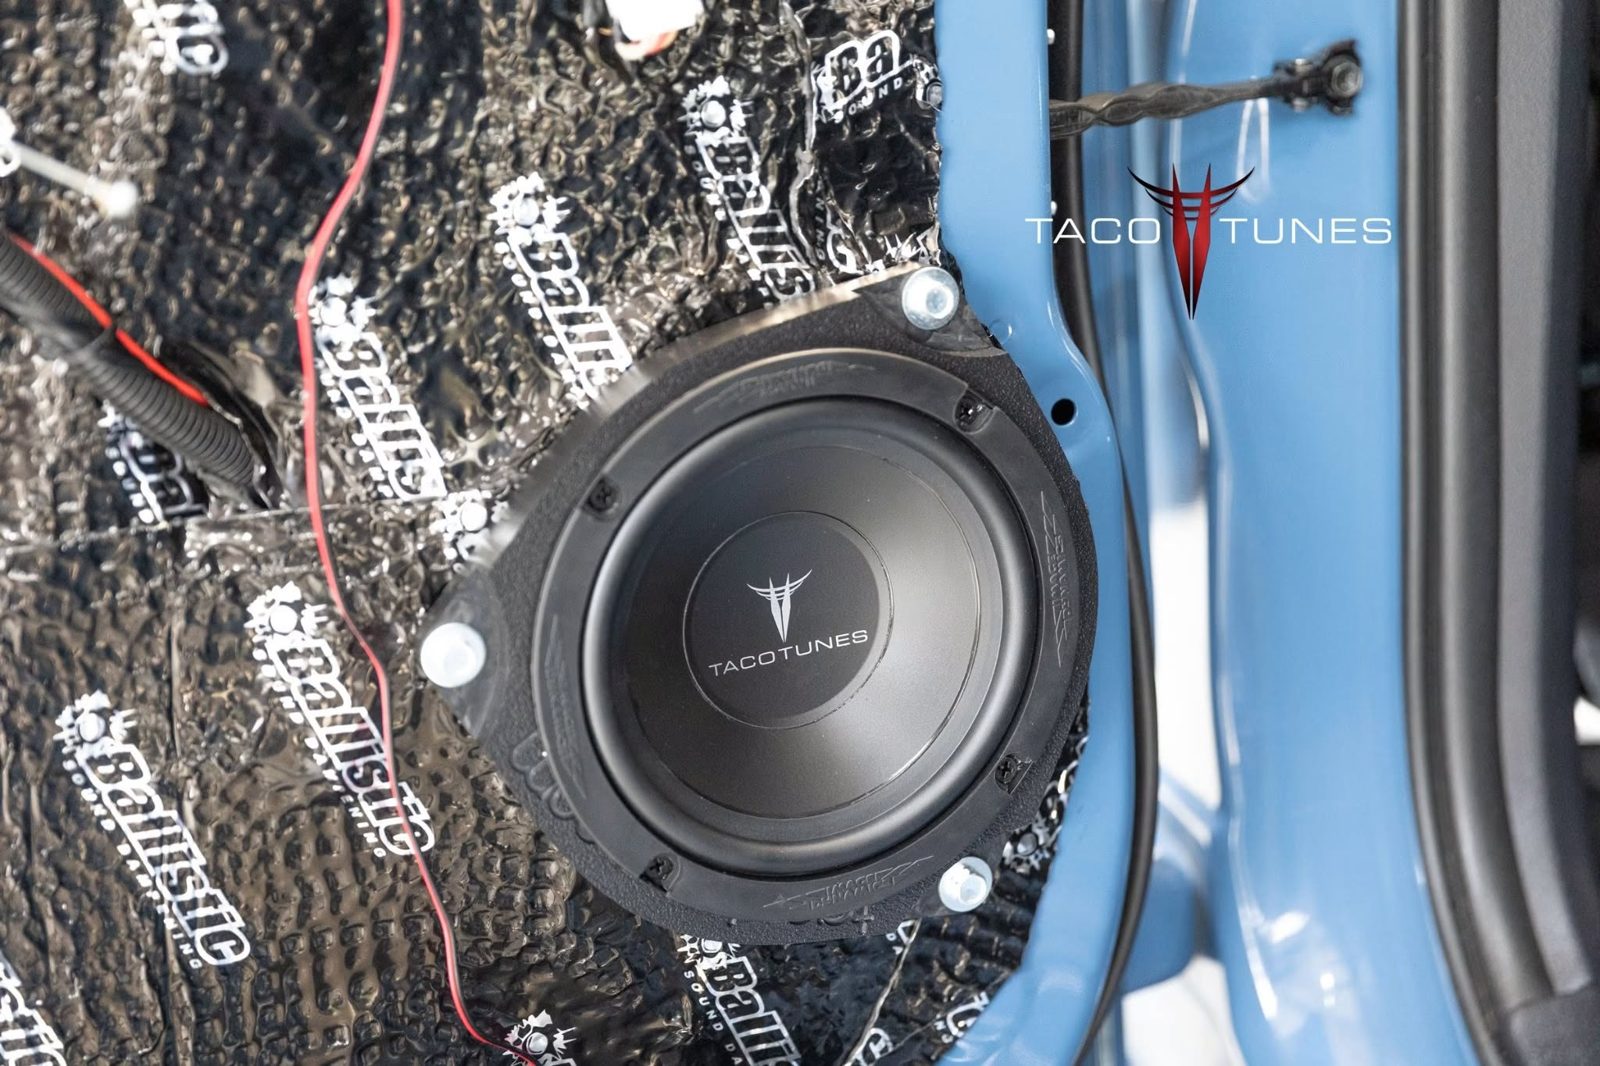
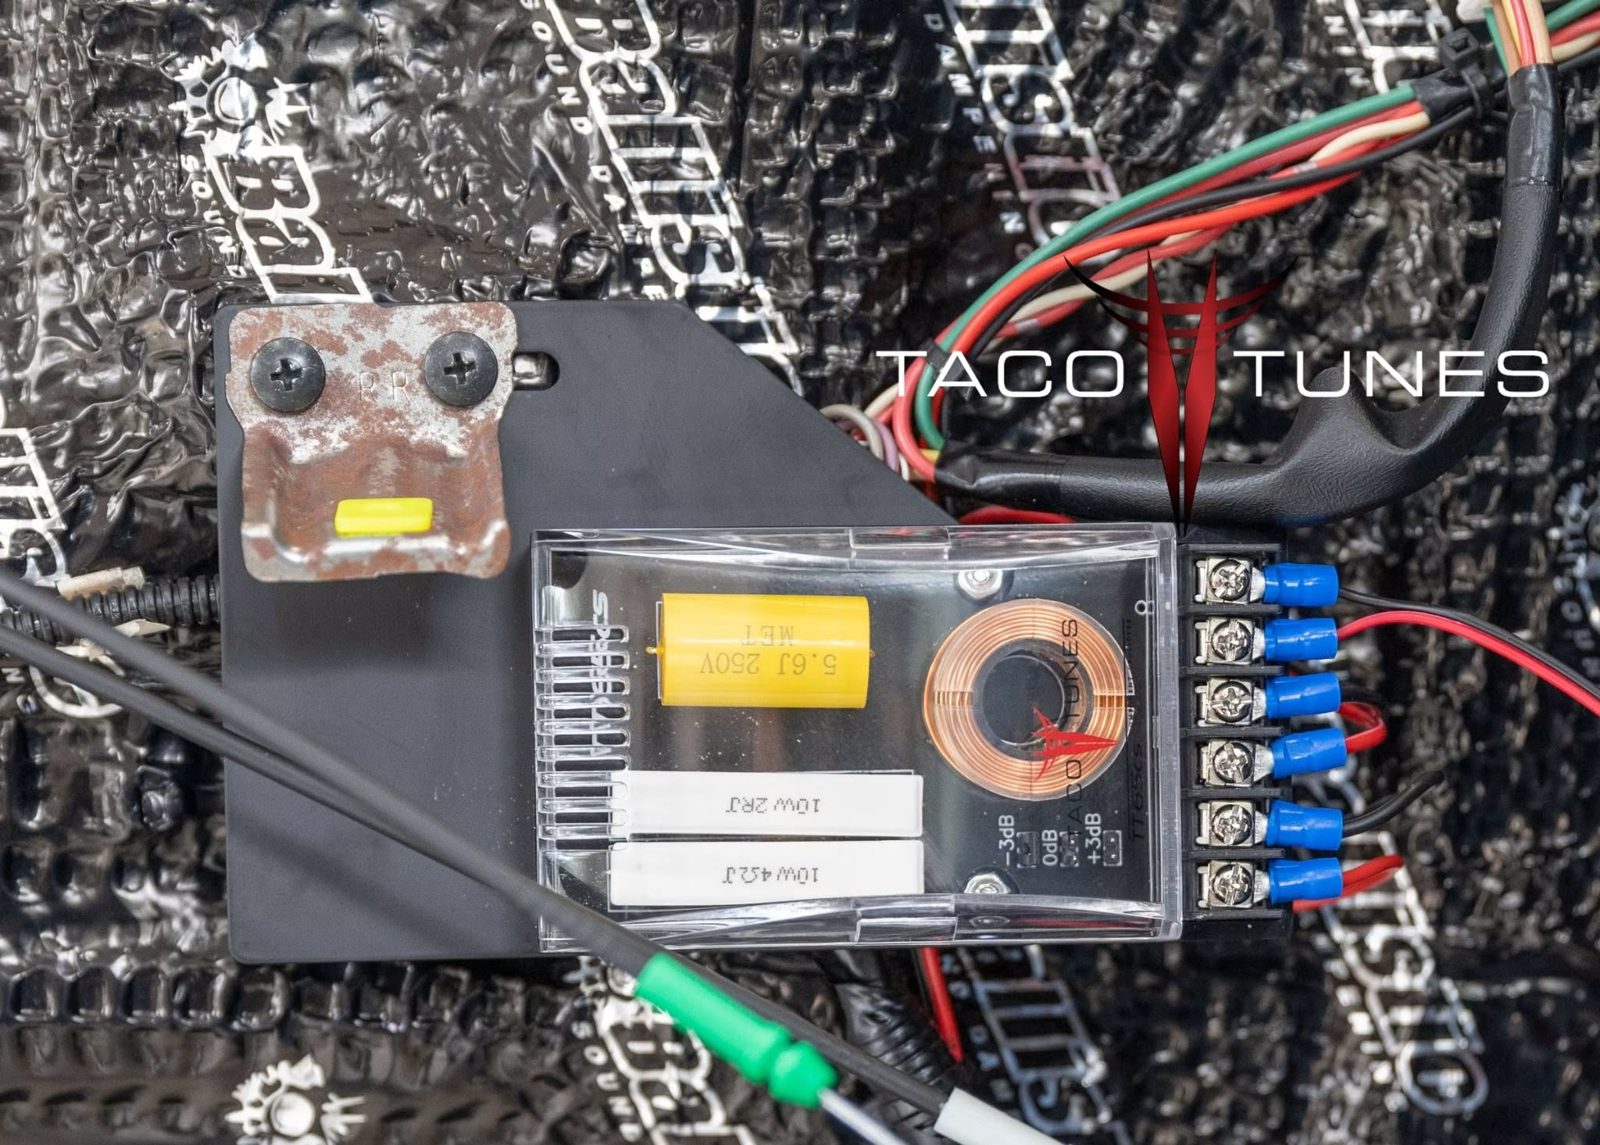
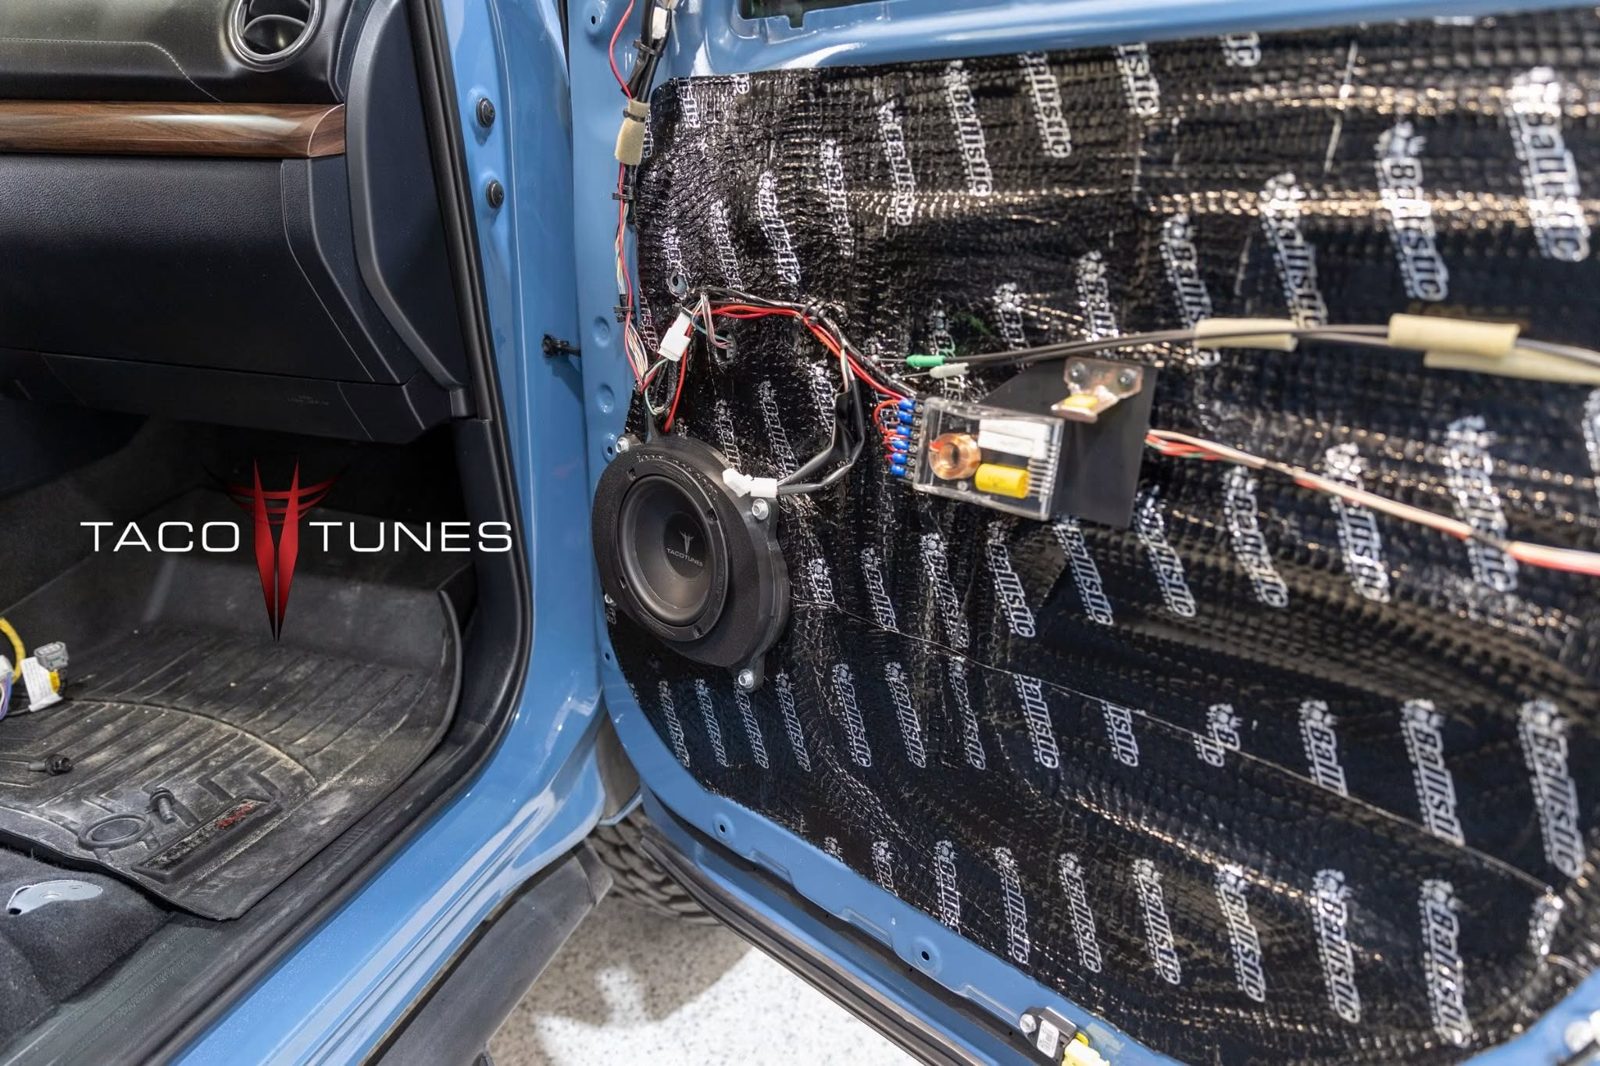
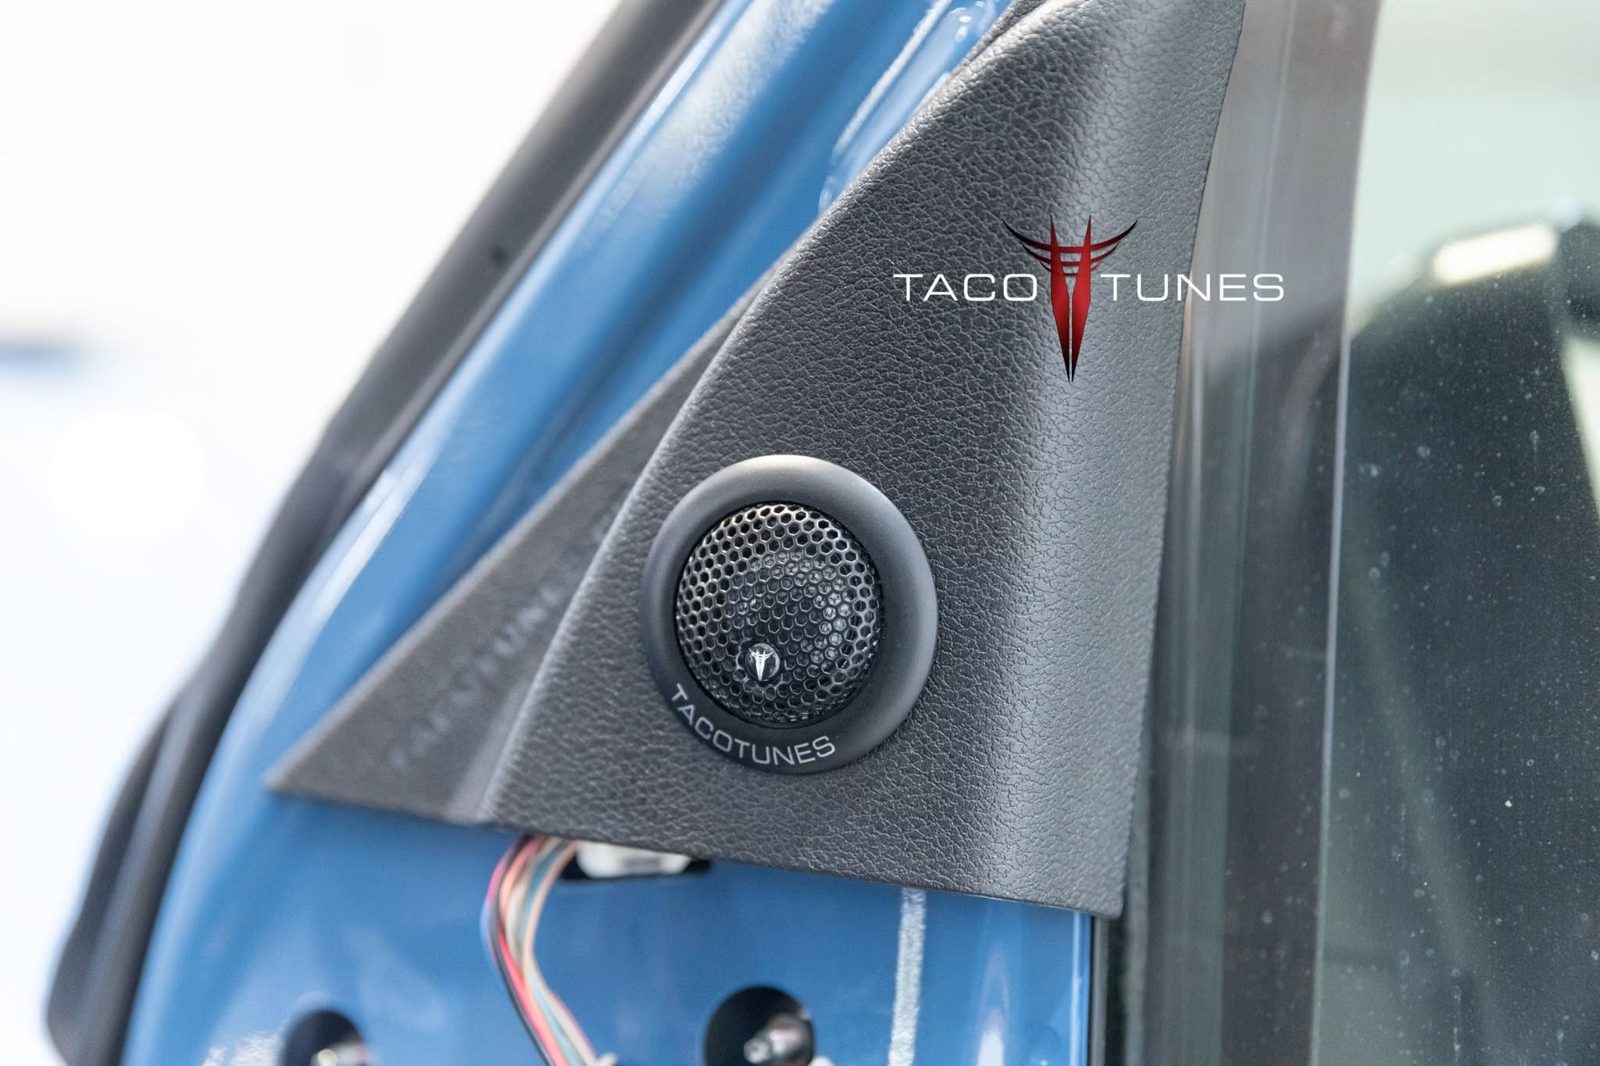
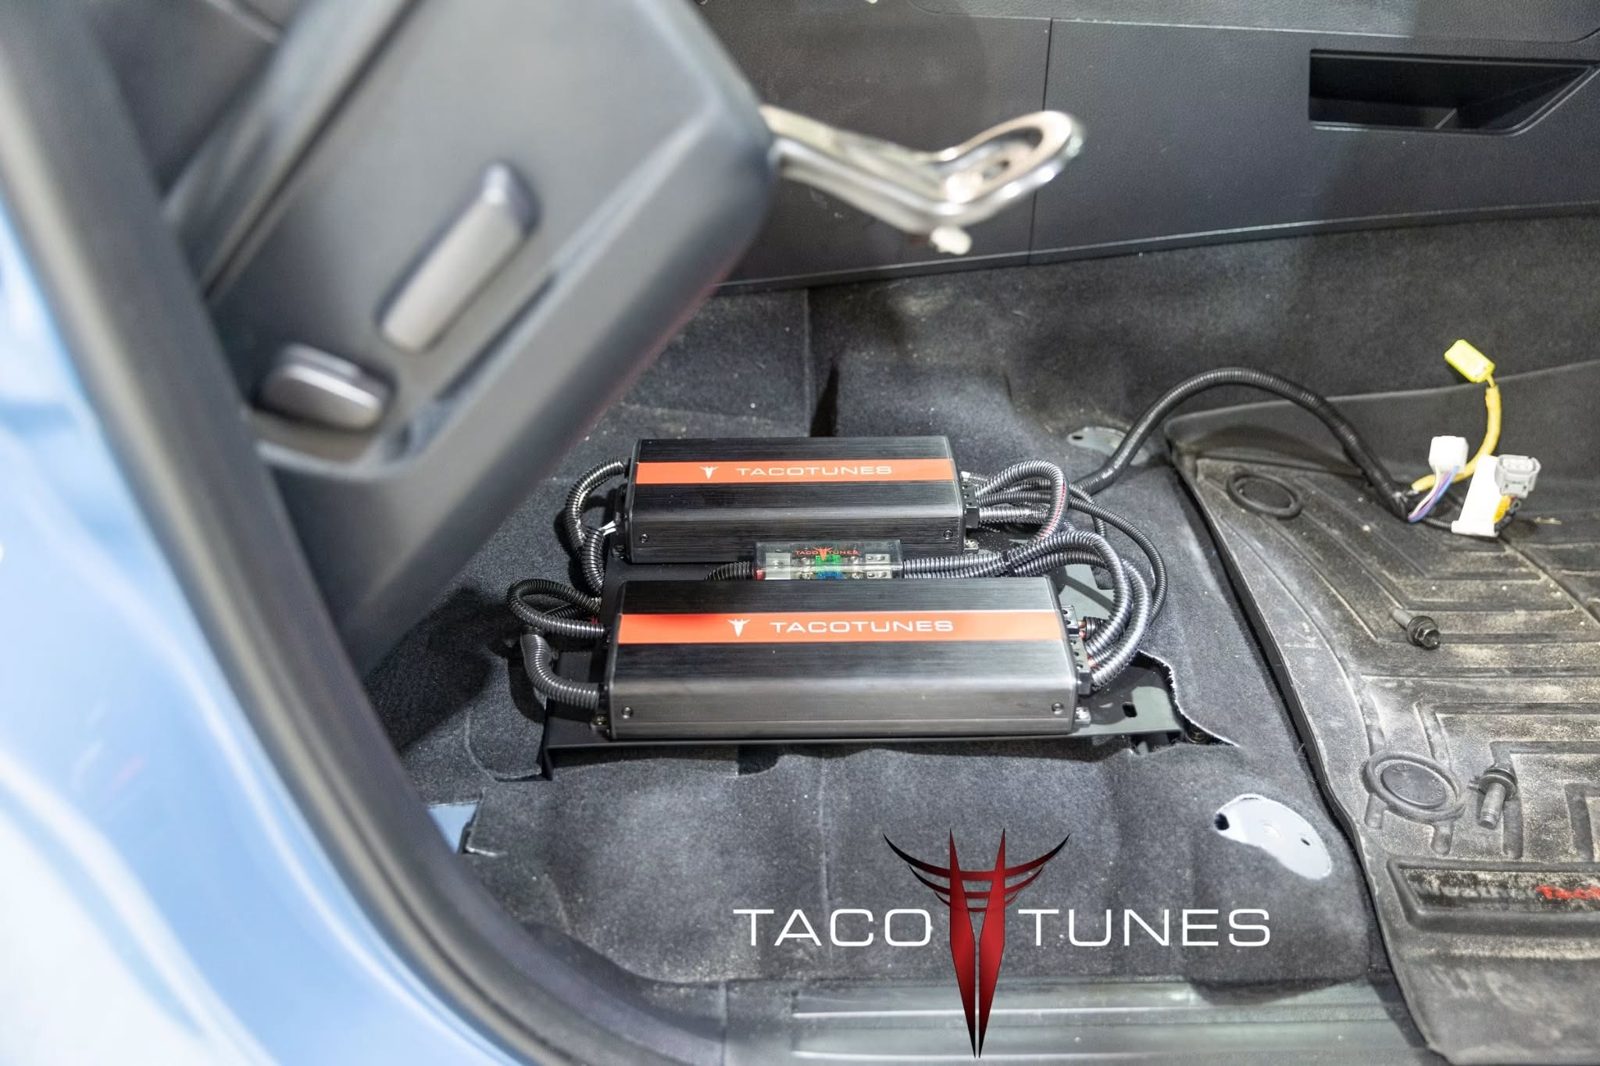
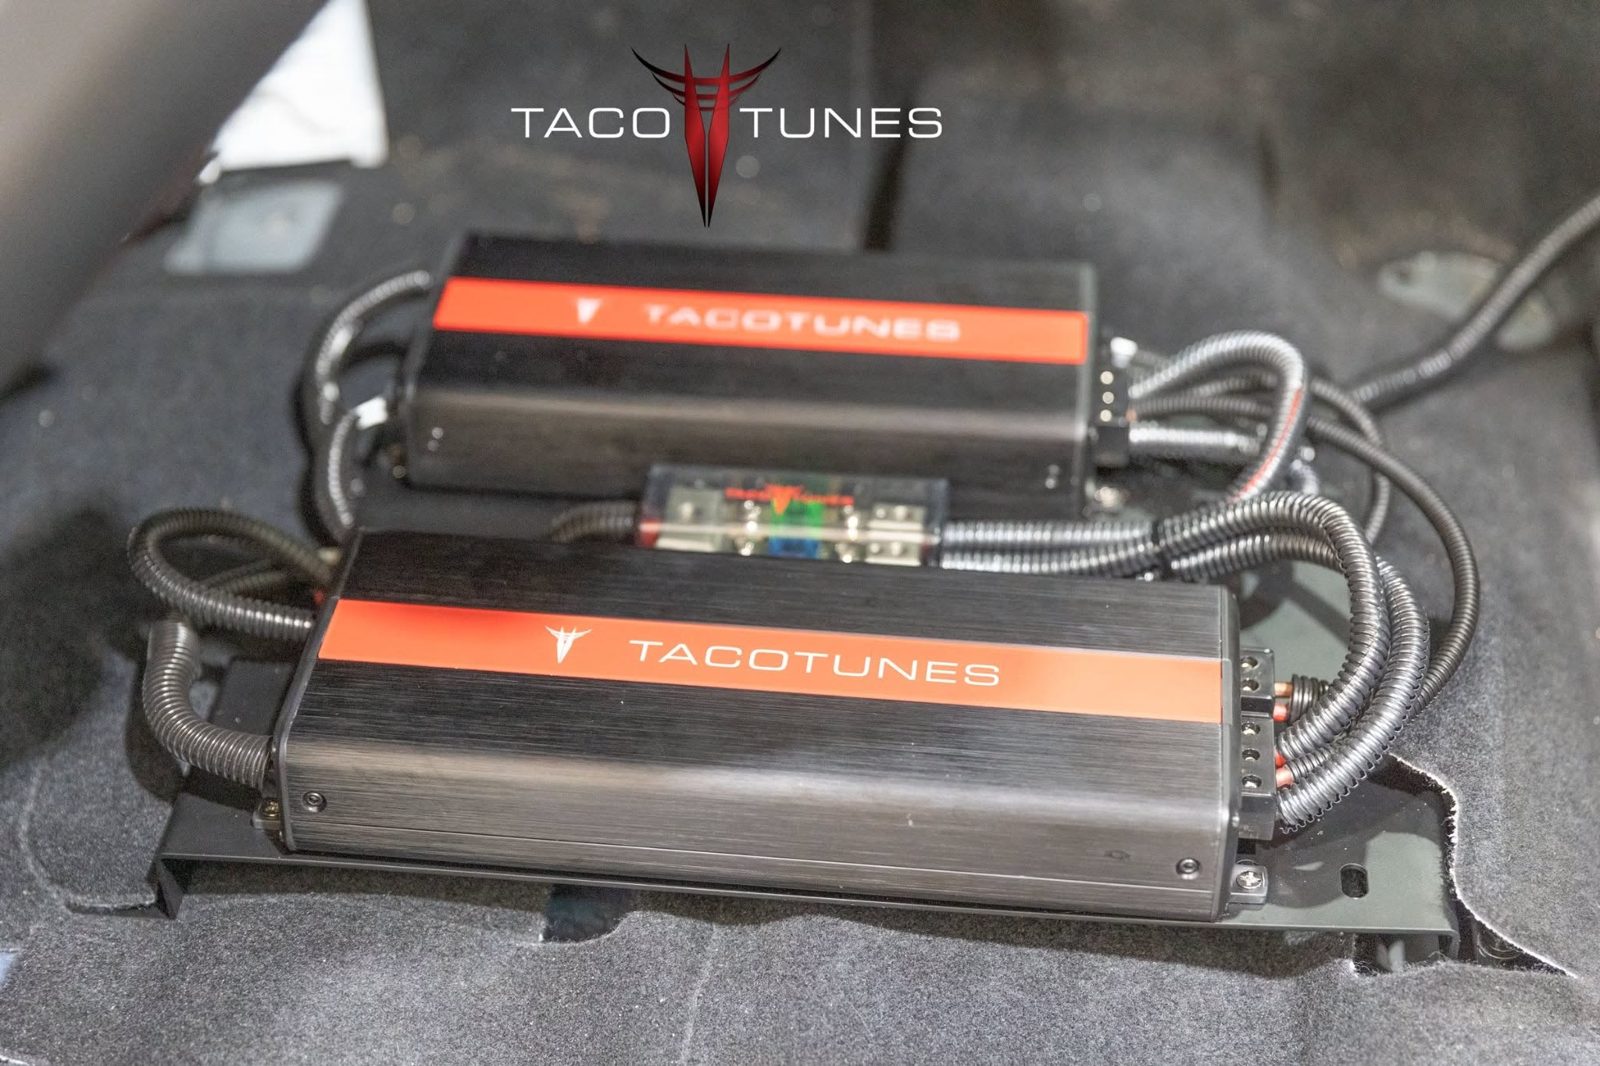
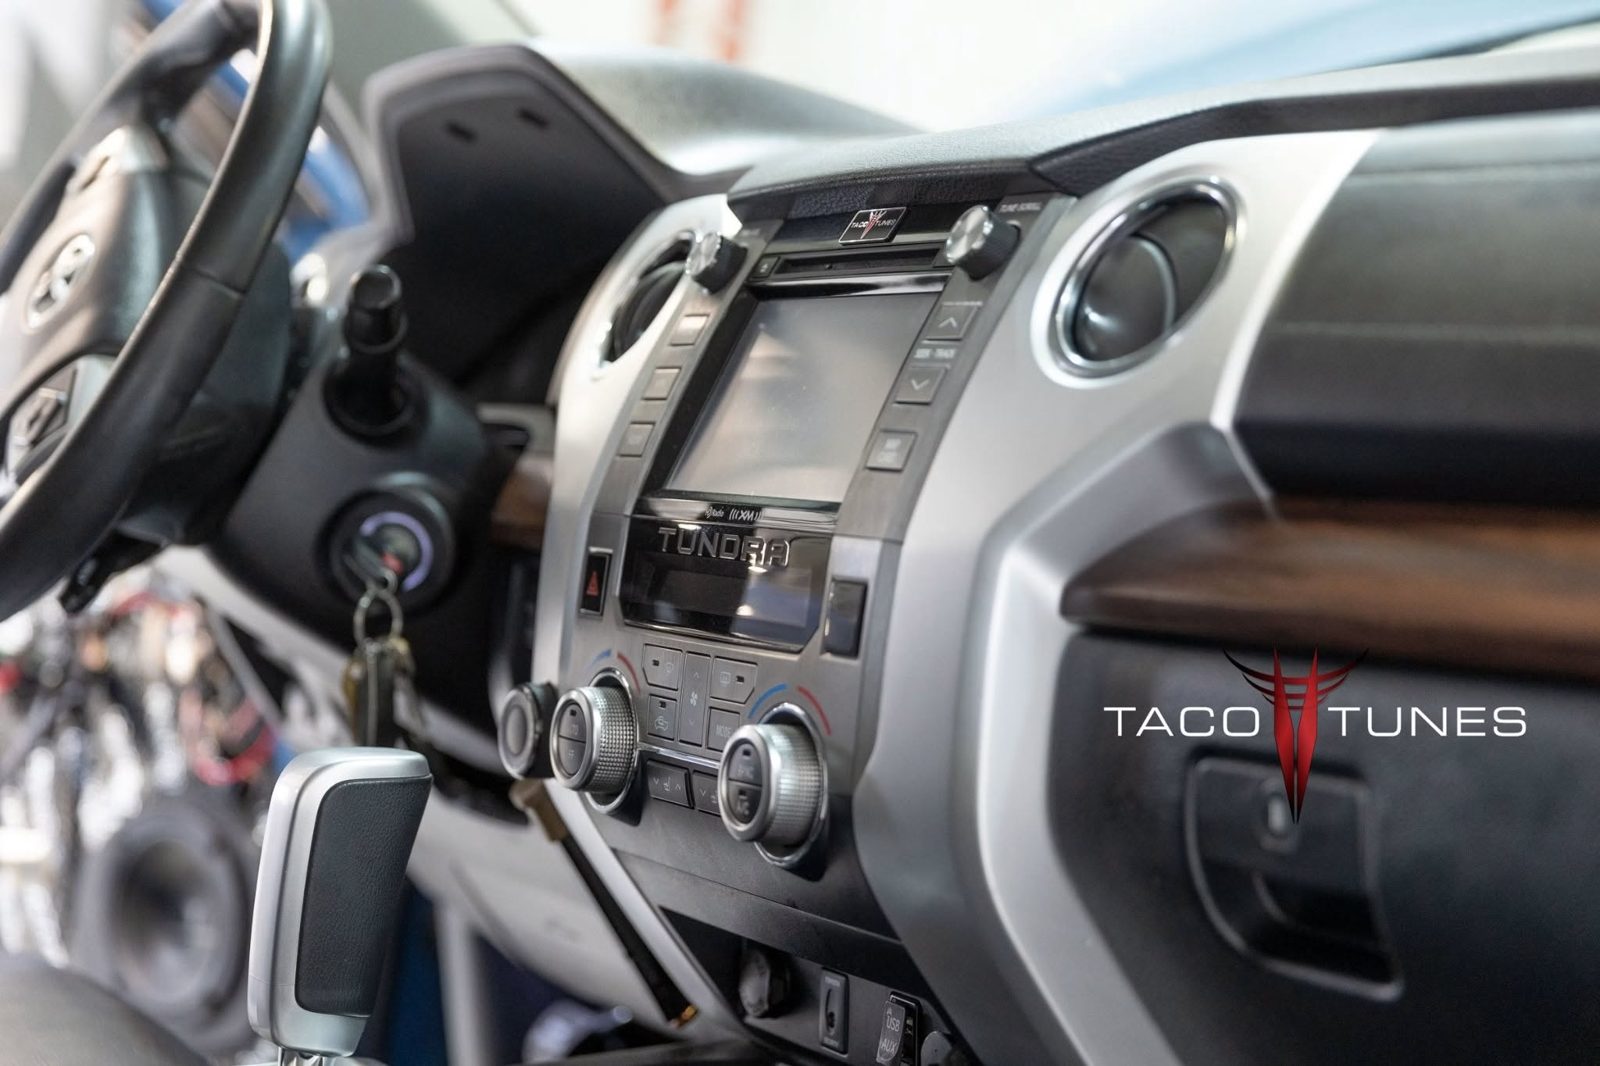
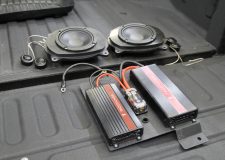
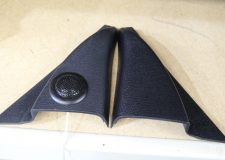
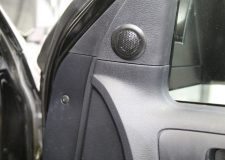
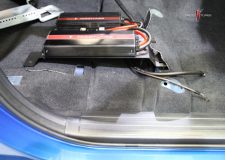
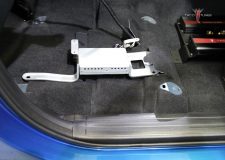
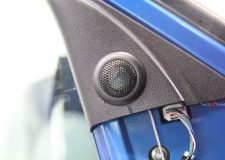
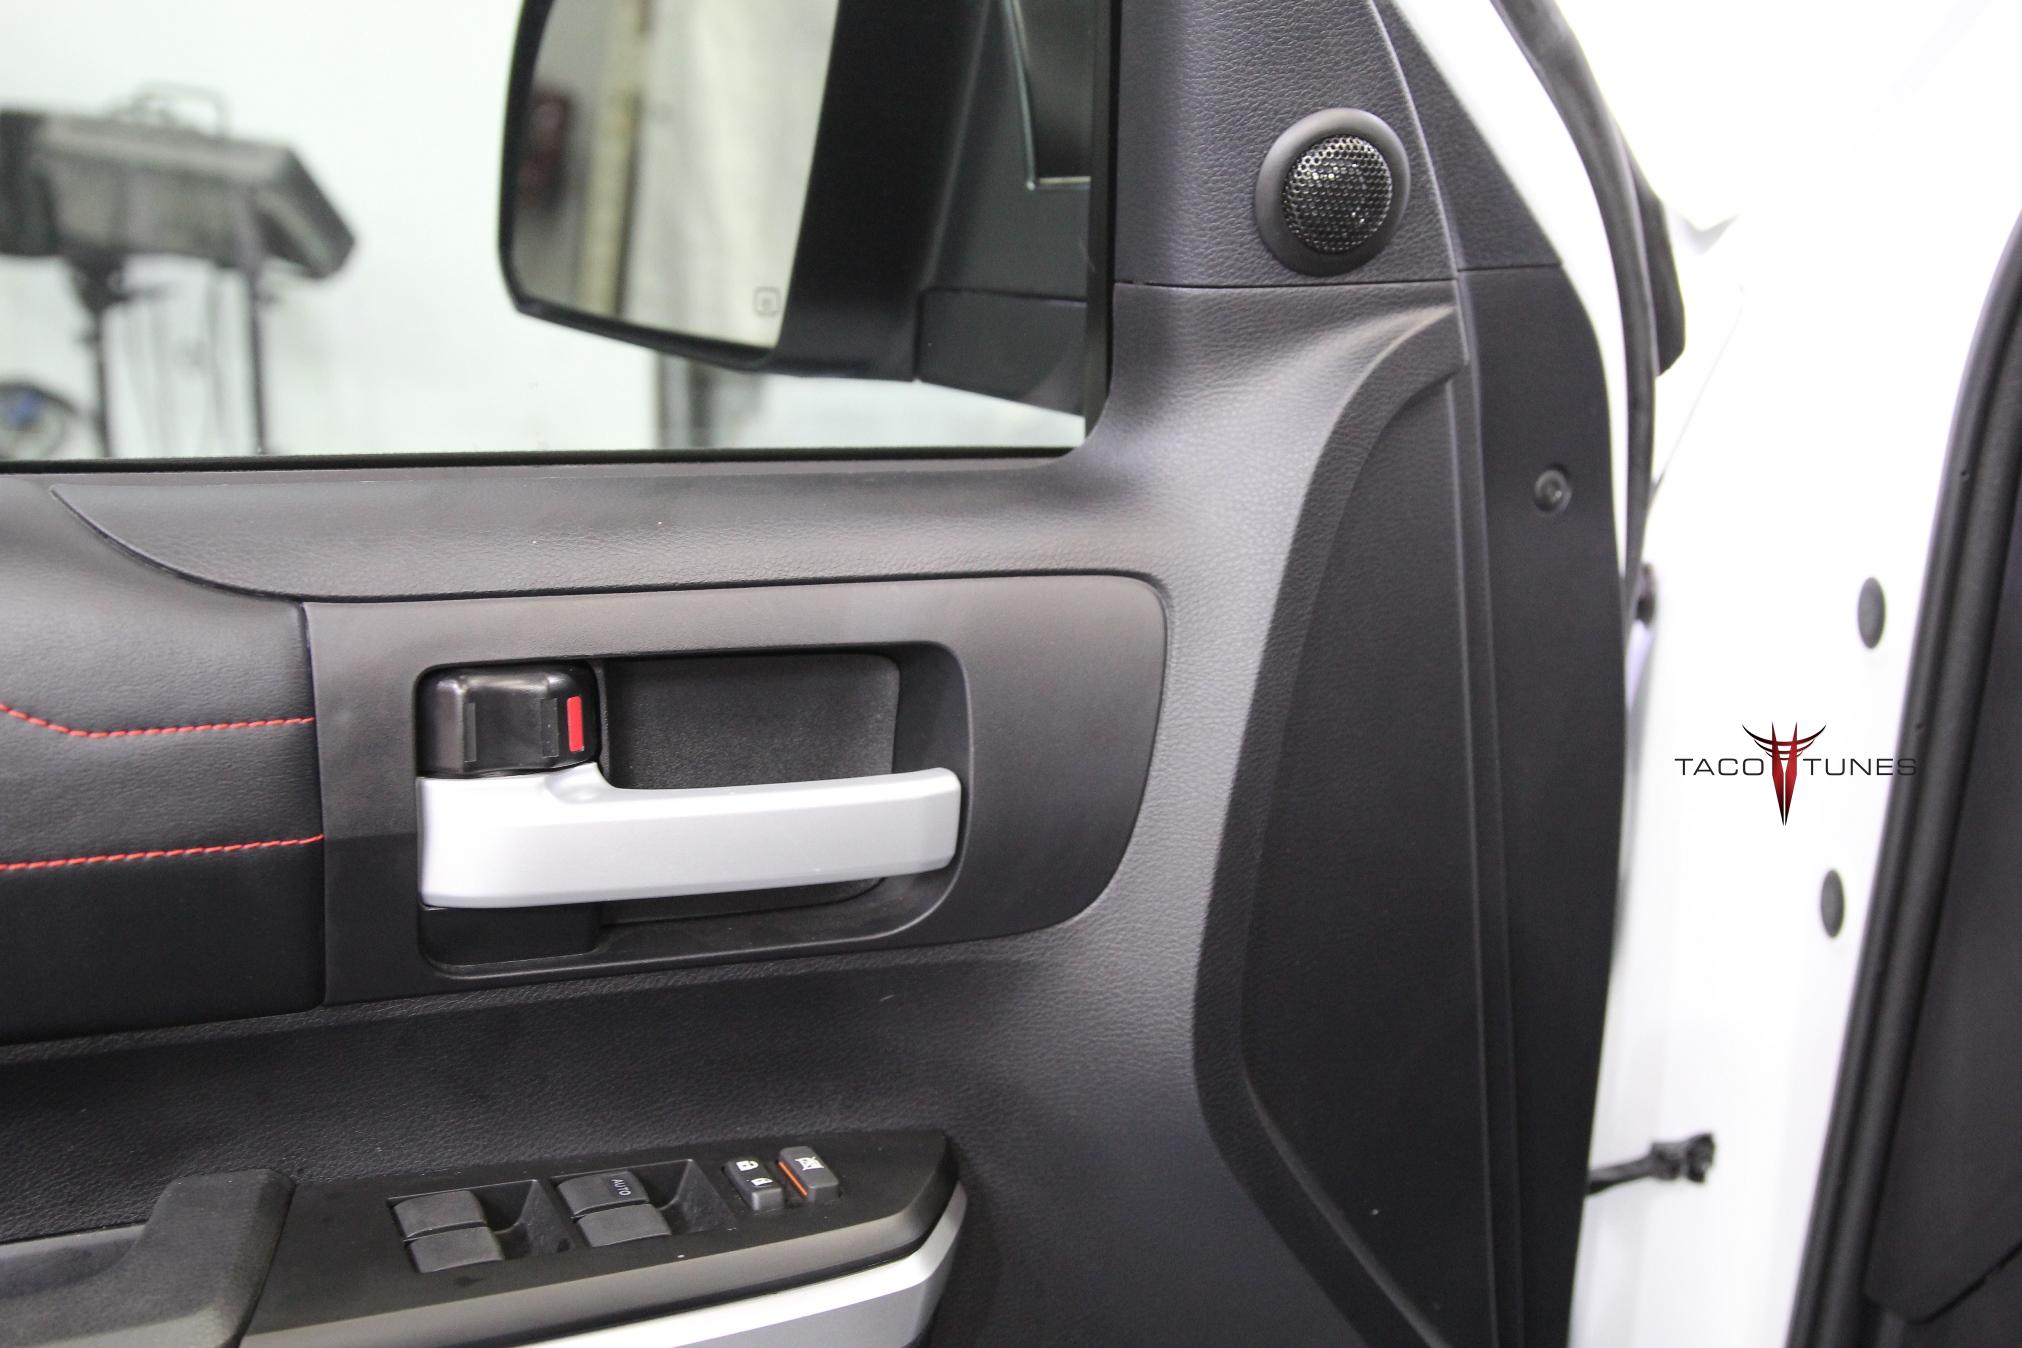
Kept his stock head unit by using our Tundra Direct Integration System. NO CUTTING or splicing FACTORY wires! Completely reversible.tacotunes Ported 12″ Subwoofer Box & tacotunes 12″ SubwooferTXD10005 5 Channel Amp & Laser Cut Amp rack for a precise fit. Uses stock mounting location! Don’t let audio shops drill holes in your Tundra!Direct Connect System. Replaces the factory amp and the truck still looks stock!New Tweeters in the sail panelsFront Door Component Speakers tacotunes.com TT65CS Component SpeakersRear Door Component Speakers – you can see the crossover network and the speaker wire running to the new tweeter installed in the door panel.Close up of Rear Door Component Speakers tacotunes.com TT65CS Component SpeakersNew Tweeter installed in the rear door panels.Seats ready to go back into place!Side view
Frequently asked questions
What is the difference between System 1A and System 1B?
System 1A is our streamlined package with front components, rear coaxials, a multi-channel amp and a single sub. System 1B steps up to more speakers, more power and dual subwoofers.
Is the Taco Tunes System 1B plug and play on a 2007-2021 Tundra?
Yes. The system uses custom wiring harnesses built for the Tundra, bolts to factory mounting locations and is completely reversible, with no cutting or splicing of factory wires.
Do customers really drive hours for a Taco Tunes install?
Yes. Customers regularly drive from Houston, Dallas, Austin, Amarillo, El Paso and out of state, because our systems are built specifically for Toyotas and installed without cutting factory wiring.
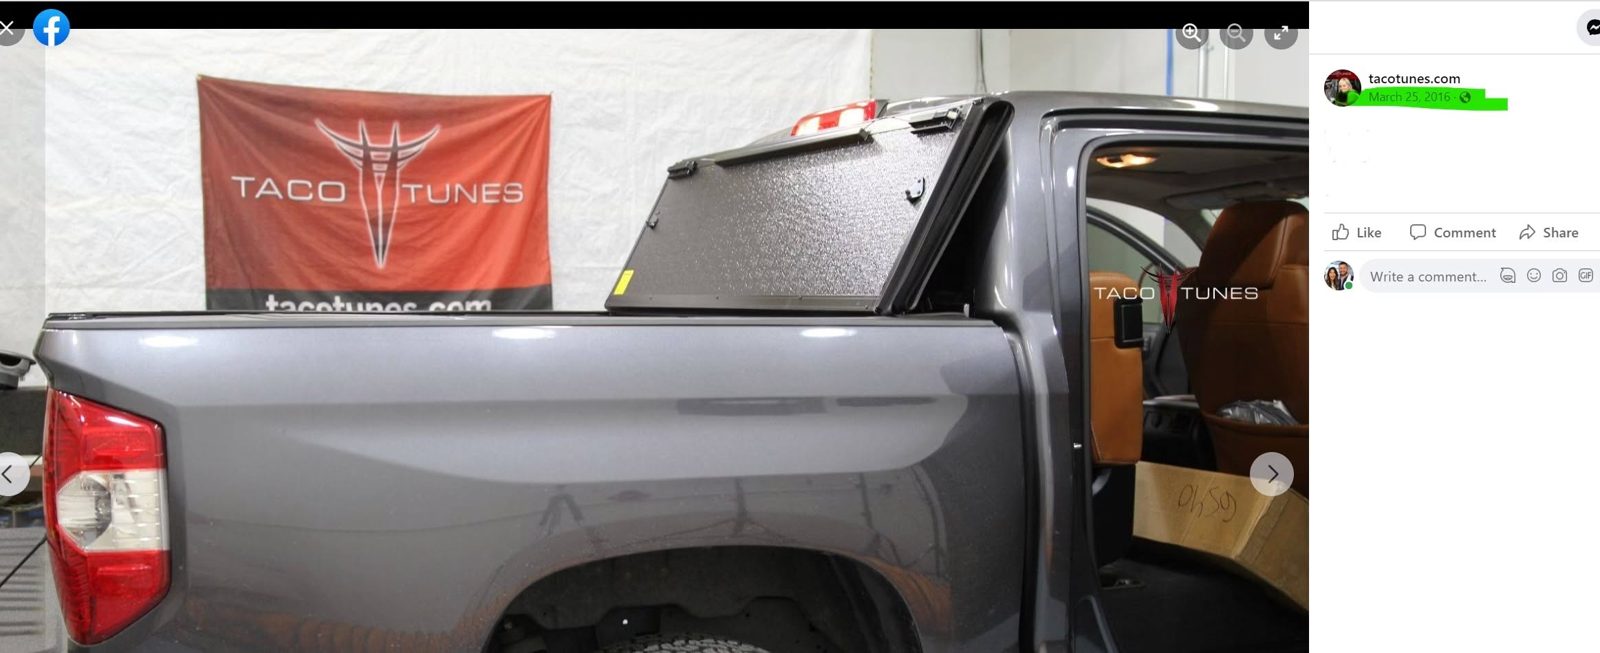
HUGE Thank you to Gabriel Hernandez for coming back to see us again after nearly 6.5 years! He is still rocking our System 1B (older version) in his 2014 Toyota Tundra CrewMax that we installed back on March 25, 2016. His stock head unit was rebooting while driving AND he wanted to add Apple Car Play and a front facing camera. Our amps are setup to work with STOCK Toyota Head units OR can also be used with MOST aftermarket head units. We installed the new head unit, maintained the steering wheel controls, kept his satellite radio, kept his existing backup camera, HDMI input and lots more! Ran new cables / connectors to our System 1B and he was rocking! BTW, G is just a bit OCD! (shhh don’t tell him we told you!) Check out the interior on this truck! Still looks NEW!!!
Vehicle
2014 Toyota Tundra
System
System 1B
Posted
August 2022
Shop
Taco Tunes, San Antonio, TX
Install photos
New Head Unit InstallationUSB / HDMI InputsOriginal Stock Head Unit & tacotunes.com ReCurve we installed nearly 6.5 years ago.Before we removed his Recurve.Interior PicsFront End Friday (on a Tuesday)Original Installation Pic on our FB page from back in 2016!
Frequently asked questions
How long does a Taco Tunes system last?
A long time. We regularly see systems that are 5 to 8 years old come back for reinstalls or checkups still playing like new, because the parts are matched to the truck and nothing in the factory wiring is cut.
Will a Taco Tunes system work with an aftermarket head unit?
Yes. Our systems work with the stock stereo and most aftermarket head units, so you can upgrade the screen now or later.
Is the Taco Tunes System 1B plug and play on a 2007-2021 Tundra?
Yes. The system uses custom wiring harnesses built for the Tundra, bolts to factory mounting locations and is completely reversible, with no cutting or splicing of factory wires.
2021 Toyota Tundra CrewMax – TRD Pro This Tundra came equipped from the Factory with JBL audio AND Apple Car Play / Android Auto. The owner was not happy with the factory JBL. BUT wanted to keep the factory head unit. We set him up with our System 1B and our JBL direct integration system. Our complete system is plug and play completely reversible AND bolts to factory mounting locations. EVEN the wiring harnesses are custom designed for this vehicle.
Vehicle
2021 Toyota Tundra TRD Pro JBL
System
System 1B
Posted
August 2022
Shop
Taco Tunes, San Antonio, TX
How the Taco Tunes system installs
Our audio system will work with your stock stereo and most aftermarket head units.
tacotunes.com System 1B: Front Door Component Speakers: tacotunes.com TT65CS Component Speakers Tacotunes.com heavy duty speaker mounts cut to 5.6” TT65CS Mid bass Drivers -100 Watts RMS TT65CS Crossovers TT65CS Tweeters tacotunes.com sail panels with tacotunes tweeters Rear Door Components: TT65CS rear door components. Tacotunes.com heavy duty speaker mounts cut to 5.6” TT65CS Mid bass drivers Handles -100 watts RMS TT65CS Crossover TT65CS Tweeters Tweeters will fit in stock door location Amp: tacotunes.com TXD3204v2 Four channel amplifier tacotunes.com TXD10001 Mono subwoofer amplifier 100 watts x 4 to each speaker and 1000 x 1 (subwoofers) Subwoofer(s): Subwoofer Box & Subwoofers Tacotunes.com Dual 12″ subwoofers Image Dynamics ID10V4 (full size) 10” subwoofer 400 watts RMS x 2 (1000)
Install photos
Kay assembling the laser cut amp rack that bolts directly to this Toyota Tundra. Don’t let audio shops drill into your Tundra!Our Tundra direct integration system allows you to keep your stock head unit and obtain unmatched sound quality. ZERO cutting or splicing any factory wires! We install these for many brand new Tundras BEFORE they hit the dealer lot.Kay routing and zip tying the cables in place. Front Door Speakers & Tweeters. tacotunes.com TT65CStacotunes.com Rear Door Component Speakers!tacotunes.com TT65CS Tweeter & Sail Panel, replaces the stock JBL tweeter. NOTE: Used in our NON JBL systems as well!tacotunes.com TTT65CS Crossover Network – for the best in sound quality in your Toyota Tundra!Dual 12″ tacotunes.com Subwoofers & Tacotunes Subwoofer enclosure that fits behind the seats!Kay taking FOREVER to roll the matting . . she needs to LIFT more! Matting is a tough job and requires a good amount of pressure to be done properly.Amp rack bolts in factory location, hides under seat. The system 1B includes our TXD3204 (4 Channel) & TXD10001 SubWoofer AmpDual 12″ Subwoofer & Sub Box
Frequently asked questions
How does Taco Tunes integrate with the factory JBL system?
Our plug-and-play JBL integration system grabs a clean, unmodified signal before the factory amplifier and feeds your new amplifiers a consistently flat audio signal, with zero changes to factory wiring.
Is the Taco Tunes System 1B plug and play on a 2007-2021 Tundra?
Yes. The system uses custom wiring harnesses built for the Tundra, bolts to factory mounting locations and is completely reversible, with no cutting or splicing of factory wires.
Why do 2020 and newer Tundras need an LOC?
Starting in 2020, Tundras came with factory Apple CarPlay and Android Auto. Adding amplifiers to those head units requires a line output converter (LOC), so the equipment is slightly different from 2007-2019 trucks.
We have been so busy with multiple installs we have not been posting up pics!
Vehicle
2016 Toyota Tundra Limited CrewMax JBL
System
System 1B
Posted
August 2022
Shop
Taco Tunes, San Antonio, TX
Thank you Stephen for allowing us to install our system 1B in yoru 2016 Tundra! Our audio system will work with your stock stereo and most aftermarket head units.
2016 Toyota Tundra CrewMax Limited
We kept his factory JBL head unit and added our amplifiers and following equipment:
Front Door Component Speakers
tacotunes.com TT65CS Component Speakers
Tacotunes.com heavy duty speaker mounts cut to 5.6”
TT65CS Mid bass Drivers -100 Watts RMS
TT65CS Crossovers
TT65CS Tweeters
tacotunes.com sail panels with tacotunes tweeters
Rear Door Components
TT65CS rear door components.
Tacotunes.com heavy duty speaker mounts cut to 5.6”
TT65CS Mid bass drivers Handles -100 watts RMS
TT65CS Crossover
TT65CS Tweeters
Tweeters will fit in stock door location
Amp
tacotunes.com TXD3204v2 Four channel amplifier
tacotunes.com TXD10001 Mono subwoofer amplifier
100 watts x 4 to each speaker and 1000 x 1 (subwoofers)
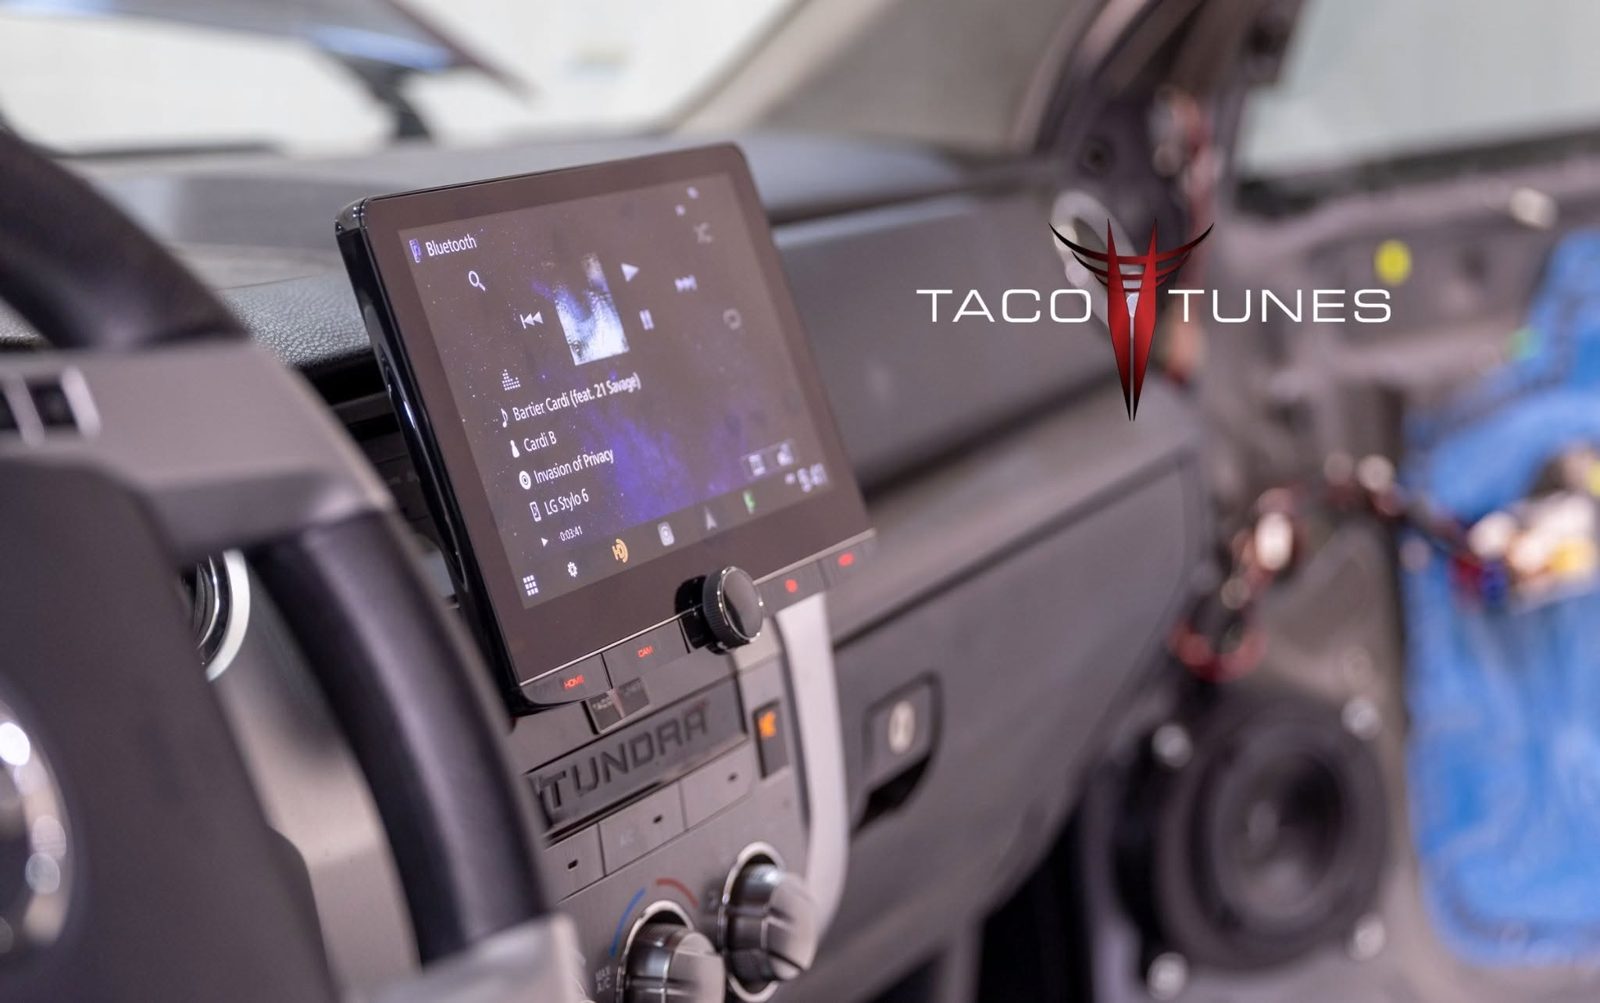
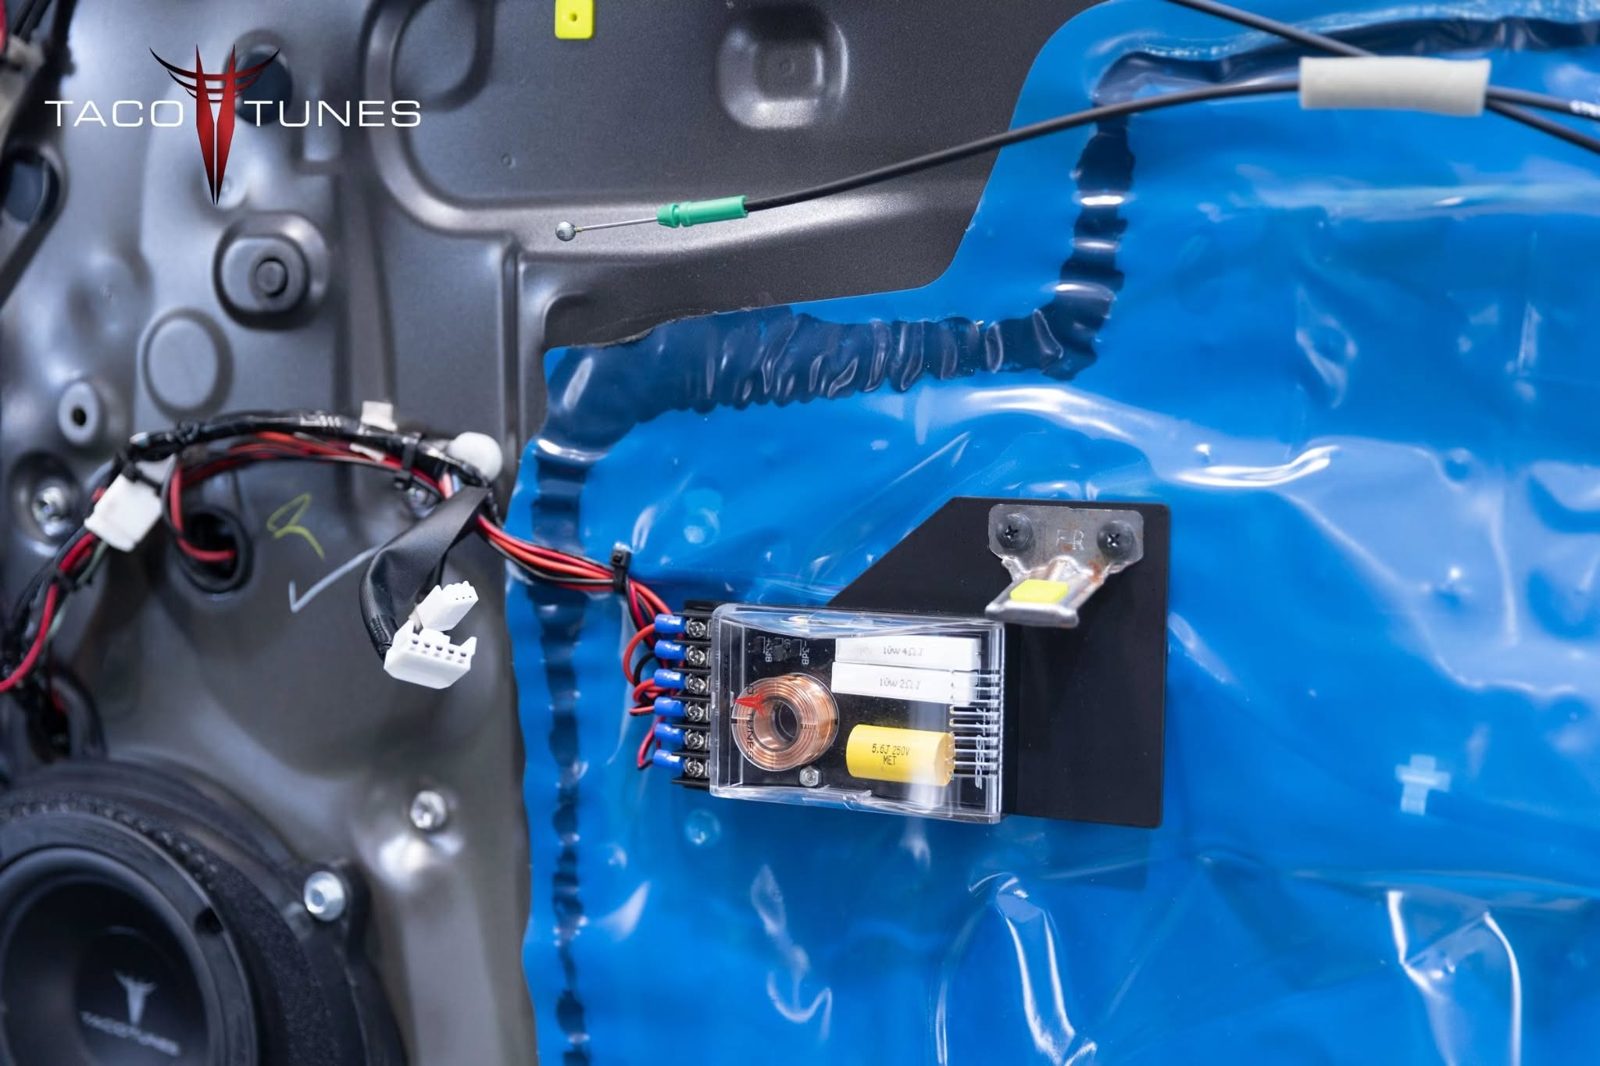
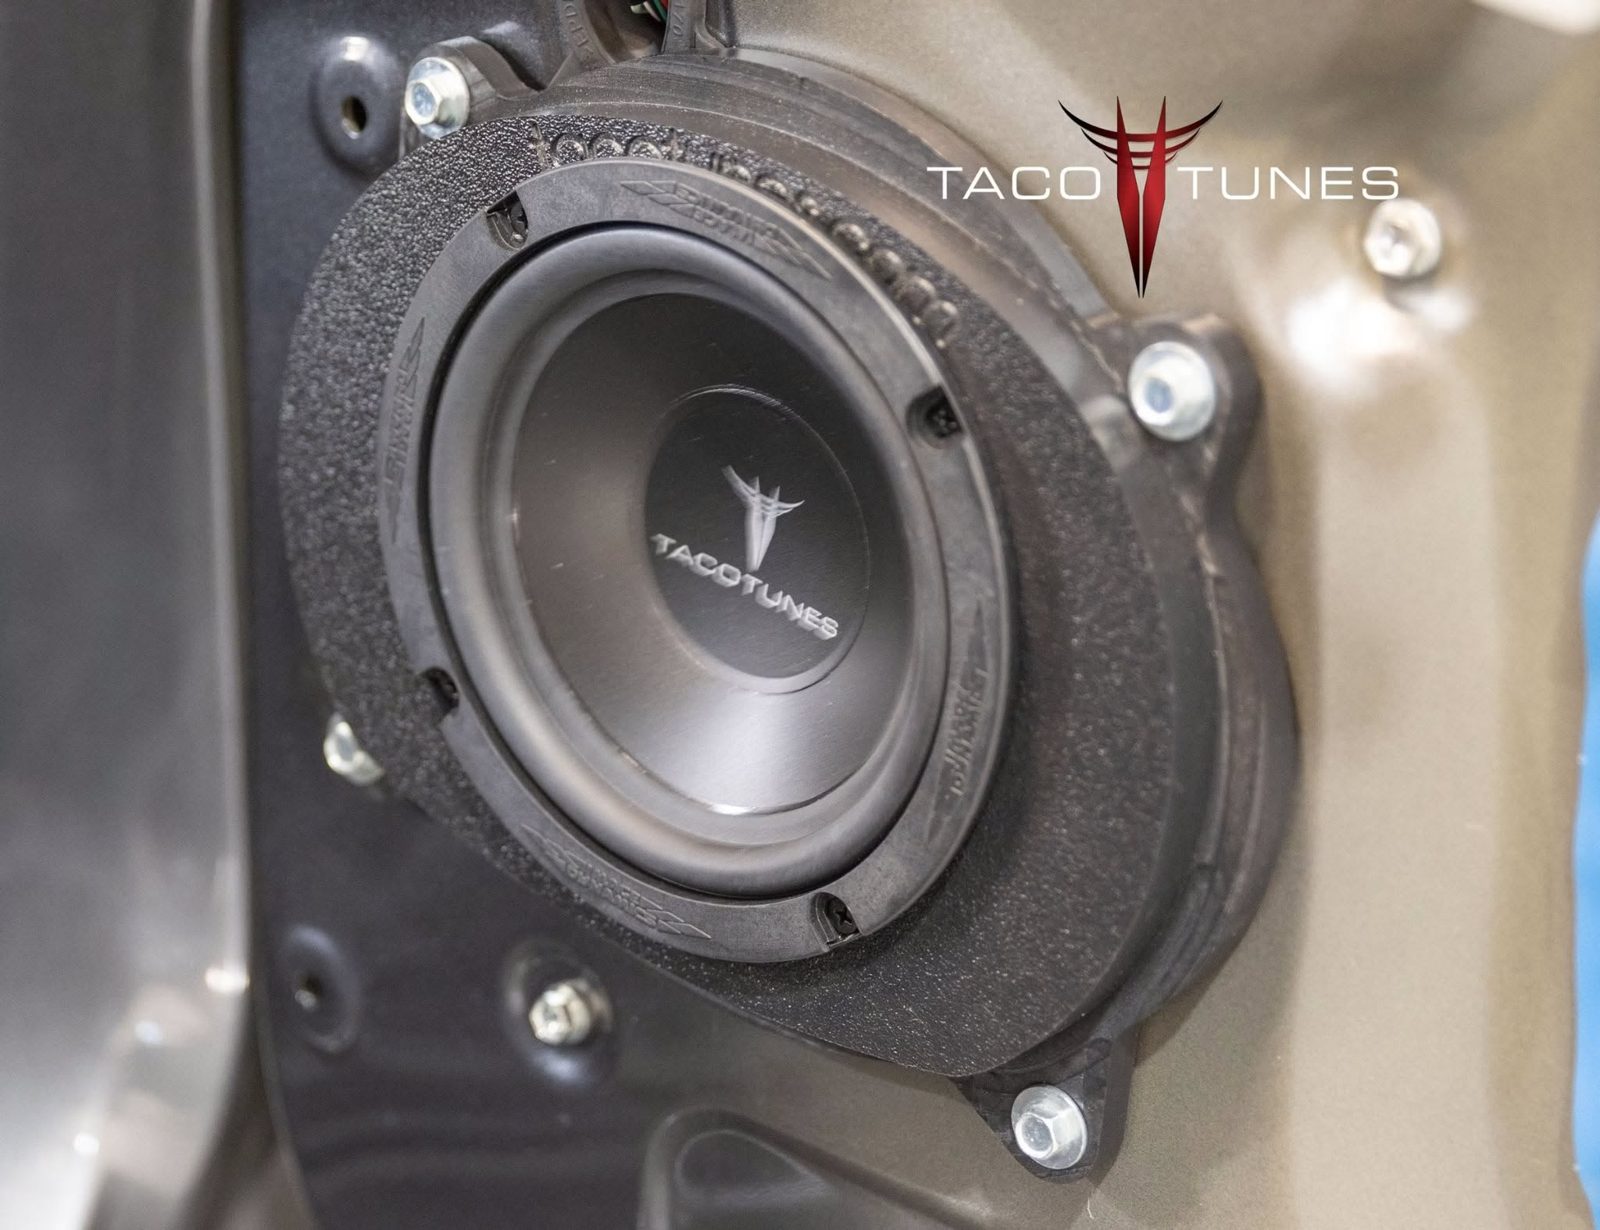
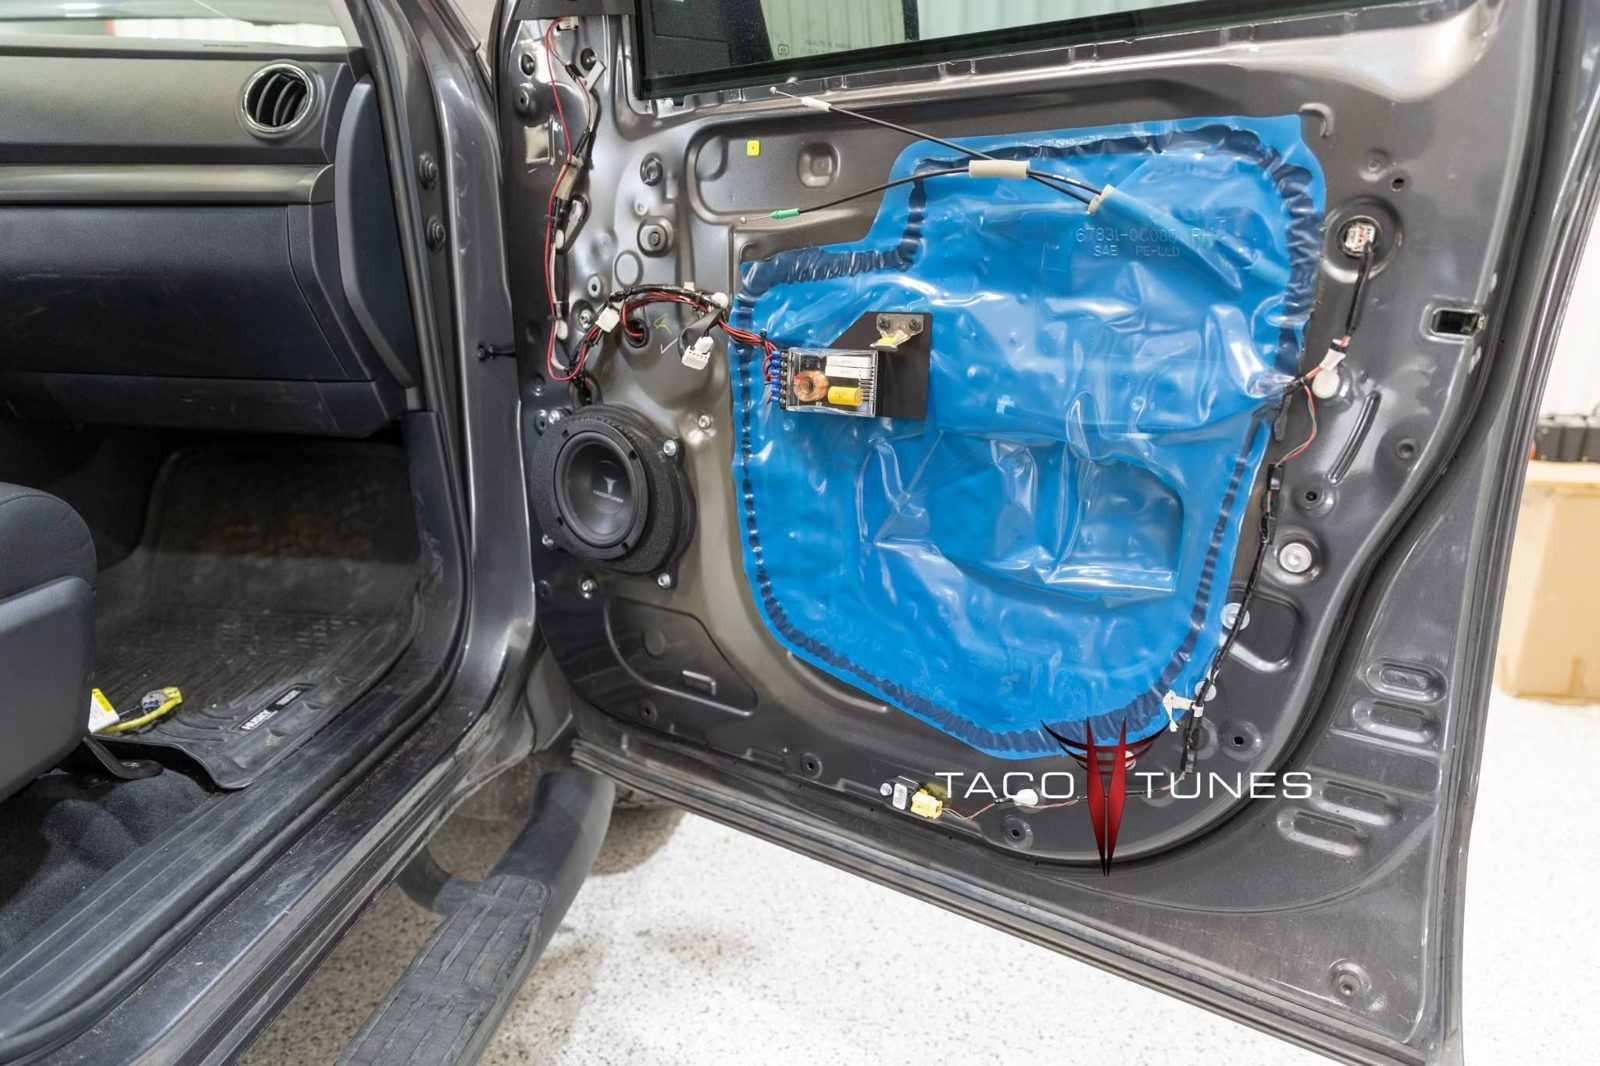
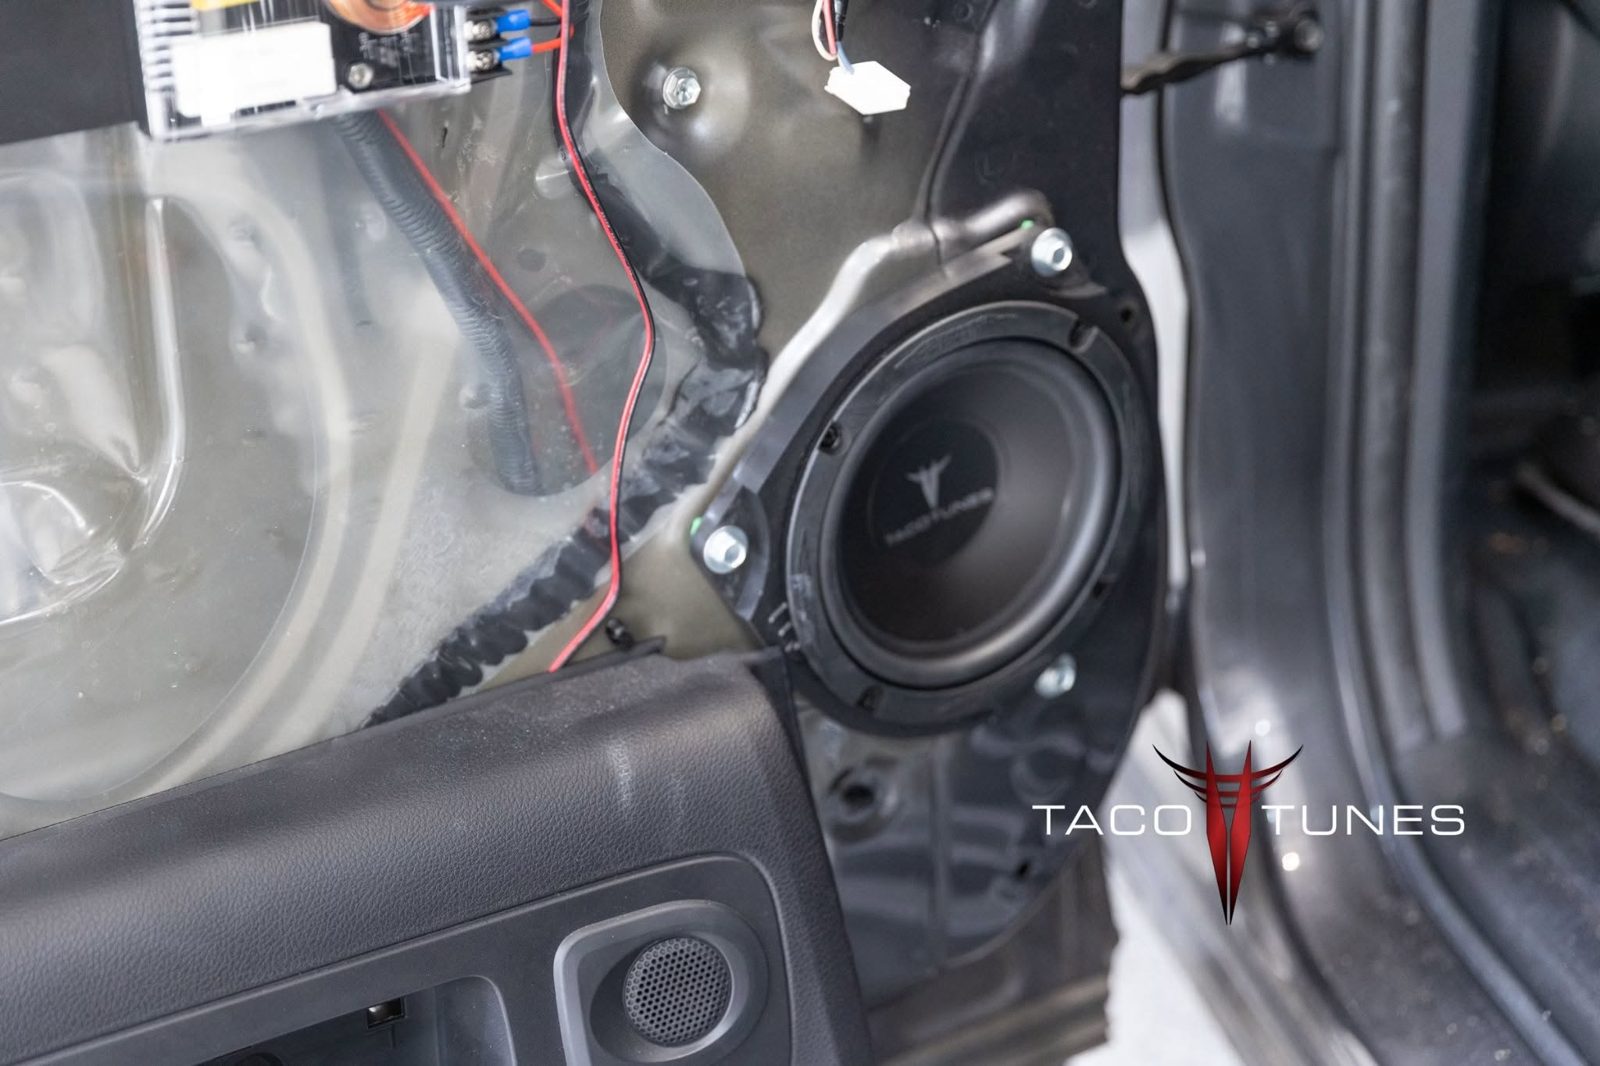
Dual 12″ Subwoofer Fit behind the rear seats! No Permanent mods!System 1B – TXD3204 (4 Channel Amp) & TXD10001 (Subwoofer Amp) & our Tundra Direct Integration System.tacotunes.com battery fuseLaser Cut Amp Rack Bolts to Factory Location – No cutting or drilling into your Tundra!Aftermarket Head Unit – with Apple Car Play & Android Auto.tacotunes.com TT65CS Tweeters in Sail Panelstacotunes.com TT65CS Crossoverstacotunes.com TT65CS Front Door Mid Bass Drivers (system was playing)tacotunes.com TT65CS Rear Door Mid Bass Drivers (system was playing)
Frequently asked questions
How does Taco Tunes integrate with the factory JBL system?
Our plug-and-play JBL integration system grabs a clean, unmodified signal before the factory amplifier and feeds your new amplifiers a consistently flat audio signal, with zero changes to factory wiring.
Will a Taco Tunes system work with an aftermarket head unit?
Yes. Our systems work with the stock stereo and most aftermarket head units, so you can upgrade the screen now or later.
Is the Taco Tunes System 1B plug and play on a 2007-2021 Tundra?
Yes. The system uses custom wiring harnesses built for the Tundra, bolts to factory mounting locations and is completely reversible, with no cutting or splicing of factory wires.
We have been so busy with multiple installs we have not been posting up pics!
Vehicle
2019 Toyota Tundra Limited CrewMax JBL
System
System 1B
Posted
July 2022
Shop
Taco Tunes, San Antonio, TX
Thank you Calvin for allowing us to install our System 1B in your Tundra! Calvin is currently working on the border and dropped his truck on the way down from Arlington TX. 2019 Toyota Tundra CrewMax Limited We kept his factory JBL head unit and added our amplifiers and following equipment:
Front Door Component Speakers
tacotunes.com TT65CS Component Speakers
Tacotunes.com heavy duty speaker mounts cut to 5.6”
TT65CS Mid bass Drivers -100 Watts RMS
TT65CS Crossovers
TT65CS Tweeters
tacotunes.com sail panels with tacotunes tweeters
Rear Door Components
TT65CS rear door components.
Tacotunes.com heavy duty speaker mounts cut to 5.6”
TT65CS Mid bass drivers Handles -100 watts RMS
TT65CS Crossover
TT65CS Tweeters
Tweeters will fit in stock door location
Amp
tacotunes.com TXD3204v2 Four channel amplifier
tacotunes.com TXD10001 Mono subwoofer amplifier
100 watts x 4 to each speaker and 1000 x 1 (subwoofers)
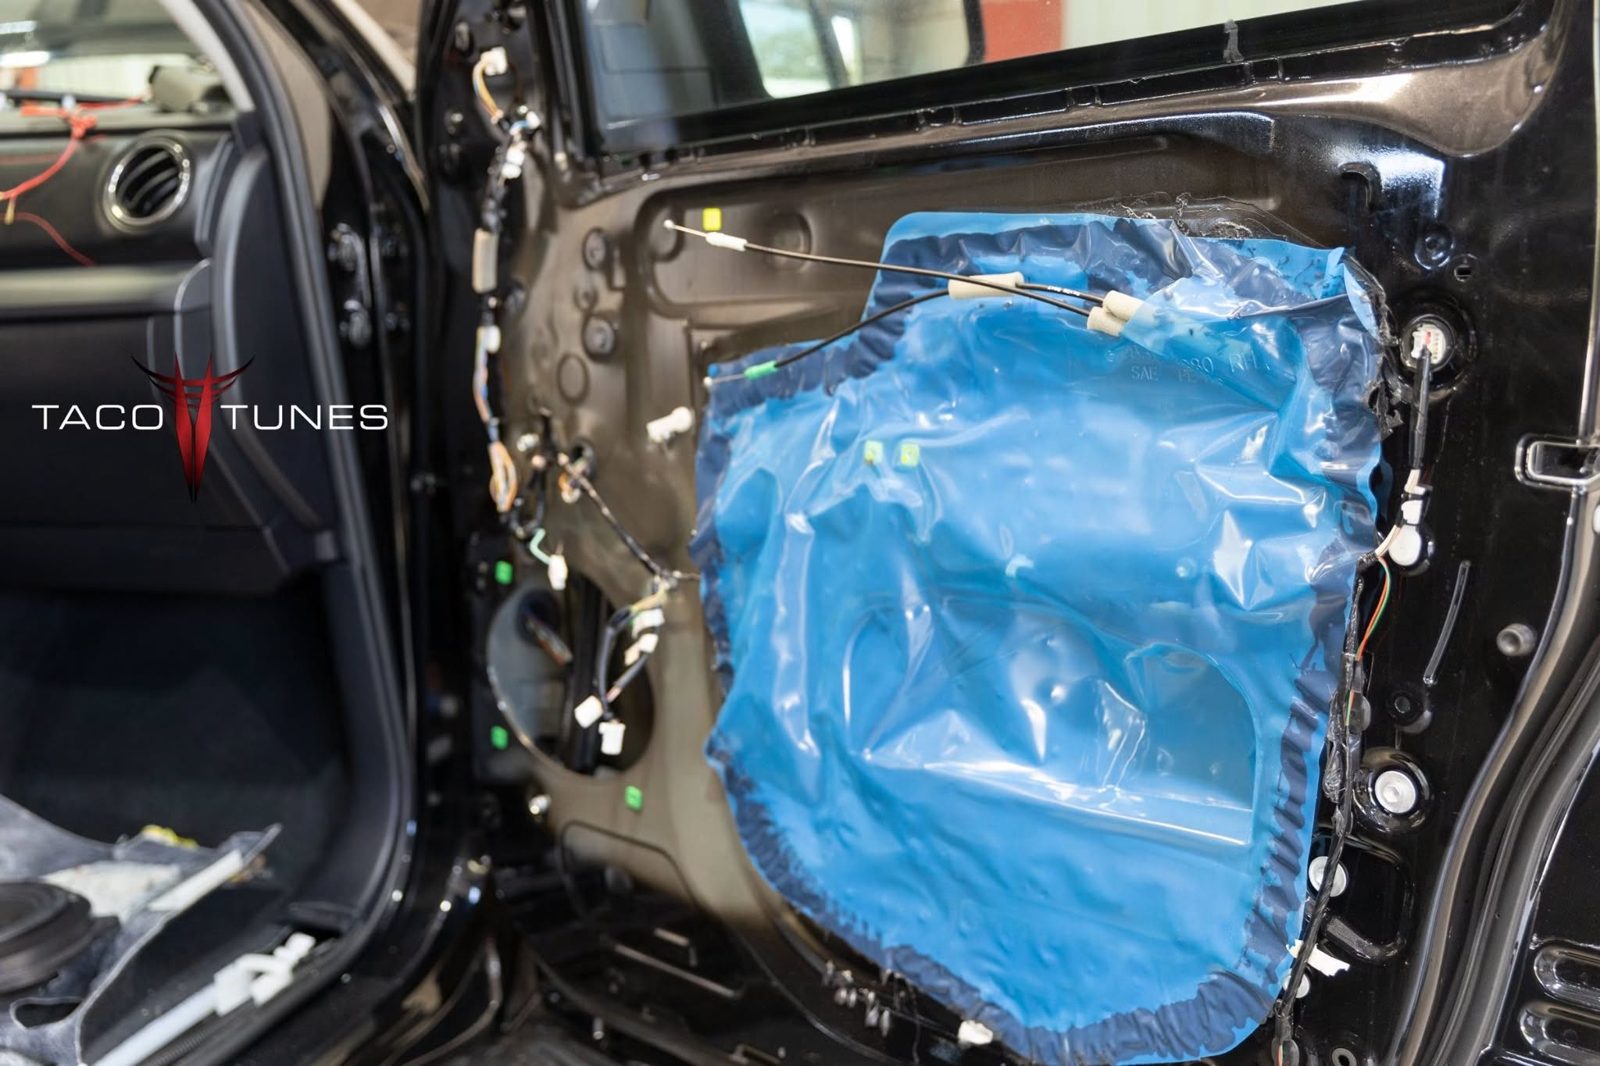
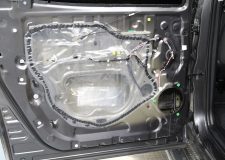
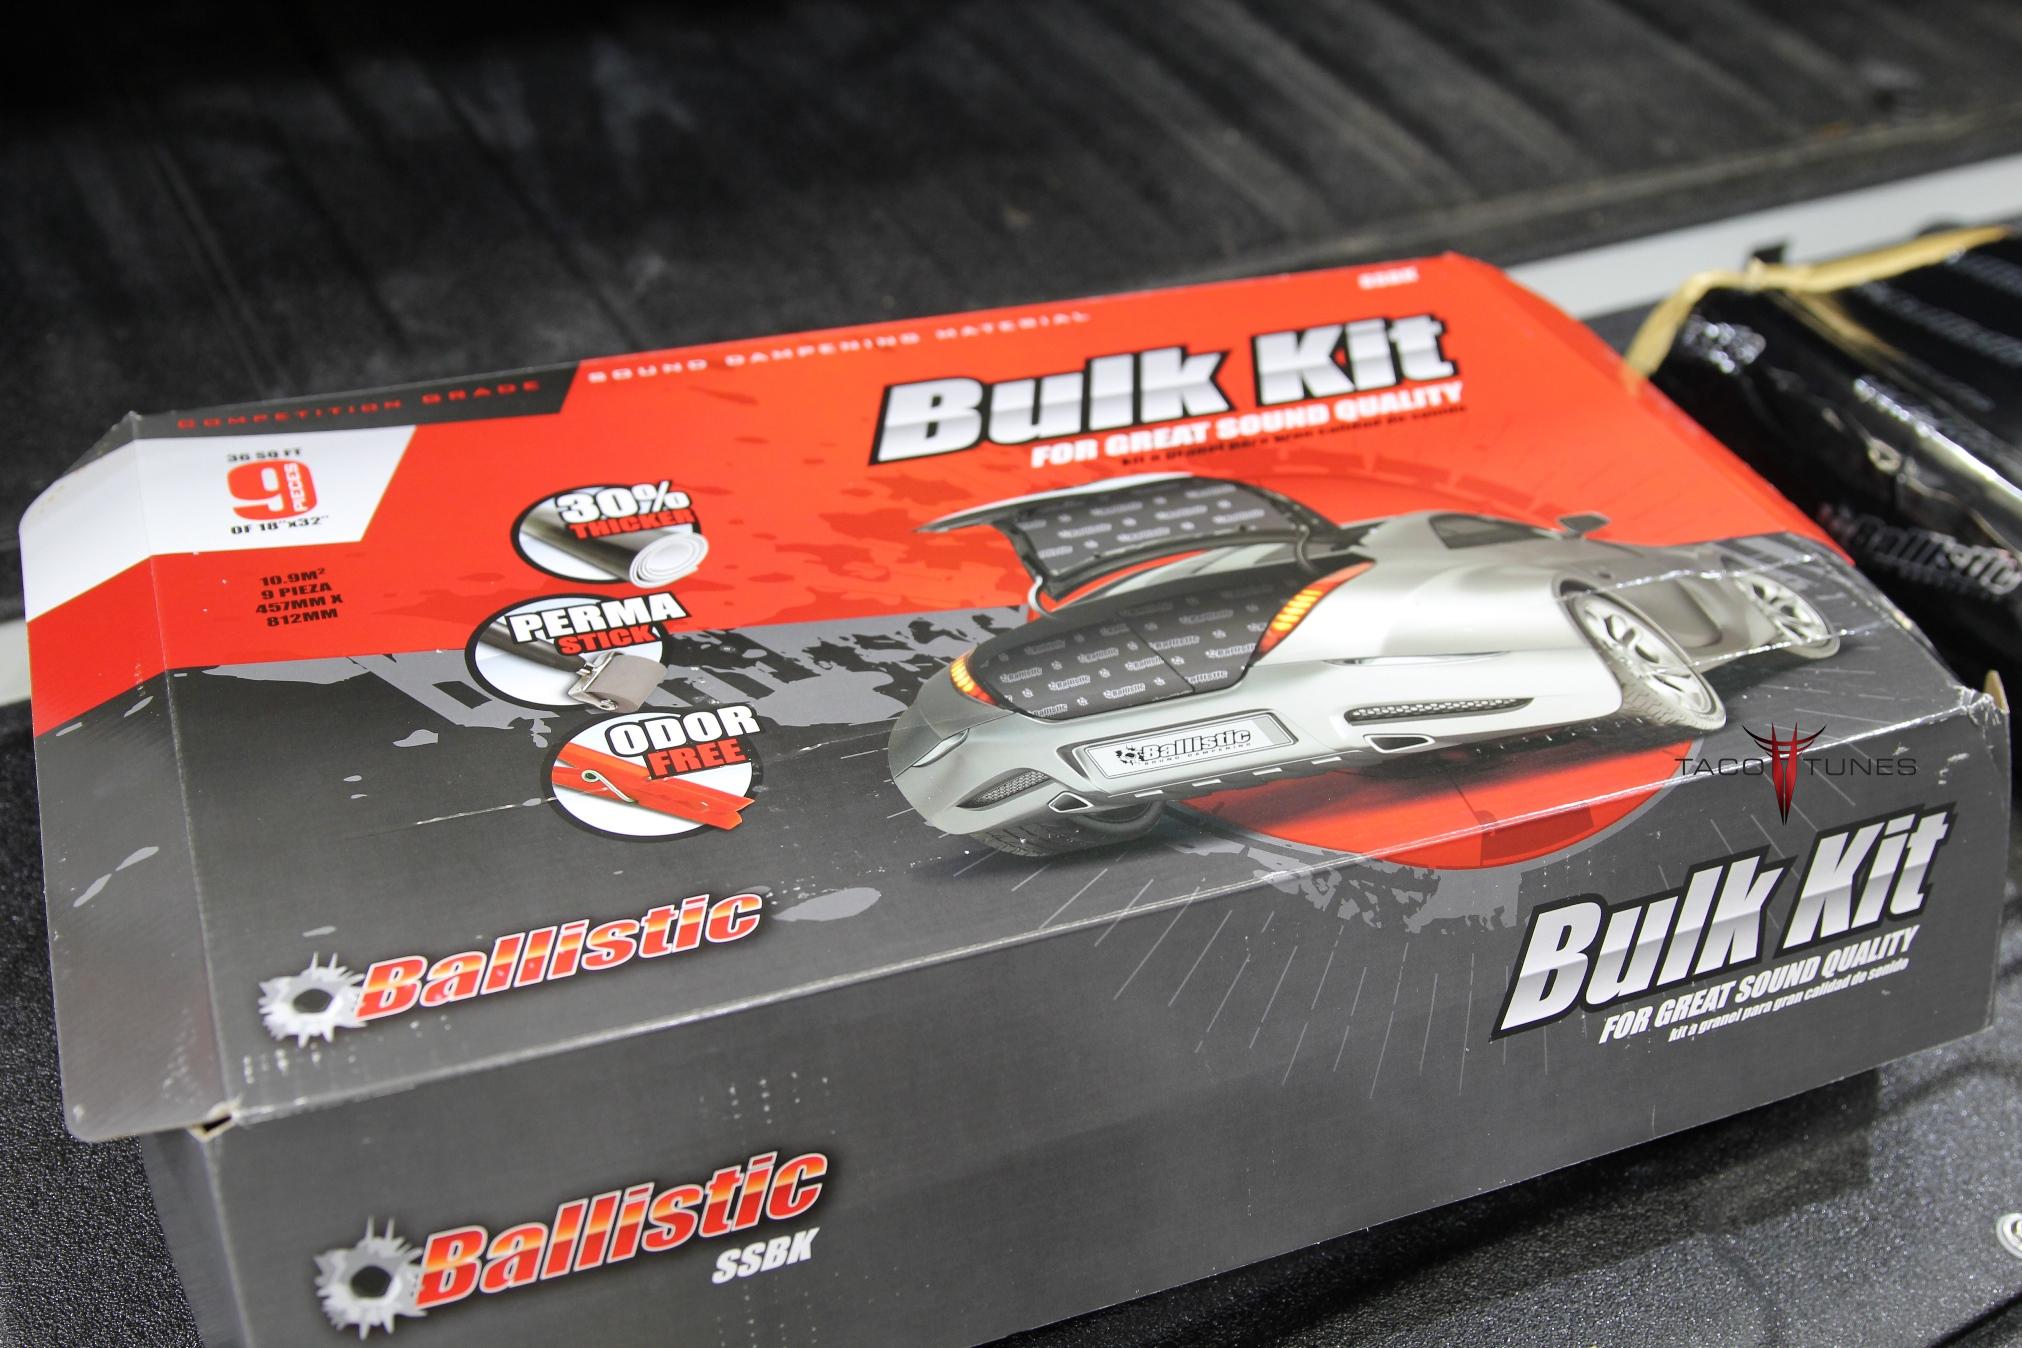
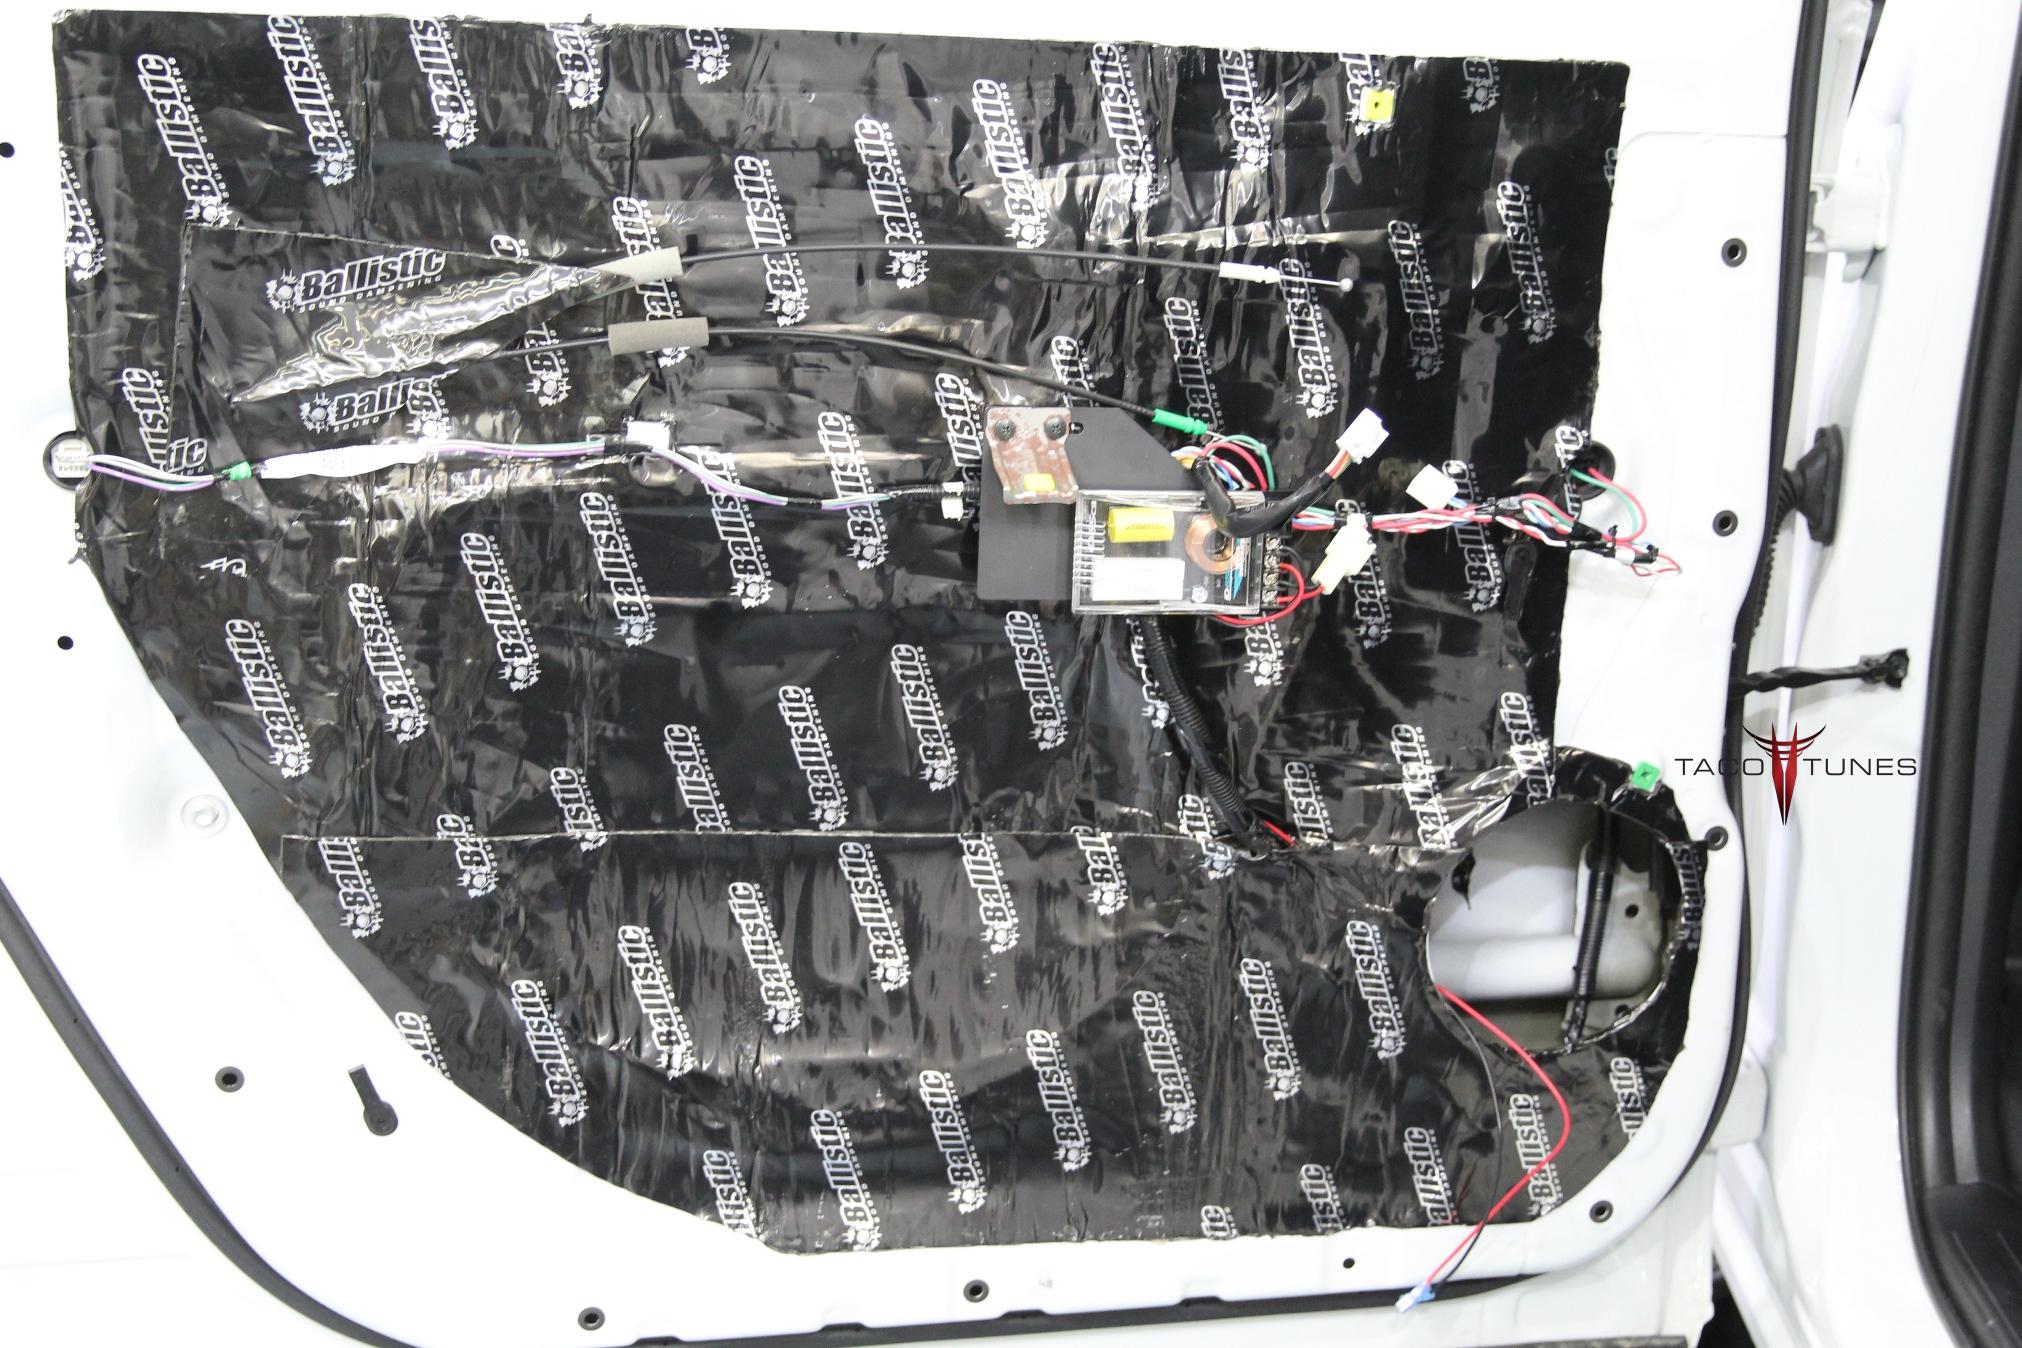
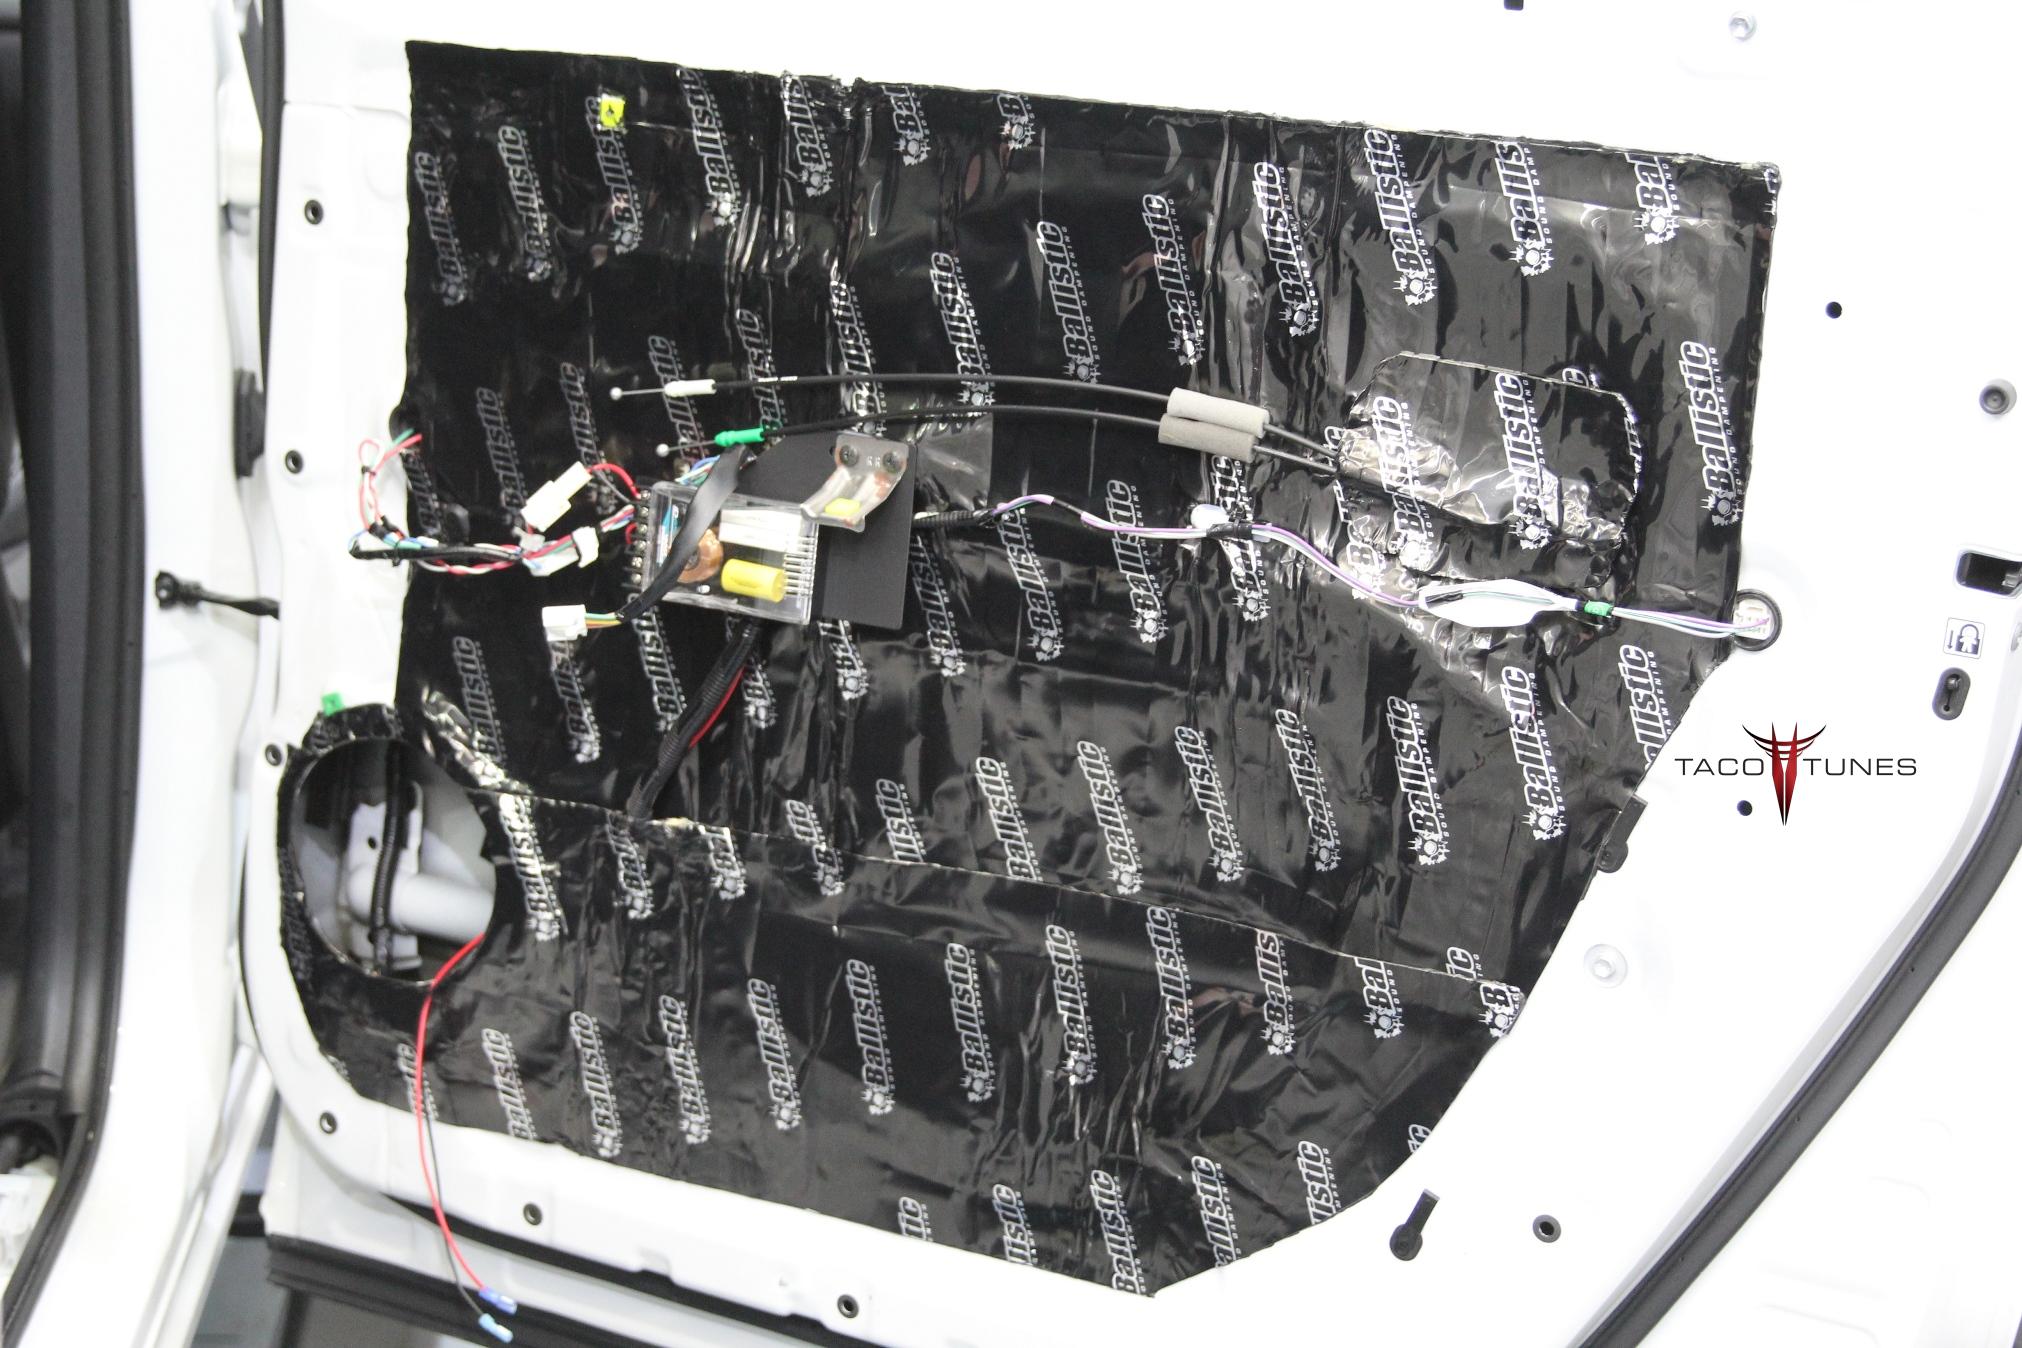
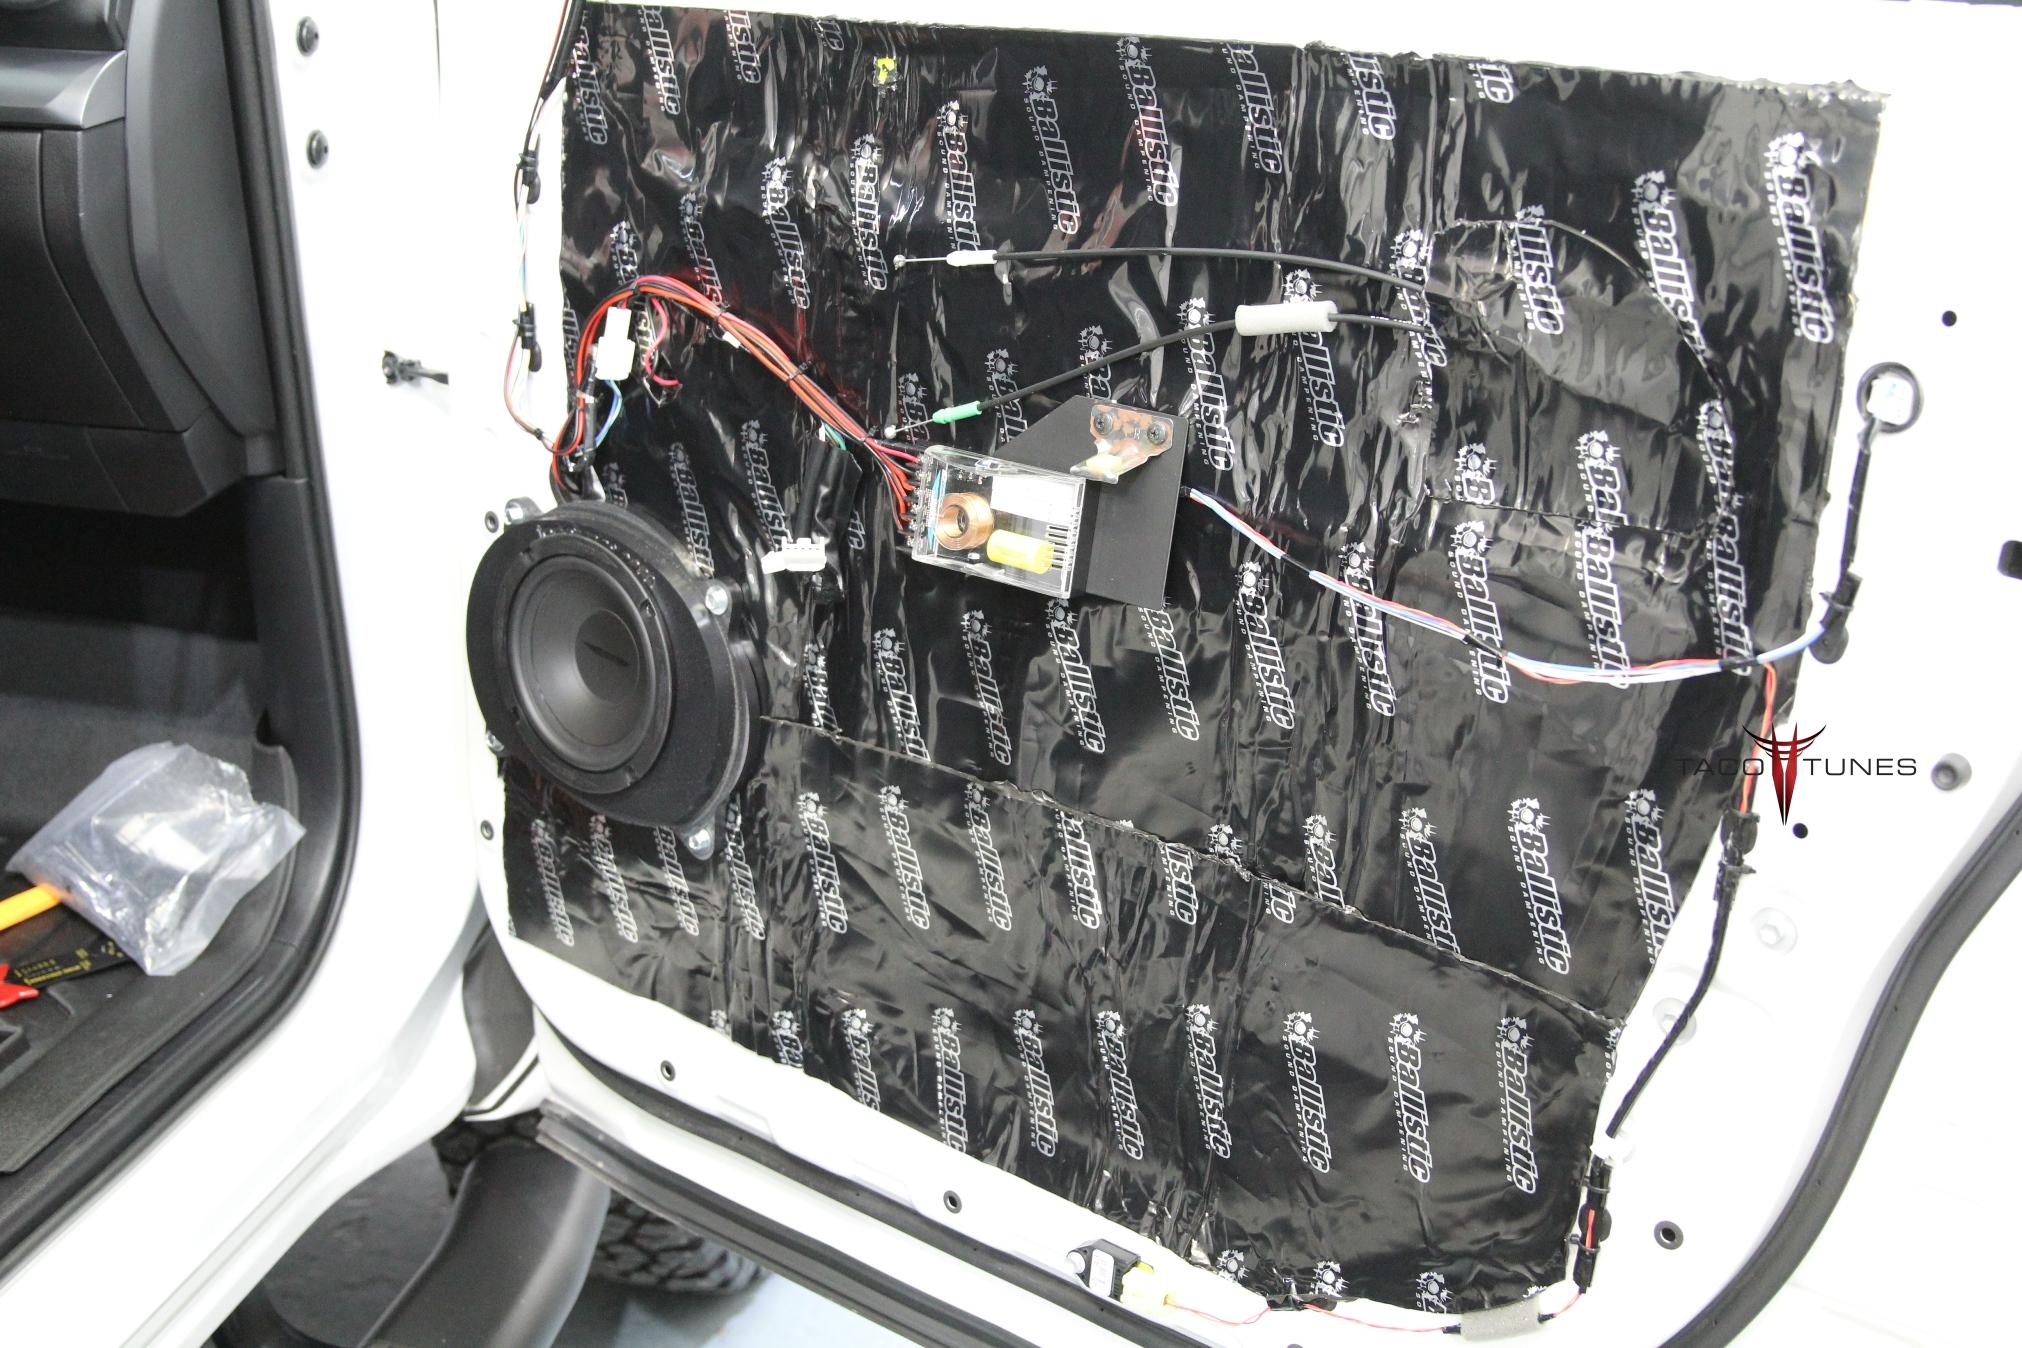
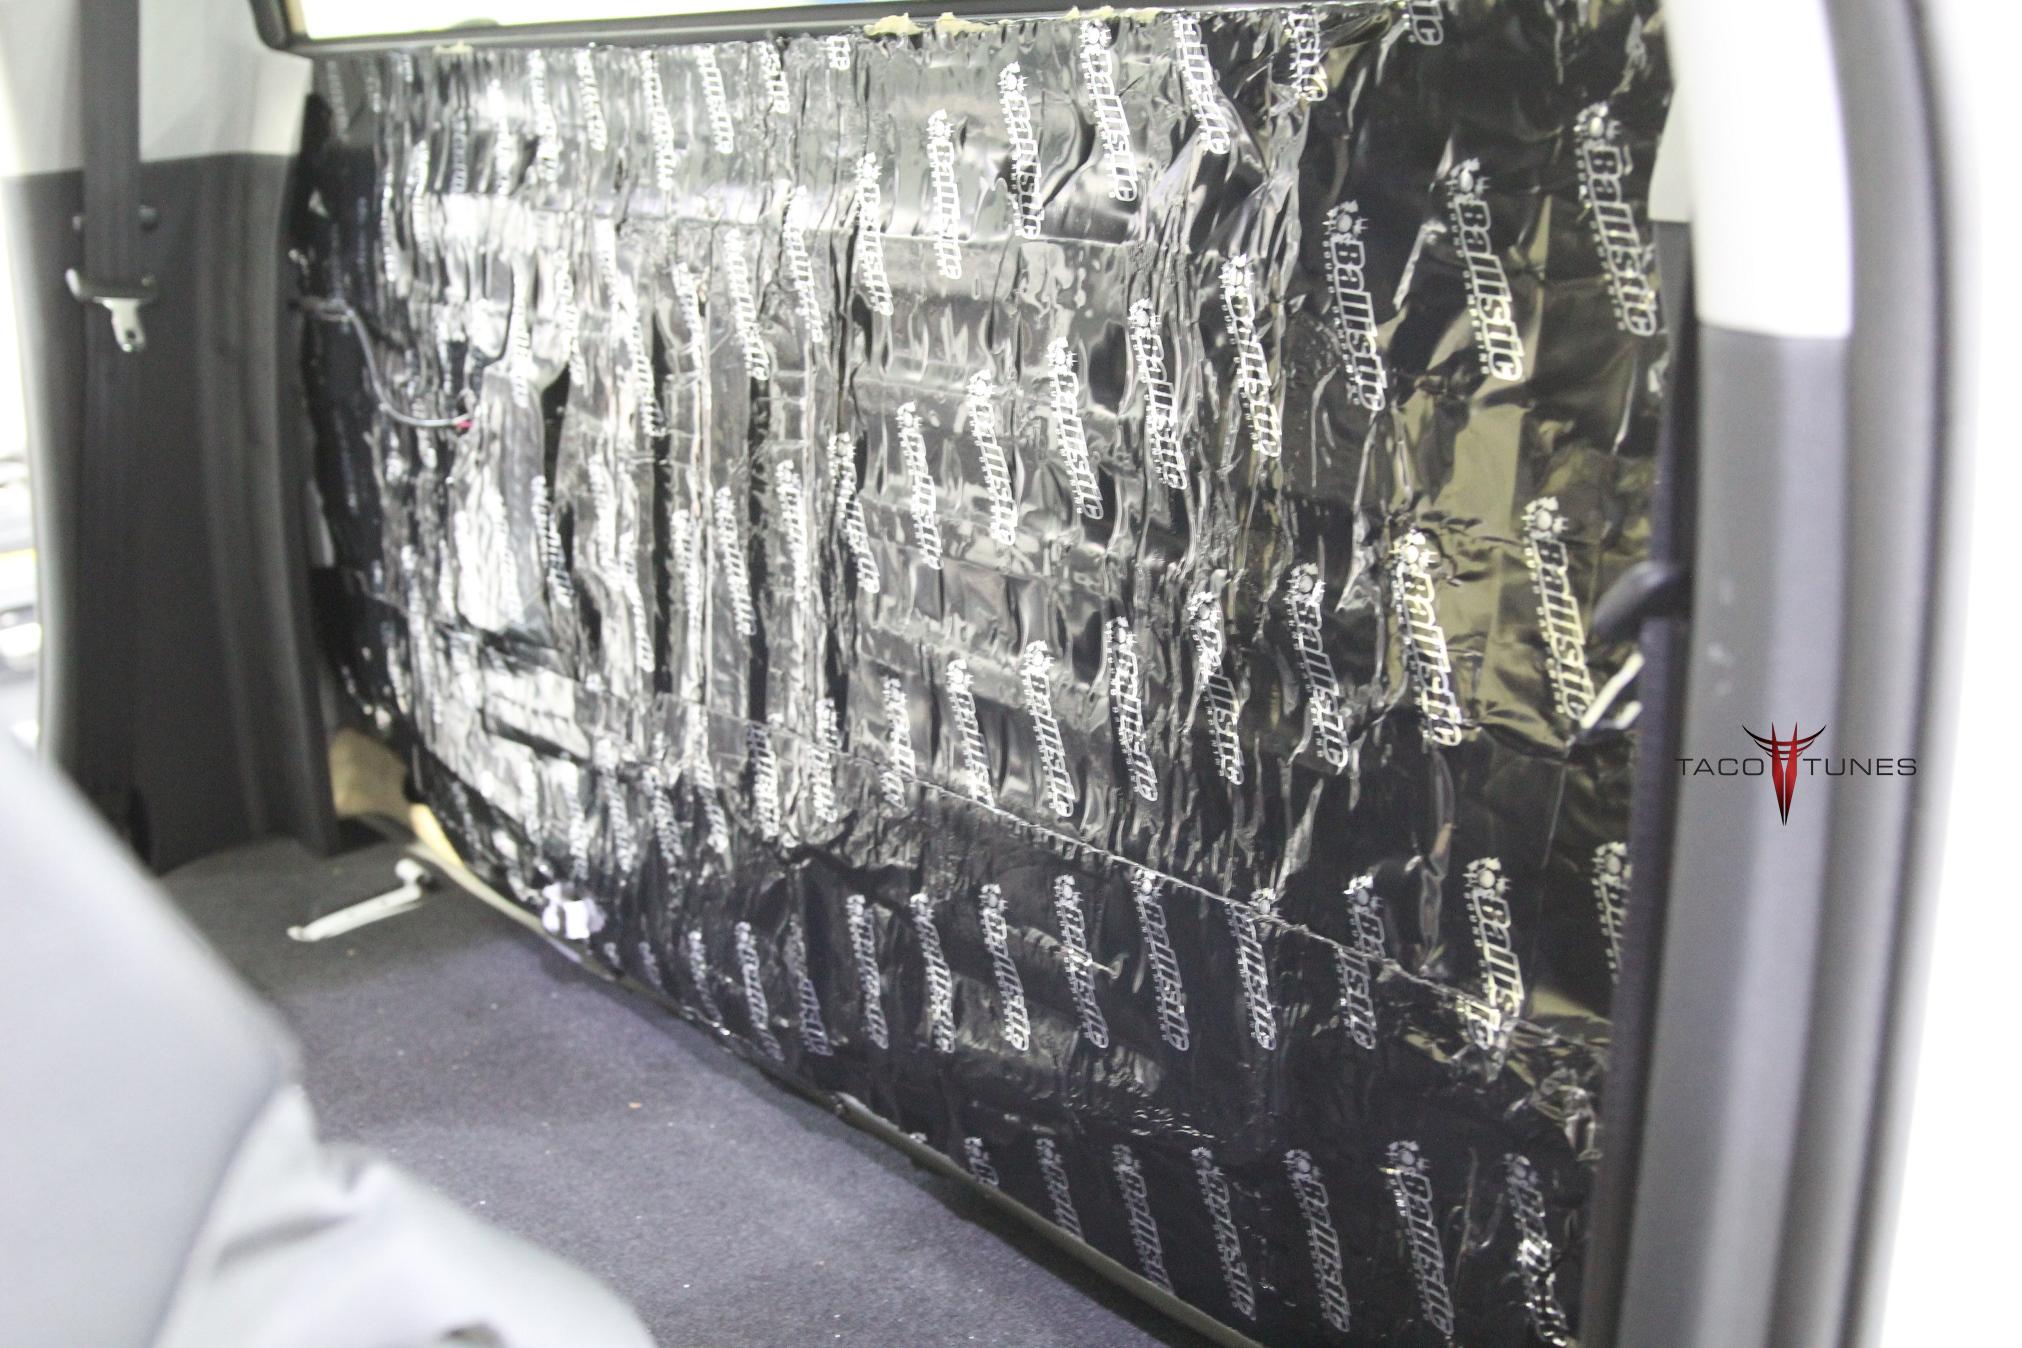
Full Sound Matting / Dampener 4 doors & rear wall.
Install photos
tacotunes dual 12″ subwoofer box & dual 12″ subwoofers.Rear Doors – Full Matting, tacotunes.com Component Speakers. New Tweeters fit in the factory location. Crossover mount holds the crossover network security in place!TT65CS Midbass Driver Close UpCrossover Network Close Up.Front Doors – tacotunes.com TT65CS Component Speakers, crossover network & new tweeters on sail panels.tacotunes.com sail paneltacotunes.com Laser Cut Amp Rack (bolts to factory location) TXD3204 (4 Channel Amp) & TXD10001 (Sub Amp). Direct Tundra integration system. Keep your stock head unit and not cutting or splicing of any factory wires required. 100% reversible.Keep your stock stereo and get unmatched sound quality with tacotunes.com
Frequently asked questions
How does Taco Tunes integrate with the factory JBL system?
Our plug-and-play JBL integration system grabs a clean, unmodified signal before the factory amplifier and feeds your new amplifiers a consistently flat audio signal, with zero changes to factory wiring.
Do customers really drive hours for a Taco Tunes install?
Yes. Customers regularly drive from Houston, Dallas, Austin, Amarillo, El Paso and out of state, because our systems are built specifically for Toyotas and installed without cutting factory wiring.
Is the Taco Tunes System 1B plug and play on a 2007-2021 Tundra?
Yes. The system uses custom wiring harnesses built for the Tundra, bolts to factory mounting locations and is completely reversible, with no cutting or splicing of factory wires.
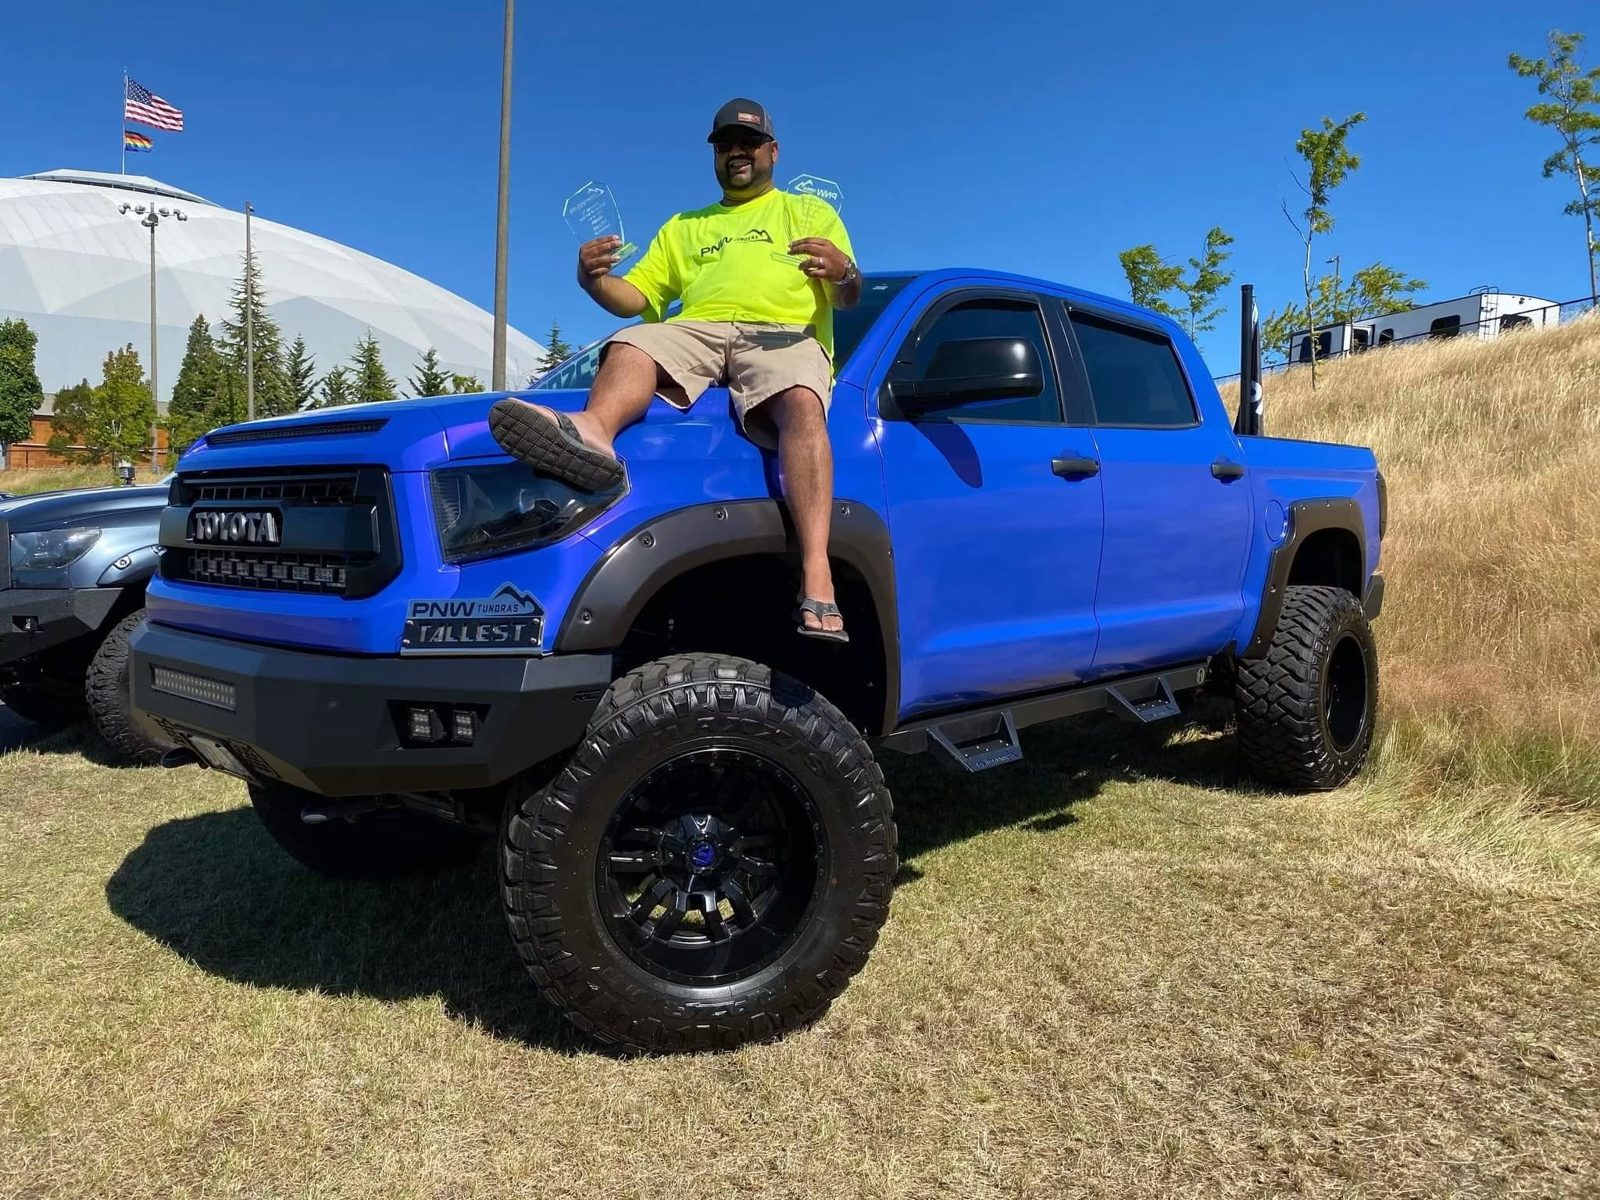
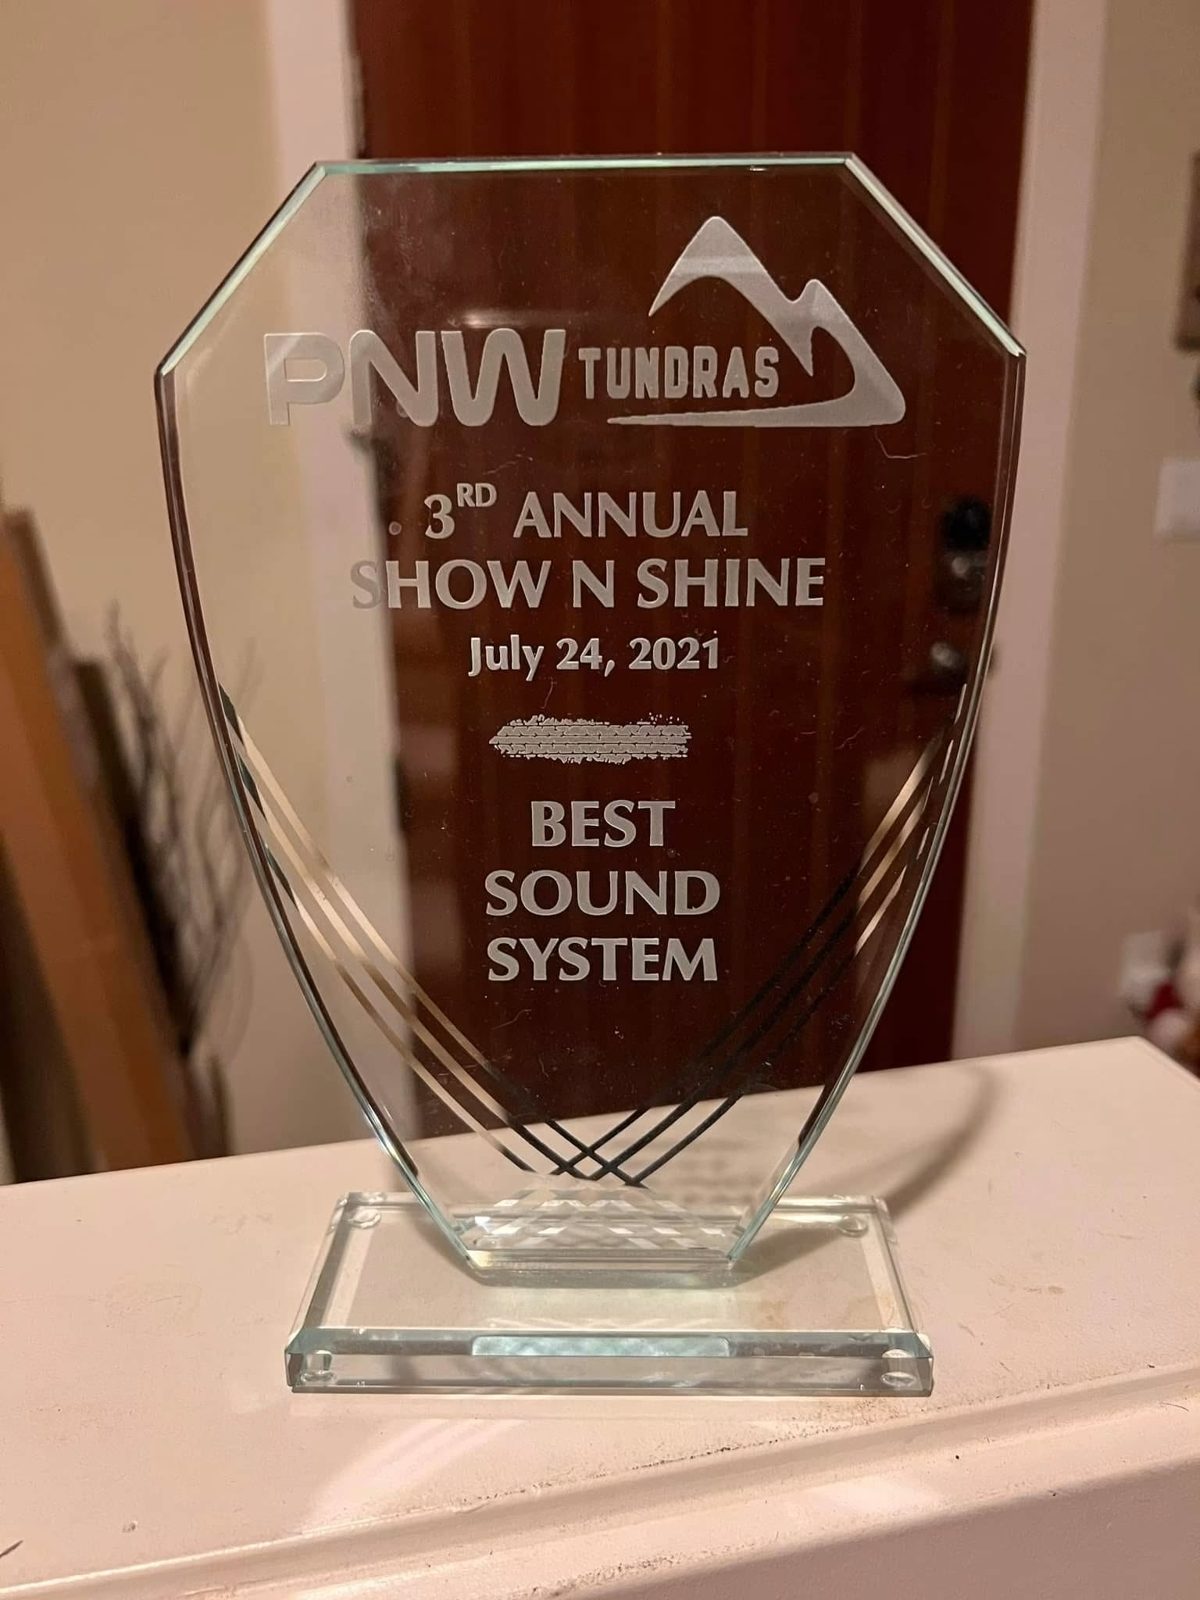
Give a like to our buddy Pete Chandra out in PNW Tundras! He took home the GOLD! BEST SOUND SYSTEM 🥇 Showcasing the Tacotunes System 1B!
System
System 1B
Posted
January 2022
Shop
Taco Tunes, San Antonio, TX
This is the 2nd time a member with a Tacotunes sound system walked away with a trophy over at PNW Tundras ,Which only means 1 thing! Those guys know good quality audio😉
Congratulations Pete! And thank you for being part of the Tacotunes Family🤙
Install photos
Frequently asked questions
How long does a Taco Tunes system last?
A long time. We regularly see systems that are 5 to 8 years old come back for reinstalls or checkups still playing like new, because the parts are matched to the truck and nothing in the factory wiring is cut.
What is the difference between System 1A and System 1B?
System 1A is our streamlined package with front components, rear coaxials, a multi-channel amp and a single sub. System 1B steps up to more speakers, more power and dual subwoofers.
Following the instructions below is crucial to a successful installation. We recommend prepping the following items the day before you begin your installation. This will ensure all the parts are at your disposal. There are a couple of steps where it will help to have a buddy help you out. Not necessary but makes it easier. Do NOT start drinking your favorite beverage until recommend below. Plus be sure to keep your mind sharp. By getting the installation done right the first time you will enjoy years of quality sound in your Toyota Tundra. Shortcuts and rushing through the install will cause issues down the road. Take your time enjoy the install.
Mount your crossovers to the provided crossover mounts. (see speaker install video)
Connect the 18g & 16g wiring to the crossovers
If mounting your tweeters in sail panels, prepare your sail panels.
Assemble your amp rack, amplifier, distribution block etc. (see video below)
Assemble your subwoofer / subwoofer box. (see video below)
Watch installation videos to understand the process.
Get your six pack on ice. DO NOT OPEN until instructed! 🙂
Go over checklist and ensure all parts are in the package. We have a checklist that we do on EACH system. But we are human so it is possible a part was missed.
Installation: 3 – 5 hours
Tundra Preparation
UNPLUG YOUR BATTERY. Remove the NEGATIVE connection from the battery and secure it AWAY from battery.
Unplug battery – ground connection.
Remove the door panels – if you are installing new speakers.
Remove door sills.
Remove front passenger seat. (you can lean seat back per video)
Remove center console cover – cover ONLY. (Per Video)
Remove rear seats (if installing subwoofer) – have a friend help the rear seats are heavy. ( you can lean larger seat to front of vehicle to avoid removal). Remove the smaller passenger side seat to make it easier to access amp under front seat. NOTE: Use the rear wall pad (per vid) as a way to protect your carpet from the rear seats.
Remove stock amplifier under front passenger seat. (save the bolts)
Remove front / rear speakers.
Remove dash speakers / tweeters and center speaker if equipped. You can leave them unplugged and in place, but we recommend leaving them unplugged during and after you have completed your install. Note: We offer 2 solutions for JBL equipped Tundras, please see notes below.
If you will be matting your doors we suggest doing this before you begin the steps below. Keep in mind matting will add a full day to your install.
Installation Steps:
Run power wire from battery to new amp location. (see video)
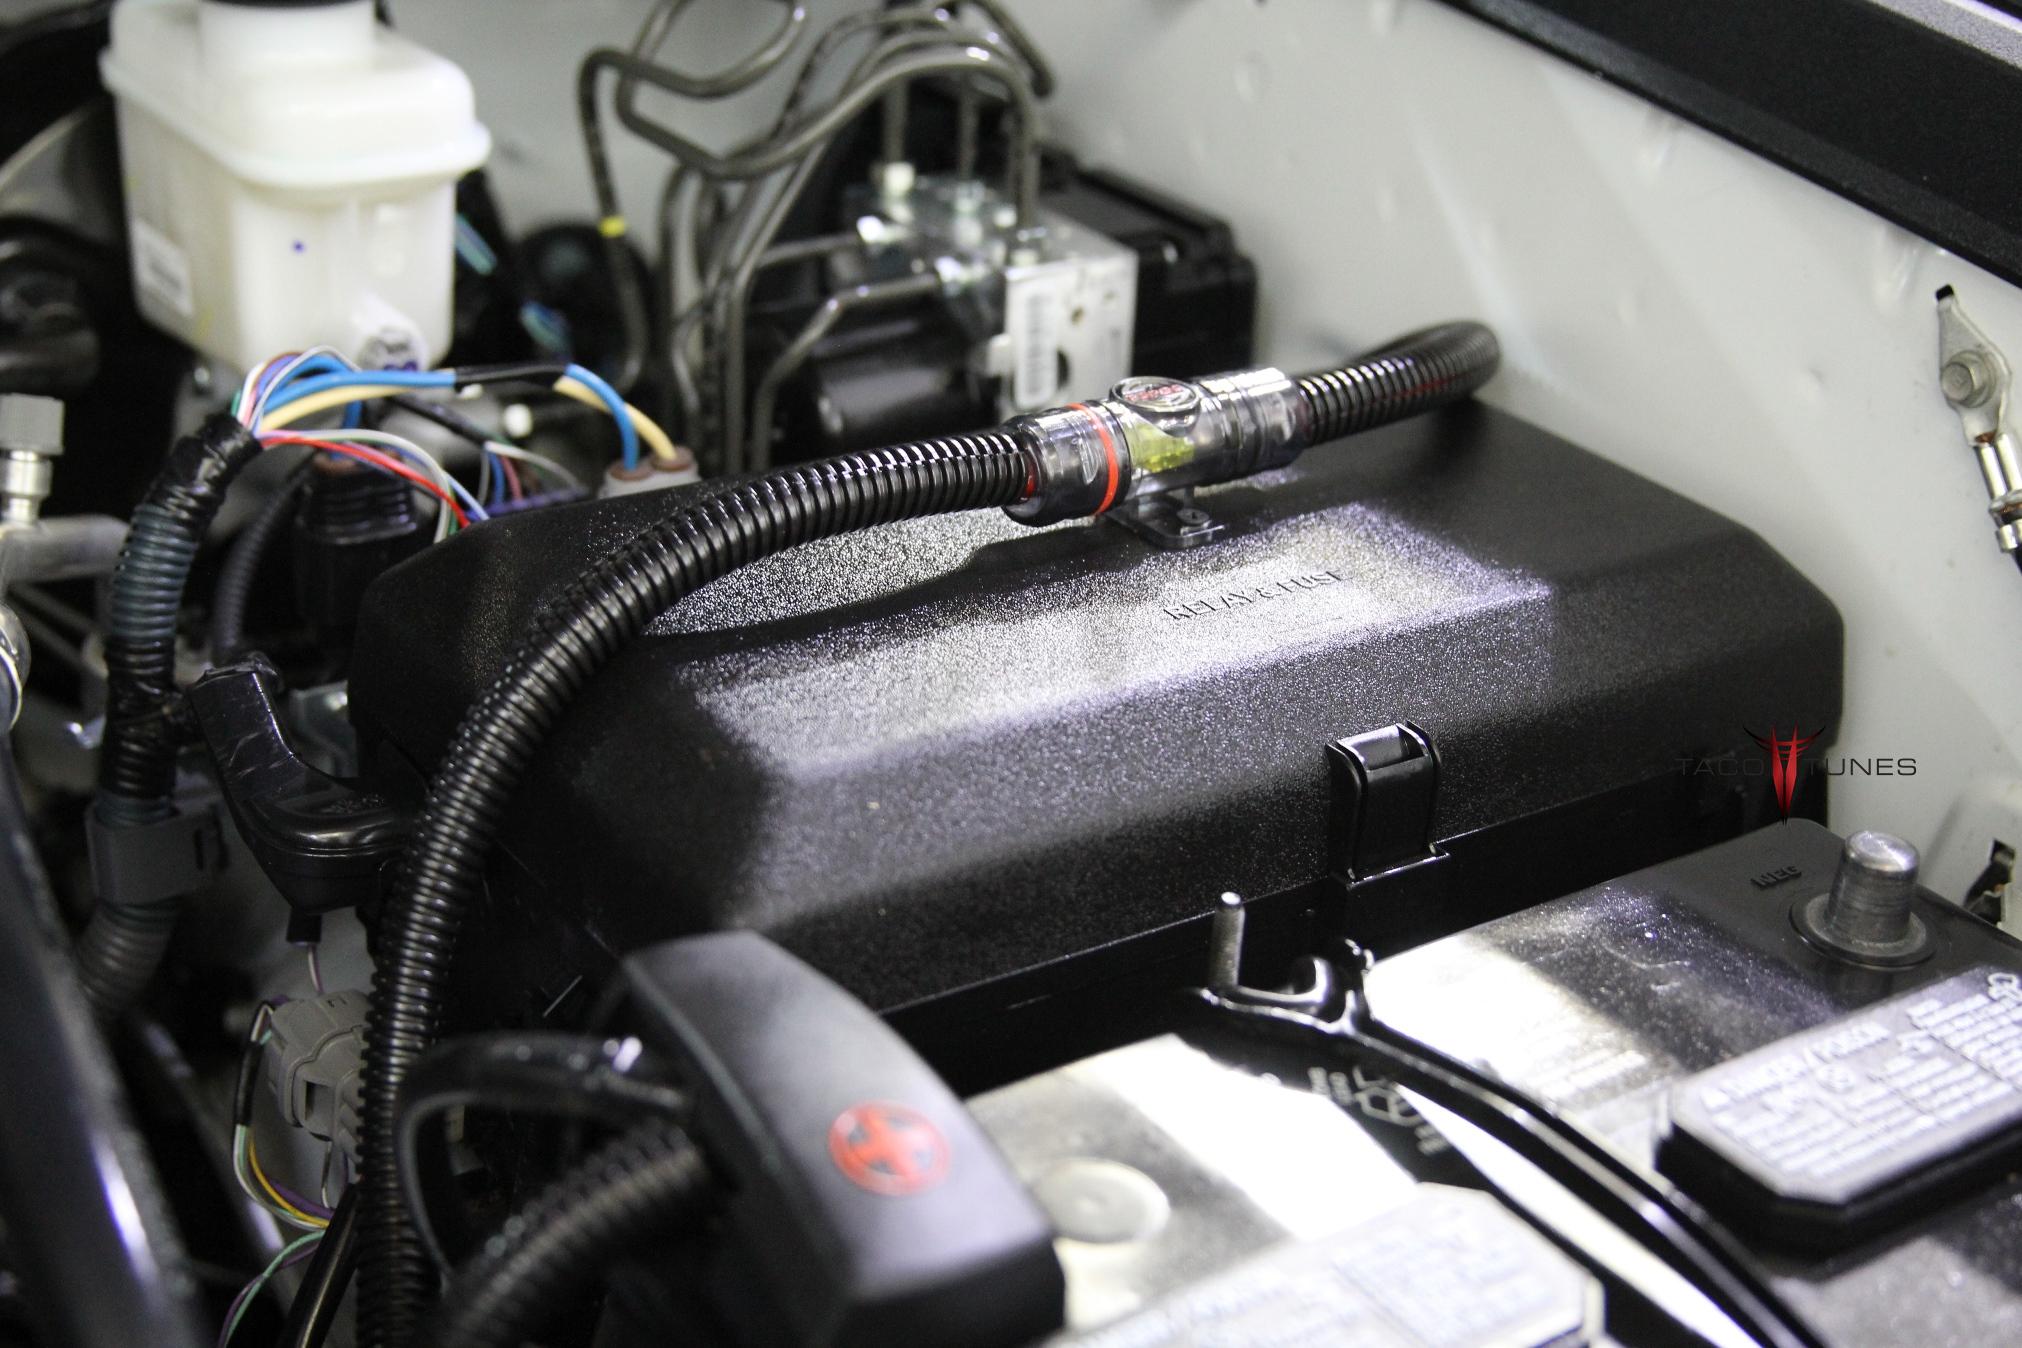
Assemble the fuse block and complete under hood details. (Do not connect to battery)
Run subwoofer wire to rear of vehicle per the installation video.
Install amps / amp rack per video. (do not connect speaker output connections)
Connect input side of amp first. (Blue molex plugs from direct connect harness)
Connect battery
Tune amplifiers per tuning video(s).
Install front / rear speakers.
Install subwoofer.
Test system – ensure playing correctly.
disconnect battery.
Install center console.
Install seats BEFORE installing door panels and door sills. (battery should be unplugged)
Install door sills.
Install door panels.
Connect battery.
Test the sound and ensure all playing properly.
Open a single beverage, beat your chest and listen to your tunes for about 10 minutes.
Finish cleaning up odds and ends.
Be sure to save ALL stock parts.
Congratulations you just installed an audio system that would have cost thousands of $ at your local audio shop.
System 1A Install Videos:
Preparing for installation:
Assemble Amp Rack & 5 Channel Amp
Assemble Subwoofer Box:
How to remove door panels:
How to install Front Door Speakers:
Installing Power Wire
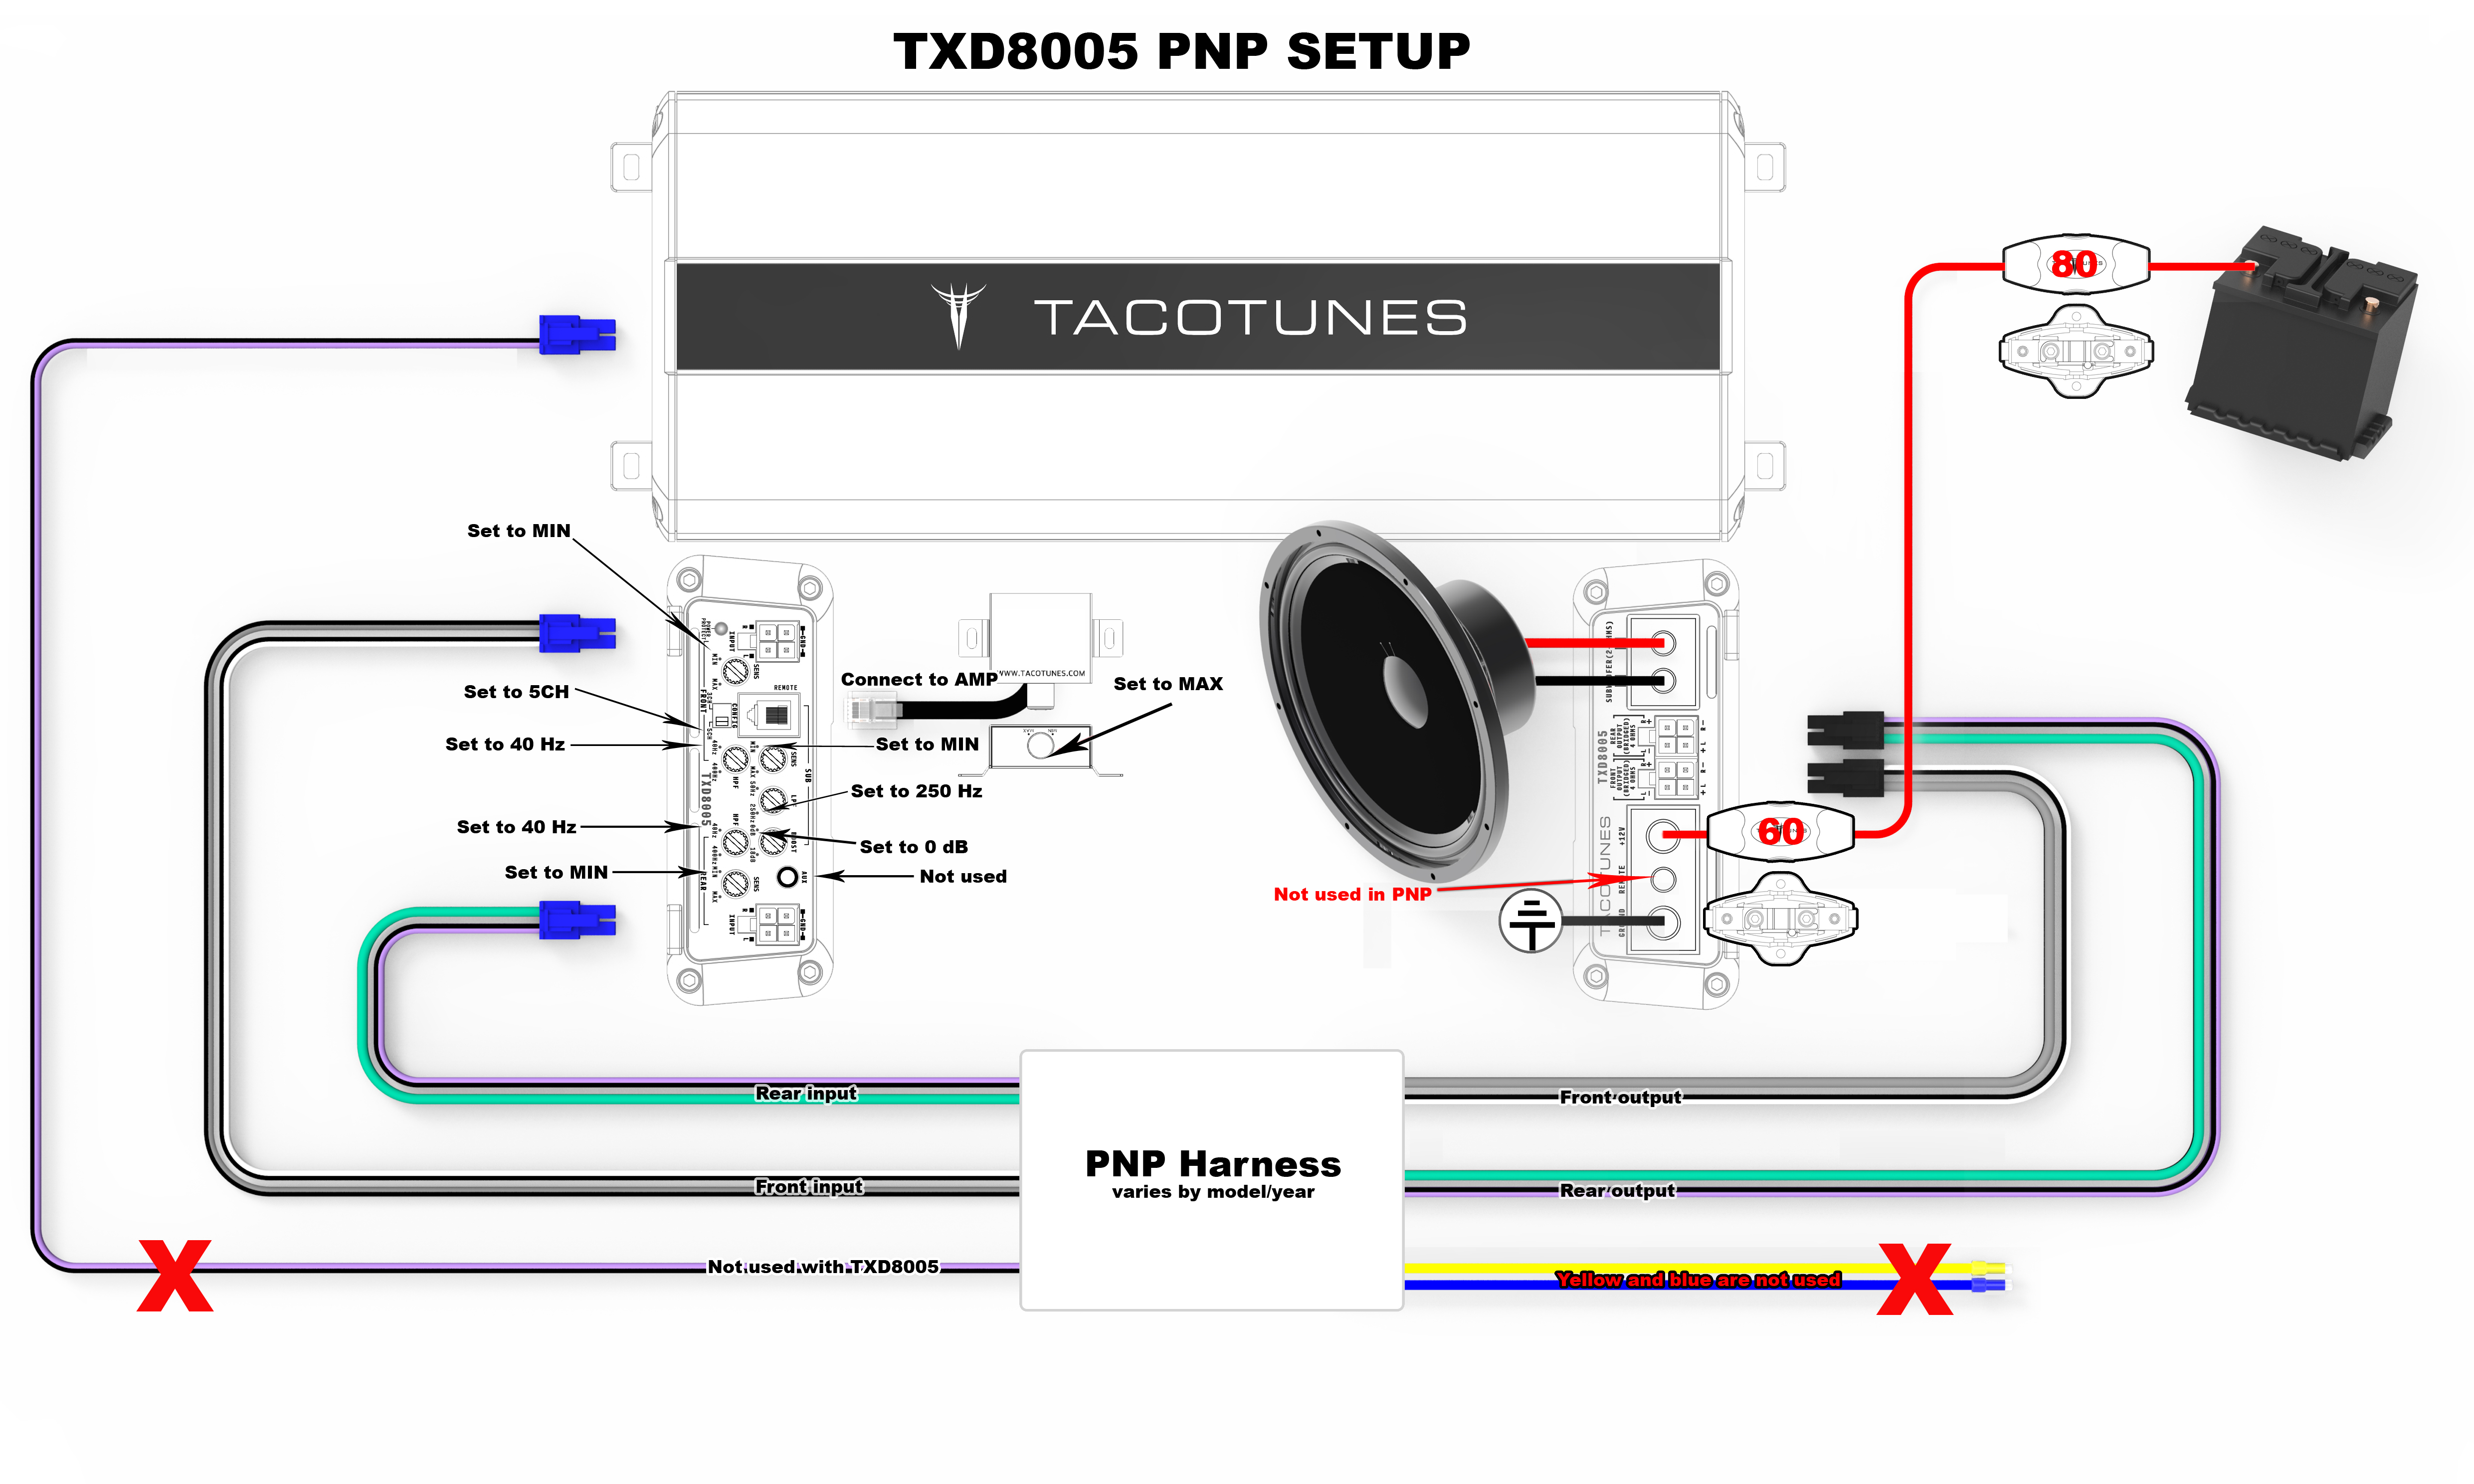
How to tune TXD8005
How to install TXD8005 5 Channel amplifier – 2014-2020 Toyota Tundra
How to tune TXD8005 (System 1)
How install & route subwoofer wiring from amp to subwoofer box:
How to install subwoofer box:
How to install bass control knob in your cupholder:
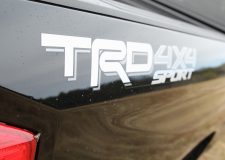
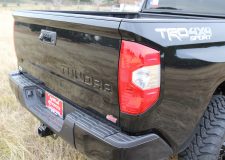
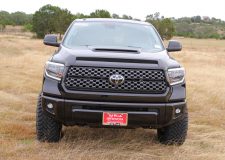
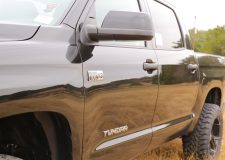
2018 Toyota Tundra CrewMax TRD Sport 4×4 System 1B Audio System Upgrade
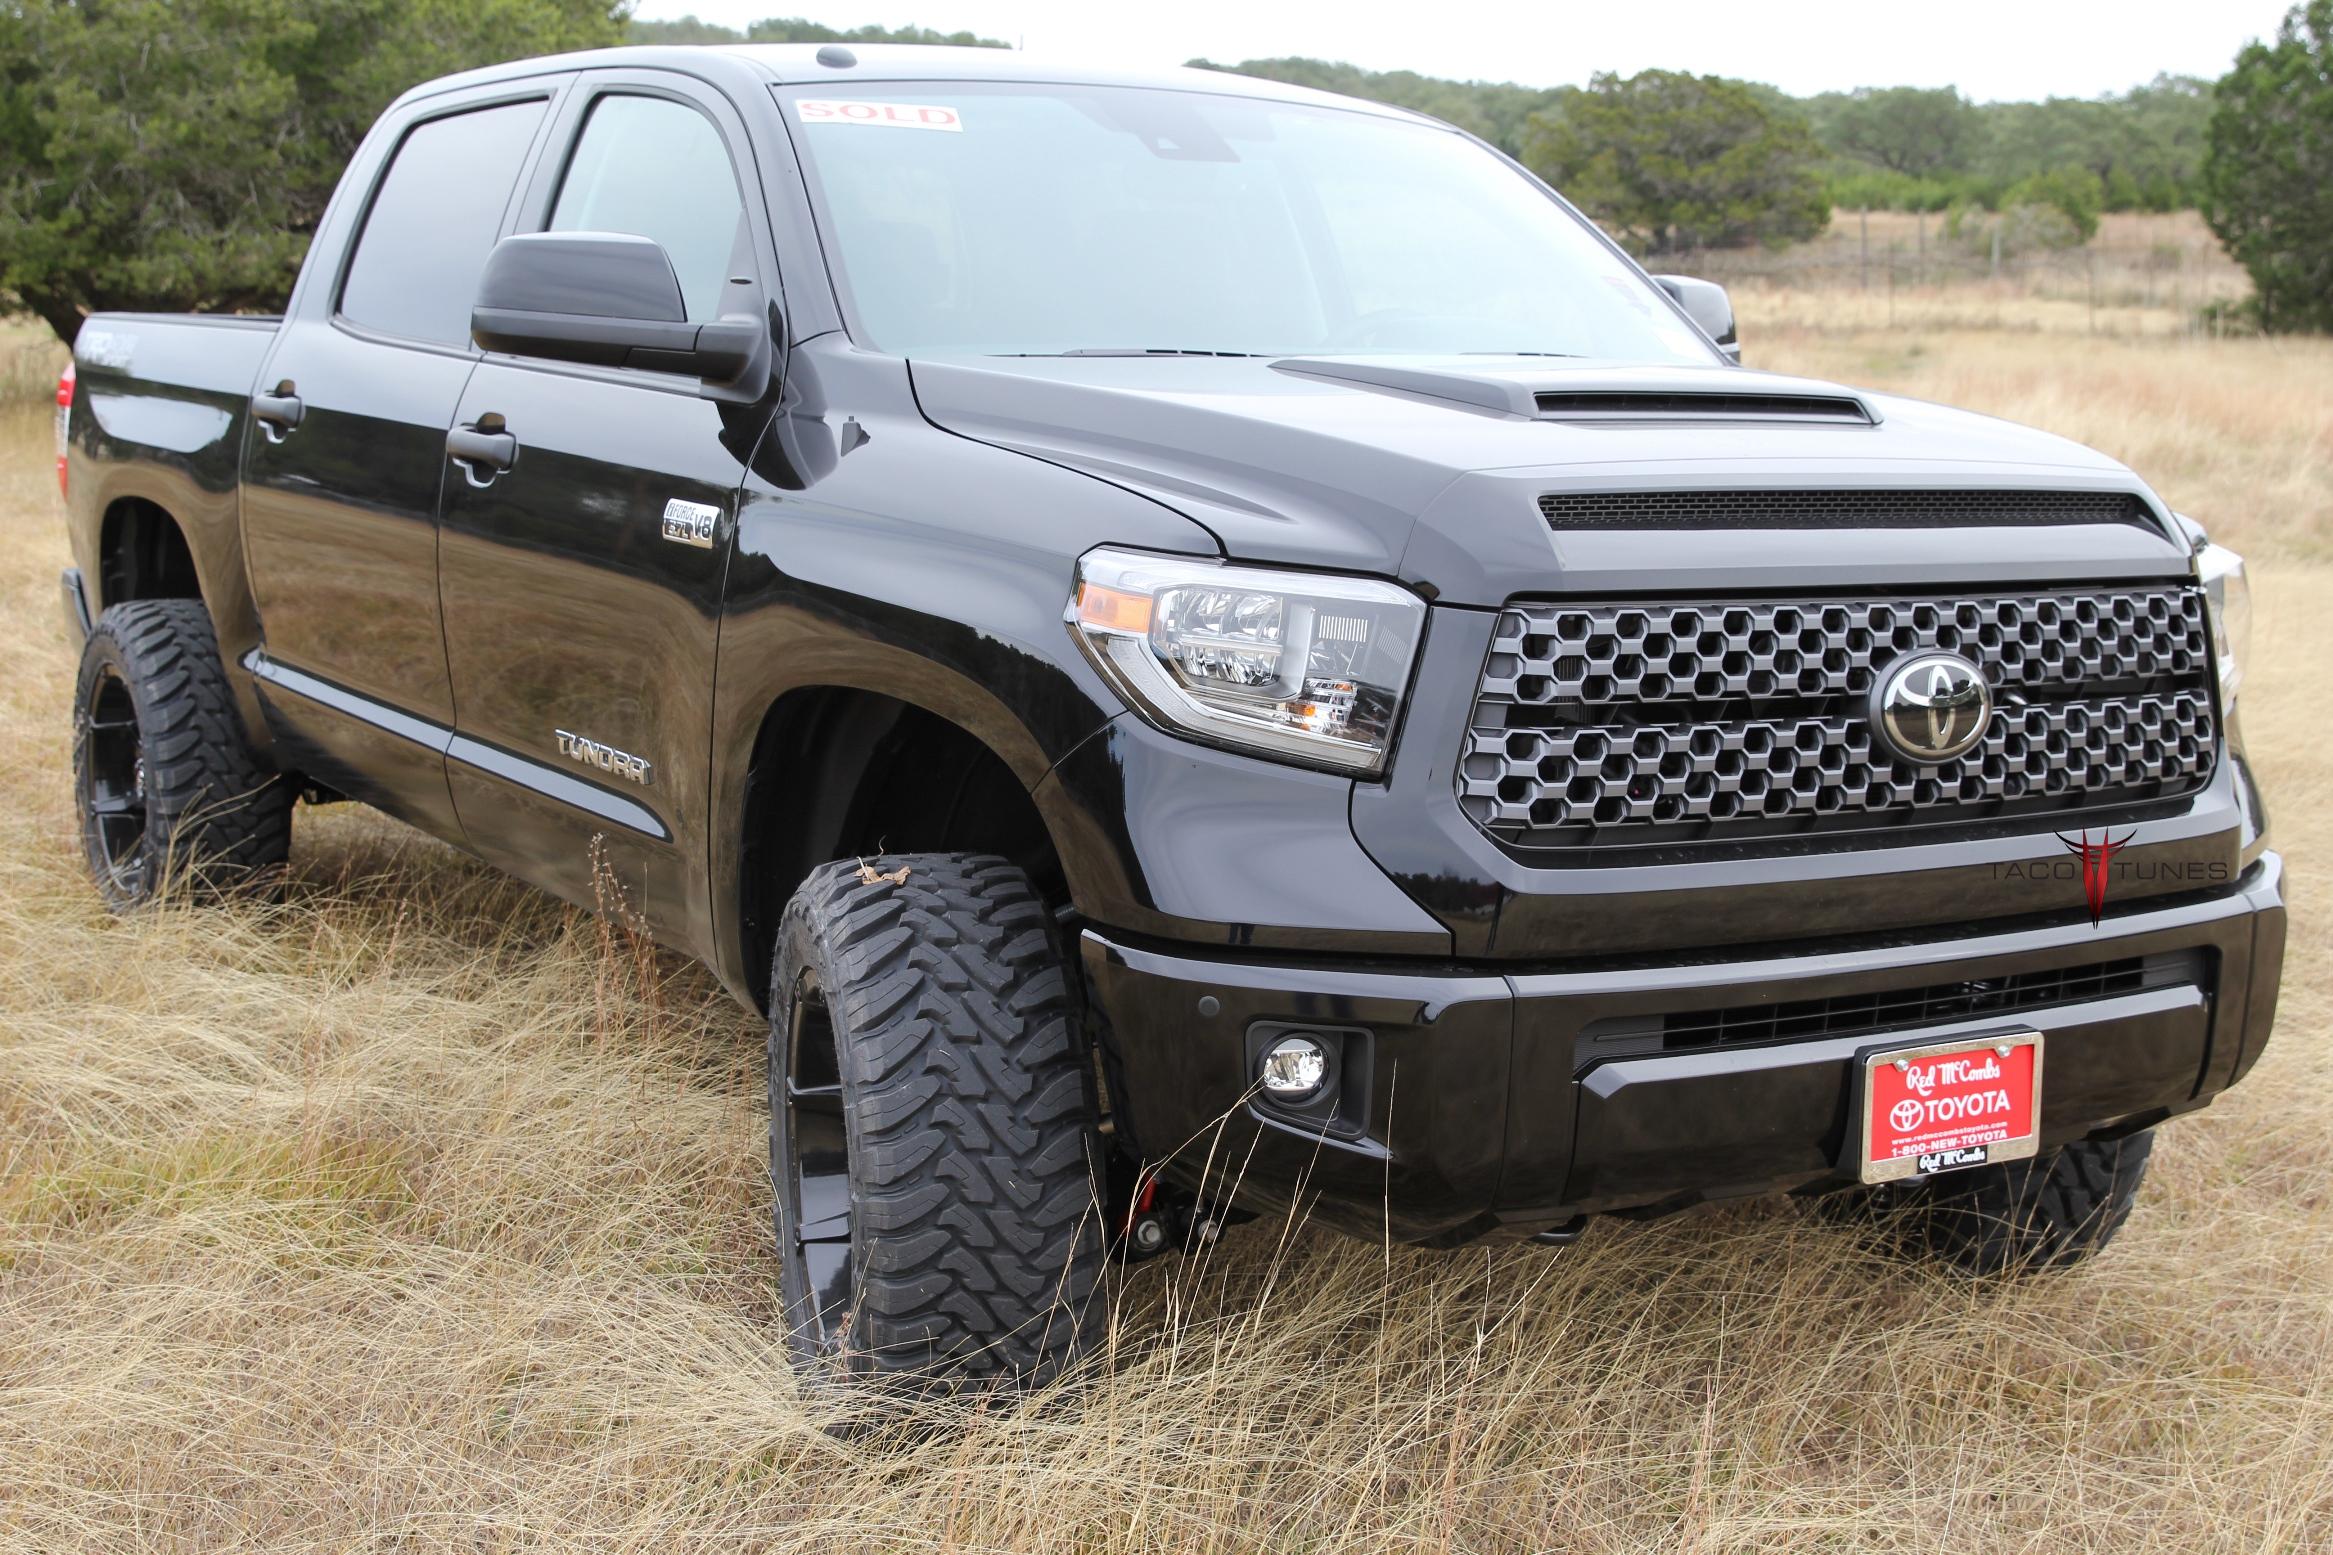
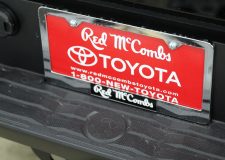
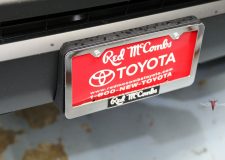
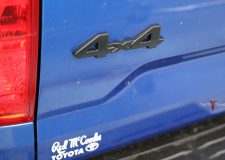
This is a brand new Toyota Tundra from Red McCombs Toyota dealership here in San Antonio
Call Shane if you are interested in purchasing a TRD Sport 4×4 Tundra!
Installation Summary / History: Red McCombs is a local Toyota dealer here in San Antonio. We have installed our System 1B in many of their Toyota Tundras before they are listed for sale. This truck is roughly our 646th Toyota Tundra audio upgrade we have done here in San Antonio! We now have over 20,000 Tundra customers around the globe!
Our plug and play amps provide amazing clarity and tons of power.
Customer Name: Red McCombs Toyota
Toyota Year / Model: 2018 Toyota Tundra CM TRD Sport 4×4 Audio System Upgrade
2018 Toyota Tundra TRD Sport 4×4 Audio System Upgrade
tacotunes.com Dual 10″ Subwoofer enclosure
2018 Toyota Tundra TRD Sport 4×4 Audio System Upgrade
2018 Toyota Tundra TRD Sport 4×4 Audio System Upgrade
tacotunes.com plug and play amps connect directly to stock wiring and bolt into stock location
2018 Toyota Tundra TRD Sport 4×4 Audio System Upgrade
2018 Toyota Tundra TRD Sport 4×4 Audio System Upgrade
Sail Panel before & after
2018 Toyota Tundra TRD Sport 4×4 Audio System Upgrade
2018 Toyota Tundra TRD Sport 4×4 Audio System Upgrade
2018 Toyota Tundra TRD Sport 4×4 Audio System Upgrade
2018 Toyota Tundra TRD Sport 4×4 Audio System Upgrade
2018 Toyota Tundra TRD Sport 4×4 Audio System Upgrade
2018 Toyota Tundra TRD Sport 4×4 Audio System Upgrade
2018 Toyota Tundra TRD Sport 4×4 Audio System Upgrade
2018 Toyota Tundra TRD Sport 4×4 Audio System Upgrade
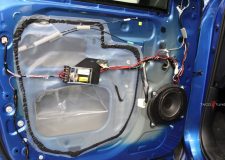
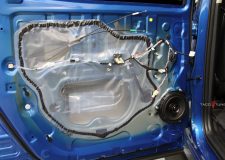
Rear Door Speaker Replacement
2018 Toyota Tundra TRD Sport 4×4 Audio System Upgrade
2018 Toyota Tundra TRD Sport 4×4 Audio System Upgrade
2018 Toyota Tundra TRD Sport 4×4 Audio System Upgrade
2018 Toyota Tundra TRD Sport 4×4 Audio System Upgrade
2018 Toyota Tundra TRD Sport 4×4 Audio System Upgrade
2018 Toyota Tundra TRD Sport 4×4 Audio System Upgrade
2018 Toyota Tundra TRD Sport 4×4 Audio System Upgrade
2018 Toyota Tundra TRD Sport 4×4 Audio System Upgrade
2018 Toyota Tundra TRD Sport 4×4 Audio System Upgrade
2018 Toyota Tundra TRD Sport 4×4 Audio System Upgrade
2018 Toyota Tundra TRD Sport 4×4 Audio System Upgrade
2018 Toyota Tundra TRD Sport 4×4 Audio System Upgrade
2018 Toyota Tundra TRD Sport 4×4 Audio System Upgrade
2018 Toyota Tundra TRD Sport 4×4 Audio System Upgrade
2018 Toyota Tundra TRD Sport 4×4 Audio System Upgrade
2018 Toyota Tundra TRD Sport 4×4 Audio System Upgrade
2018 Toyota Tundra TRD Sport 4×4 Audio System Upgrade
2018 Toyota Tundra TRD Sport 4×4 Audio System Upgrade
2018 Toyota Tundra TRD Sport 4×4 Audio System Upgrade
2018 Toyota Tundra TRD Sport 4×4 Audio System Upgrade
2018 Toyota Tundra TRD Sport 4×4 Audio System Upgrade
2018 Toyota Tundra TRD Sport 4×4 Audio System Upgrade
2018 Toyota Tundra TRD Sport 4×4 Audio System Upgrade
2018 Toyota Tundra TRD Sport 4×4 Audio System Upgrade
2018 Toyota Tundra TRD Sport 4×4 Audio System Upgrade
2018 Toyota Tundra TRD Sport 4×4 Audio System Upgrade
2018 Toyota Tundra TRD Sport 4×4 Audio System Upgrade
2018 Toyota Tundra TRD Sport 4×4 Audio System Upgrade
2018 Toyota Tundra TRD Sport 4×4 Audio System Upgrade
2018 Toyota Tundra TRD Sport 4×4 Audio System Upgrade
2018 Toyota Tundra TRD Sport 4×4 Audio System Upgrade
2018 Toyota Tundra TRD Sport 4×4 Audio System Upgrade
2018 Toyota Tundra TRD Sport 4×4 Audio System Upgrade
2018 Toyota Tundra TRD Sport 4×4 Audio System Upgrade
2018 Toyota Tundra TRD Sport 4×4 Audio System Upgrade
2018 Toyota Tundra TRD Sport 4×4 Audio System Upgrade
2018 Toyota Tundra TRD Sport 4×4 Audio System Upgrade
2018 Toyota Tundra TRD Sport 4×4 Audio System Upgrade
2018 Toyota Tundra TRD Sport 4×4 Audio System Upgrade
2018 Toyota Tundra TRD Sport 4×4 Audio System Upgrade
2018 Toyota Tundra TRD Sport 4×4 Audio System Upgrade
2018 Toyota Tundra TRD Sport 4×4 Audio System Upgrade
2018 Toyota Tundra TRD Sport 4×4 Audio System Upgrade
2018 Toyota Tundra TRD Sport 4×4 Audio System Upgrade
2018 Toyota Tundra TRD Sport 4×4 Audio System Upgrade
2018 Toyota Tundra TRD Sport 4×4 Audio System Upgrade
2018 Toyota Tundra TRD Sport 4×4 Audio System Upgrade
2018 Toyota Tundra TRD Sport 4×4 Audio System Upgrade
2018 Toyota Tundra TRD Sport 4×4 Audio System Upgrade
2018 Toyota Tundra TRD Sport 4×4 Audio System Upgrade
Below you will find a detailed listing of all the parts we used in the installation.
Typical Installation time is 1 day, however if we matt the front, rear doors and the rear wall behind the subwoofer it adds a day. If we are matting the truck we keep the truck for two days. One day audio installation and matting jobs are possible, but require at least 12 hours with the truck.
Below is a detailed listing of the audio products installed in Brian’s Tundra CrewMax
Front Door Component Speakers:
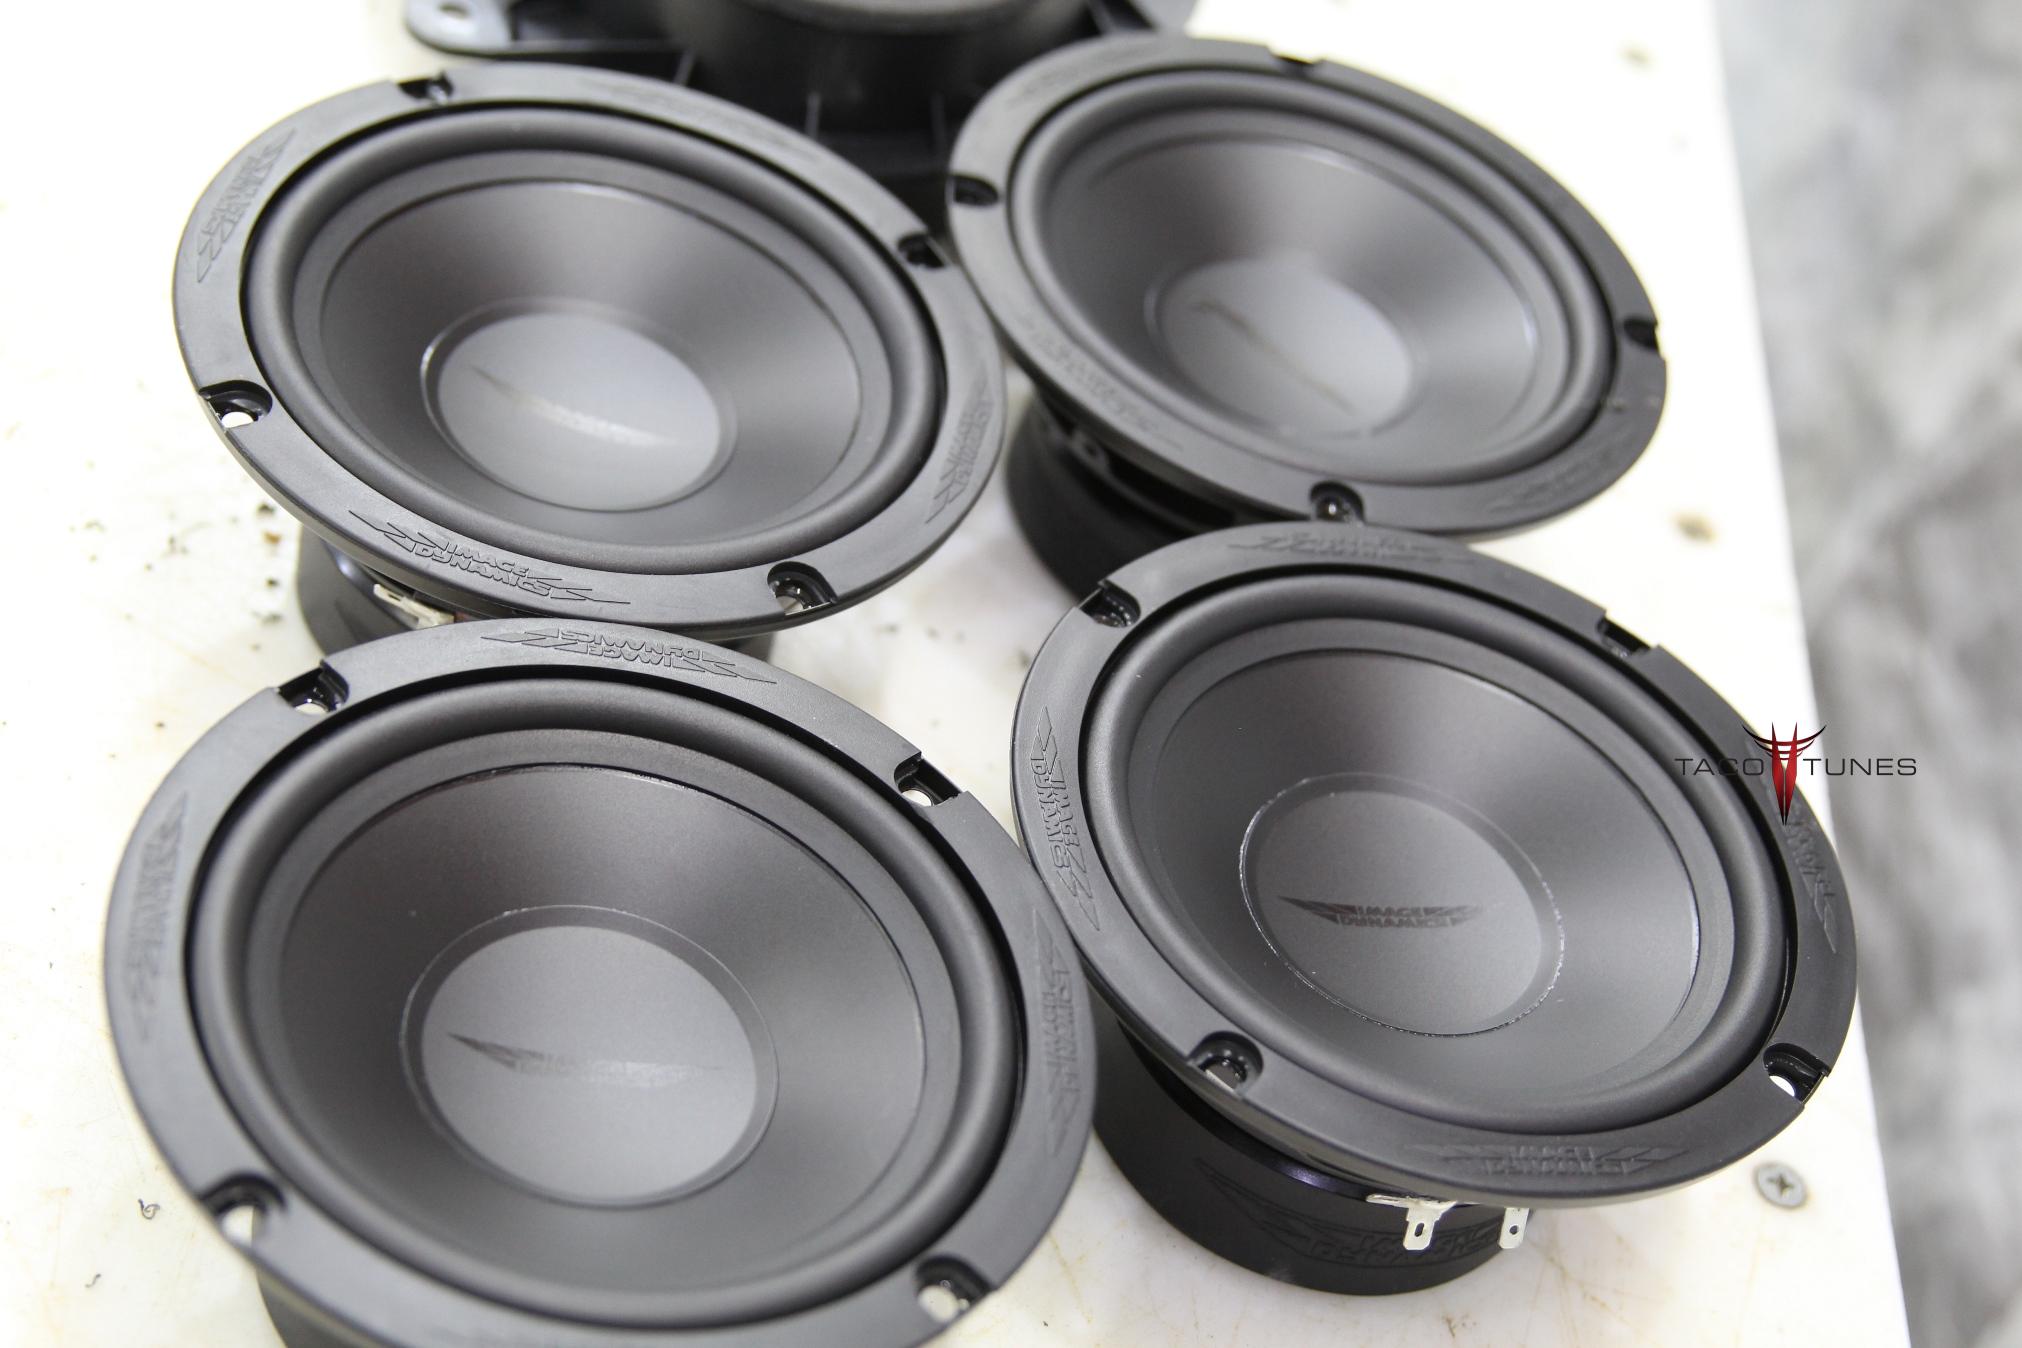
Image Dynamics CTX65CS/ID65CS
Tacotunes.com heavy duty speaker mounts cut to 5.6”
CTXCS Mid bass Drivers -100 Watts RMS
CTXCS Crossover
CTXCS Tweeter
Use Stock Sail Panel for Tweeter mounts.
Rear Door Components:
Image Dynamics CTX65CS or ID65
Tacotunes.com heavy duty speaker mounts cut to 5.6”
CTX65CS Mid bass drivers Handles -100 watts RMS
CTX65CS Crossover
CTX Tweeters
Tweeters will fit in stock door location
Amp:
tacotunes.com TXD3204v2 Four channel amplifier
tacotunes.com TXD10001 Mono subwoofer amplifier
100 watts x 4 to each speaker and 800 x 1 (subwoofers)
2018 Toyota Tundra CrewMax System 1B plug and play audio system upgrade
This is a brand new Toyota Tundra from a local Toyota dealership here in San Antonio
Installation Summary / History: Red McCombs is a local Toyota dealer here in San Antonio. We have installed our System 1B in many of their Toyota Tundras before they are listed for sale. This truck is roughly ur 575th Toyota Tundra audio upgrade we have done here in San Antonio! We now have over 20,000 Tundra customers around the globe!
Our plug and play amps provide amazing clarity and tons of power.
tacotunes.com plug and play amps. Upgrade stock amp from 9 watts to 100 watts RMS to each speaker.
Stock Amp before we replaced with our plug and play amps
We offer full size Dual 10 or 12 inch subwoofers!
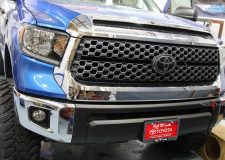
Brand New Dealer Truck with window sticker.
New tweeter installed in the sail panel.
Front Speaker Before
Front Speaker After
Toyota Tundra CrewMax 2018 Stereo System Upgrade
Toyota Tundra CrewMax 2018 Stereo System Upgrade
Stock Speaker Next to New Replacement Speakers
New Dash Design for 2018
New Key FOB
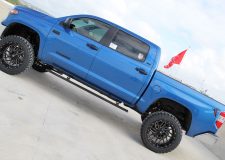
2018 Toyota Tundra Calvary Blue Picture
Toyota Tundra CrewMax 2018 Stereo System Upgrade
Toyota Tundra CrewMax 2018 Stereo System Upgrade
Dual 10″ Subwoofer Box
Dual 10″ Subwoofer Box
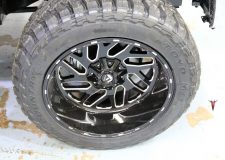
Fuel Wheels
Fuel Wheels & Toyo Tires
Stereo Installation Bay San Antonio
Toyota Tundra CrewMax 2018 Stereo System Upgrade
Toyota Tundra CrewMax 2018 Stereo System Upgrade
Picture before during stereo system install
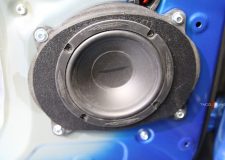
New Rear Door Speakers installed
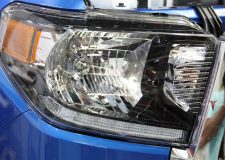
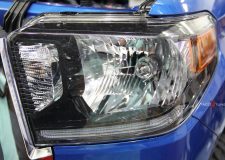
New LED headlight (strips)
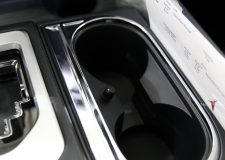
Bass Knob Mod
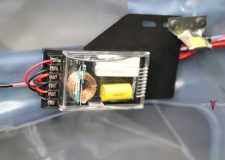
Crossovers mounted in door for easy install.
Toyota Tundra CrewMax 2018 Stereo System Upgrade
Toyota Tundra CrewMax 2018 Stereo System Upgrade
Sail Panel after tweeter installation
Toyota Tundra CrewMax 2018 Stereo System Upgrade
Toyota Tundra CrewMax 2018 Stereo System Upgrade
Toyota Tundra CrewMax 2018 Stereo System Upgrade
Toyota Tundra CrewMax 2018 Stereo System Upgrade
Toyota Tundra CrewMax 2018 Stereo System Upgrade
Toyota Tundra CrewMax 2018 Stereo System Upgrade
Toyota Tundra CrewMax 2018 Stereo System Upgrade
Toyota Tundra CrewMax 2018 Stereo System Upgrade
Toyota Tundra CrewMax 2018 Stereo System Upgrade
Toyota Tundra CrewMax 2018 Stereo System Upgrade
Toyota Tundra CrewMax 2018 Stereo System Upgrade
Toyota Tundra CrewMax 2018 Stereo System Upgrade
Toyota Tundra CrewMax 2018 Stereo System Upgrade
Toyota Tundra CrewMax 2018 Stereo System Upgrade
Toyota Tundra CrewMax 2018 Stereo System Upgrade
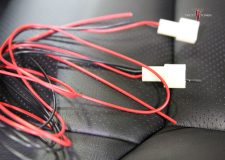
Plug and Play Wiring
Toyota Tundra Built in Texas!
Toyota Tundra CrewMax 2018 Stereo System Upgrade
New Upgraded Ground Wire
Toyota Tundra CrewMax 2018 Stereo System Upgrade
Toyota Tundra CrewMax 2018 Stereo System Upgrade
Toyota Tundra CrewMax 2018 Stereo System Upgrade
Toyota Tundra CrewMax 2018 Stereo System Upgrade
Toyota Tundra CrewMax 2018 Stereo System Upgrade
Toyota Tundra CrewMax 2018 Stereo System Upgrade
Toyota Tundra CrewMax 2018 Stereo System Upgrade
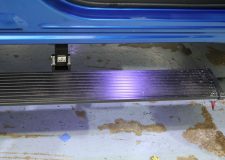
Amp Research Steps Down
Toyota Tundra CrewMax 2018 Stereo System Upgrade
Toyota Tundra CrewMax 2018 Stereo System Upgrade
Below you will find a detailed listing of all the parts we used in the installation.
Typical Installation time is 1 day, however we matted the front, rear doors and the rear wall behind the subwoofer. If we are matting the truck we keep the truck for two days. One day audio installation and matting jobs are possible, but require at least 14 hours with the truck.
Below is a detailed listing of the audio products installed in Brian’s Tundra CrewMax
Front Door Component Speakers:
Image Dynamics CTX65CS/ID65CS
Tacotunes.com heavy duty speaker mounts cut to 5.6”
CTXCS Mid bass Drivers -100 Watts RMS
CTXCS Crossover
CTXCS Tweeter
Use Stock Sail Panel for Tweeter mounts.
Rear Door Components:
Image Dynamics CTX65CS or ID65
Tacotunes.com heavy duty speaker mounts cut to 5.6”
CTX65CS Mid bass drivers Handles -100 watts RMS
CTX65CS Crossover
CTX Tweeters
Tweeters will fit in stock door location
Amp:
tacotunes.com TXD3204v2 Four channel amplifier
tacotunes.com TXD10001 Mono subwoofer amplifier
100 watts x 4 to each speaker and 800 x 1 (subwoofers)
Brian’s System 2016 Toyota Tundra CrewMax TRD Pro System 1B audio system upgrade
This is a brand new Toyota Tundra from a local Toyota dealership here in San Antonio
Installation Summary / History: Brian is a local here in San Antonio. He recently hit the jackpot and scored a TRD Pro during his visit to San Marcos (just outside of San Antonio) Toyota dealer. He began researching stereo upgrades and came across our website as a referral form another customer. He opted for our System 1B and also wanted the front & rear doors matted. Below are some progress pics of his installation. As of May 4, 2017, we have installed over 500 2014+ Toyota Tundras here in our local San Antonio shop. We now have over 19,000 Tundra customers around the globe.
This is our 26th TRD Pro, these are RARE! We feel fortunate to have so many under our belt.
Our plug and play amps provide amazing clarity and tons of power.
Toyota Tundra CrewMax Subwoofer Upgrade / Installation – FULL SIZE 10” Subs
Toyota Tundra CrewMax TRD Pro Audio Upgrade
Toyota Tundra CrewMax TRD Pro Audio Upgrade
Toyota Tundra CrewMax Sail Panel Tweeter Upgrade – Before & After
Toyota Tundra CrewMax Sail Panel Tweeter Upgrade – After
Toyota Tundra CrewMax TRD Pro Audio Upgrade
Toyota Tundra CrewMax TRD Pro Audio Upgrade
Toyota Tundra CrewMax TRD Pro Audio Upgrade
Toyota Tundra Matting Sound Dampener Installation
Toyota Tundra Matting Sound Dampener Installation
Toyota Tundra Matting Sound Dampener Installation
Toyota Tundra Matting Sound Dampener Installation
Toyota Tundra CrewMax Sail Panel Tweeter Upgrade – Before
Toyota Tundra CrewMax Before Bass Knob
Toyota Tundra TRD Pro Bass Knob Mod
Toyota Tundra CrewMax TRD Pro Audio Upgrade
Toyota Tundra CrewMax TRD Pro Audio Upgrade
Toyota Tundra CrewMax TRD Pro Audio Upgrade
Toyota Tundra CrewMax TRD Pro Audio Upgrade
Toyota Tundra Matting Sound Dampener Installation
Toyota Tundra Matting Sound Dampener Installation
Toyota Tundra CrewMax TRD Pro Audio Upgrade
Toyota Tundra CrewMax TRD Pro Audio Upgrade
Toyota Tundra CrewMax TRD Pro Audio Upgrade
Toyota Tundra CrewMax TRD Pro Audio Upgrade
Toyota Tundra CrewMax TRD Pro Audio Upgrade
Toyota Tundra CrewMax Sail Plug and Play Amplifier Installation
Toyota Tundra CrewMax TRD Pro Audio Upgrade
Toyota Tundra CrewMax TRD Pro Audio Upgrade
Toyota Tundra CrewMax TRD Pro Audio Upgrade
Toyota Tundra CrewMax Subwoofer Upgrade / Installation – FULL SIZE 10” Subs
Toyota Tundra CrewMax Subwoofer Upgrade / Installation – FULL SIZE 10” Subs
Toyota Tundra CrewMax TRD Pro Audio Upgrade
Below you will find a detailed listing of all the parts we used in the installation.
Typical Installation time is 1 day, however we matted the front, rear doors and the rear wall behind the subwoofer. If we are matting the truck we keep the truck for two days. One day audio installation and matting jobs are possible, but require at least 14 hours with the truck.
Below is a detailed listing of the audio products installed in Brian’s Tundra CrewMax
Front Door Component Speakers:
Image Dynamics CTX65CS/ID65CS
Tacotunes.com heavy duty speaker mounts cut to 5.6”
CTXCS Mid bass Drivers -100 Watts RMS
CTXCS Crossover
CTXCS Tweeter
Use Stock Sail Panel for Tweeter mounts.
Rear Door Components:
Image Dynamics CTX65CS
Tacotunes.com heavy duty speaker mounts cut to 5.6”
CTX65CS Mid bass drivers Handles -100 watts RMS
CTX65CS Crossover
CTX Tweeters
Tweeters will fit in stock door location
Amp:
tacotunes.com TXD3204 Four channel amplifier
tacotunes.com TXD10001 Mono subwoofer amplifier
70 watts x 4 to each speaker and 400 x 1 (subwoofer)
This truck is heading back to the dealership to be used to demonstrate tacotunes.com products.
Toyota Tundra Stock NON JBL Amp
Toyota Tundra Stock Tacotunes Plug and Play Amplifiers.
Toyota Tundra Stock Tacotunes Plug and Play Amplifiers.
Toyota Tundra Stock Tacotunes 10” dual subwoofer
Toyota Tundra Stock Tacotunes 10” dual subwoofer
Toyota Tundra Stock Tacotunes sail panel stock
Toyota Tundra Stock Aftermarket Tweeter
Toyota Tundra Stock Aftermarket Sail Panel Modified
Toyota Tundra Stock Image Dynamics CTX65CS Speakers
Toyota Tundra Stock Tacotunes 10” dual subwoofer
Toyota Tundra CrewMax Red McCombs Audio Upgrade
Toyota Tundra CrewMax Red McCombs Audio Upgrade
Toyota Tundra CrewMax Red McCombs Audio Upgrade
Toyota Tundra CrewMax Red McCombs Audio Upgrade
Toyota Tundra CrewMax Red McCombs Audio Upgrade
Toyota Tundra CrewMax Red McCombs Audio Upgrade
Toyota Tundra CrewMax Red McCombs Audio Upgrade
Toyota Tundra CrewMax Plug and Play Amplifiers
Toyota Tundra CrewMax Complete Audio System Upgrade
Toyota Tundra CrewMax Complete Audio System Upgrade
Toyota Tundra CrewMax Complete Audio System Upgrade
Toyota Tundra CrewMax Complete Audio System Upgrade
Toyota Tundra CrewMax Complete Audio System Upgrade
Toyota Tundra CrewMax Complete Audio System Upgrade
Toyota Tundra CrewMax Complete Audio System Upgrade
Toyota Tundra CrewMax Complete Audio System Upgrade
Toyota Tundra CrewMax Complete Audio System Upgrade
Toyota Tundra CrewMax Complete Audio System Upgrade
Toyota Tundra CrewMax Complete Audio System Upgrade
Toyota Tundra CrewMax Complete Audio System Upgrade
Toyota Tundra CrewMax Complete Audio System Upgrade
Toyota Tundra CrewMax Complete Audio System Upgrade
Toyota Tundra CrewMax Complete Audio System Upgrade
Toyota Tundra CrewMax Complete Audio System Upgrade
Toyota Tundra CrewMax Complete Audio System Upgrade
Toyota Tundra CrewMax Complete Audio System Upgrade
Toyota Tundra CrewMax Complete Audio System Upgrade
Toyota Tundra CrewMax Complete Audio System Upgrade
Below you will find a detailed listing of all the parts we used in the installation.
Typical Installation time is 1 day, however we matted the front, rear doors and the rear wall behind the subwoofer. If we are matting the truck we keep the truck for two days. One day audio installation and matting jobs are possible, but require at least 14 hours with the truck.
Below is a detailed listing of the audio products installed in Chris Tundra CrewMax
Front Door Component Speakers:
Image Dynamics CTX65CS/ID65CS
Tacotunes.com heavy duty speaker mounts cut to 5.6”
CTXCS Mid bass Drivers -100 Watts RMS
CTXCS Crossover
CTXCS Tweeter
Use Stock Sail Panel for Tweeter mounts.
Rear Door Components:
Image Dynamics CTX65CS
Tacotunes.com heavy duty speaker mounts cut to 5.6”
CTX65CS Mid bass drivers Handles -100 watts RMS
CTX65CS Crossover
CTX Tweeters
Tweeters will fit in stock door location
Amp:
tacotunes.com TXD3204 Four channel amplifier
tacotunes.com TXD10001 Mono subwoofer amplifier
70 watts x 4 to each speaker and 400 x 1 (subwoofer)