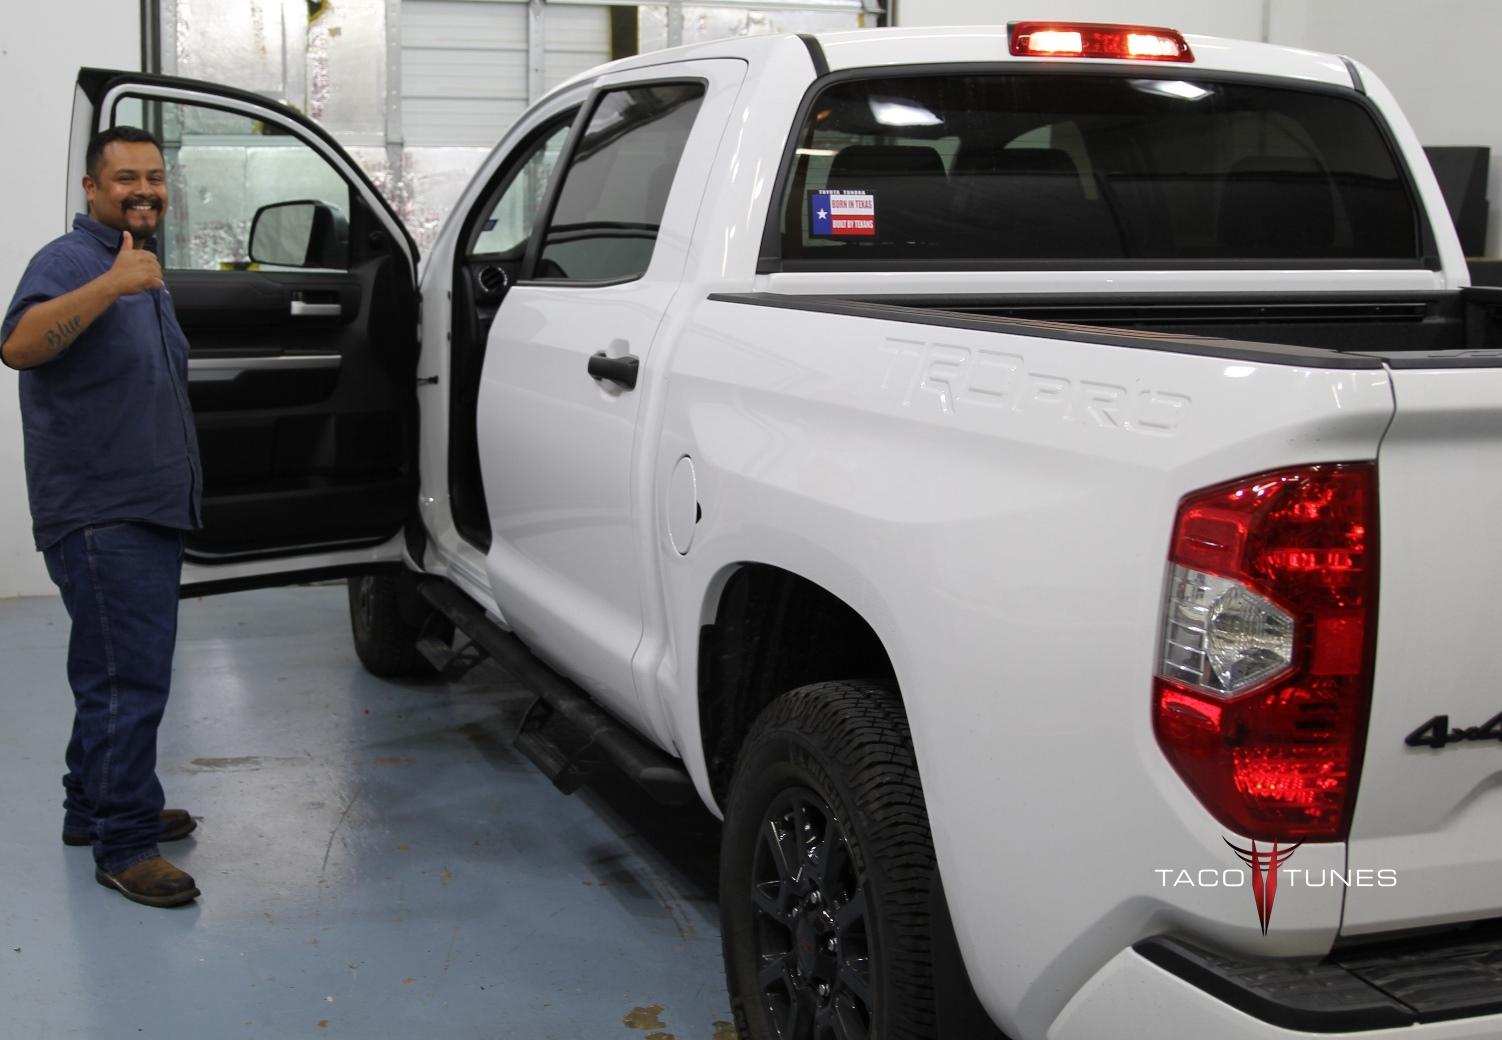
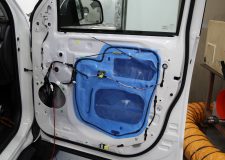
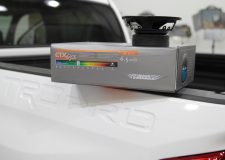
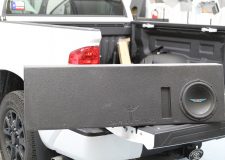
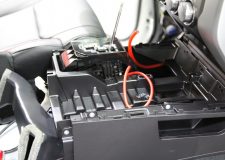
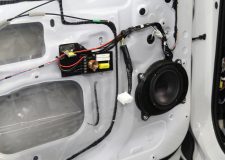
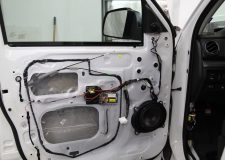
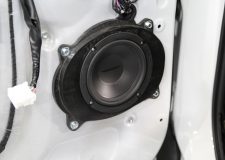
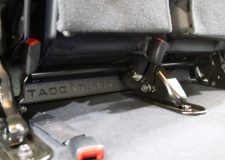
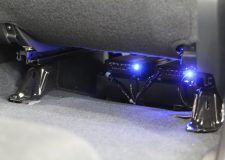
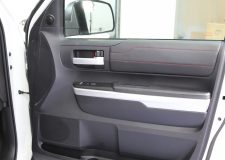
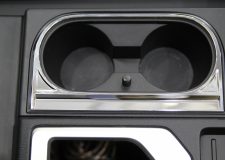
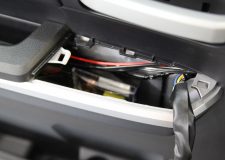
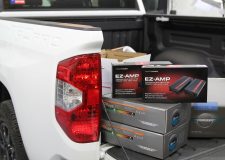
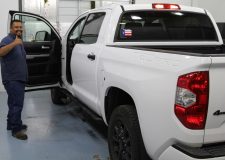
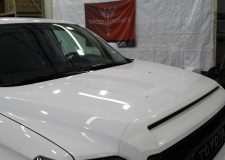
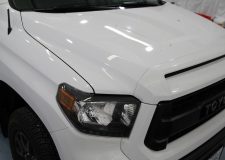
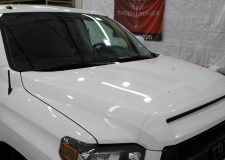
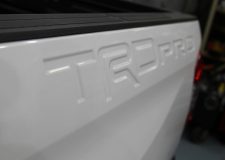
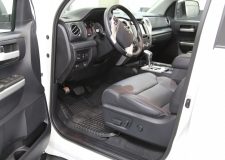
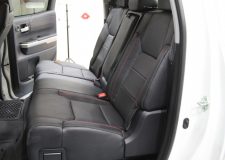
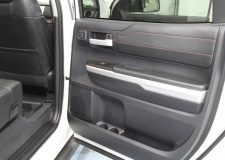
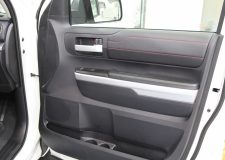
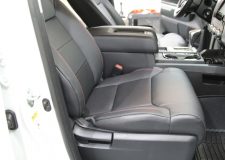
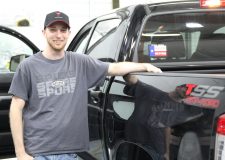
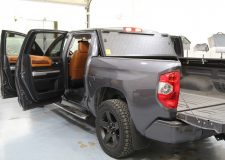
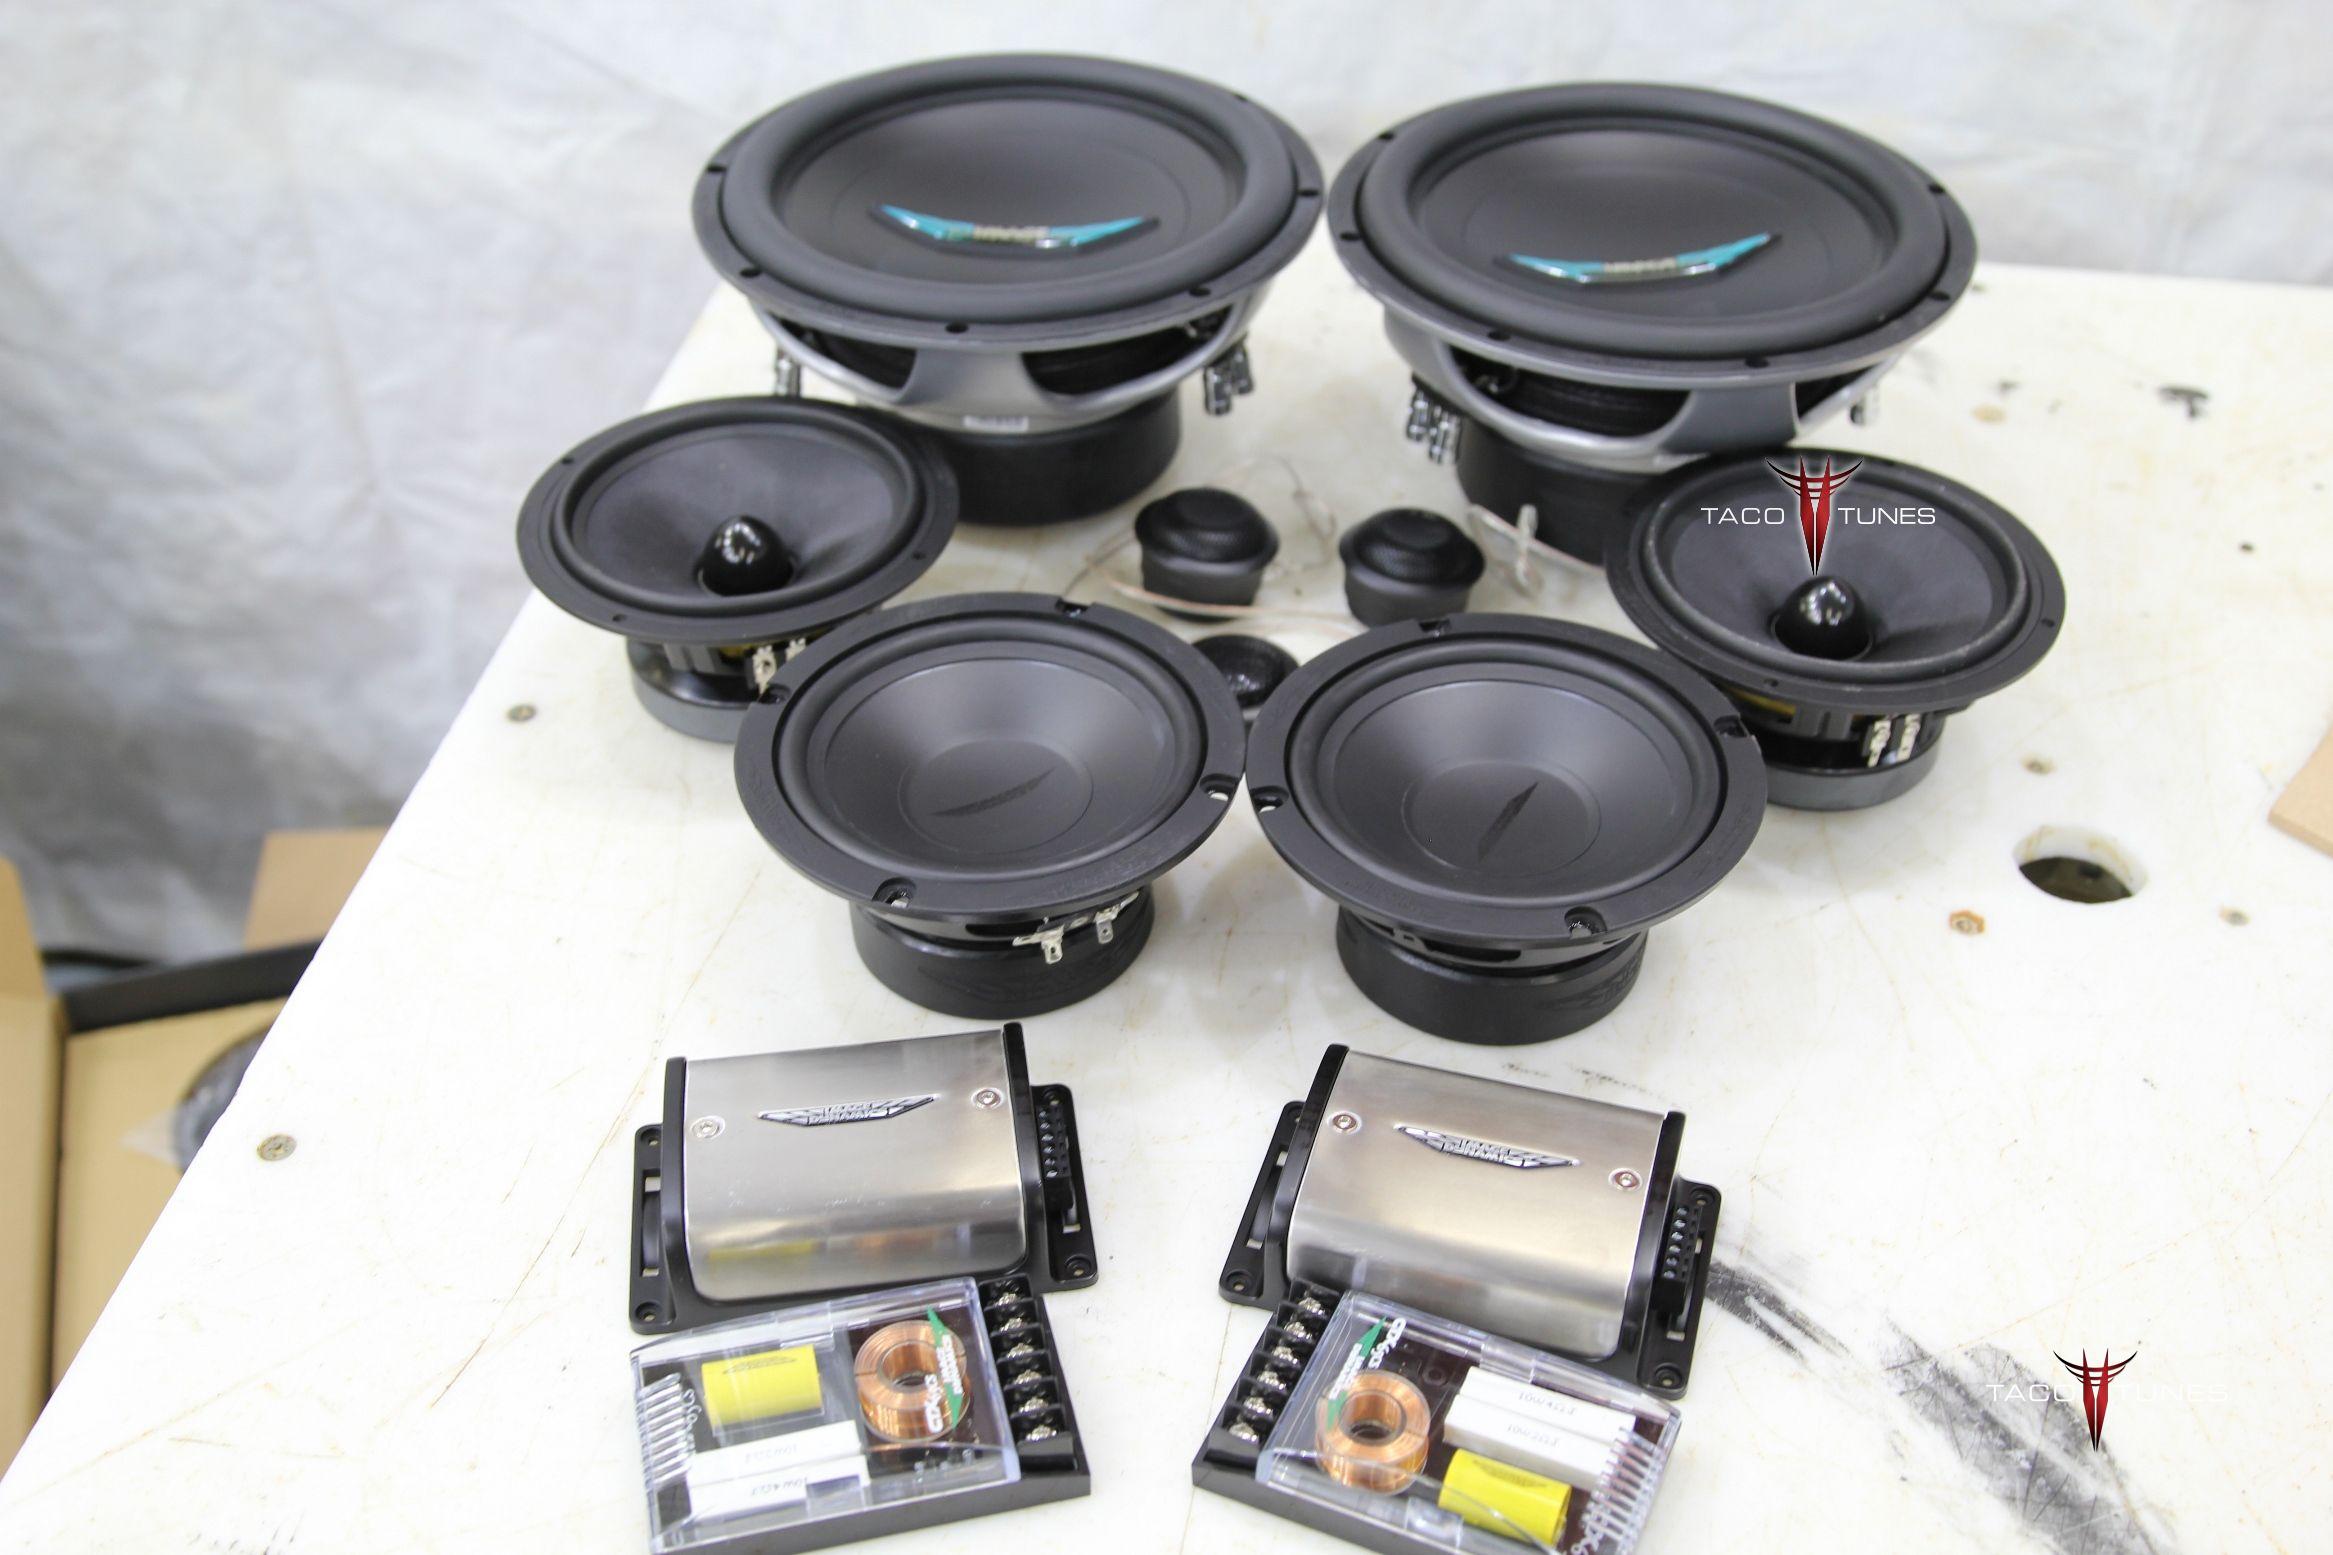
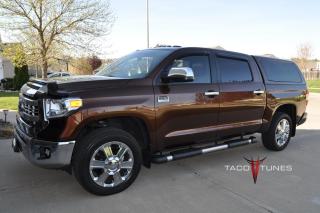
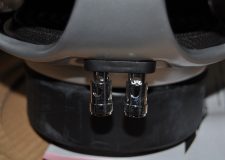
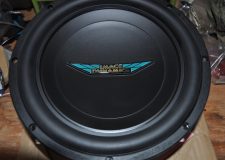
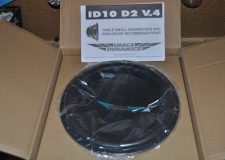
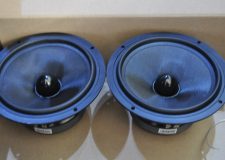
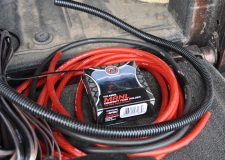
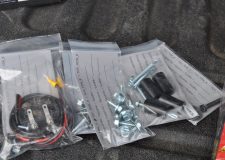
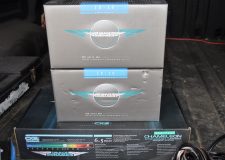
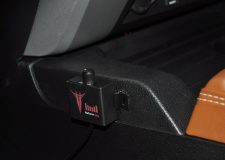
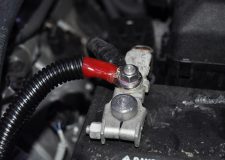
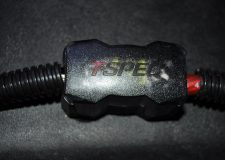
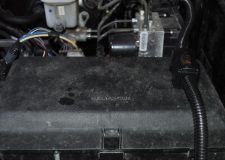
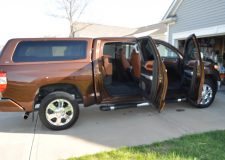
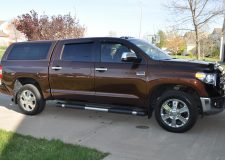
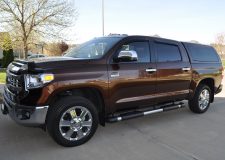
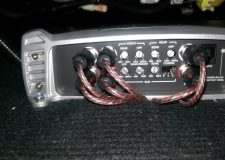
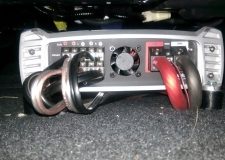
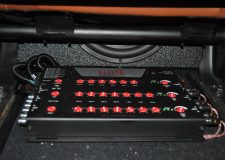
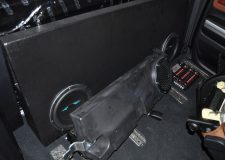
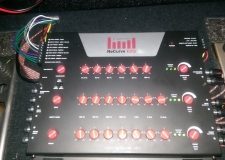
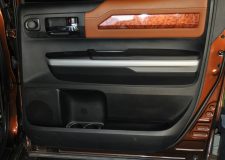
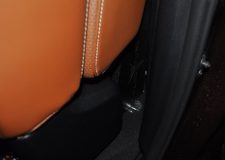
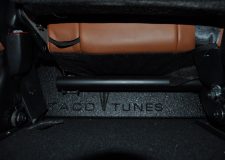
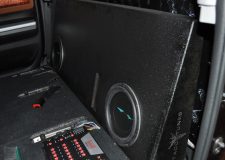
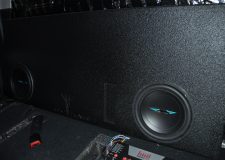
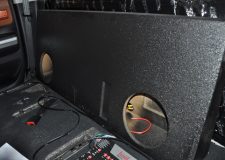
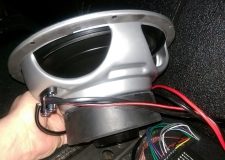
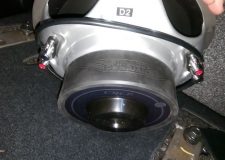
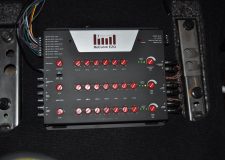
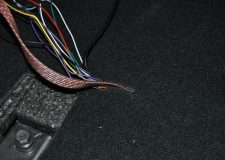
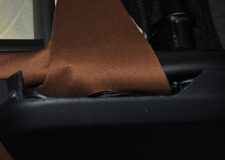
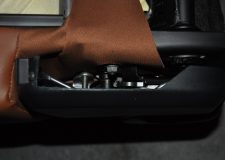
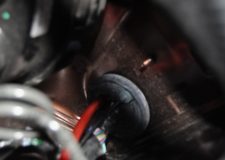
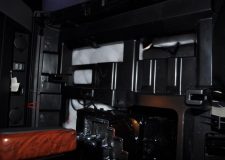
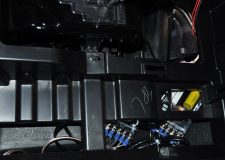
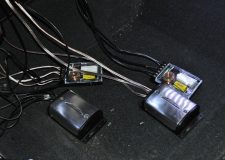
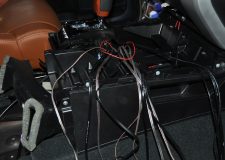
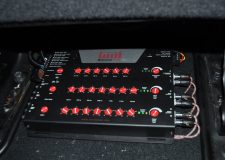
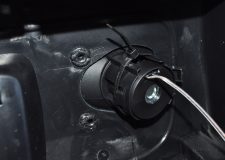
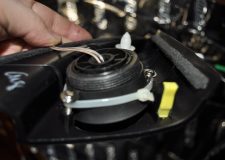
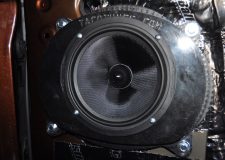
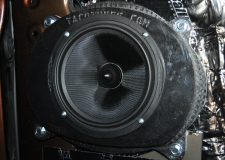
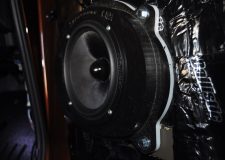
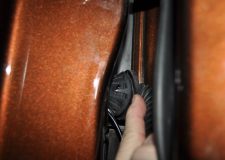
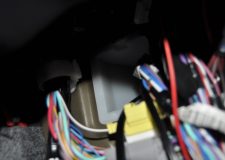
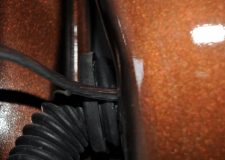
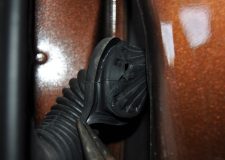
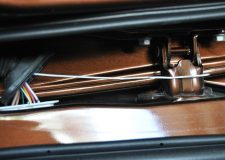
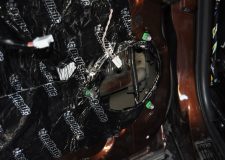
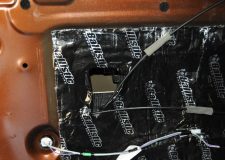
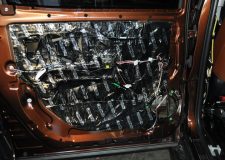
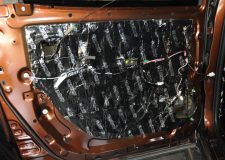
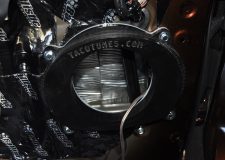
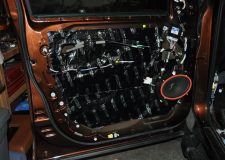
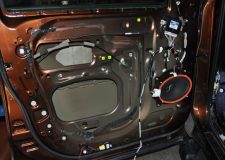
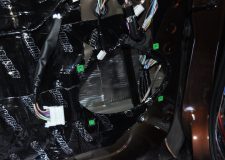
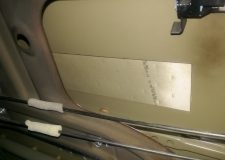
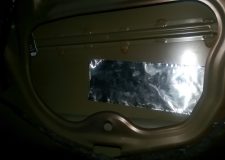
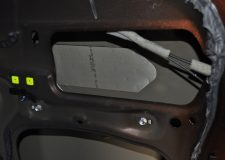
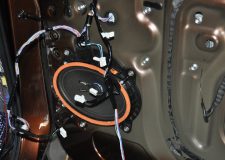
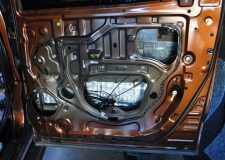
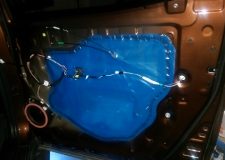
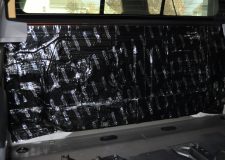
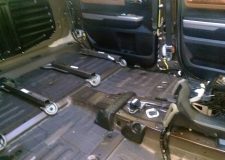
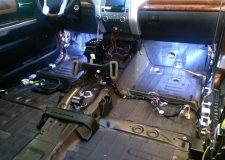
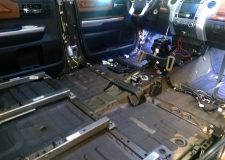
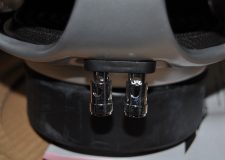
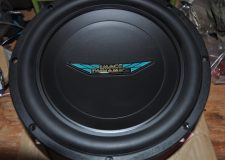
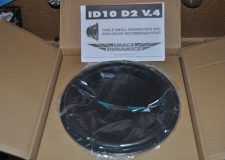
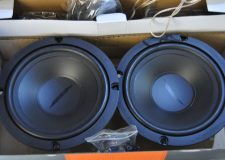
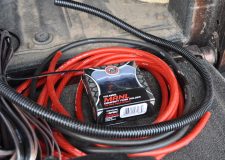
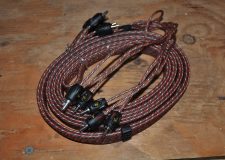
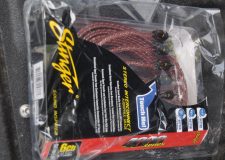
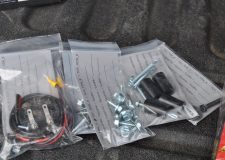
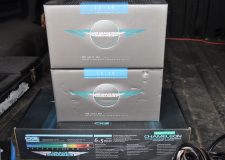
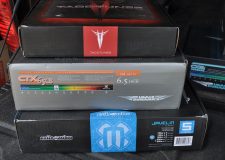
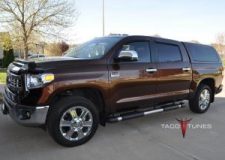
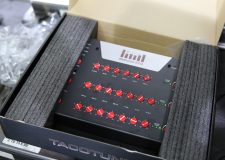
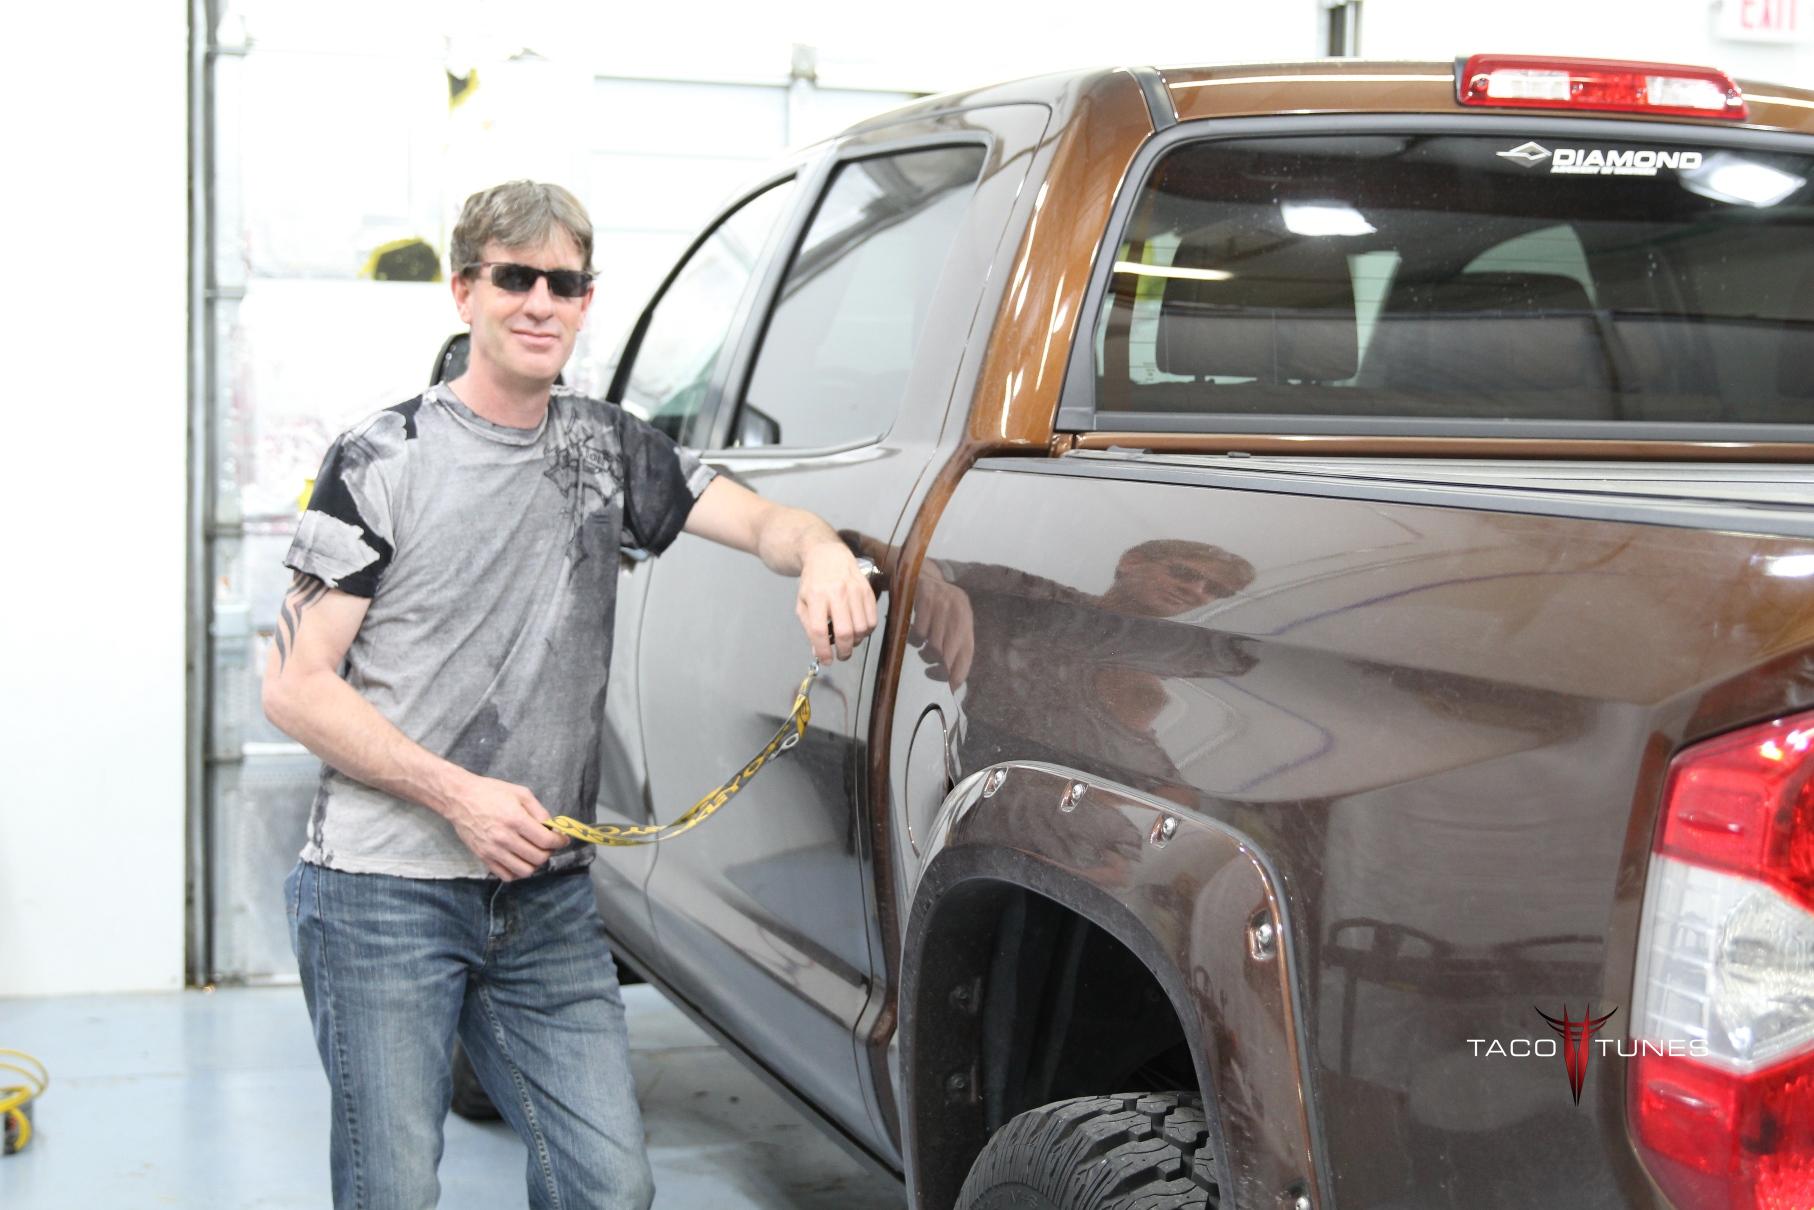
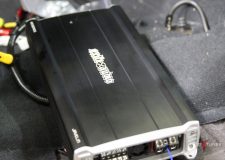
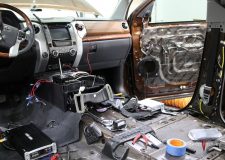
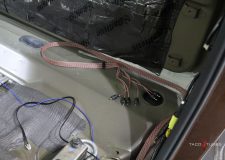
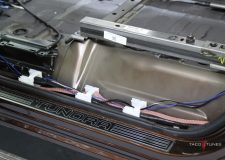
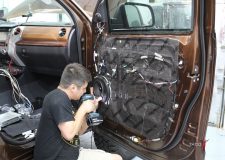
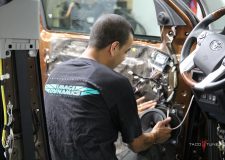
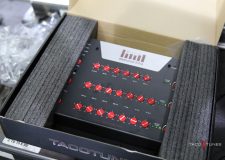
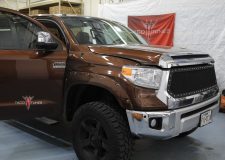
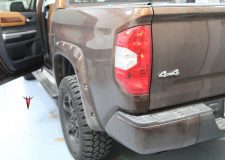
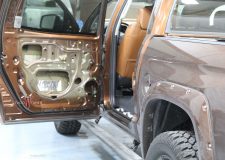
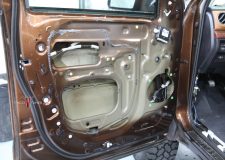
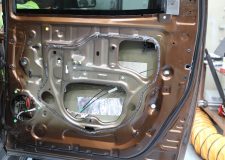
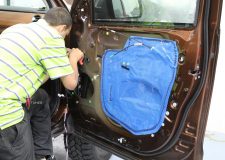
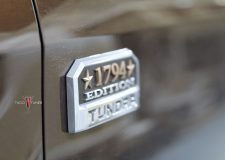
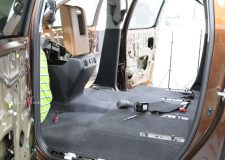
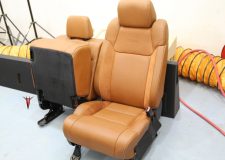
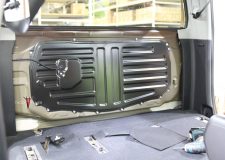
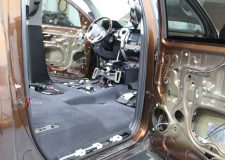
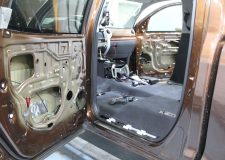
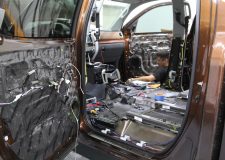
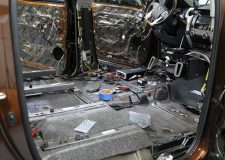
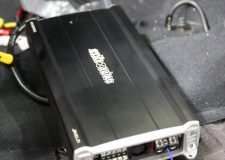
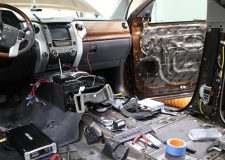
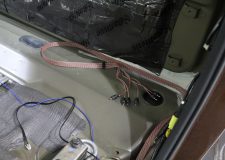
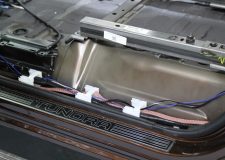
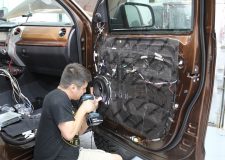
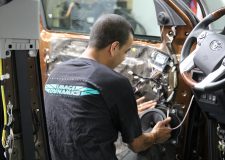
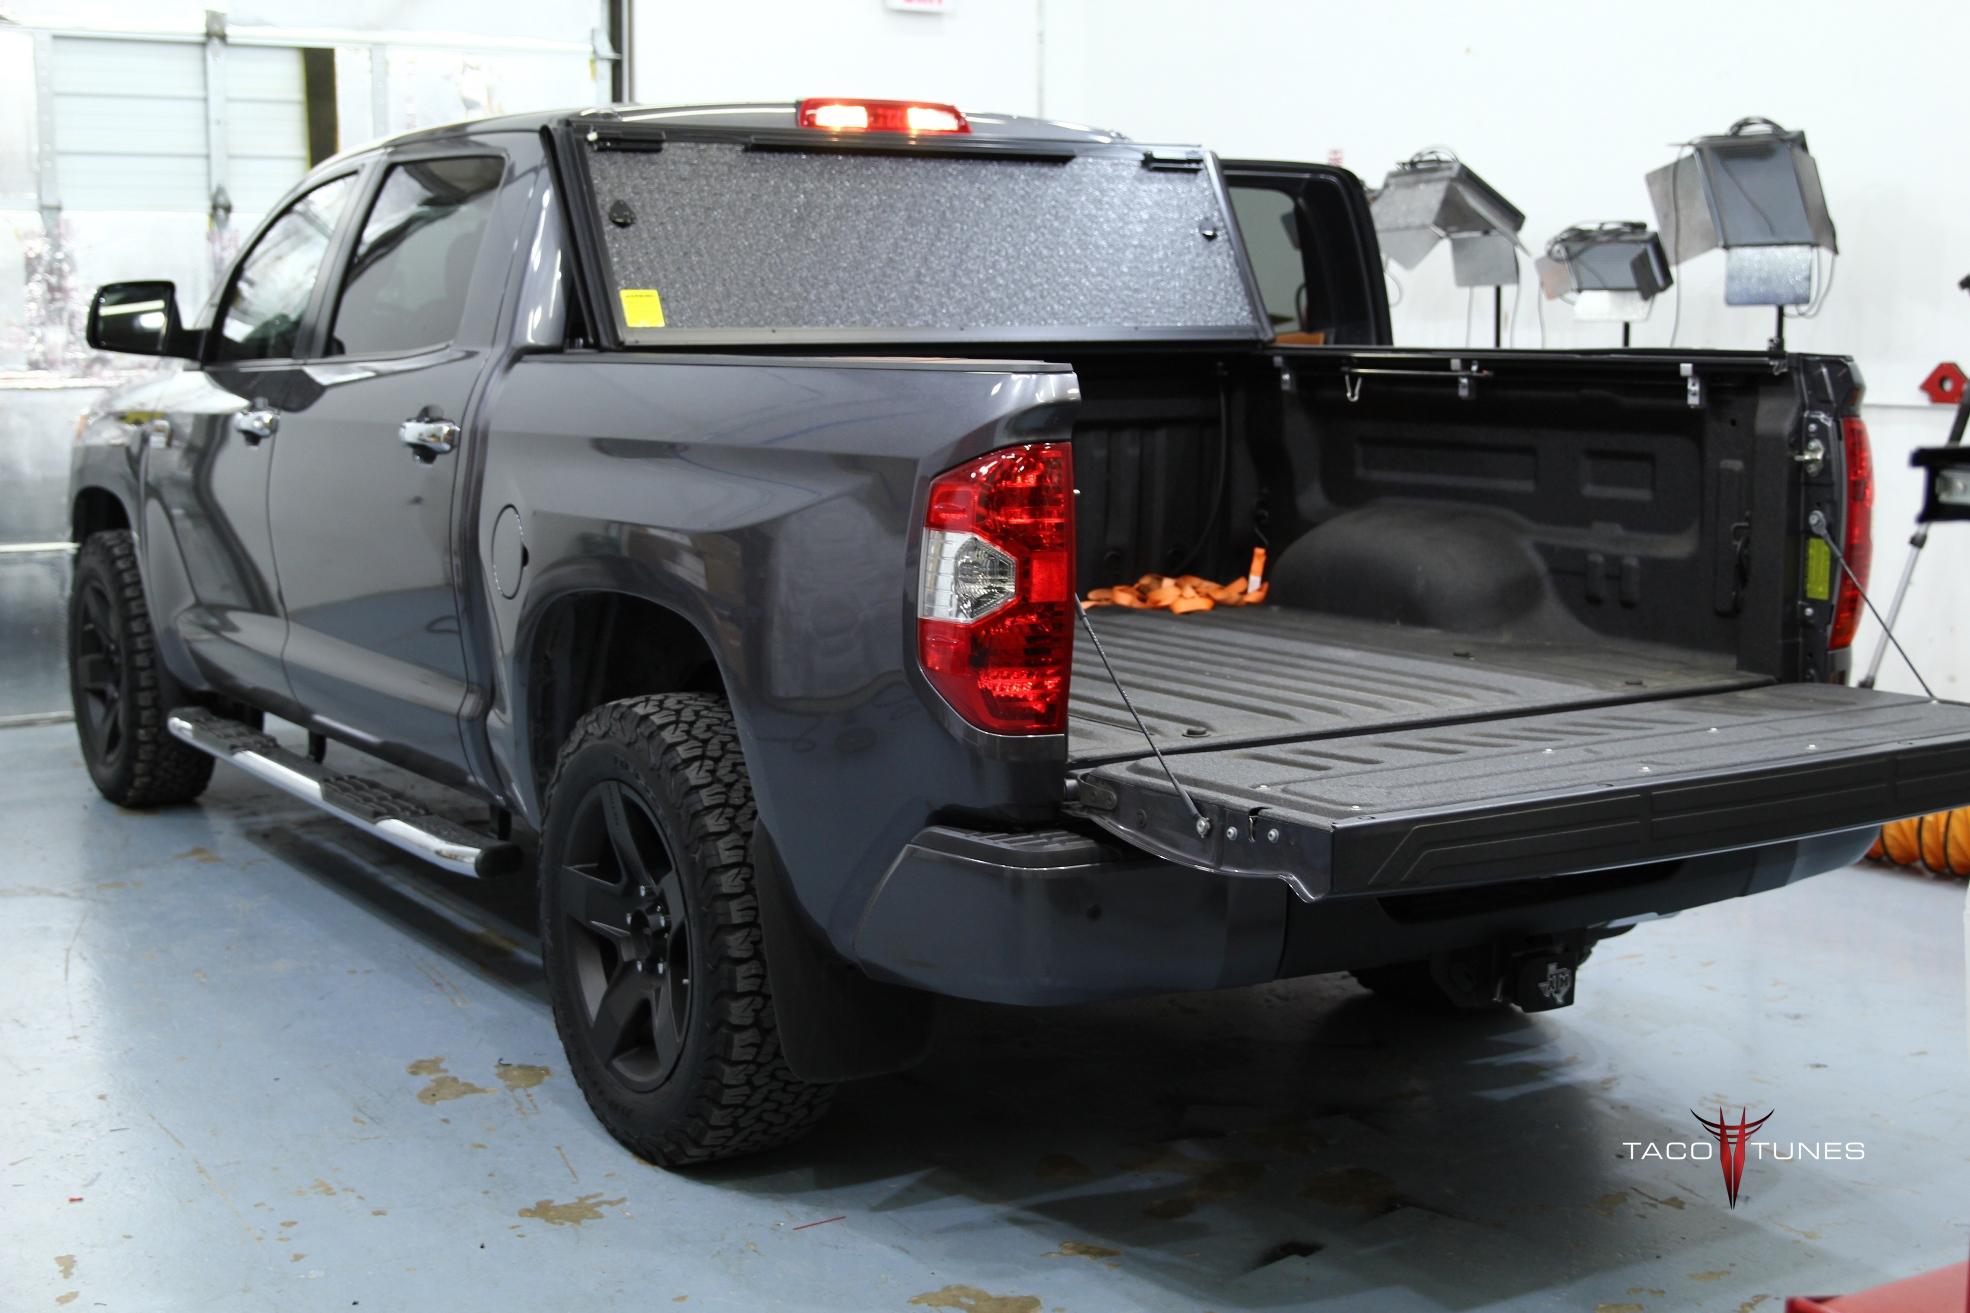
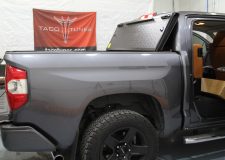
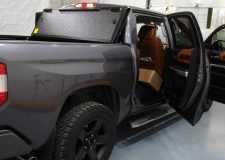
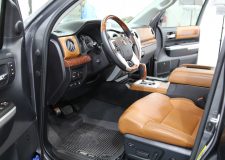
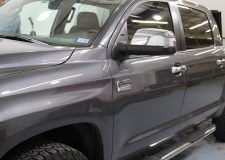
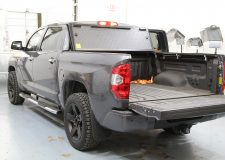
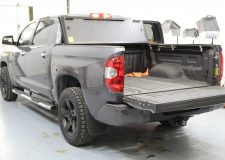
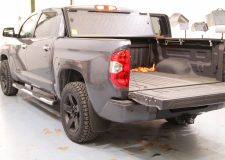
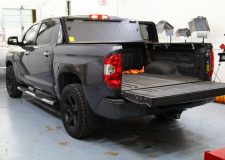
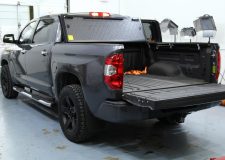
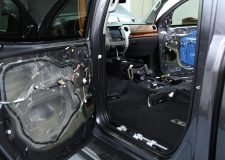
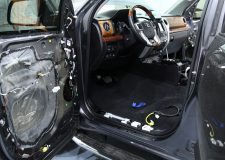
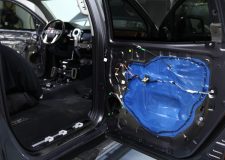
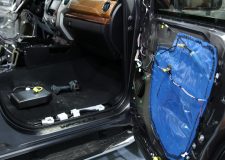
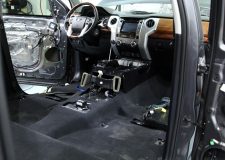
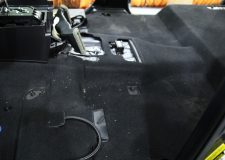
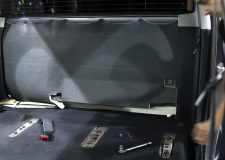
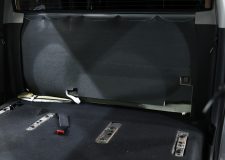
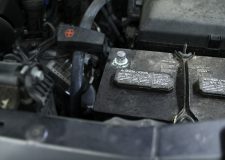
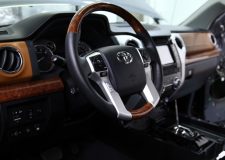
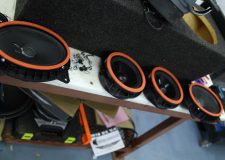
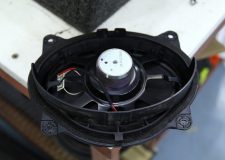
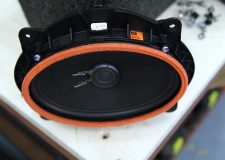
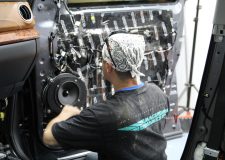
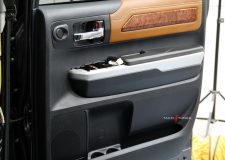
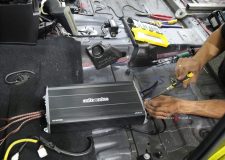
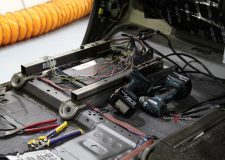
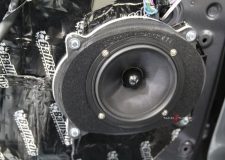
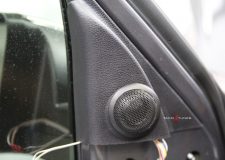
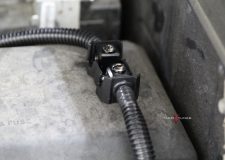
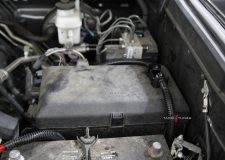
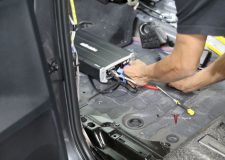
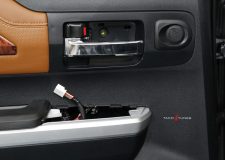
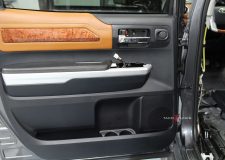
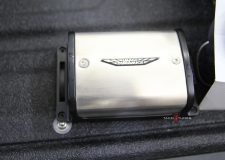
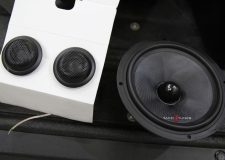
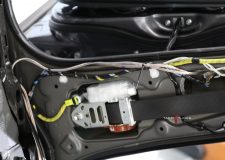
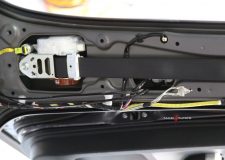
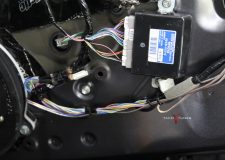
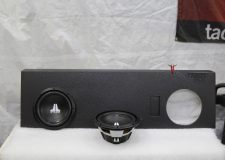
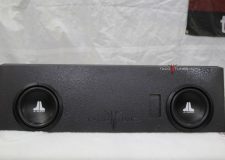
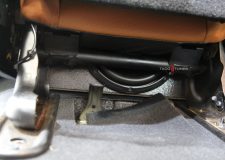
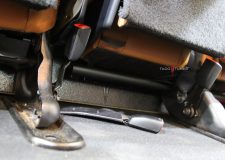
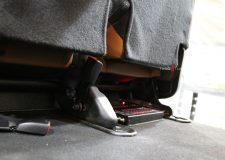
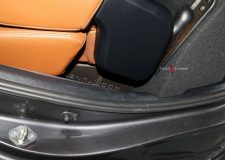
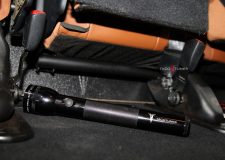
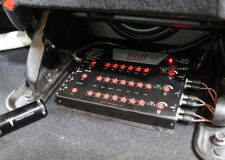
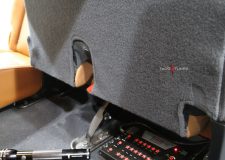
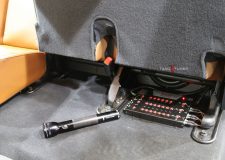
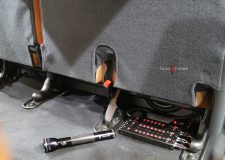
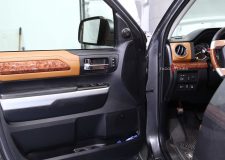
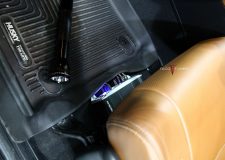
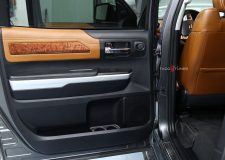
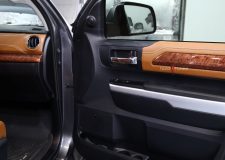
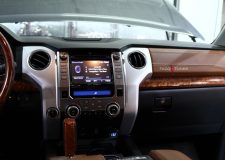
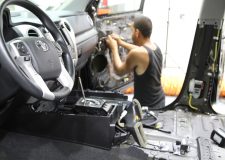
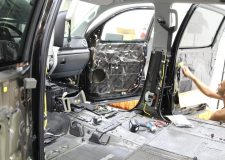
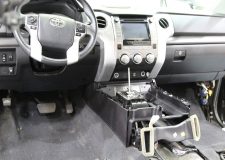
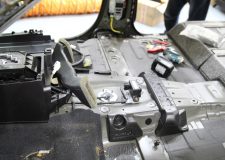
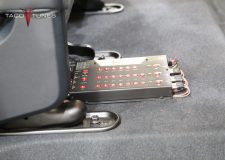
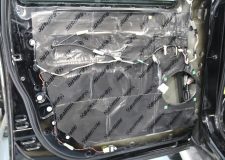
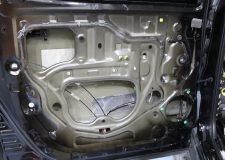
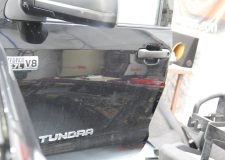
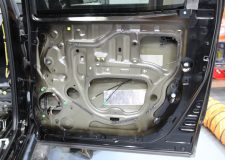
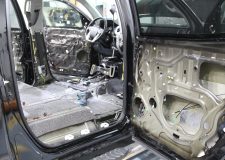
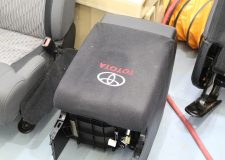
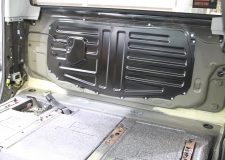
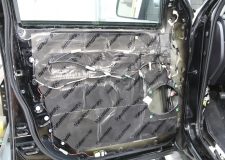
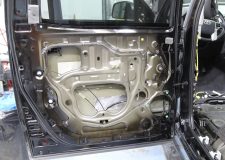
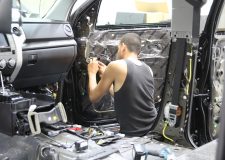
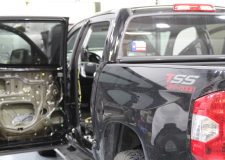
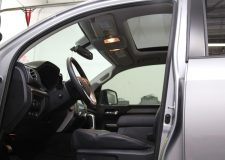
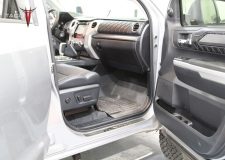
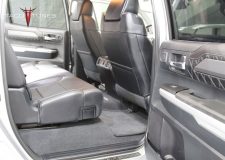
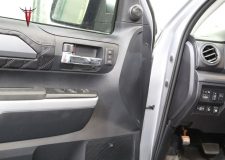
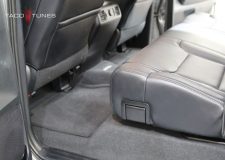
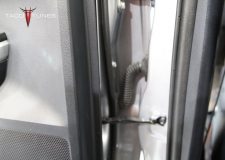
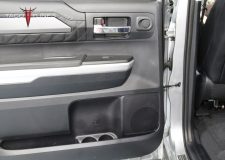
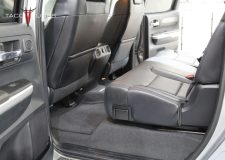
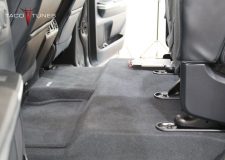
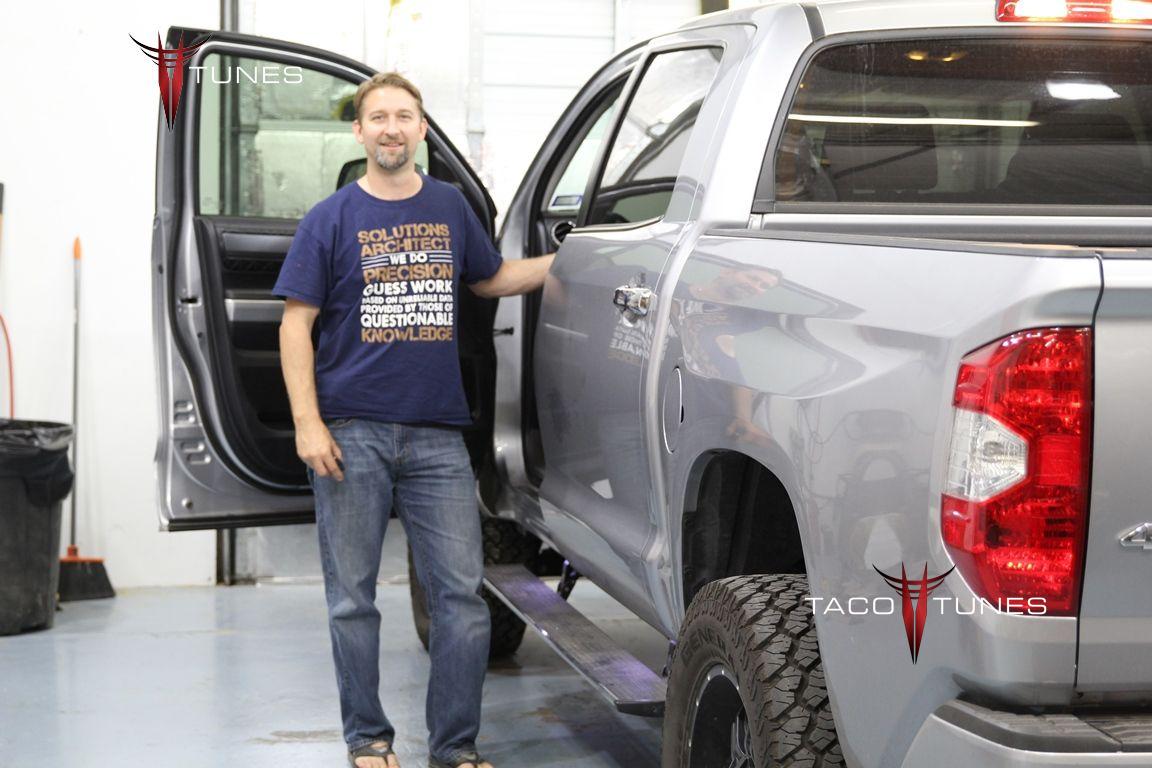
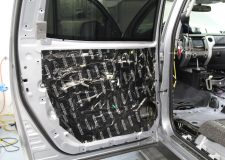
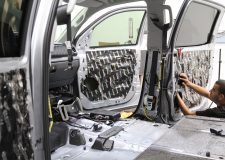
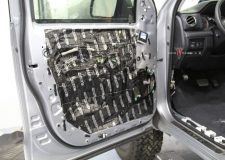
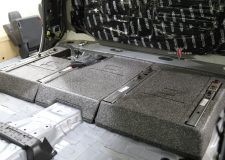
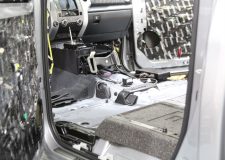
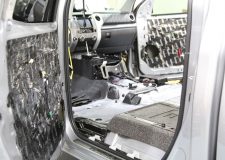
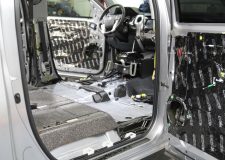
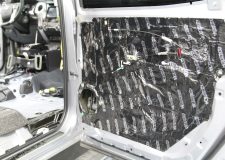
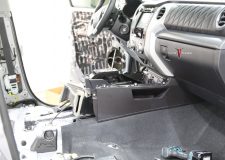
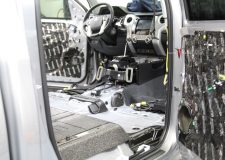
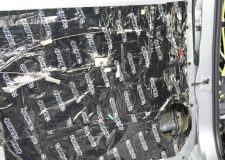
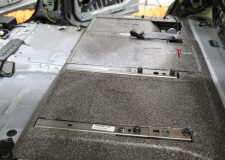
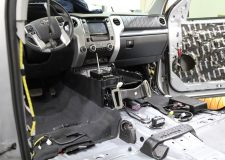
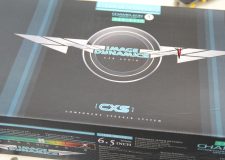
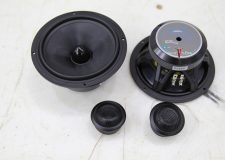
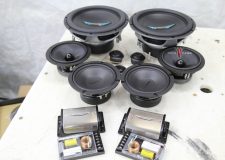
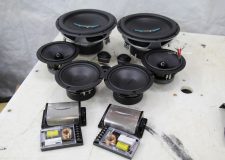
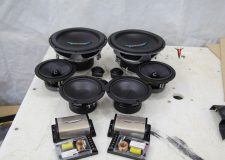
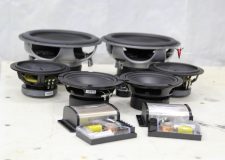
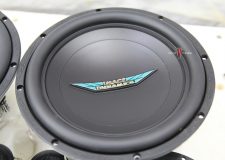
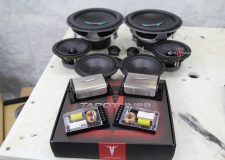
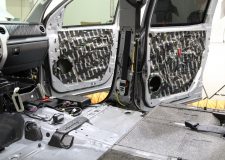
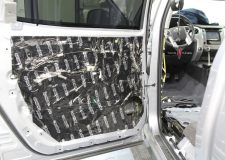
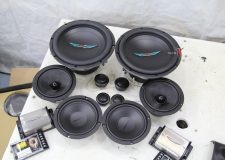
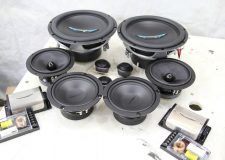
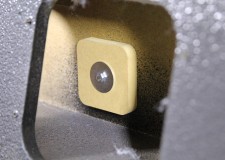
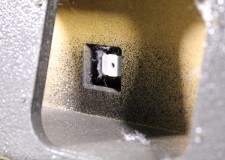
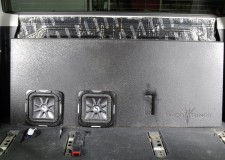
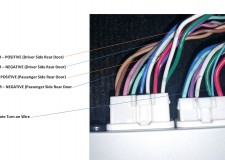
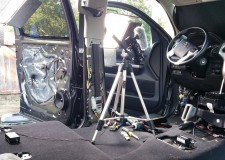
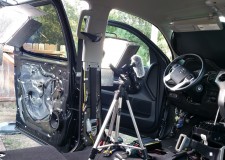
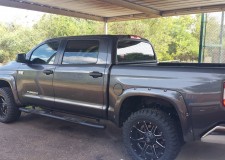
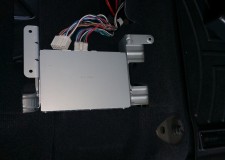
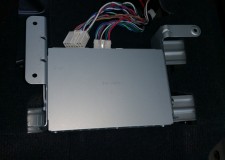
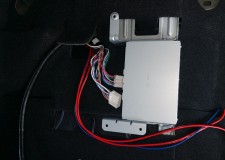
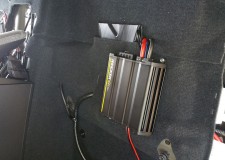
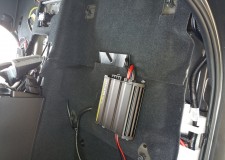
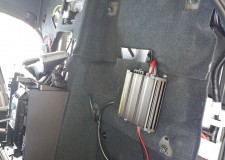
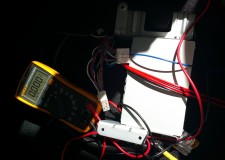
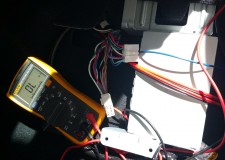
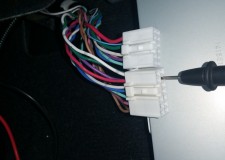
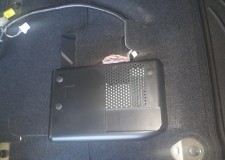
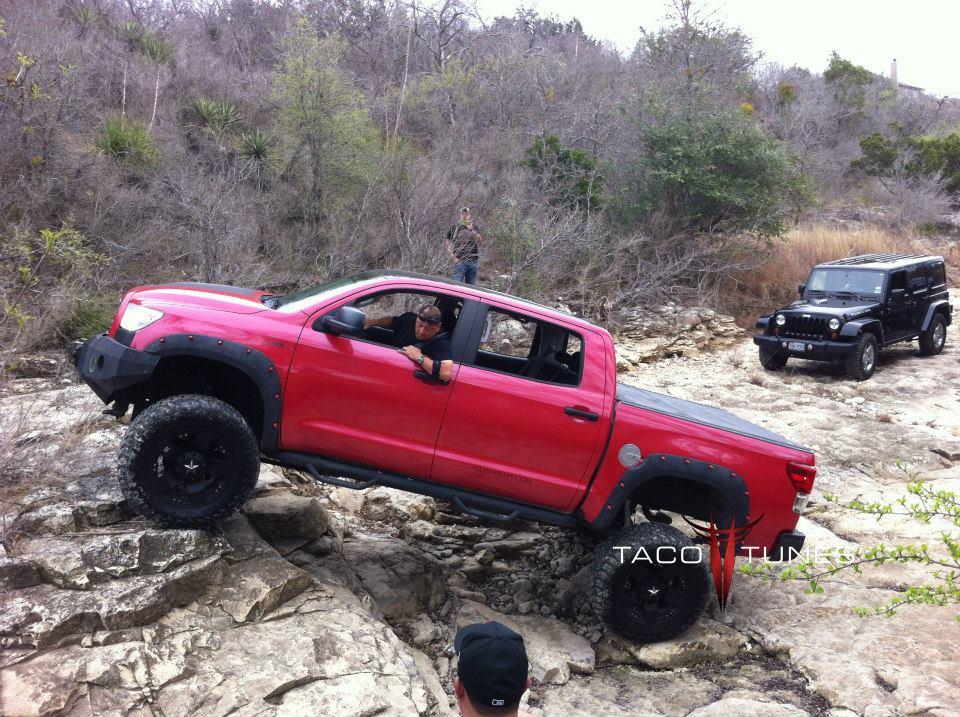
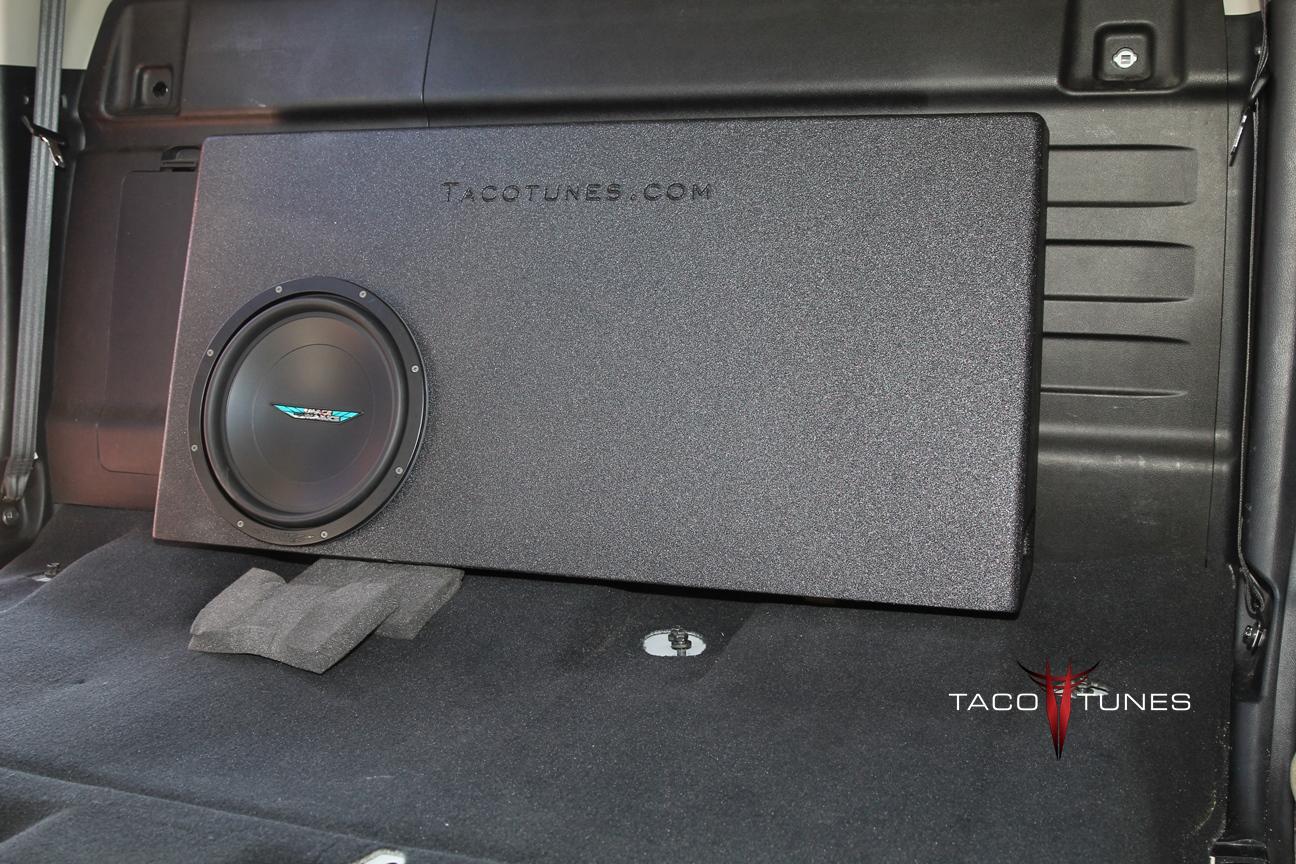
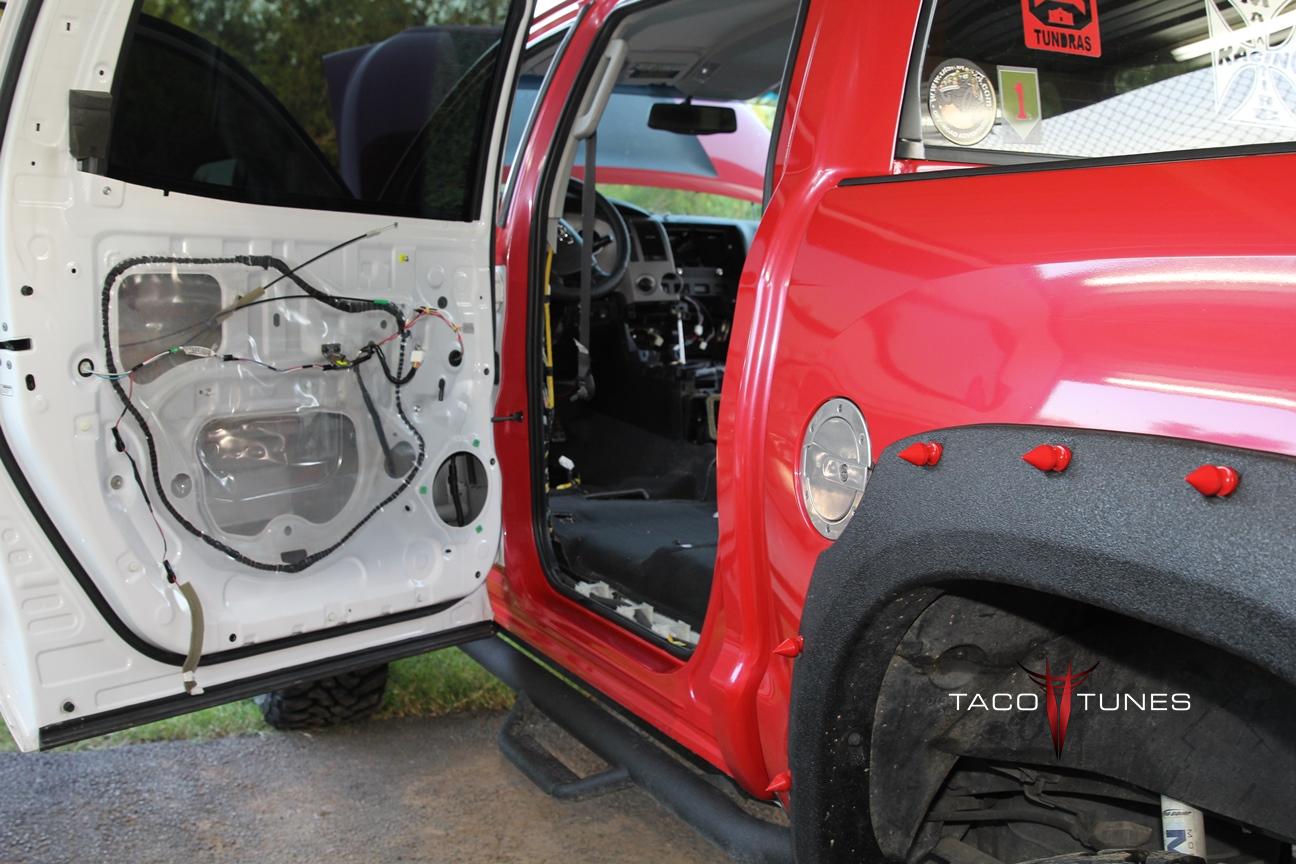
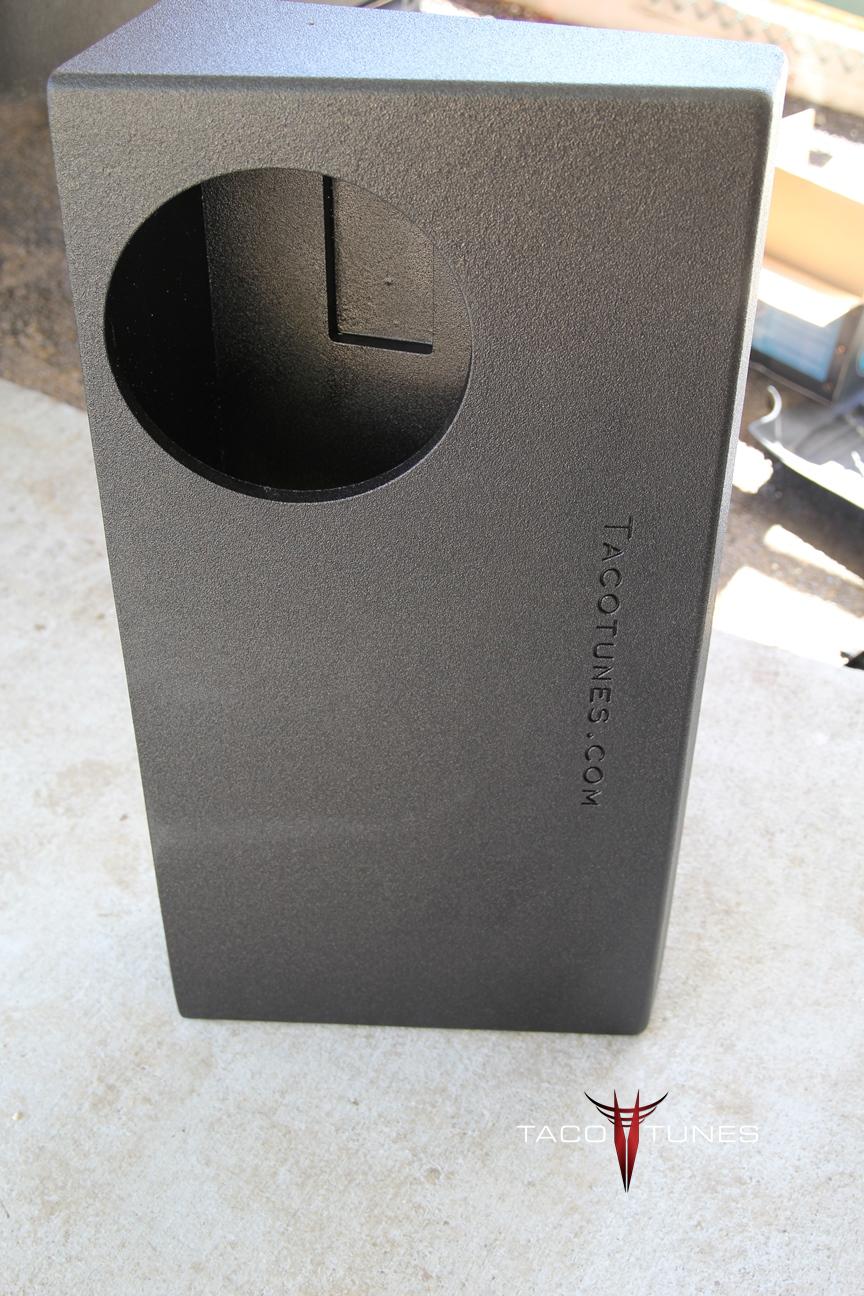
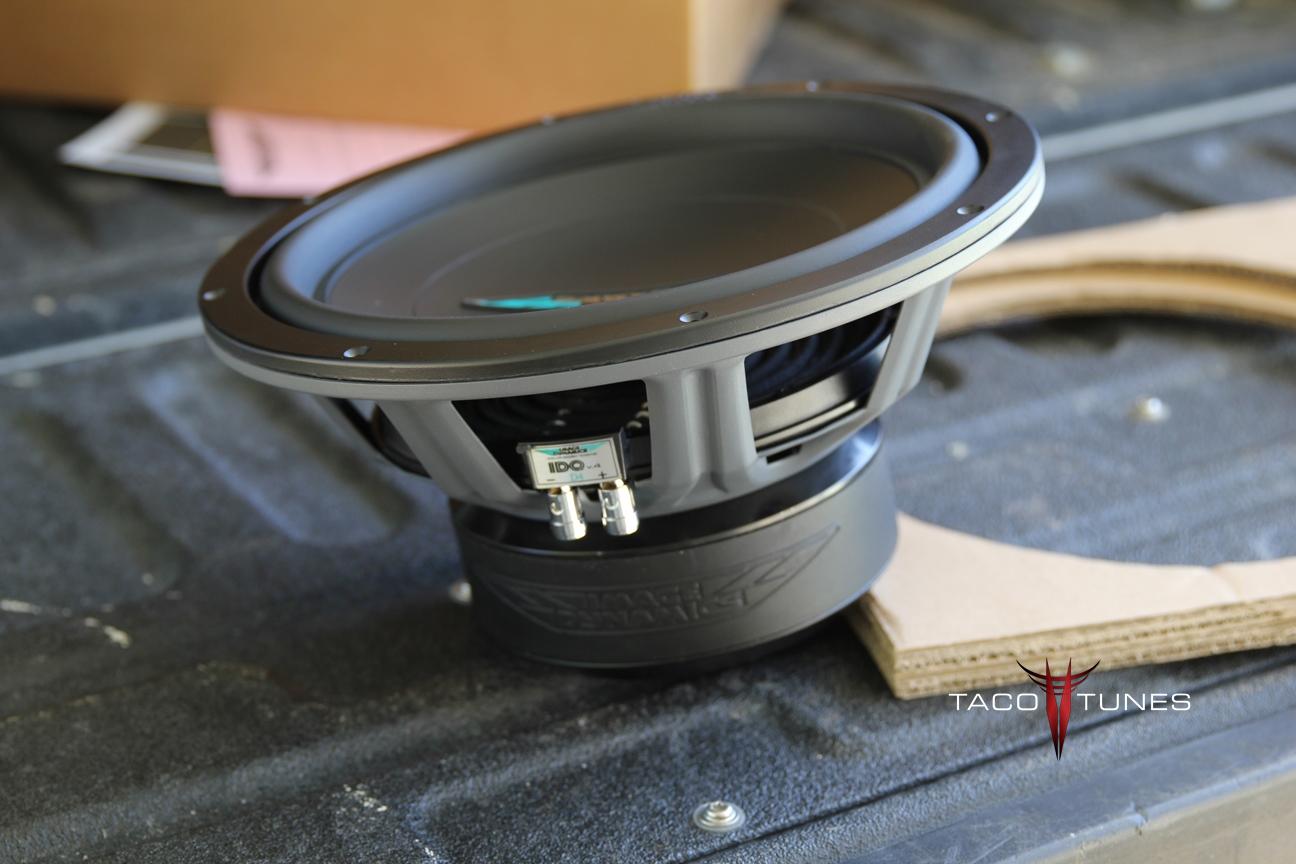
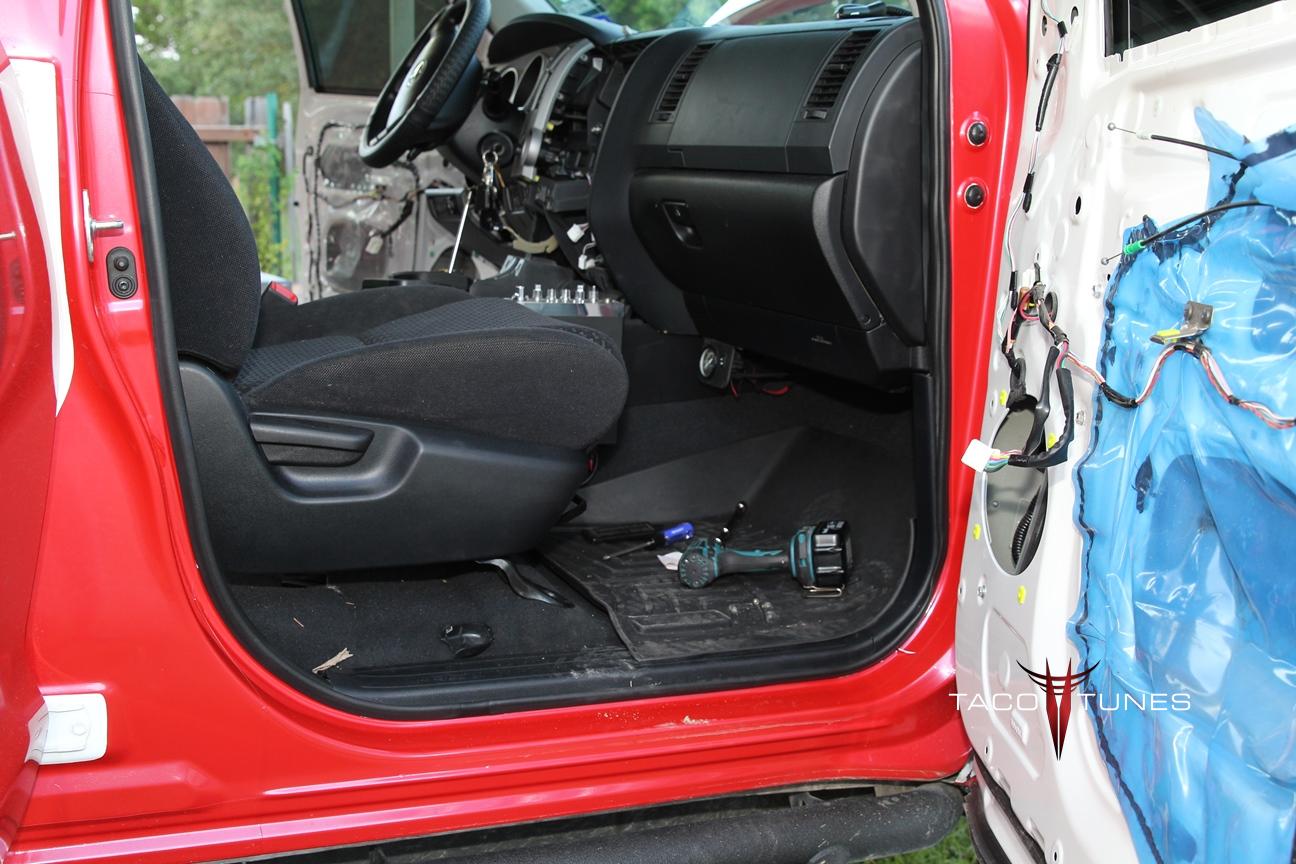
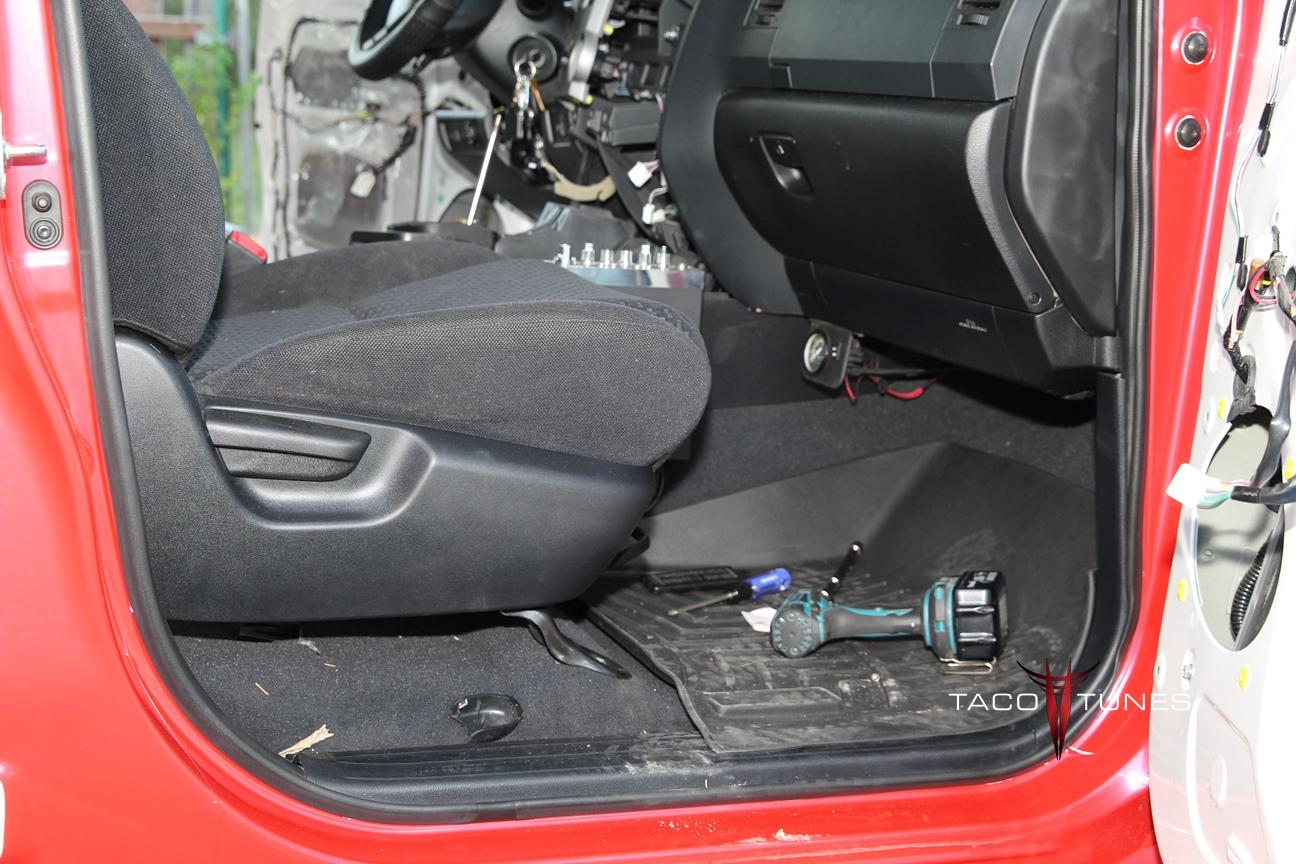
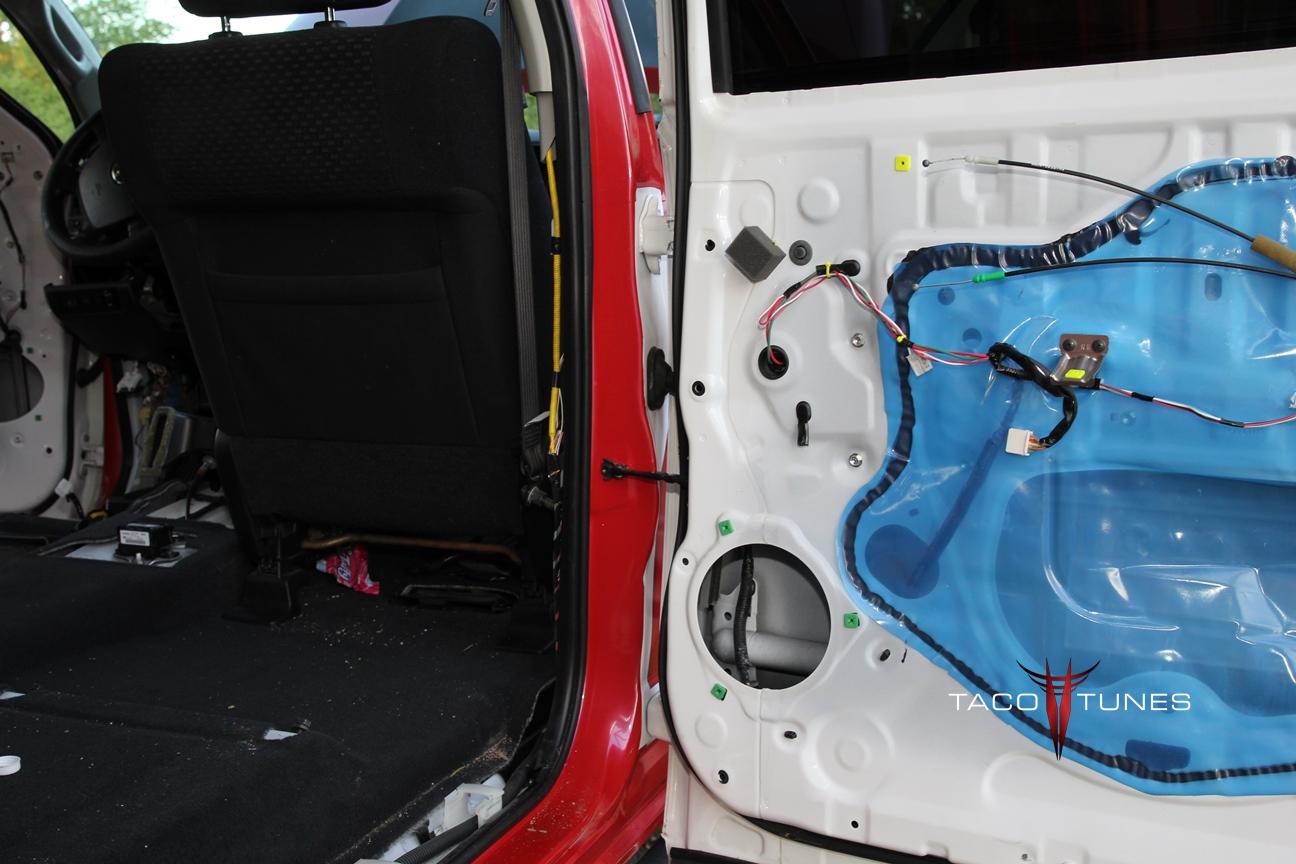
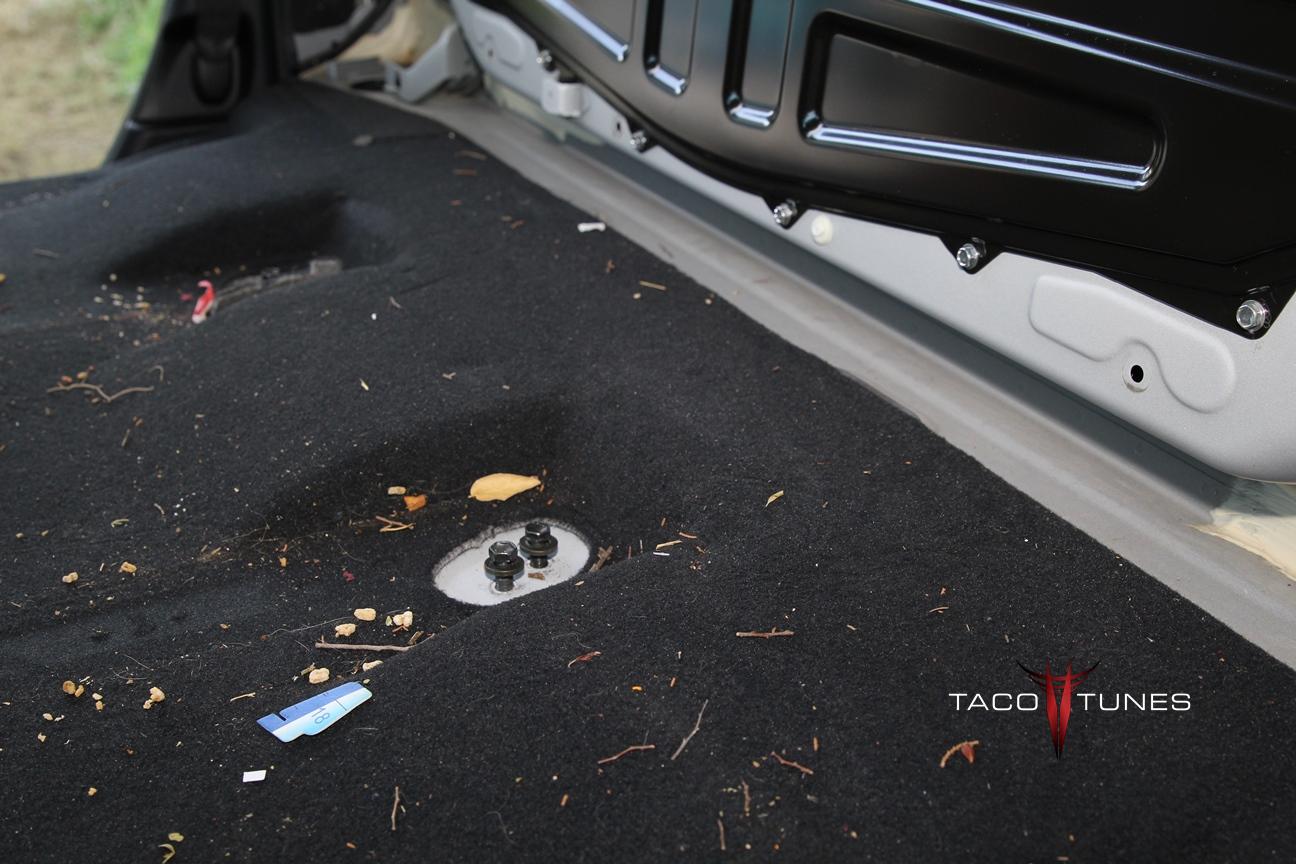
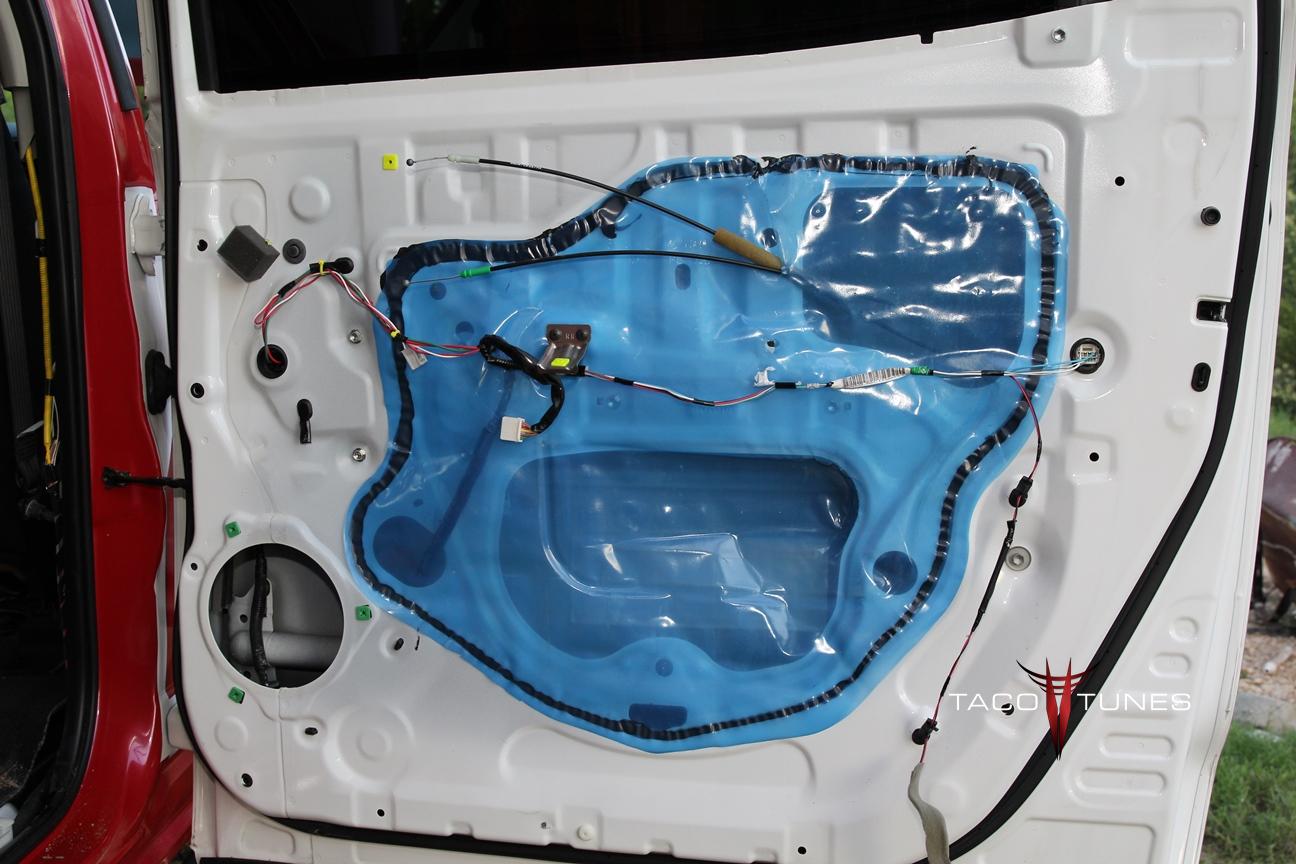
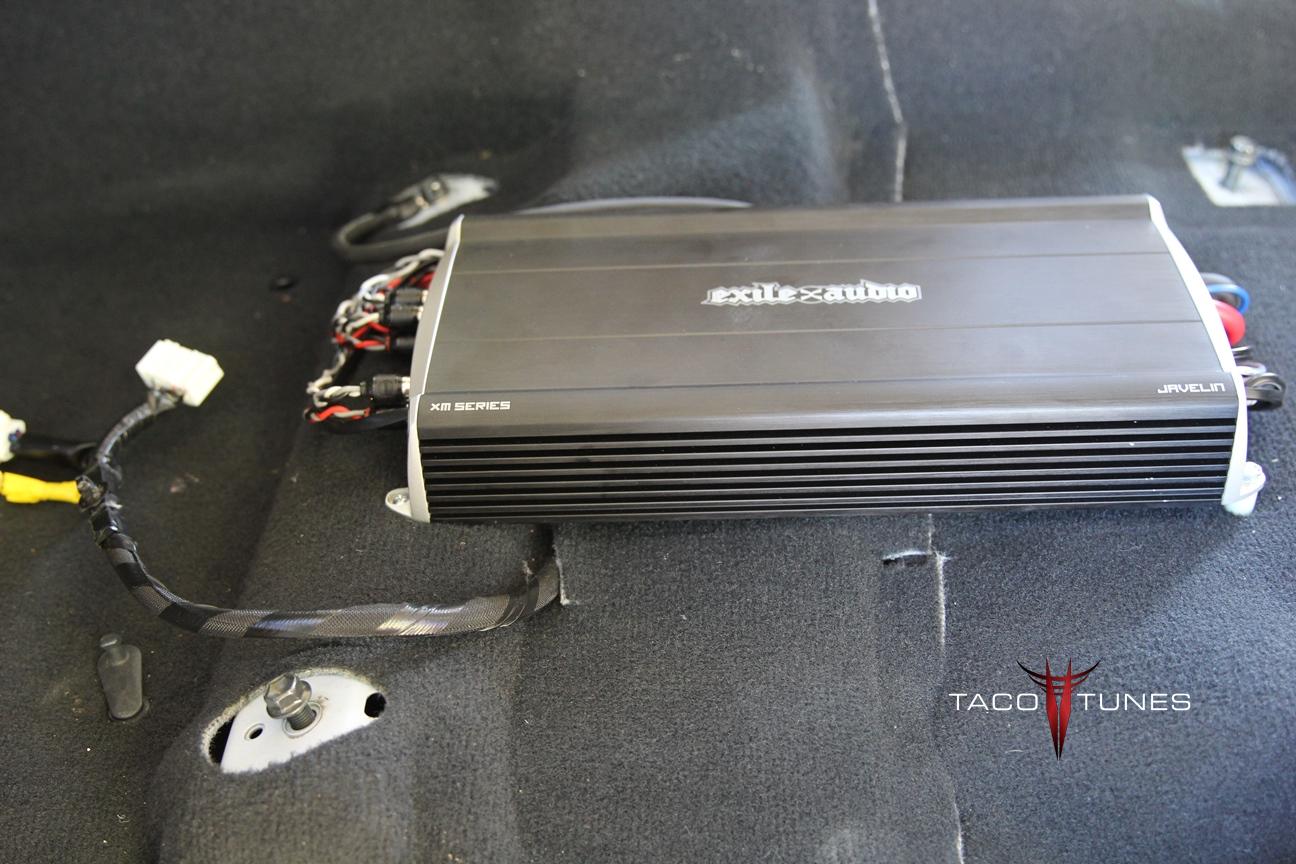
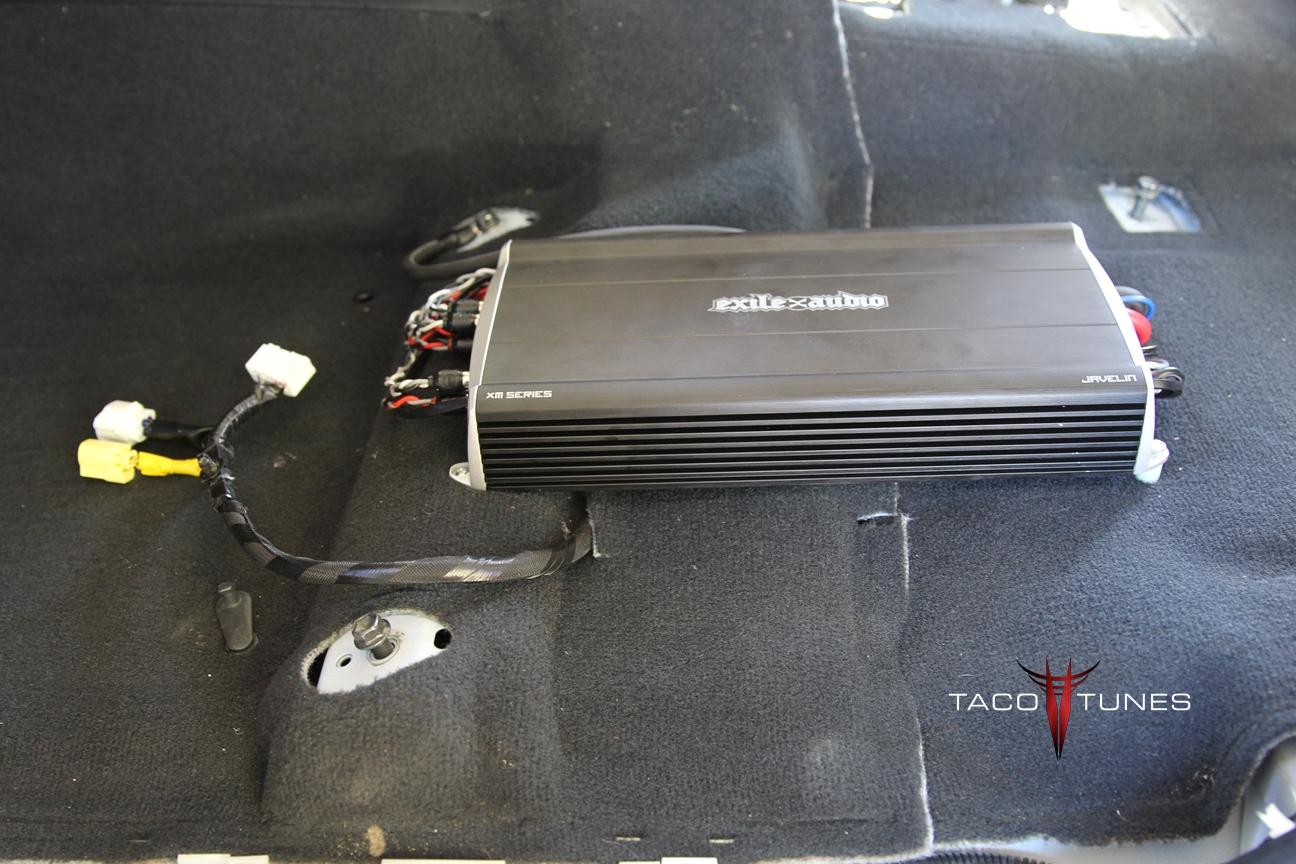
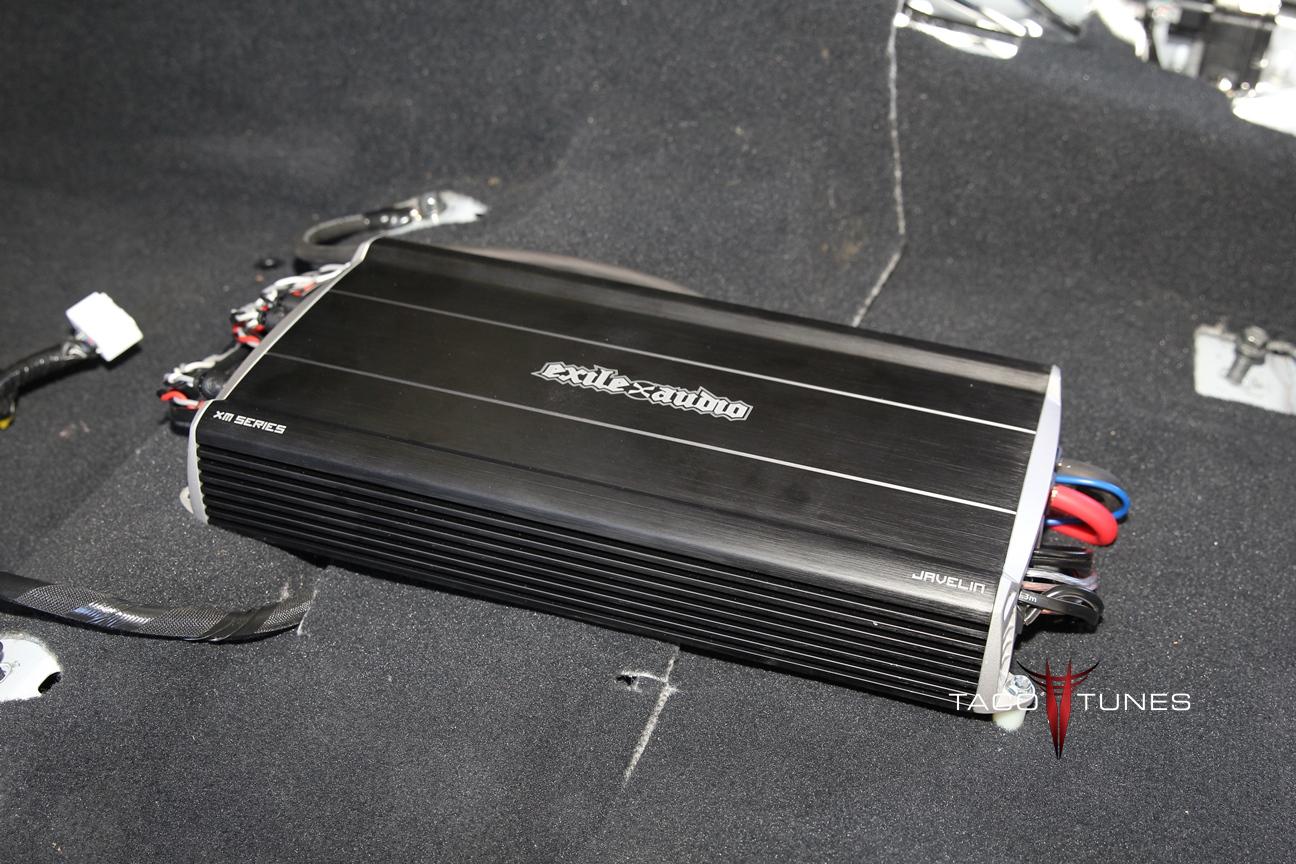
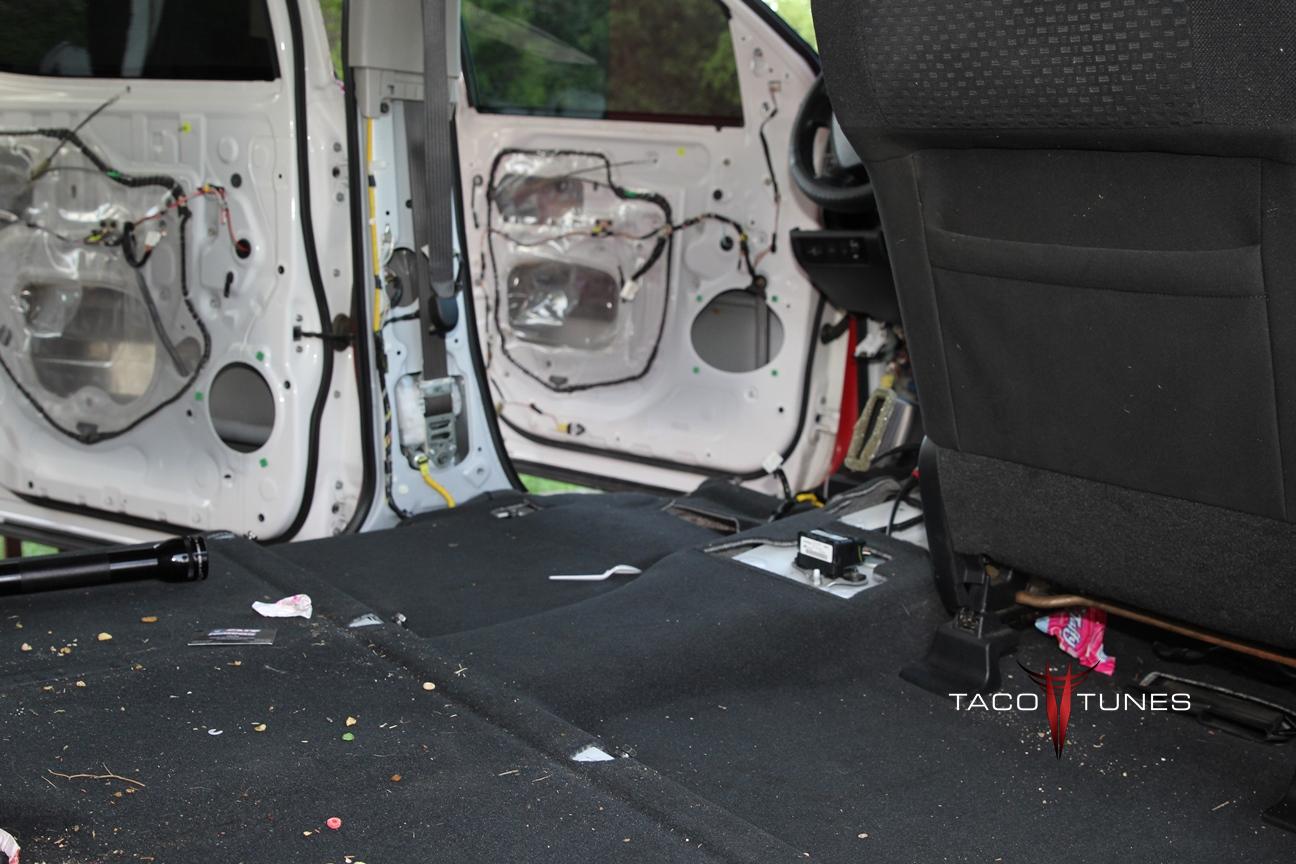
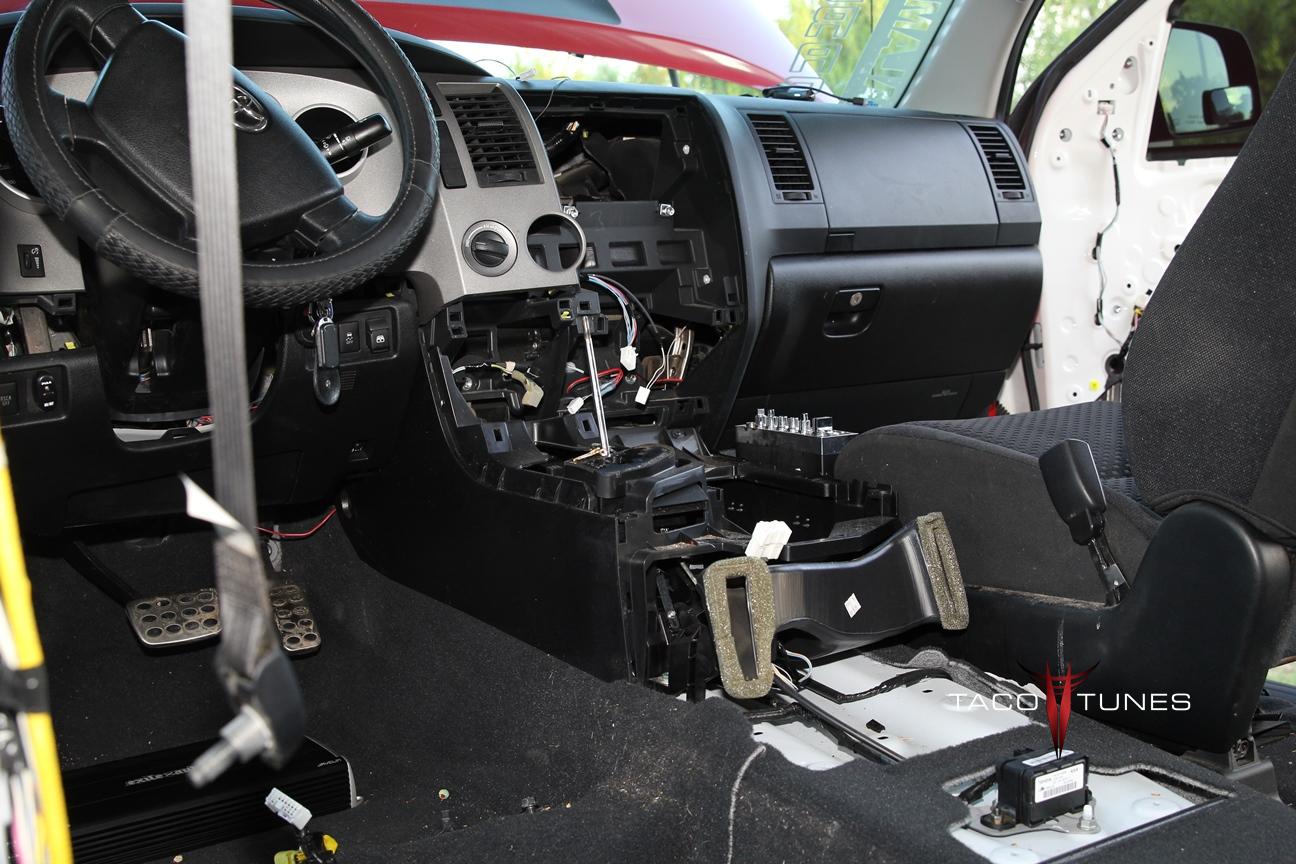
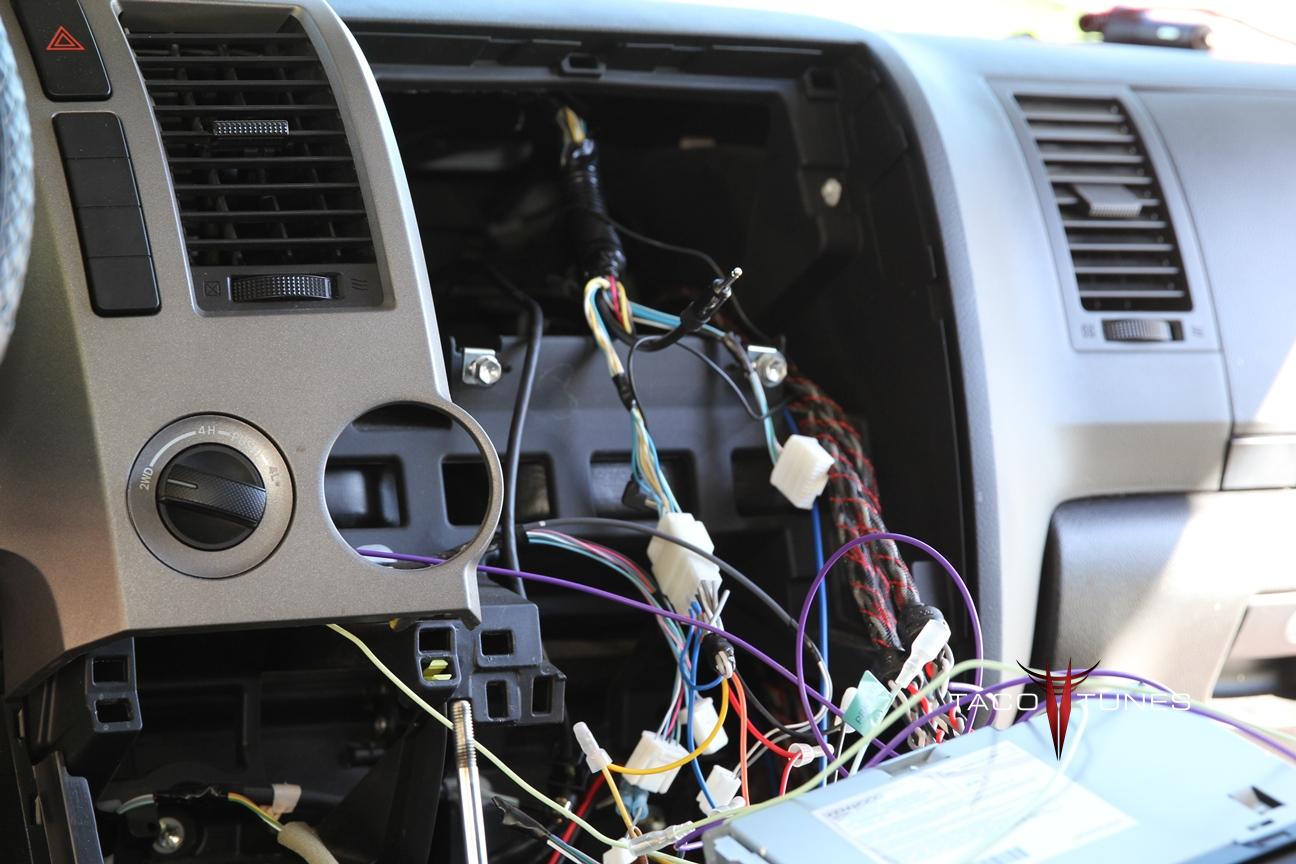
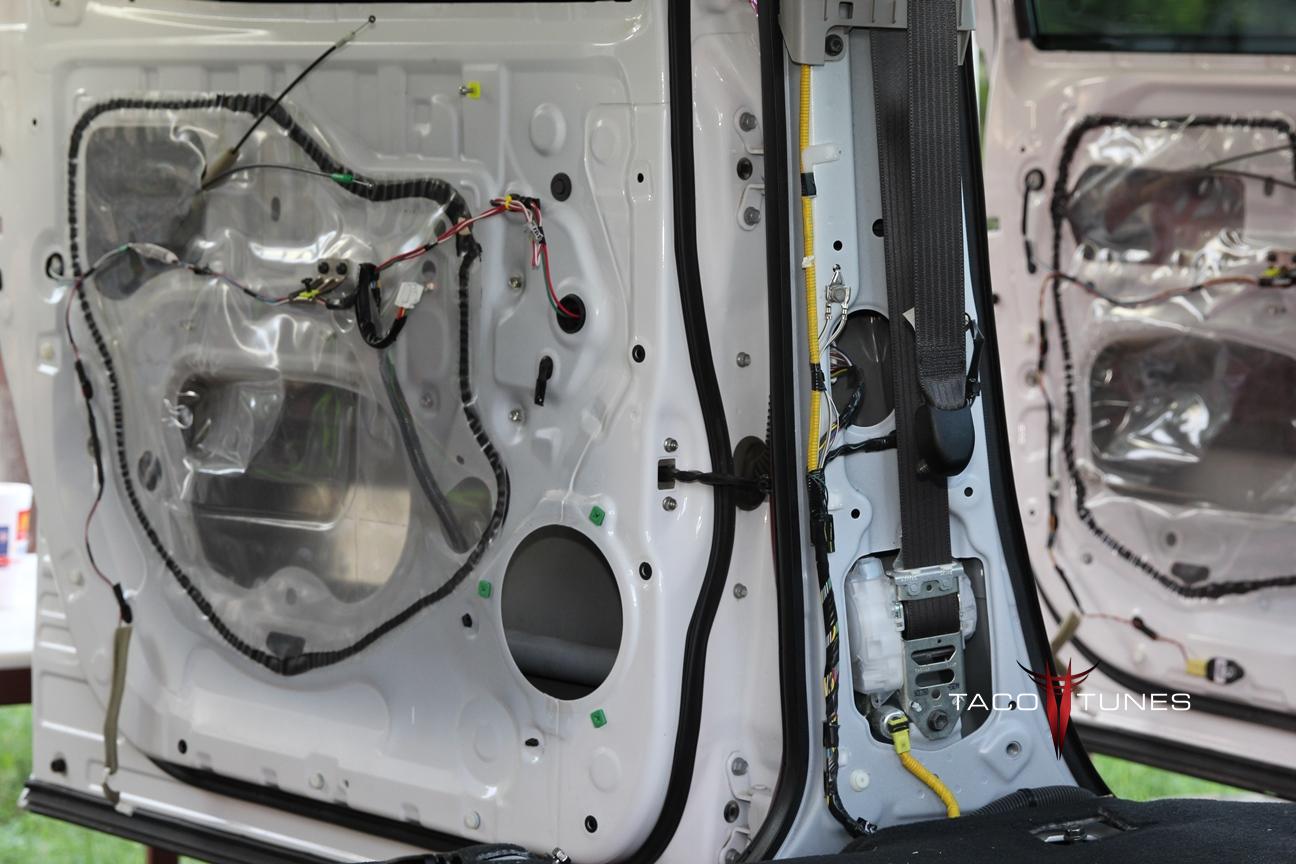
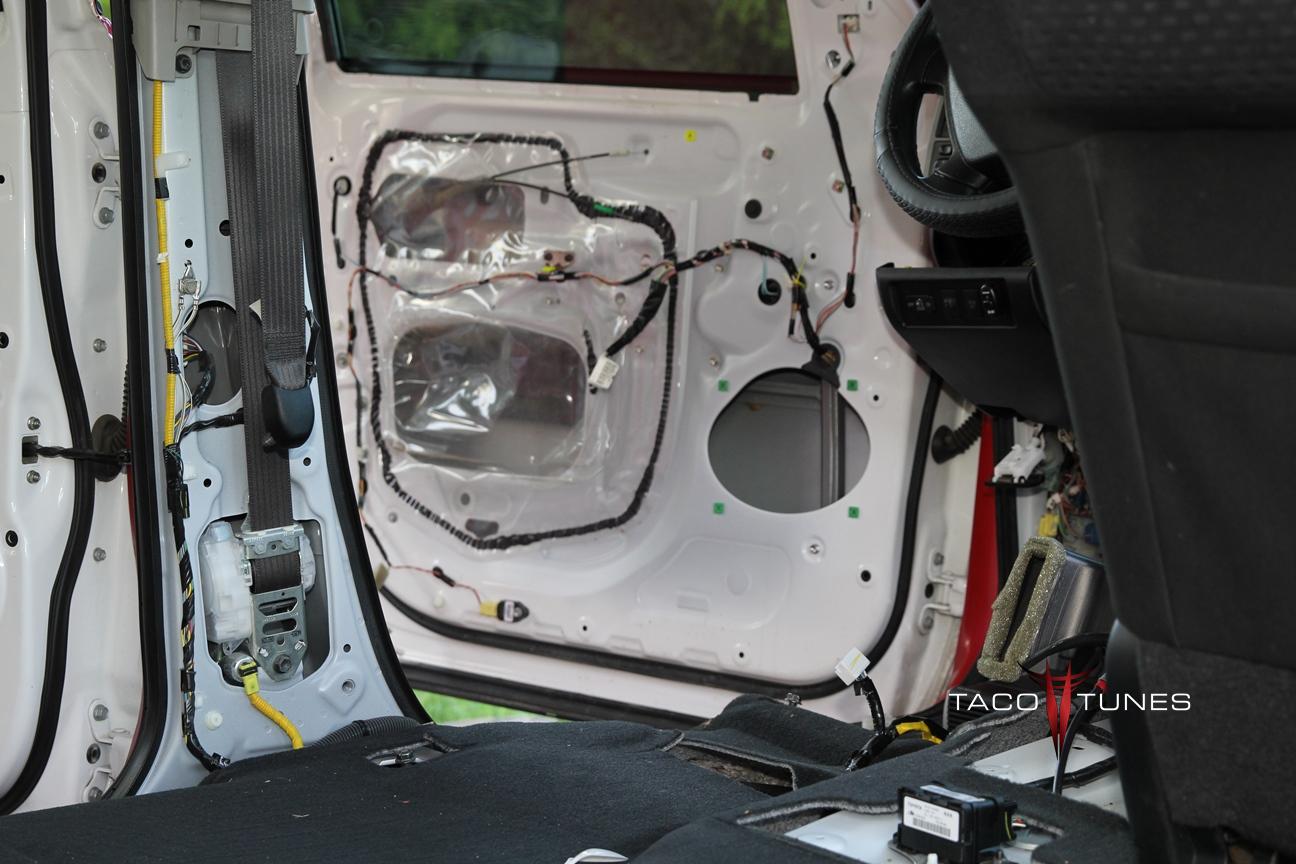
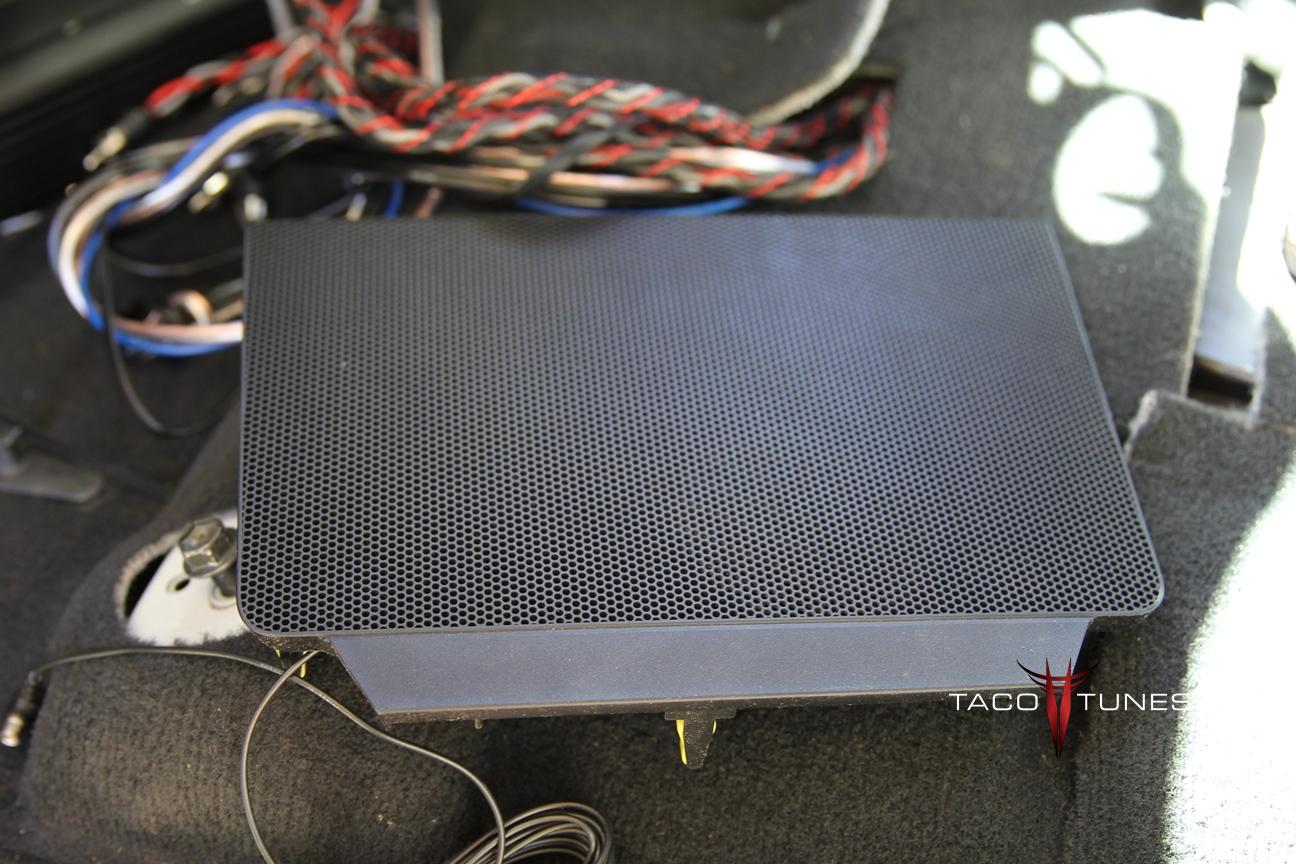
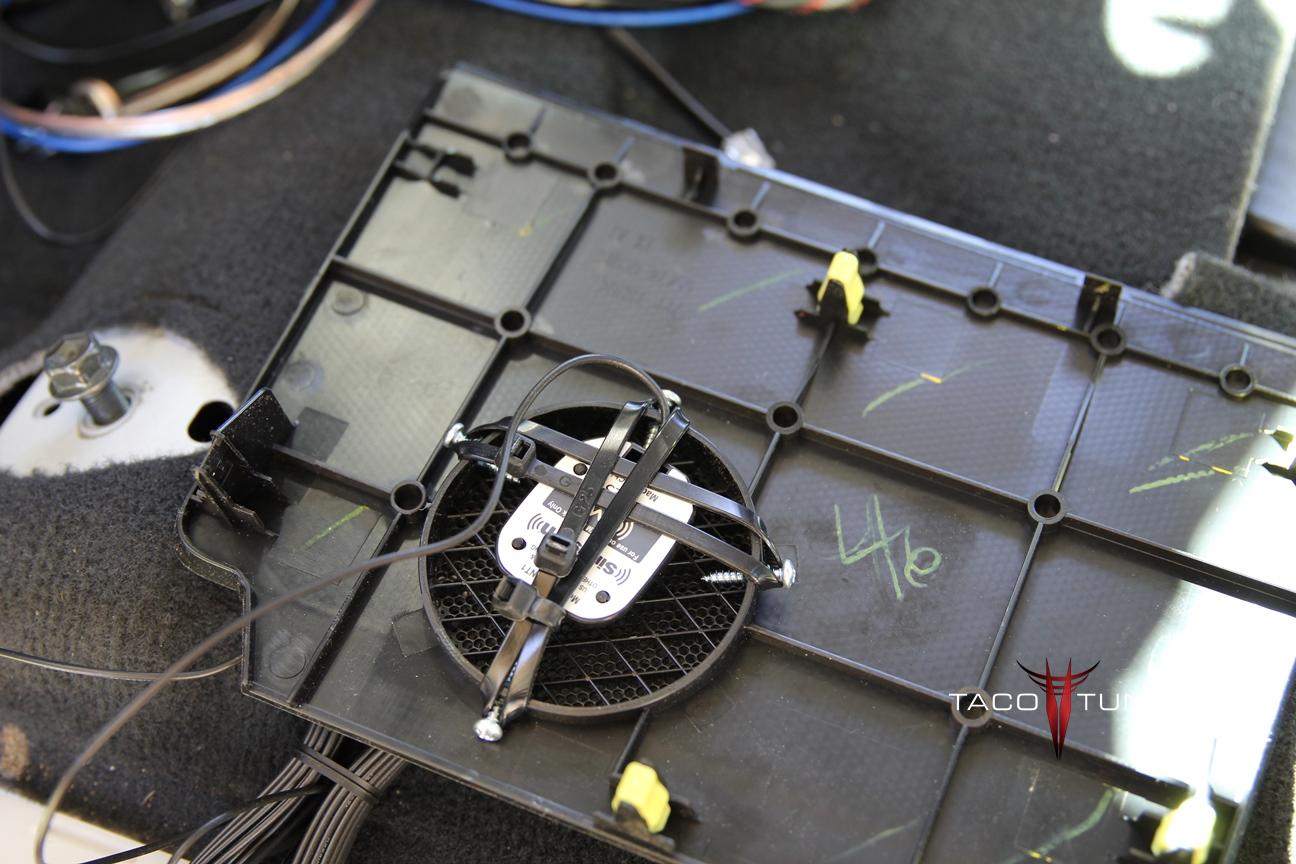
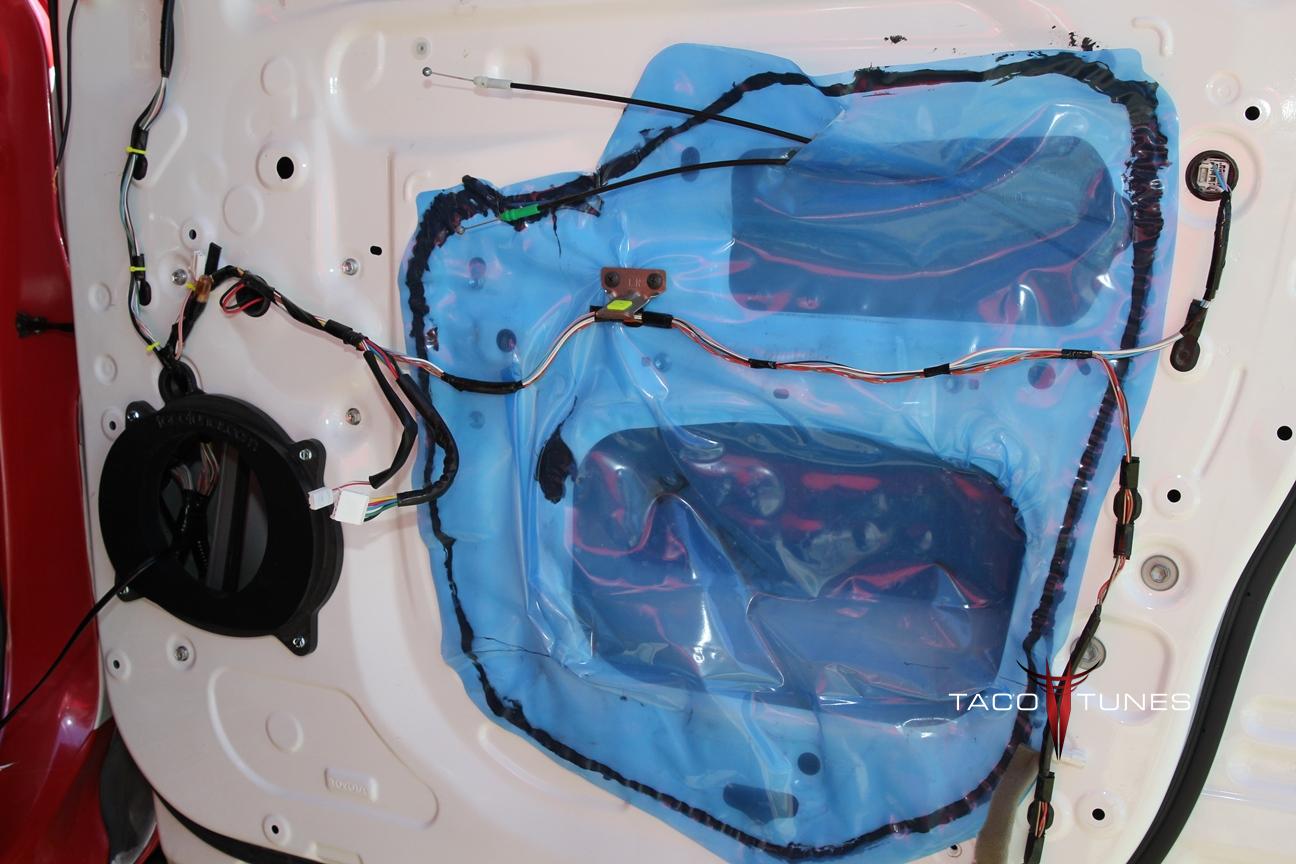
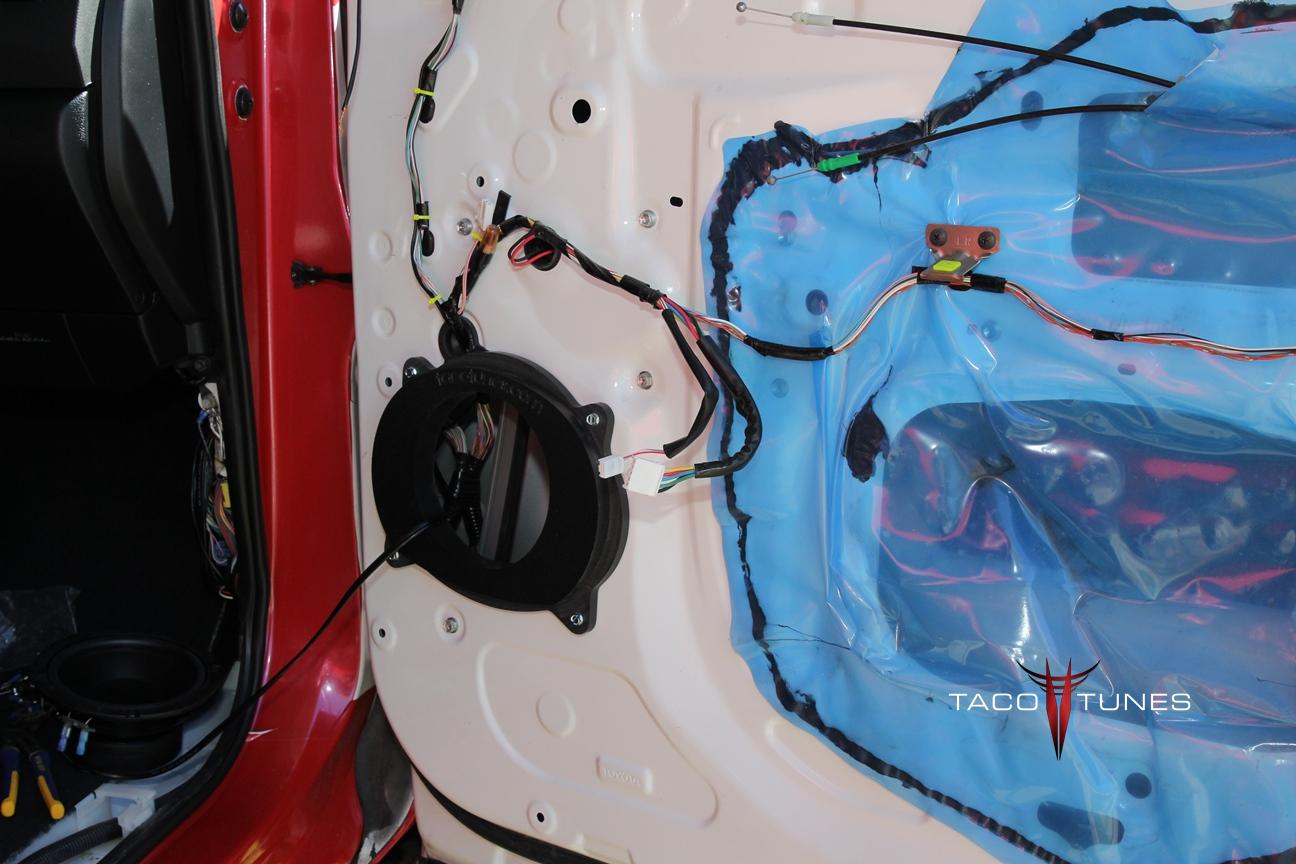
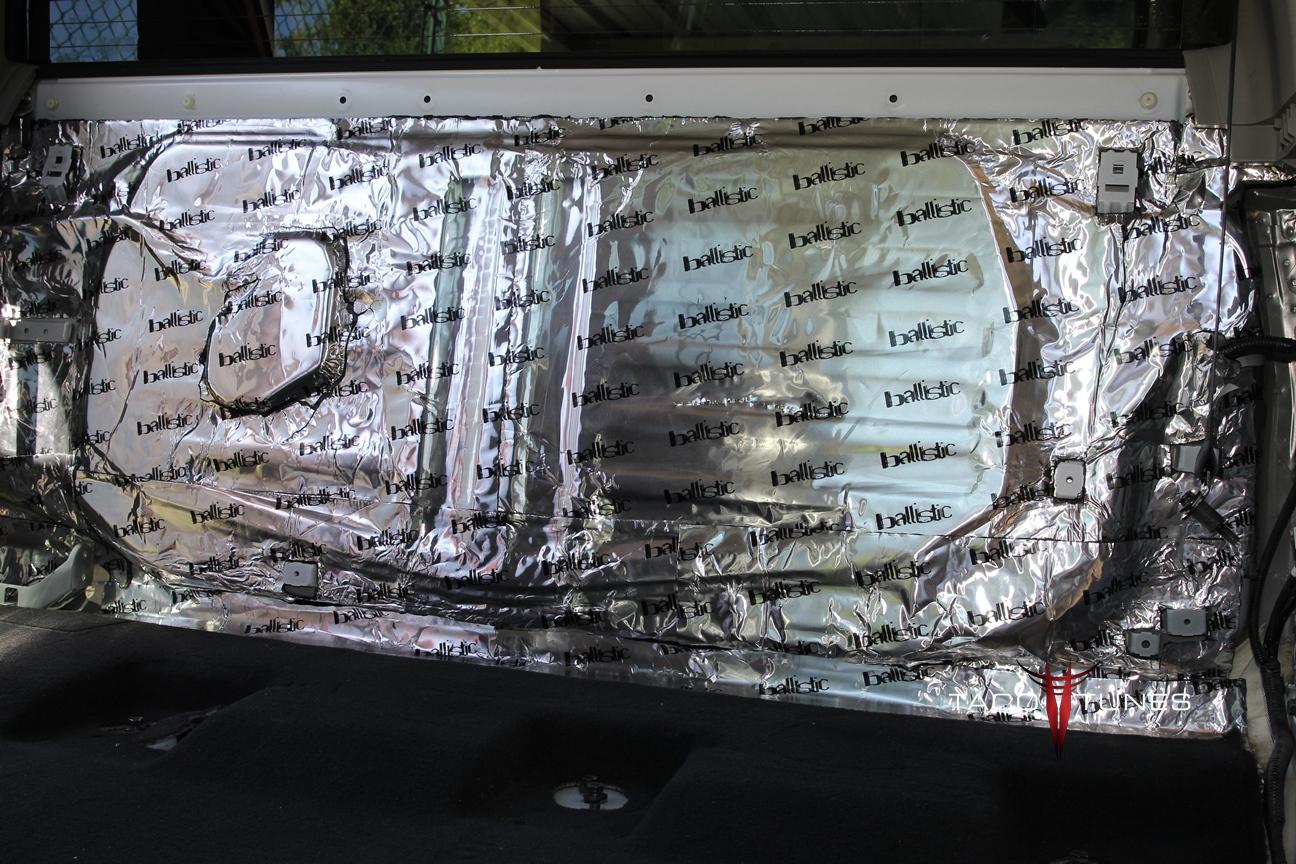
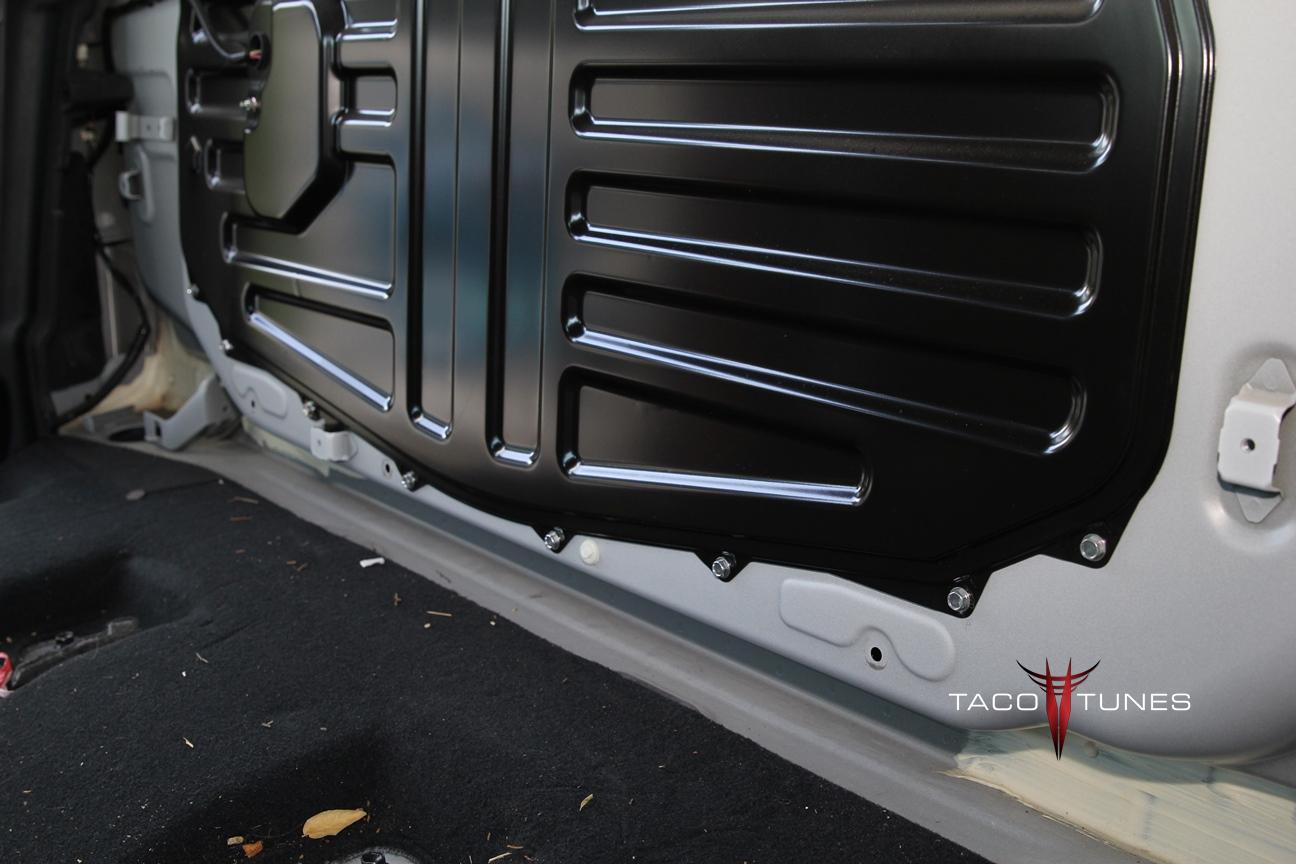
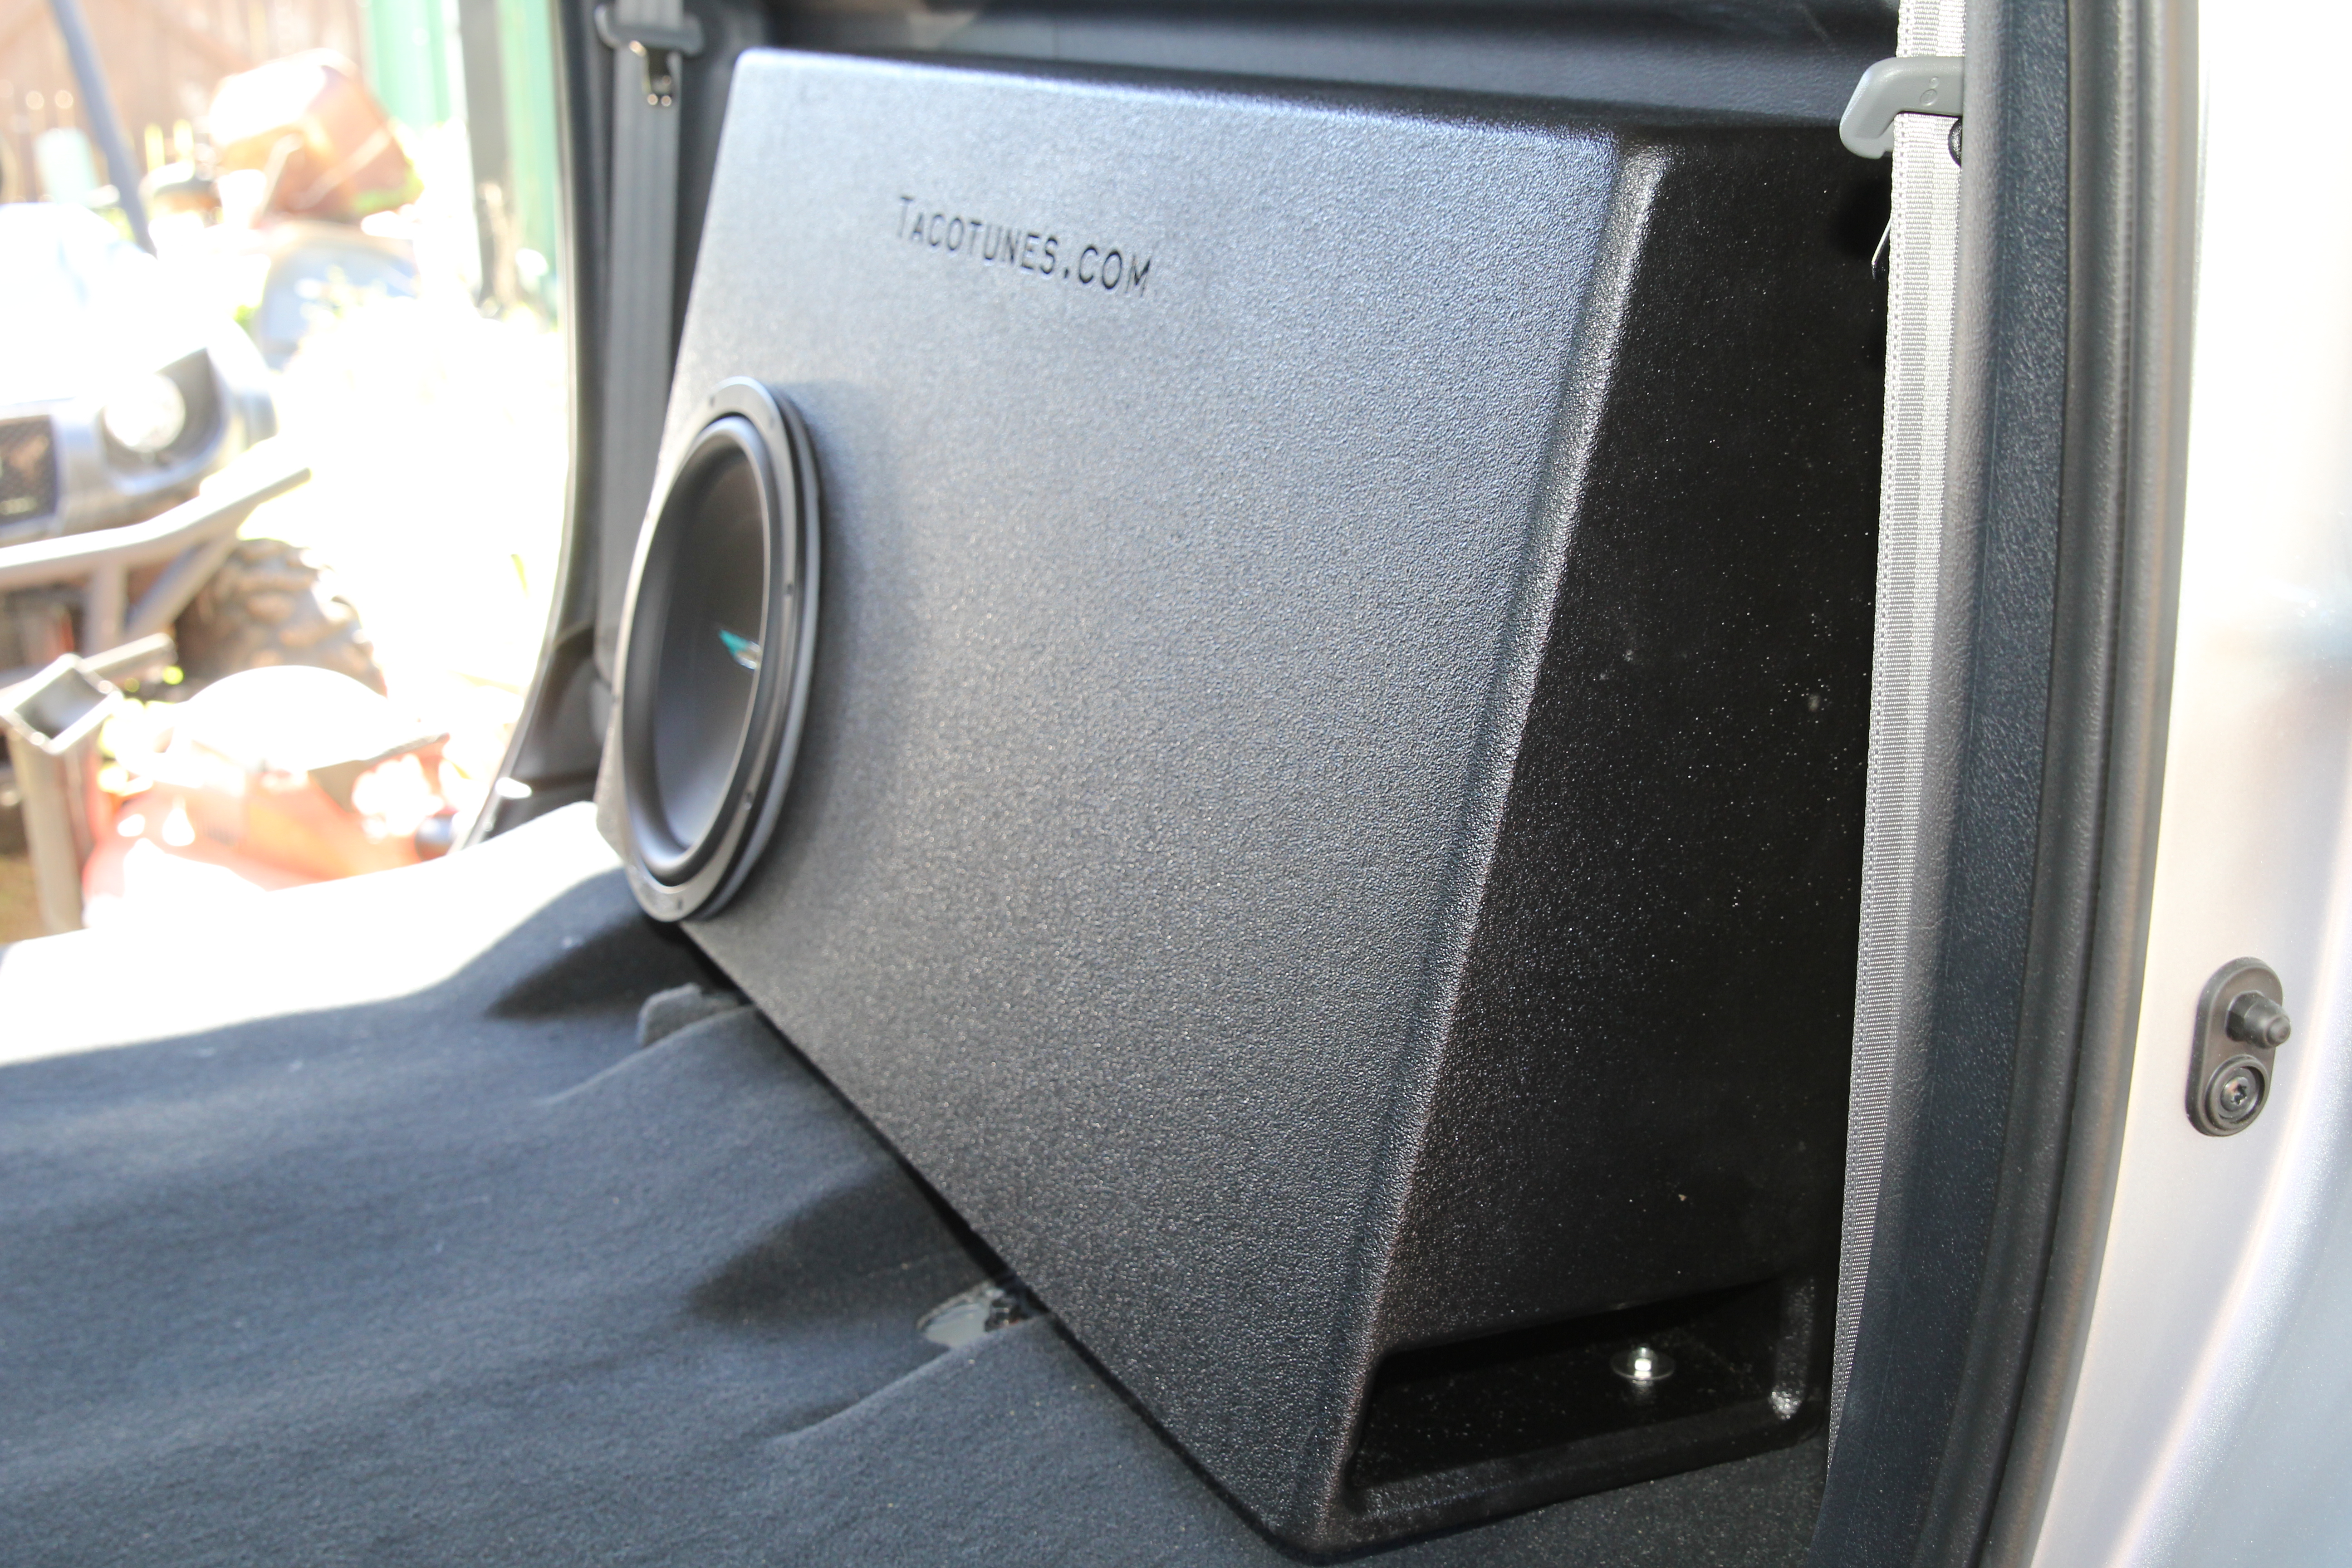
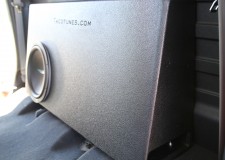
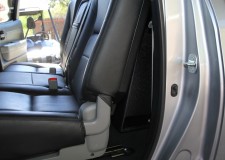
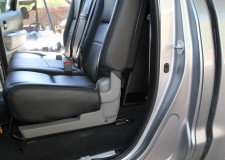
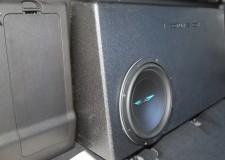
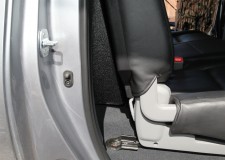
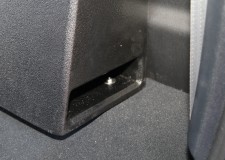
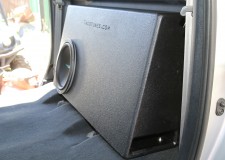
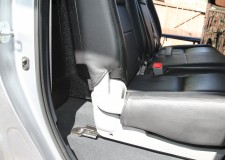
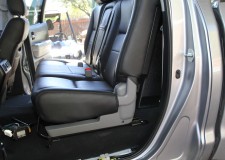
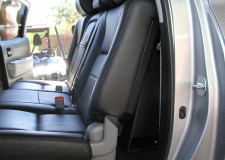
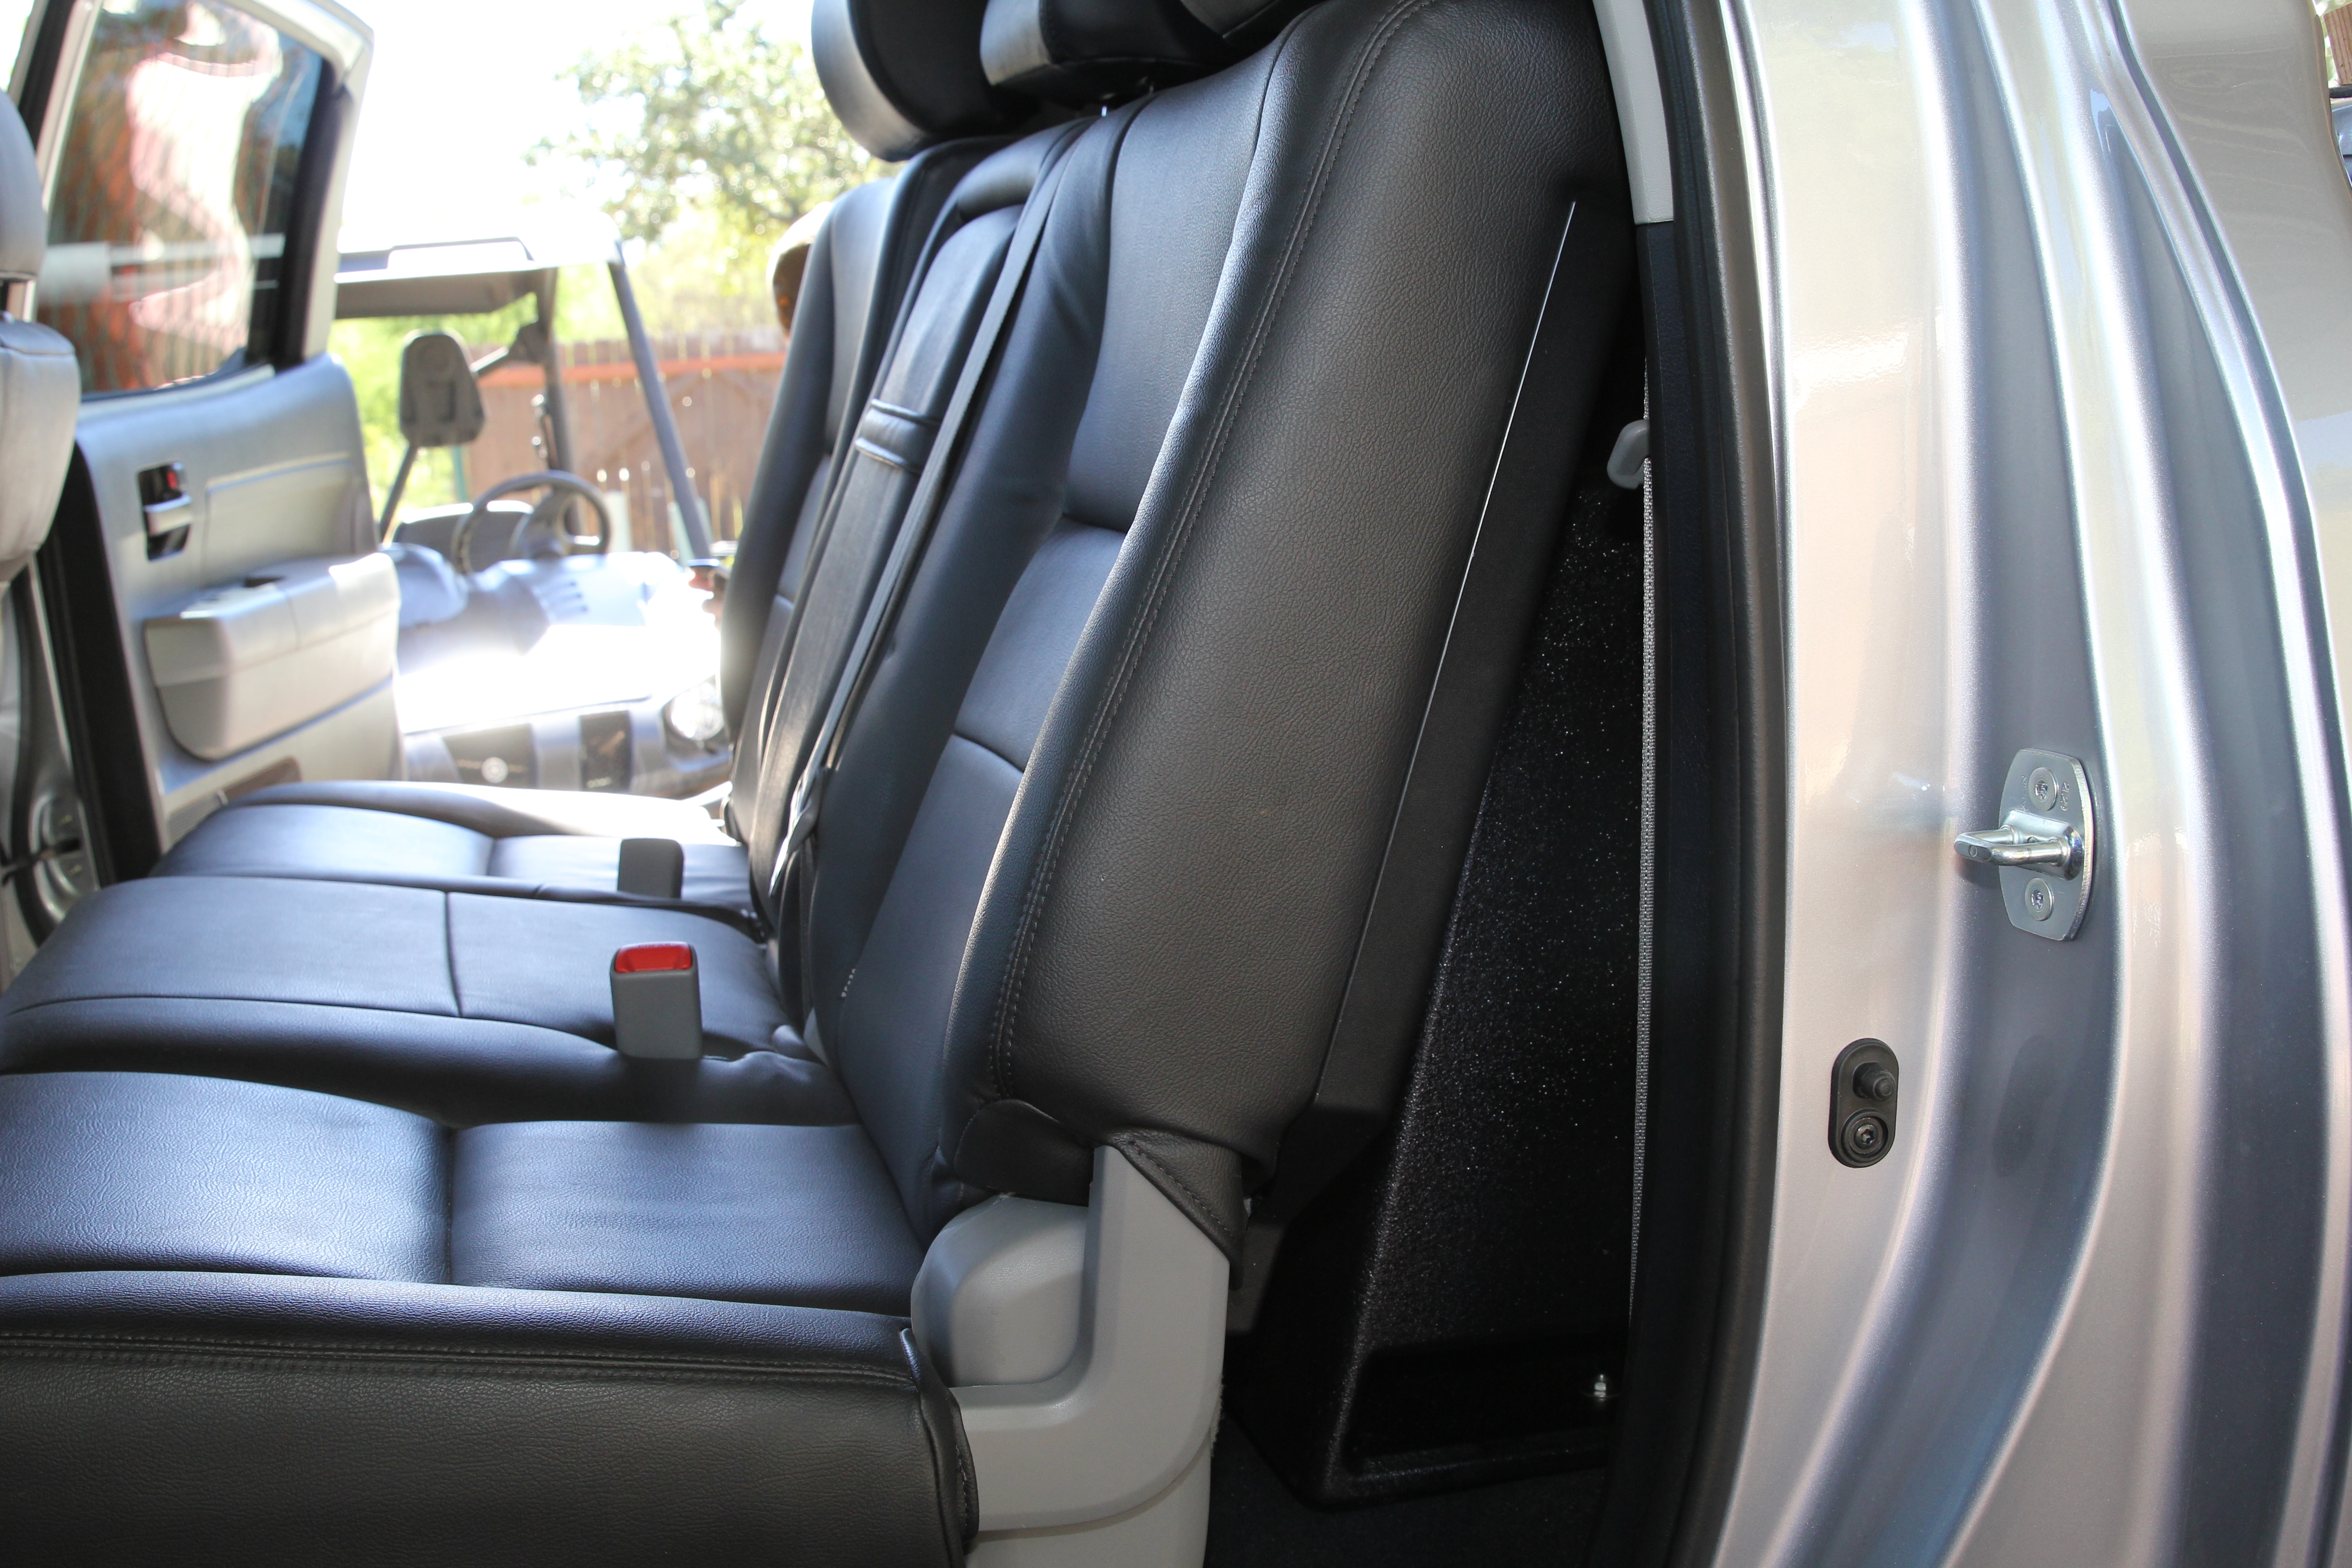
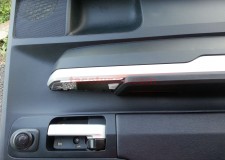
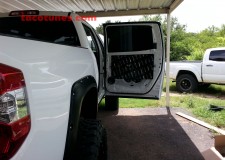
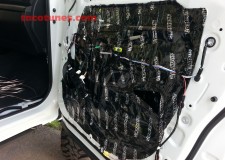
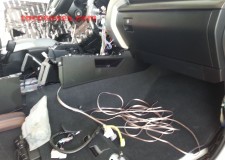
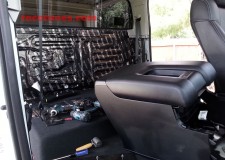
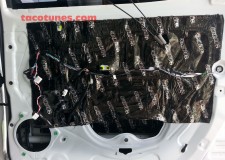
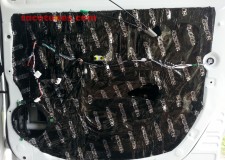
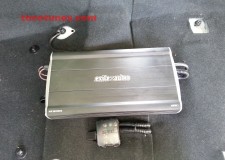
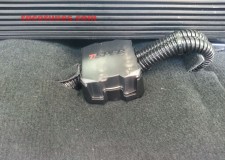
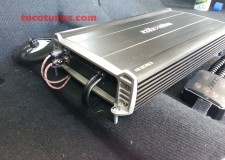
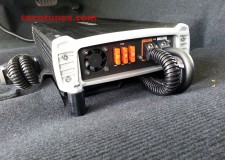
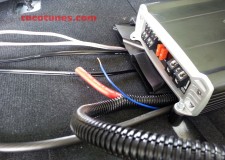
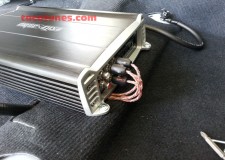
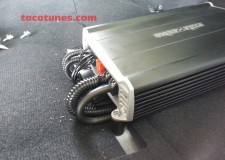
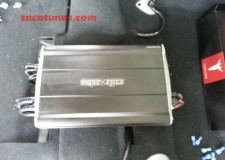
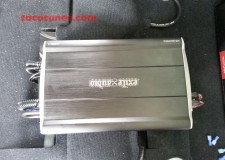
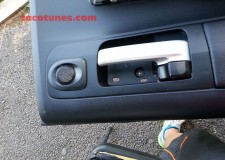
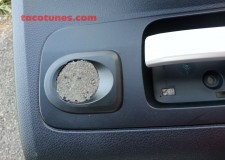
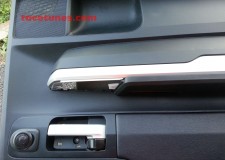
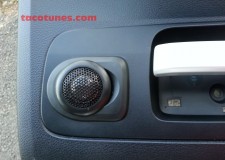
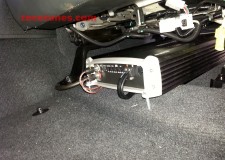
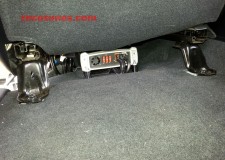
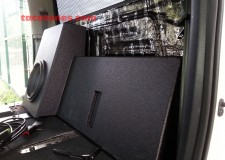
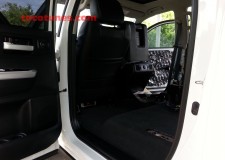
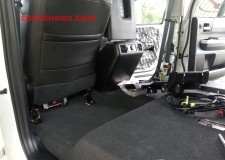
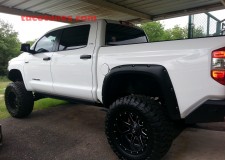
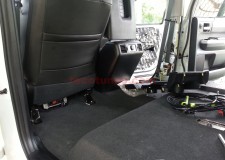
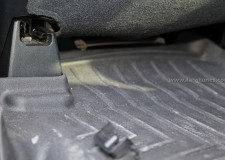
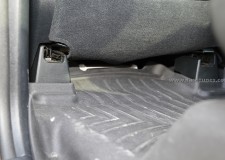
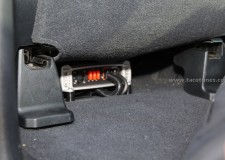
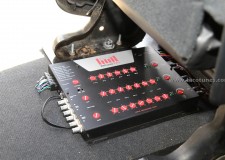
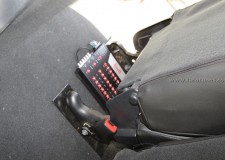
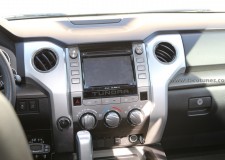
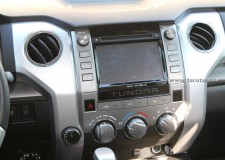
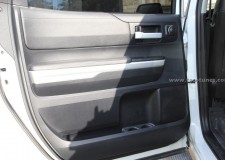
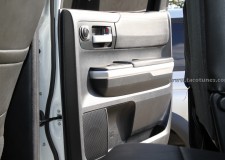
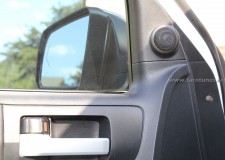
Jason has had audio systems in most of his past vehicles. He has wife and two young kids. Wanted a really nice sound system without breaking the bank. He really wanted to go with our Image Dynamics SQ1 package, but he wanted to stick to his original budget. After he came to pick up his truck . . yea he was really happy!
Toyota Tundra CrewMax TRD Pro Complete Audio System
Toyota Tundra CrewMax TRD Pro Complete Audio System
Toyota Tundra CrewMax TRD Pro Complete Audio System
Toyota Tundra CrewMax TRD Pro Complete Audio System
Toyota Tundra CrewMax TRD Pro Complete Audio System
Toyota Tundra CrewMax TRD Pro Complete Audio System
Toyota Tundra CrewMax TRD Pro Complete Audio System
Toyota Tundra CrewMax TRD Pro Complete Audio System
Toyota Tundra CrewMax TRD Pro Complete Audio System
Toyota Tundra CrewMax TRD Pro Complete Audio System
Toyota Tundra CrewMax TRD Pro Complete Audio System
Toyota Tundra CrewMax TRD Pro Complete Audio System
Toyota Tundra CrewMax TRD Pro Complete Audio System
Toyota Tundra CrewMax TRD Pro Complete Audio System
Toyota Tundra CrewMax TRD Pro Complete Audio System
Toyota Tundra CrewMax TRD Pro Complete Audio System
Toyota Tundra CrewMax TRD Pro Complete Audio System
Toyota Tundra CrewMax TRD Pro Complete Audio System
Toyota Tundra CrewMax TRD Pro Complete Audio System
Toyota Tundra CrewMax TRD Pro Complete Audio System
Toyota Tundra CrewMax TRD Pro Complete Audio System
Toyota Tundra CrewMax TRD Pro Complete Audio System
Toyota Tundra CrewMax TRD Pro Complete Audio System
Toyota Tundra CrewMax TRD Pro Complete Audio System
Toyota Tundra CrewMax TRD Pro Complete Audio System
Toyota Tundra CrewMax TRD Pro Complete Audio System
Toyota Tundra CrewMax TRD Pro Complete Audio System
Toyota Tundra CrewMax TRD Pro Complete Audio System
Toyota Tundra CrewMax TRD Pro Complete Audio System
Toyota Tundra CrewMax TRD Pro Complete Audio System
Toyota Tundra CrewMax TRD Pro Complete Audio System
Toyota Tundra CrewMax TRD Pro Complete Audio System
Below you will find a detailed listing of all the parts we used in the installation.
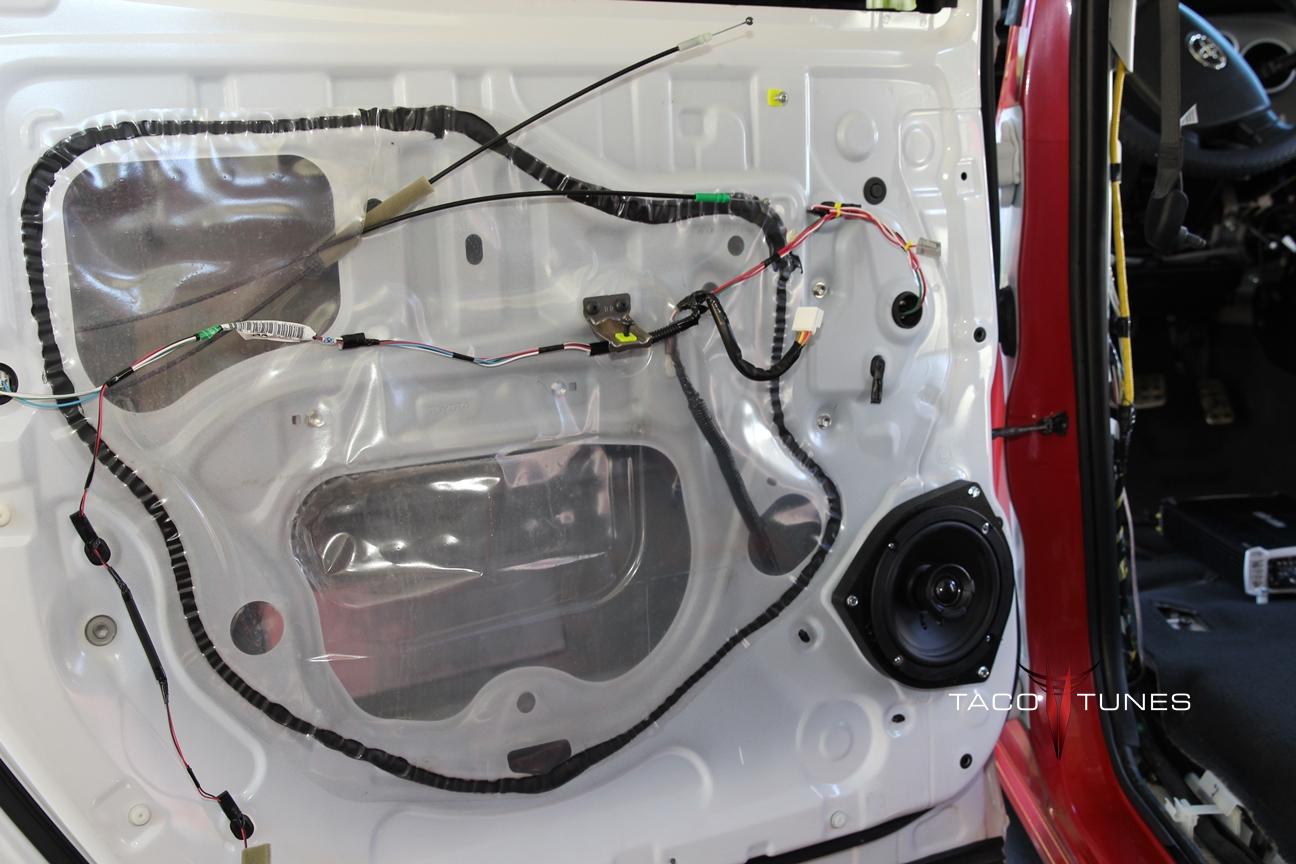
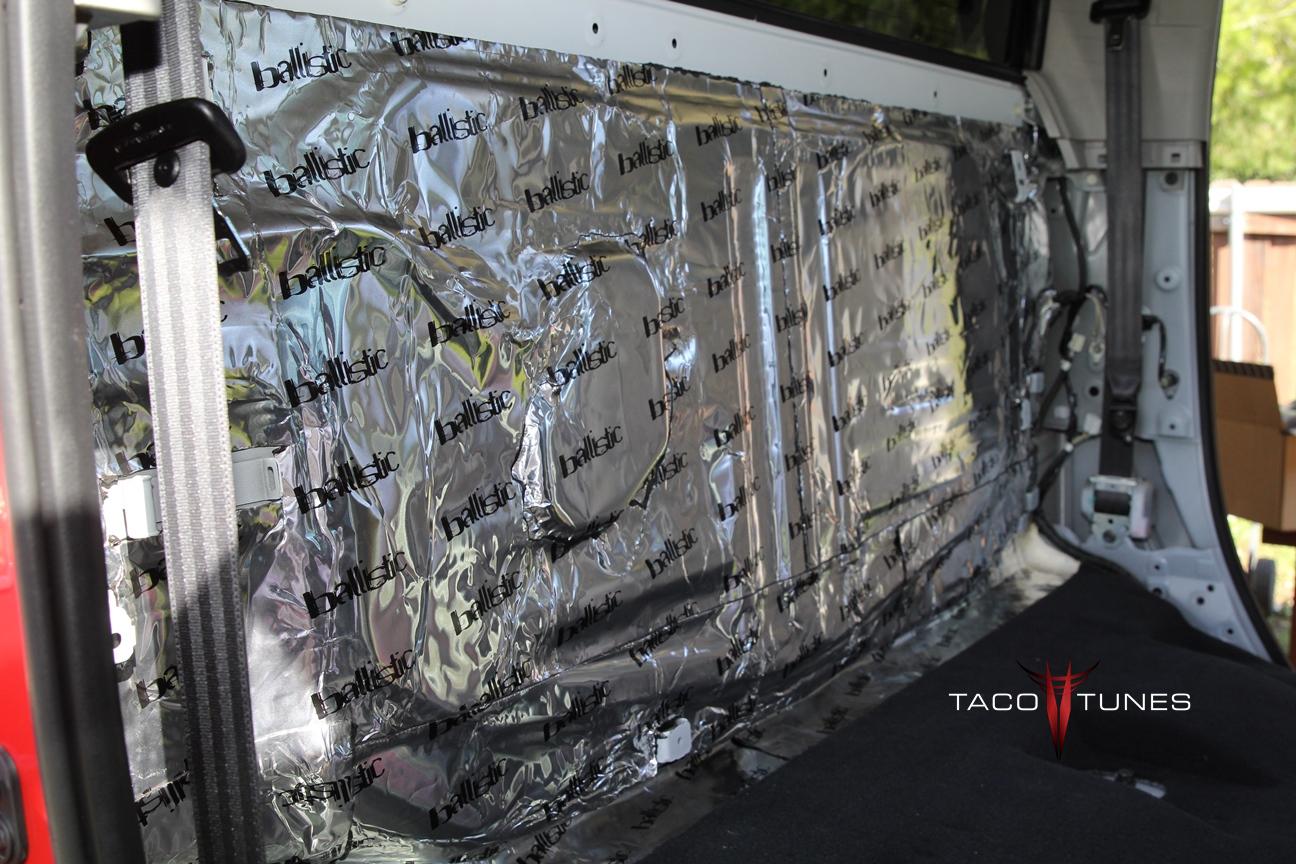
Typical Installation time is 1 day for a system installation. A seasoned installer can probably have it done in 4 hours. New installer, take your time and plan for 8 hours. If matting the truck add at least 1 hour per door and 1.5 hour for rear wall.
Below is a detailed listing of the audio products installed in Chris Tundra CrewMax
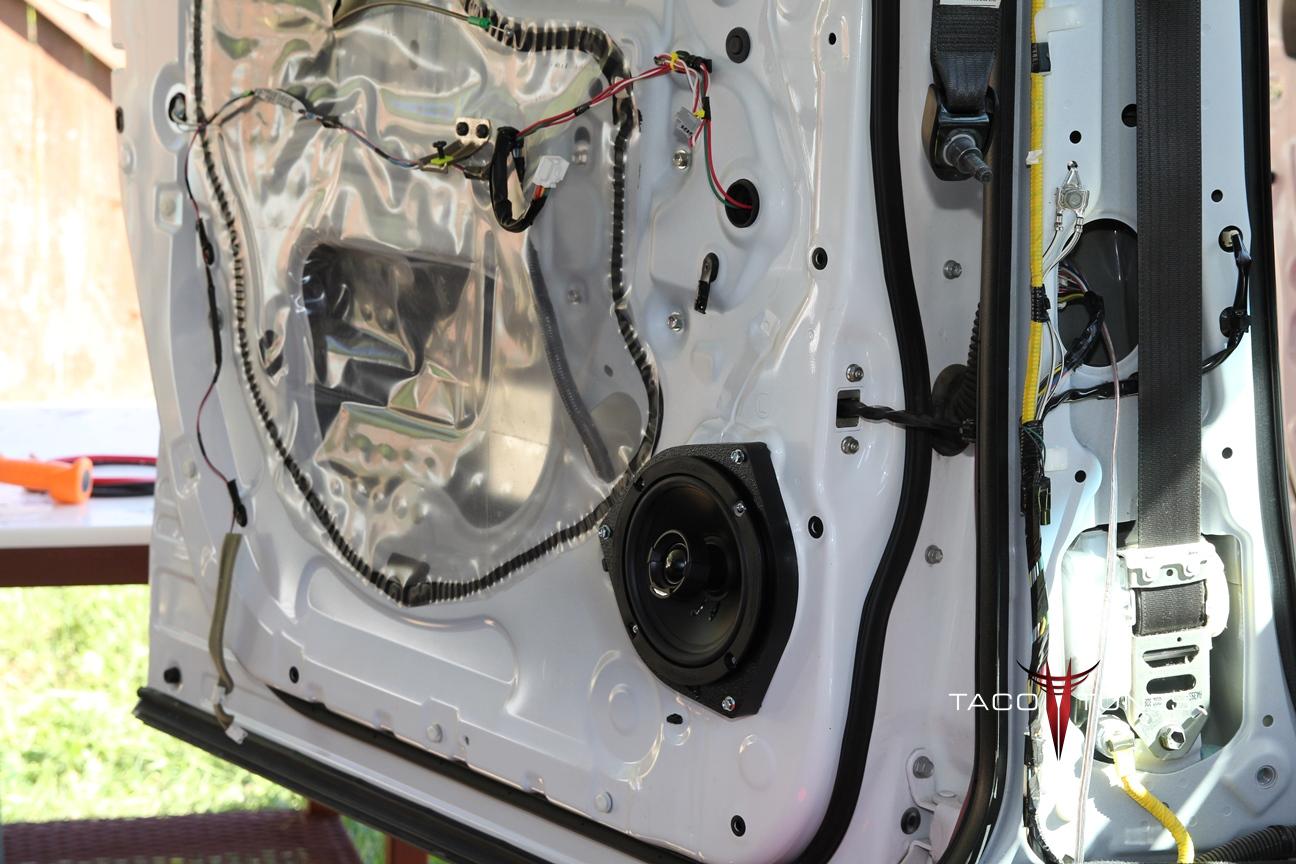
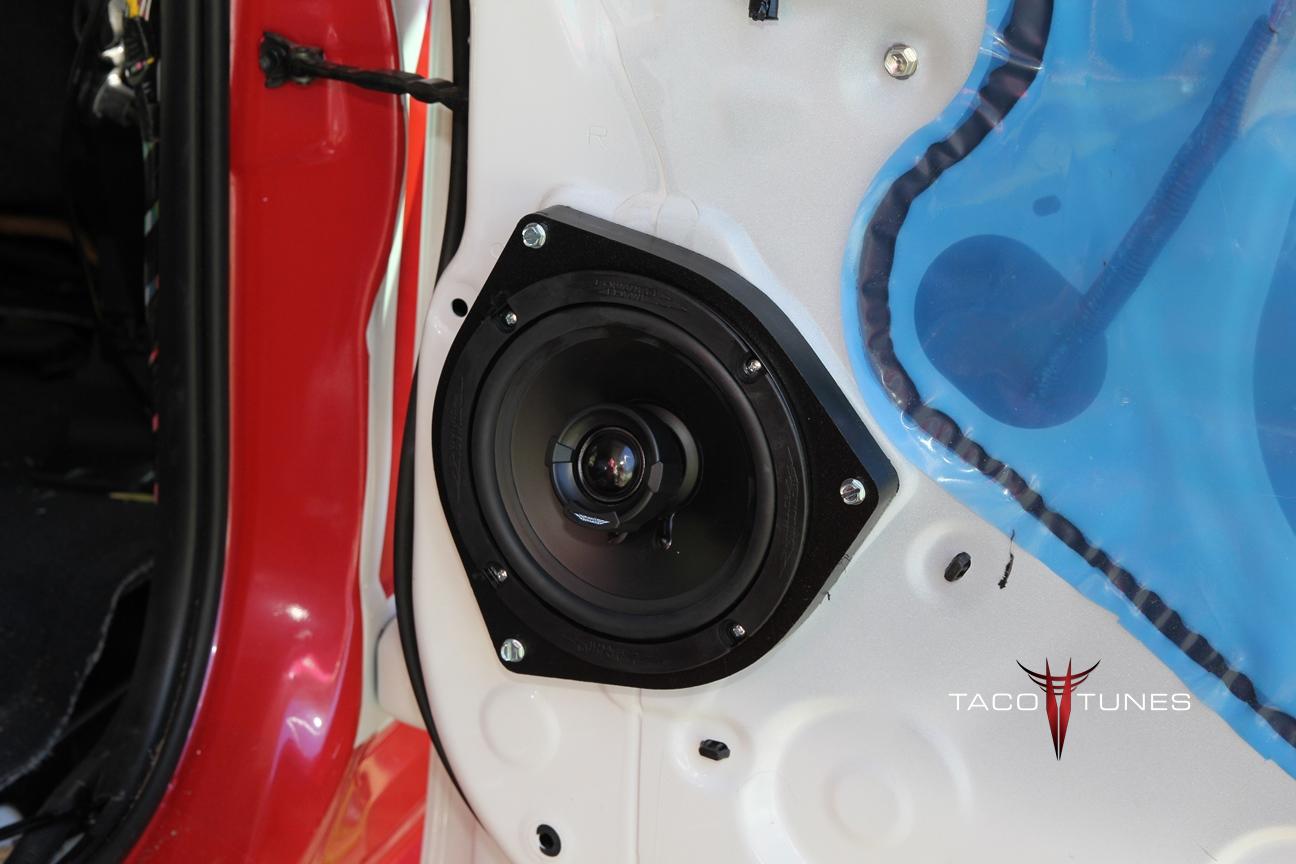
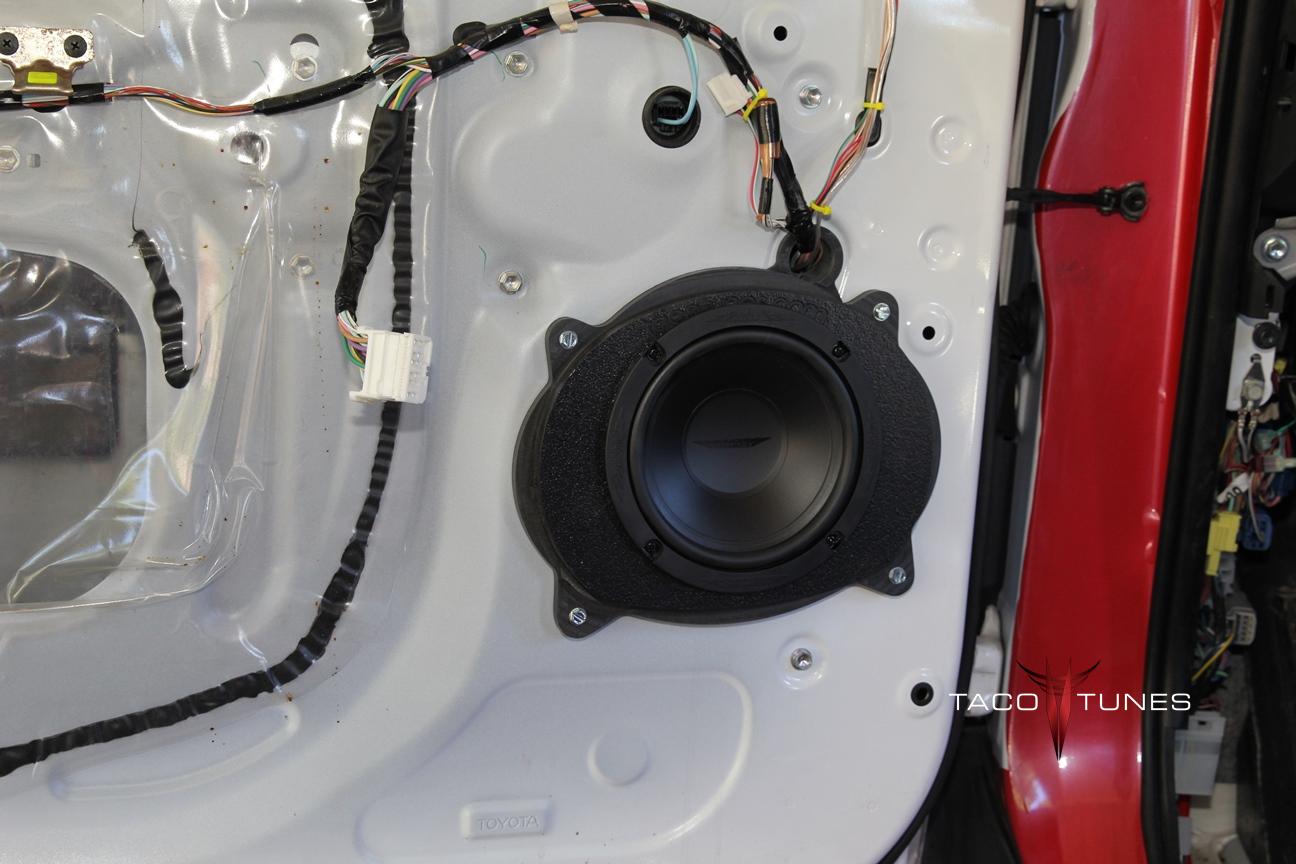
Front Door Component Speakers:
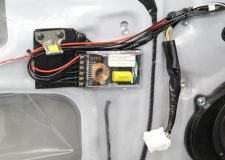
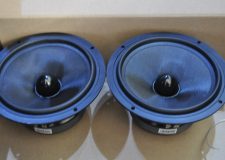
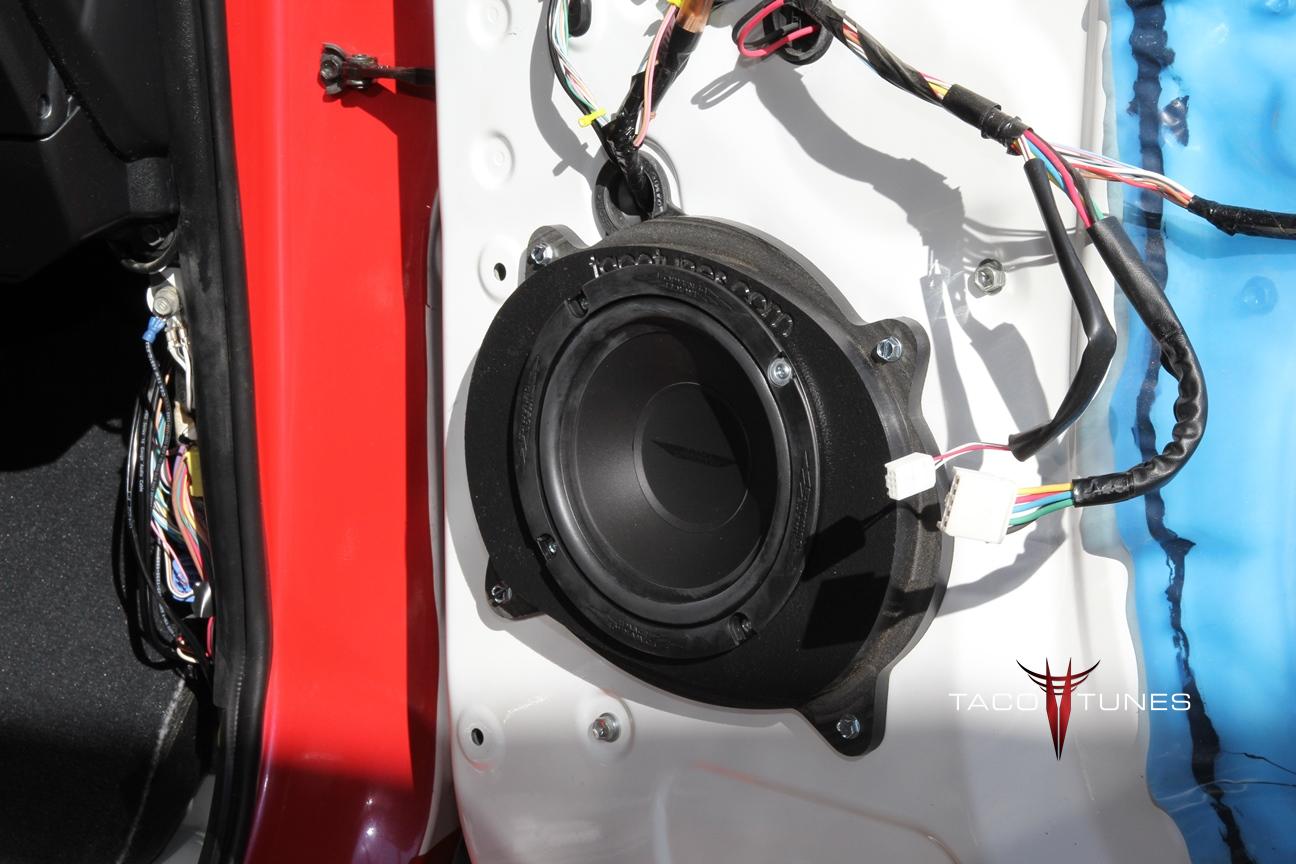
Image Dynamics CTX65CS
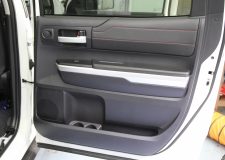
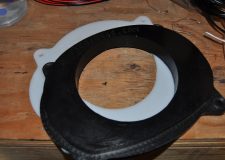
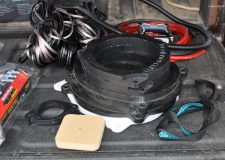
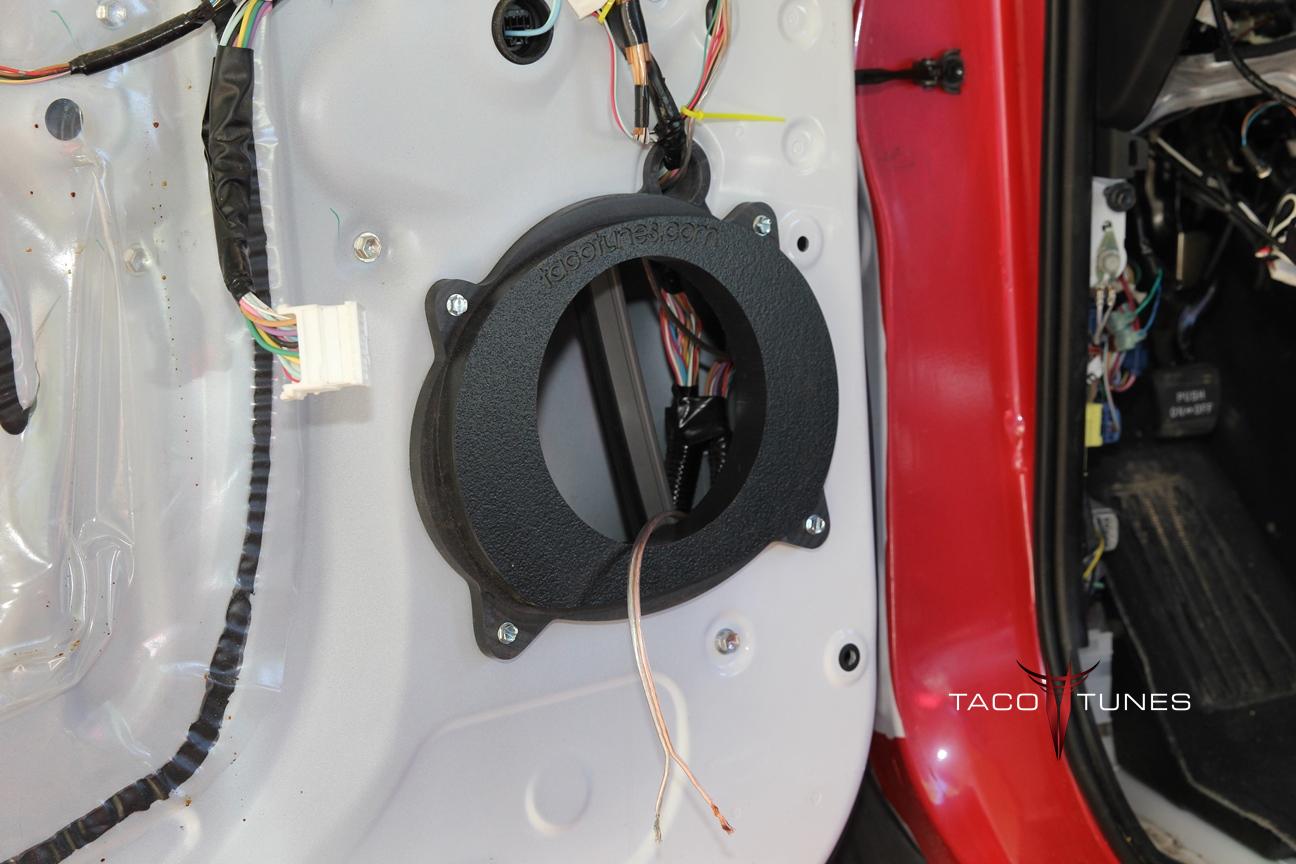
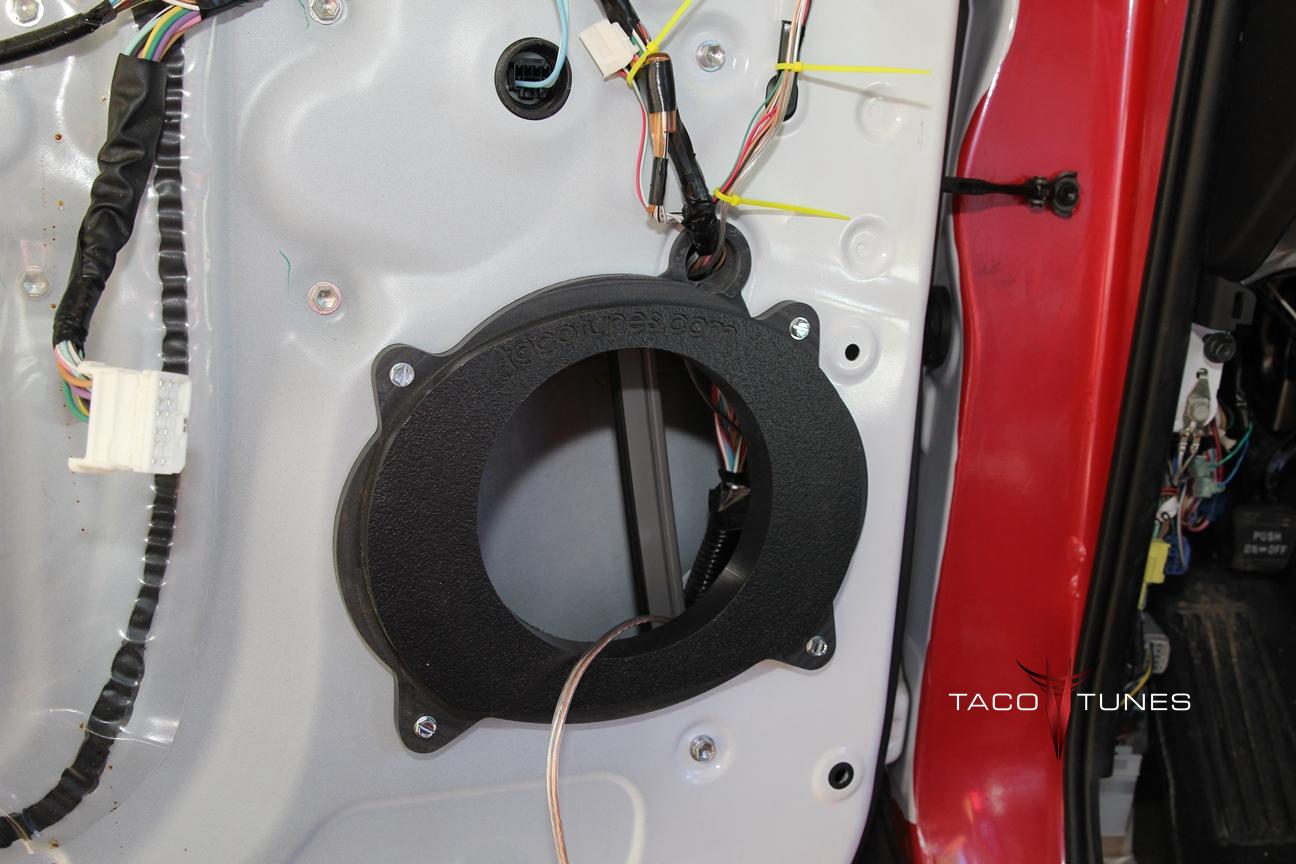
Tacotunes.com heavy duty speaker mounts cut to 5.6”
CXS Mid bass Drivers -100 Watts RMS
CTX65CS Crossover
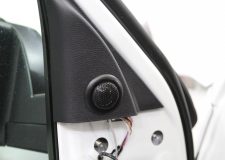
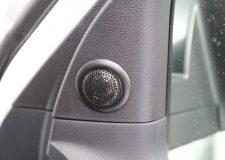
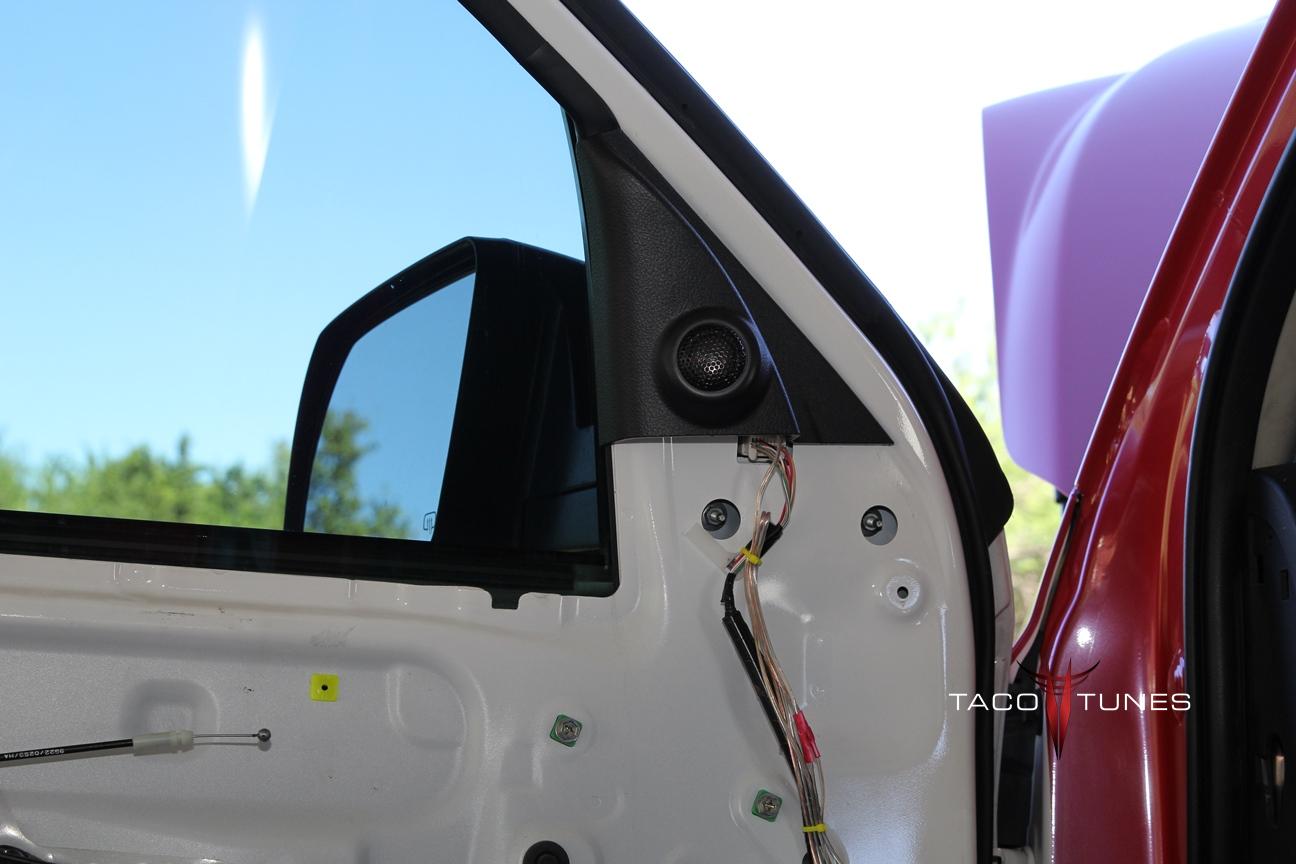
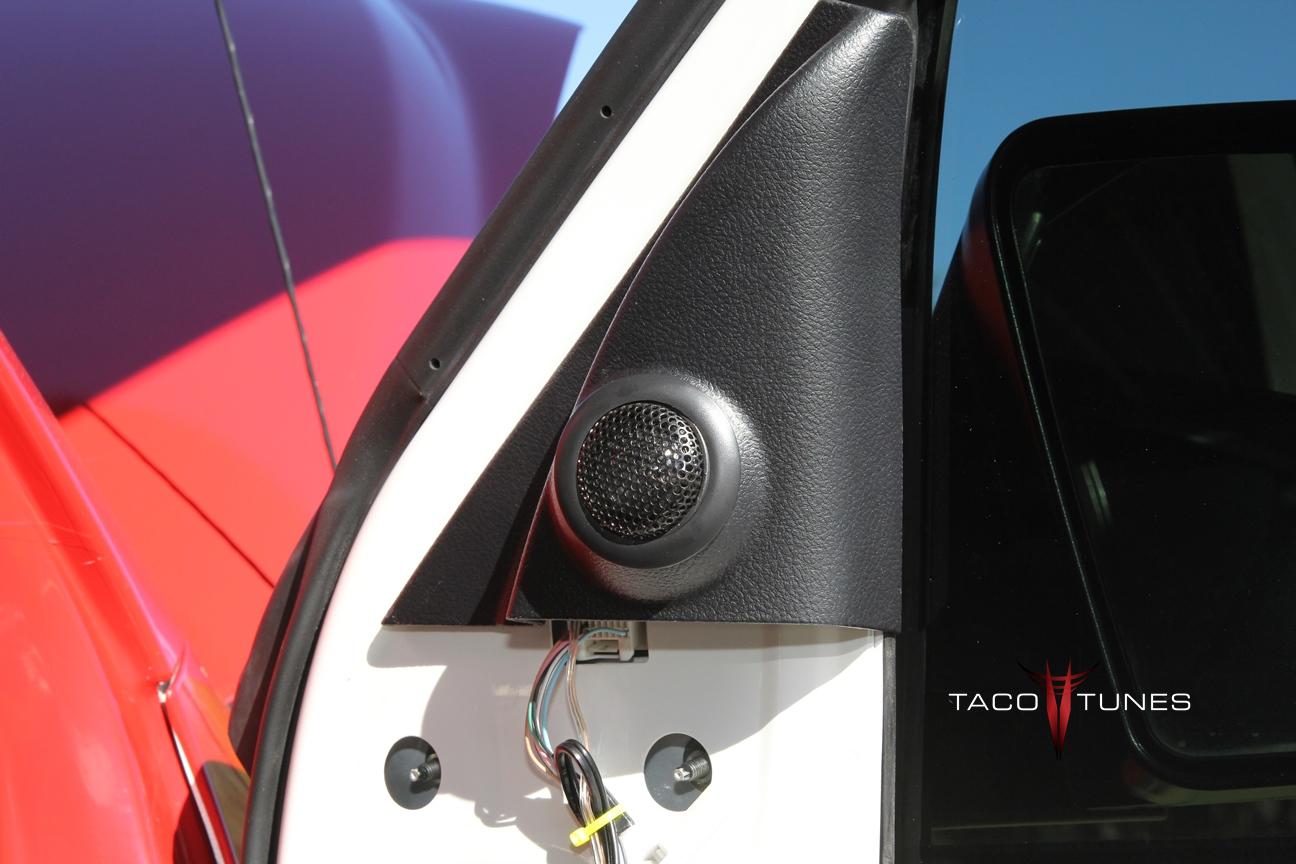
CTX65CS Tweeters
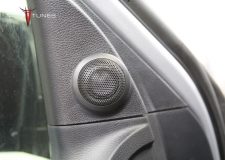
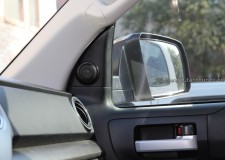
Use Stock Sail Panel for Tweeter mounts.
Rear Door Components:
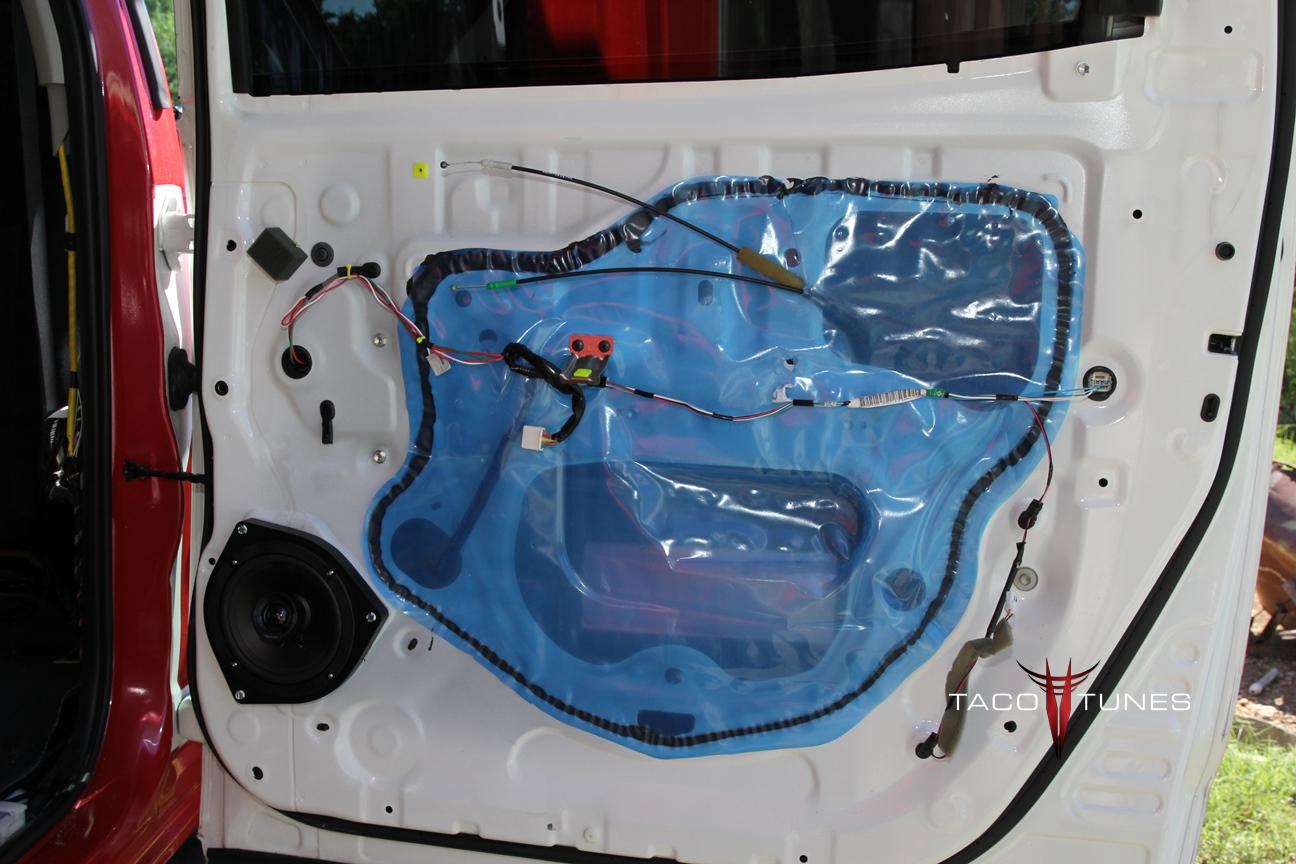
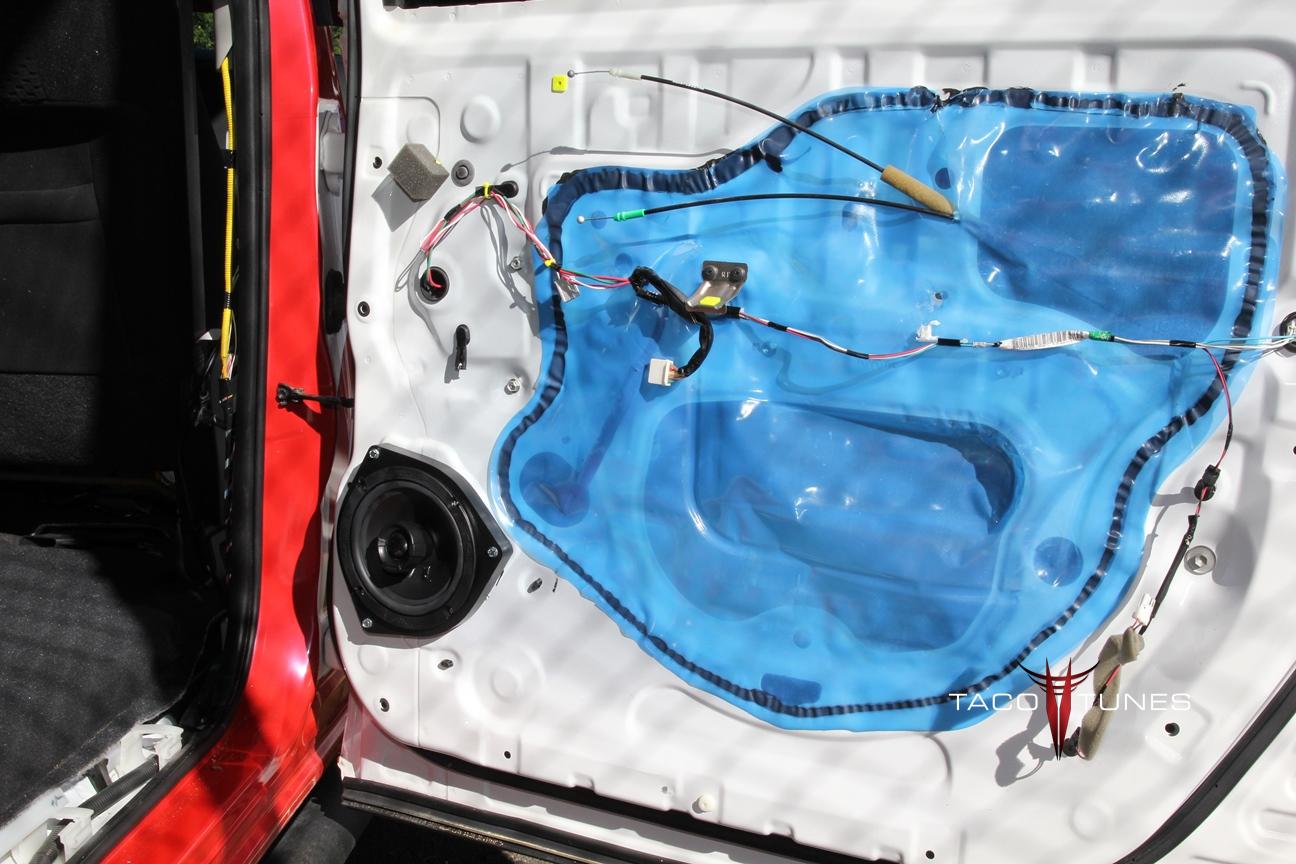
Image Dynamics CTX65CS
Tacotunes.com heavy duty speaker mounts cut to 5.6”
Toyota Tundra Audio System Best Solution for your CrewMax
For the last 10 years we have specialized in Toyota audio equipment. No other company designs and manufactures high end products geared directly for your Toyota Tundra. We have installed over 100 3rd Generation (2014+) Toyota Tundras right here in San Antonio. Over 3,000 Toyota Tundra owners have installed our ReCurve EZQ sound processor. Below we have links to just a handful of installations we have completed for Toyota Tundra owners. Like our Facebook page to see many more Toyota Installations. No other company will provide the detailed videos, pictures and instructions to obtain the best audio system in your Toyota Tundra. Over the years many have attempted to copy our solutions and products. However, they are just piece milling equipment in hopes to provide good sound quality. Our systems provide amazing sound quality by design. These products were designed for your Toyota.
The installations below are for the discerning customer base looking for amazing sound quality. Click the pictures below for detailed installation pictures. Many of our customers install the system themselves over a weekend.
Click the pictures below to see detailed installation photos:
Chris’s Toyota Tundra 1794 audio Installation pics
2015 Toyota Tundra Crew Max Audio Installation San Antonio TX
Toyota Tundra CrewMax 1794 Edition 2015 San Antonio Installation
William’s Toyota Tundra MakeoverTundra CrewMax 1794 Stereo Installer San Antonio TX
2015 Toyota Tundra Crew Max Audio Installation San Antonio TX
If these systems are out of your budget, we have introduced some new plug and play amps that will allow you easily upgrade your speakers and add a sub with a lot less effort and significantly lower cost.
Tony B Toyota Tundra CrewMax 1794 Full Audio System self install
Tony B’s Toyota Tundra CrewMax Platinum Stereo System Upgrade San Antonio TX
Installation Summary / History:
Customer Name: Tony B.
Toyota Year / Model: 2015 Toyota Tundra CrewMax 4×4 1794 Edition
Head Unit: JBL Equipped
Color: Sunset Bronze Mica
Installed by: Tony B.
Tony has had audio systems in most of his vehicles. Fortunate for us, he is familiar and has owned Image Dynamics equipment in the past. After hearing a couple of options he decided to go with our Image Dynamics SQ1 package.
Toyota Tundra CrewMax 1794 Complete Audio System
Toyota Tundra CrewMax 1794 Complete Audio System
Toyota Tundra CrewMax 1794 Complete Audio System
Toyota Tundra CrewMax 1794 Complete Audio System
Toyota Tundra CrewMax 1794 Complete Audio System
Toyota Tundra CrewMax 1794 Complete Audio System
Toyota Tundra CrewMax 1794 Complete Audio System
Toyota Tundra CrewMax 1794 Complete Audio System
Toyota Tundra CrewMax 1794 Complete Audio System
Toyota Tundra CrewMax 1794 Complete Audio System
Toyota Tundra CrewMax 1794 Complete Audio System
Toyota Tundra CrewMax 1794 Complete Audio System
Toyota Tundra CrewMax 1794 Complete Audio System
Toyota Tundra CrewMax 1794 Complete Audio System
Toyota Tundra CrewMax 1794 Complete Audio System
Toyota Tundra CrewMax 1794 Complete Audio System
Toyota Tundra CrewMax 1794 Complete Audio System
Toyota Tundra CrewMax 1794 Complete Audio System
Toyota Tundra CrewMax 1794 Complete Audio System
Tacotunes ReCurve EZQ Toyota Tundra
Toyota Tundra CrewMax 1794 Complete Audio System
Toyota Tundra CrewMax 1794 Complete Audio System
Tacotunes ReCurve EZQ Toyota Tundra
Toyota Tundra CrewMax 1794 Complete Audio System
Toyota Tundra CrewMax 1794 Complete Audio System
Toyota Tundra CrewMax 1794 Complete Audio System
Toyota Tundra CrewMax 1794 Complete Audio System
Toyota Tundra CrewMax 1794 Complete Audio System
Toyota Tundra CrewMax 1794 Complete Audio System
Toyota Tundra CrewMax 1794 Complete Audio System
Toyota Tundra CrewMax 1794 Complete Audio System
Toyota Tundra CrewMax 1794 Complete Audio System
Toyota Tundra CrewMax 1794 Complete Audio System
Toyota Tundra CrewMax 1794 Complete Audio System
Toyota Tundra CrewMax 1794 Complete Audio System
Toyota Tundra CrewMax 1794 Complete Audio System
Toyota Tundra CrewMax 1794 Complete Audio System
Toyota Tundra CrewMax 1794 Complete Audio System
Toyota Tundra CrewMax 1794 Complete Audio System
Toyota Tundra CrewMax 1794 Complete Audio System
Toyota Tundra CrewMax 1794 Complete Audio System
Toyota Tundra CrewMax 1794 Complete Audio System
Toyota Tundra CrewMax 1794 Complete Audio System
Toyota Tundra CrewMax 1794 Complete Audio System
Toyota Tundra CrewMax 1794 Complete Audio System
Toyota Tundra CrewMax 1794 Complete Audio System
Toyota Tundra CrewMax 1794 Complete Audio System
Toyota Tundra CrewMax 1794 Complete Audio System
Toyota Tundra CrewMax 1794 Complete Audio System
Toyota Tundra CrewMax 1794 Complete Audio System
Toyota Tundra CrewMax 1794 Complete Audio System
Toyota Tundra CrewMax 1794 Complete Audio System
Toyota Tundra CrewMax 1794 Complete Audio System
Toyota Tundra CrewMax 1794 Complete Audio System
Toyota Tundra CrewMax 1794 Complete Audio System
Toyota Tundra CrewMax 1794 Edition 2015 San Antonio Installation
Front Door Component Speakers:
Image Dynamics CXS64
Tacotunes.com heavy duty speaker mounts cut to 5.6”
CXS Mid bass Drivers -125 Watts RMS
CXS Crossover
CXS 28M Silk Dome Tweeter
NOTE: JBL Yes / No ?
Use Stock Sail Panel for Tweeter mounts.
Rear Door Components:
Image Dynamics CTX65CS
Tacotunes.com heavy duty speaker mounts cut to 5.6”
CTX65CS Mid bass drivers Handles -100 watts RMS
CTX65CS Crossover
CTX Tweeters
Tweeters will fit in stock door location
Sound Processor:
Tacotunes.com ReCurve EZQ
Tacotunes.com JBL Harness
Amp:
Exile Audio 5 channel amp
100 watts x 4 to each speaker and 800 x 1 (subwoofer)
Subwoofer(s):
Subwoofer Box & Subwoofers
Tacotunes.com dual 10” subwoofer enclosure 2.0” cu feet
Chris’s Toyota Tundra CrewMax 1794 Edition Stereo System Upgrade San Antonio TX
Chris’s Toyota Tundra CrewMax 1794 Edition Stereo System Upgrade San Antonio TX
Installation Summary / History:
Customer Name: Chris M.
Toyota Year / Model: 2015 Toyota Tundra CrewMax 4×4 1794 Edition
Head Unit: JBL Equipped
Color: Sunset Bronze Mica
Installed by: tacotunes.com
Chris has had audio systems in most of his vehicles. Fortunate for us, he is familiar and has owned Image Dynamics equipment in the past. After hearing a couple of options he decided to go with our Image Dynamics SQ1 package.
Toyota Tundra CrewMax 1794 Edition 2015 San Antonio Installation
Toyota Tundra CrewMax 1794 Edition 2015 San Antonio Installation
Toyota Tundra CrewMax 1794 Edition 2015 San Antonio Installation
Toyota Tundra CrewMax 1794 Edition 2015 San Antonio Installation
Toyota Tundra CrewMax 1794 Edition 2015 San Antonio Installation
Toyota Tundra CrewMax 1794 Edition 2015 San Antonio Installation
Toyota Tundra CrewMax 1794 Edition 2015 San Antonio Installation
Toyota Tundra CrewMax 1794 Edition 2015 San Antonio Installation
Toyota Tundra CrewMax 1794 Edition 2015 San Antonio Installation
Toyota Tundra CrewMax 1794 Edition 2015 San Antonio Installation
Toyota Tundra CrewMax 1794 Edition 2015 San Antonio Installation
Toyota Tundra CrewMax 1794 Edition 2015 San Antonio Installation
Toyota Tundra CrewMax 1794 Edition 2015 San Antonio Installation
Toyota Tundra CrewMax 1794 Edition 2015 San Antonio Installation
Toyota Tundra CrewMax 1794 Edition 2015 San Antonio Installation
Toyota Tundra CrewMax 1794 Edition 2015 San Antonio Installation
Toyota Tundra CrewMax 1794 Edition 2015 San Antonio Installation
Toyota Tundra CrewMax 1794 Edition 2015 San Antonio Installation
Toyota Tundra CrewMax 1794 Edition 2015 San Antonio Installation
Toyota Tundra CrewMax 1794 Edition 2015 San Antonio Installation
Toyota Tundra CrewMax 1794 Edition 2015 San Antonio Installation
Toyota Tundra CrewMax 1794 Edition 2015 San Antonio Installation
Toyota Tundra CrewMax 1794 Edition 2015 San Antonio Installation
Toyota Tundra CrewMax 1794 Edition 2015 San Antonio Installation
Toyota Tundra CrewMax 1794 Edition 2015 San Antonio Installation
Toyota Tundra CrewMax 1794 Edition 2015 San Antonio Installation
Toyota Tundra CrewMax 1794 Edition 2015 San Antonio Installation
Toyota Tundra CrewMax 1794 Edition 2015 San Antonio Installation
Toyota Tundra CrewMax 1794 Edition 2015 San Antonio Installation
Toyota Tundra CrewMax 1794 Edition 2015 San Antonio Installation
Toyota Tundra CrewMax 1794 Edition 2015 San Antonio Installation
Below you will find a detailed listing of all the parts we used in the installation.
Typical Installation time is 1 day, however we matted the front, rear doors and the rear wall behind the subwoofer. If we are matting the truck we keep the truck for two days. One day audio installation and matting jobs are possible, but require at least 14 hours with the truck.
Below is a detailed listing of the audio products installed in Chris Tundra CrewMax
Front Door Component Speakers:
Image Dynamics CXS64
Tacotunes.com heavy duty speaker mounts cut to 5.6”
CXS Mid bass Drivers -125 Watts RMS
CXS Crossover
CXS 28M Silk Dome Tweeter
NOTE: JBL Yes / No ?
Use Stock Sail Panel for Tweeter mounts.
Rear Door Components:
Image Dynamics CTX65CS
Tacotunes.com heavy duty speaker mounts cut to 5.6”
CTX65CS Mid bass drivers Handles -100 watts RMS
CTX65CS Crossover
CTX Tweeters
Tweeters will fit in stock door location
Sound Processor:
Tacotunes.com ReCurve EZQ
Tacotunes.com JBL Harness
Amp:
Exile Audio 5 channel amp
100 watts x 4 to each speaker and 800 x 1 (subwoofer)
Subwoofer(s):
Subwoofer Box & Subwoofers
Tacotunes.com dual 10” subwoofer enclosure 2.0” cu feet
Gabriel’s Toyota Tundra CrewMax 1794 Edition Audio Installation San Antonio TX
Installation Summary / History:
Customer Name: Gabriel:
Customer Location: Dallas TX
Toyota Year / Model: 2015 Toyota Tundra CrewMax 1794 Edition
Head Unit: NON JBL
Color: Gray
Installed by: tacotunes.com
Gabriel has had audio systems in most of his vehicles. After hearing a couple of options he decided to go with our Image Dynamics SQ1 package. He already had some JL Audio 10″ W0 subs. So we installed them in one of our subwoofer boxes.
Below you will find a detailed listing of all the parts we used in the installation.
Typical Installation time is 1 day, however we matted the front, rear doors and the rear wall behind the subwoofer. If we are matting the truck we keep the truck for two days. One audio installation and matting jobs are possible, but require at least 14 hours with the truck.
Below is a detailed listing of the audio products installed in Gabriels’ Tundra CrewMax
Below you will find a detailed listing of all the parts we used in the installation.
Typical Installation time is 1 day, however we matted the front, rear doors and the rear wall behind the subwoofer. If we are matting the truck we keep the truck for two days. One audio installation and matting jobs are possible, but require at least 14 hours with the truck.
Tundra CrewMax 1794 Stereo Installer San Antonio TX
Tundra CrewMax 1794 Stereo Installer San Antonio TX
Tundra CrewMax 1794 Stereo Installer San Antonio TX
Tundra CrewMax 1794 Stereo Installer San Antonio TX
Tundra CrewMax 1794 Stereo Installer San Antonio TX
Tundra CrewMax 1794 Stereo Installer San Antonio TX
Tundra CrewMax 1794 Stereo Installer San Antonio TX
Tundra CrewMax 1794 Stereo Installer San Antonio TX
Tundra CrewMax 1794 Stereo Installer San Antonio TX
Tundra CrewMax 1794 Stereo Installer San Antonio TX
Tundra CrewMax 1794 Stereo Installer San Antonio TX
Tundra CrewMax 1794 Stereo Installer San Antonio TX
Tundra CrewMax 1794 Stereo Installer San Antonio TX
Tundra CrewMax 1794 Stereo Installer San Antonio TX
Tundra CrewMax 1794 Stereo Installer San Antonio TX
Tundra CrewMax 1794 Stereo Installer San Antonio TX
Tundra CrewMax 1794 Stereo Installer San Antonio TX
Tundra CrewMax 1794 Stereo Installer San Antonio TX
Tundra CrewMax 1794 Stereo Installer San Antonio TX
Tundra CrewMax 1794 Stereo Installer San Antonio TX
Tundra CrewMax 1794 Stereo Installer San Antonio TX
Tundra CrewMax 1794 Stereo Installer San Antonio TX
Tundra CrewMax 1794 Stereo Installer San Antonio TX
Tundra CrewMax 1794 Stereo Installer San Antonio TX
Tundra CrewMax 1794 Stereo Installer San Antonio TX
Tundra CrewMax 1794 Stereo Installer San Antonio TX
Tundra CrewMax 1794 Stereo Installer San Antonio TX
Tundra CrewMax 1794 Stereo Installer San Antonio TX
Tundra CrewMax 1794 Stereo Installer San Antonio TX
Tundra CrewMax 1794 Stereo Installer San Antonio TX
Tundra CrewMax 1794 Stereo Installer San Antonio TX
Tundra CrewMax 1794 Stereo Installer San Antonio TX
Tundra CrewMax 1794 Stereo Installer San Antonio TX
Tundra CrewMax 1794 Stereo Installer San Antonio TX
Tundra CrewMax 1794 Stereo Installer San Antonio TX
Tundra CrewMax 1794 Stereo Installer San Antonio TX
Tundra CrewMax 1794 Stereo Installer San Antonio TX
Tundra CrewMax 1794 Stereo Installer San Antonio TX
Tundra CrewMax 1794 Stereo Installer San Antonio TX
Tundra CrewMax 1794 Stereo Installer San Antonio TX
Tundra CrewMax 1794 Stereo Installer San Antonio TX
Tundra CrewMax 1794 Stereo Installer San Antonio TX
Tundra CrewMax 1794 Stereo Installer San Antonio TX
Tundra CrewMax 1794 Stereo Installer San Antonio TX
Tundra CrewMax 1794 Stereo Installer San Antonio TX
Tundra CrewMax 1794 Stereo Installer San Antonio TX
Tundra CrewMax 1794 Stereo Installer San Antonio TX
Tundra CrewMax 1794 Stereo Installer San Antonio TX
Tundra CrewMax 1794 Stereo Installer San Antonio TX
Tundra CrewMax 1794 Stereo Installer San Antonio TX
Tundra CrewMax 1794 Stereo Installer San Antonio TX
Tundra CrewMax 1794 Stereo Installer San Antonio TX
Tundra CrewMax 1794 Stereo Installer San Antonio TX
Tundra CrewMax 1794 Stereo Installer San Antonio TX
Tundra CrewMax 1794 Stereo Installer San Antonio TX
Specs on the audio installation:
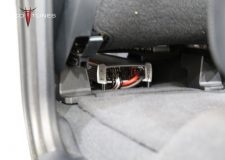
The 5 channel amp is hidden under the driver seat. Sound Processor (ReCurve EZQ) is hidden under rear seat. The full size Image Dynamics 10” subwoofers fit behind the rear seats. The entire truck appears to be stock and makes the truck appear to e stock and less likely for break ins. Additionally, the gear is setup for Toyota’s so chances of theft are greatly reduced.
Front Door Component Speakers:
Image Dynamics CXS64
Tacotunes.com heavy duty speaker mounts cut to 5.6”
CXS Mid bass Drivers -125 Watts RMS
CXS Crossover
CXS 28M Silk Dome Tweeter
NOTE: JBL Yes / No ?
Use Stock Sail Panel for Tweeter mounts.
Rear Door Components:
Image Dynamics CTX65CS
Tacotunes.com heavy duty speaker mounts cut to 5.6”
CTX65CS Mid bass drivers Handles -100 watts RMS
CTX65CS Crossover
CTX Tweeters
Tweeters will fit in stock door location
Sound Processor:
Tacotunes.com ReCurve EZQ
Tacotunes.com JBL Harness
Amp:
Exile Audio 5 channel amp
100 watts x 4 to each speaker and 800 x 1 (subwoofer)
Subwoofer(s):
Subwoofer Box & Subwoofers
Tacotunes.com dual 10″ subwoofer box sealed
JL Audio W0 10″ subwoofers
Tundra Install kit:
Stereo & Wiring Installation kit:
Stinger Power, Speaker and Signal Cables:
Positive:
Stinger 3′ POWER CABLE 4GA – Ring Terminal Attached
Stinger 13′ POWER CABLE 4GA
Negative:
Stinger 4′ POWER CABLE 4GA – Ring Terminal Attached
Color Coded Speaker Wire:
Stinger 50′ 16GA Black Speaker Wire (Driver Side Speakers)
Stinger 50′ 16GA Silver Speaker Wire (Passenger Side Speakers)
Stinger 25′ 18GA Black Speaker wire (Driver Side Tweeters)
Stinger 50′ 18GA Silver Speaker Wire (Passenger Side Tweeters)
William’s Toyota Tundra CrewMax TSS Off Road Stereo System Upgrade San Antonio TX
Installation Summary / History:
Customer Name: William
Toyota Year / Model: 2014 Toyota Tundra CrewMax SR5 TSS Off Road Edition
Head Unit: NON JBL
Color: Black
Installed by: tacotunes.com
William has had audio systems in most of his vehicles. However, he stated he has always had to settle for lower end equipment. On this go round he stated he wanted to get the most bang for his buck. He came to us with a subwoofer box loaded with 2 JL TW3 Subwoofers and a JL Audio HD750/1 Monoblock Amp. We agreed to install his equipment along with our Image Dynamics SQ1 package. When he showed up, we demoed our dual 10” ported Image Dynamics subwoofer box and let him choose which route he wanted to go. After demoing both setups, he went with our setup. The JLs sounded awesome, great over all sound and a very nice setup. However, the sealed box and shallow mounts subs were missing the lower end of the frequency range. Sure the JLs could rattle the mirror, but they were missing that LOW end extension like most smaller sealed boxes. In addition at lower volume the sealed box did not produce the lows without turning up the volume. This poses a problem when you want to drive with your audio at moderate level. The Image Dynamics subwoofer in the port tuned box from Tacotunes was providing both ends of music spectrum. In addition the tonal quality was much more prevalent in the tacotunes.com box.
Why would the ported box sound better? There are many factors in designing a subwoofer box. The biggest issue in the 2014+ Toyota Tundra CrewMax is lack of air space. Here at tacotunes, we maximized the most air space possible. Then we used the best subwoofer for this solution. Image Dynamics is the only manufacturer that has been geared for smaller enclosures for over a decade. The ID10s have an Xmax of 17mm, most subs in it’s class are 11MM. The SD (cone area) is larger than most in it’s class AND they can handle 400 watts RMS easily. Put them in a properly tuned enclosure and the sound quality is very difficult to match at ALL listening levels. Who cares if the sub only sounds good at high volumes, the vast majority of your listening time will be at moderate level.
Williams’ system is louder than more of our SQ1 packages because he opted for the Exile XM15.4. This amp will output 150 watts RMS to each speaker. The Front Door Component Image Dynamics speakers can easily handle 150 watts RMS and the rear doors loaded with Image Dynamics CTX65CS speakers were setup with around 125 watts RMS.
With the additional power we upgraded his chassis ground to minimize the dimming lights.
Below you will find a detailed listing of all the parts we used in the installation.
Typical Installation time is 1 day, however we matted the front, rear doors and the rear wall behind the subwoofer. If we are matting the truck we keep the truck for two days. One audio installation and matting jobs are possible, but require at least 14 hours with the truck.
illiam’s Toyota Tundra CrewMax TSS Off Road Stereo System Upgrade San Antonio TX
Toyota Tundra CrewMax 2014 TSS Offroad Stereo Installation San Antonio TX
Toyota Tundra CrewMax 2014 TSS Offroad Stereo Installation San Antonio TX
Toyota Tundra CrewMax 2014 TSS Offroad Stereo Installation San Antonio TX
2015 Toyota Tundra Crew Max Audio Installation San Antonio TX
2015 Toyota Tundra Crew Max Audio Installation San Antonio TX
Toyota Tundra CrewMax 2014 TSS Offroad Stereo Installation San Antonio TX
2015 Toyota Tundra Crew Max Audio Installation San Antonio TX
Toyota Tundra CrewMax 2014 TSS Offroad Stereo Installation San Antonio TX
Toyota Tundra CrewMax 2014 TSS Offroad Stereo Installation San Antonio TX
Toyota Tundra CrewMax 2014 TSS Offroad Stereo Installation San Antonio TX
Toyota Tundra CrewMax 2014 TSS Offroad Stereo Installation San Antonio TX
Toyota Tundra CrewMax 2014 TSS Offroad Stereo Installation San Antonio TX
Toyota Tundra CrewMax 2014 TSS Offroad Stereo Installation San Antonio TX
Toyota Tundra CrewMax 2014 TSS Offroad Stereo Installation San Antonio TX
Toyota Tundra CrewMax 2014 TSS Offroad Stereo Installation San Antonio TX
Toyota Tundra CrewMax 2014 TSS Offroad Stereo Installation San Antonio TX
William’s Toyota Tundra Makeover
2015 Toyota Tundra Crew Max Audio Installation San Antonio TX
2015 Toyota Tundra Crew Max Audio Installation San Antonio TX
2015 Toyota Tundra Crew Max Audio Installation San Antonio TX
2015 Toyota Tundra Crew Max Audio Installation San Antonio TX
2015 Toyota Tundra Crew Max Audio Installation San Antonio TX
2015 Toyota Tundra Crew Max Audio Installation San Antonio TX
2015 Toyota Tundra Crew Max Audio Installation San Antonio TX
2015 Toyota Tundra Crew Max Audio Installation San Antonio TX
2015 Toyota Tundra Crew Max Audio Installation San Antonio TX
2015 Toyota Tundra Crew Max Audio Installation San Antonio TX
2015 Toyota Tundra Crew Max Audio Installation San Antonio TX
Toyota Tundra CrewMax 2014 TSS Offroad Stereo Installation San Antonio TX
Toyota Tundra CrewMax 2014 TSS Offroad Stereo Installation San Antonio TX
Toyota Tundra CrewMax 2014 TSS Offroad Stereo Installation San Antonio TX
Toyota Tundra CrewMax 2014 TSS Offroad Stereo Installation San Antonio TX
Toyota Tundra CrewMax 2014 TSS Offroad Stereo Installation San Antonio TX
Toyota Tundra CrewMax 2014 TSS Offroad Stereo Installation San Antonio TX
illiam’s Toyota Tundra CrewMax TSS Off Road Stereo System Upgrade San Antonio TX
Specs on the audio installation:
The AMPs are s hidden under the driver and passenger seat. Sound Processor (ReCurve EZQ) is hidden under rear set. The full size Image Dynamics 10” subwoofers fit behind the rear seats. The entire truck appears to be stock and makes the truck appear to e stock and less likely for break ins. Additionally, the gear is setup for Toyota’s so chances of theft are greatly reduced.
Front Door Component Speakers:
Image Dynamics CXS64
Tacotunes.com heavy duty speaker mounts cut to 5.6”
CXS Mid bass Drivers -125 Watts RMS
CXS Crossover
CXS 28M Silk Dome Tweeter
NOTE: JBL Yes / No ?
Use Stock Sail Panel for Tweeter mounts.
Rear Door Components:
Image Dynamics CTX65CS
Tacotunes.com heavy duty speaker mounts cut to 5.6”
CTX65CS Mid bass drivers Handles -100 watts RMS
CTX65CS Crossover
CTX Tweeters
Tweeters will fit in stock door location
Sound Processor:
Tacotunes.com ReCurve EZQ
Tacotunes.com JBL Harness
Amp(s):
Exile Audio XM15.4 4 channel amp
150 watts x 4 to each speaker
JL Audio HD750/1 Mono Amplifier
750 watts RMS
Subwoofer(s):
Subwoofer Box & Subwoofers
Tacotunes.com dual 10” subwoofer enclosure 2.0” cu feet
Tobins Toyota Tundra CrewMax Platinum Stereo System Upgrade San Antonio TX
Tobin’s Toyota Tundra CrewMax Platinum Stereo System Upgrade San Antonio TX
Installation Summary / History:
Customer Name: Tobin M
Toyota Year / Model: 2015 Toyota Tundra CrewMax 4×4 Platinum
Head Unit: JBL Equipped
Color: Silver
Installed by: tacotunes.com
Tobin has had audio systems in most of his vehicles. Fortunate for us, he is familiar and has owned Image Dynamics equipment in the past. After hearing a couple of options he decided to go with our Image Dynamics SQ1 package.
Below you will find a detailed listing of all the parts we used in the installation.
Typical Installation time is 1 day, however we matted the front, rear doors and the rear wall behind the subwoofer. If we are matting the truck we keep the truck for two days. One audio installation and matting jobs are possible, but require at least 14 hours with the truck.
Below is a detailed listing of the audio products installed in Tobin’s Tundra CrewMax
2015 Toyota Tundra Crew Max Audio Installation San Antonio TX
2015 Toyota Tundra Crew Max Audio Installation San Antonio TX
2015 Toyota Tundra Crew Max Audio Installation San Antonio TX
2015 Toyota Tundra Crew Max Audio Installation San Antonio TX
2015 Toyota Tundra Crew Max Audio Installation San Antonio TX
2015 Toyota Tundra Crew Max Audio Installation San Antonio TX
2015 Toyota Tundra Crew Max Audio Installation San Antonio TX
2015 Toyota Tundra Crew Max Audio Installation San Antonio TX
2015 Toyota Tundra Crew Max Audio Installation San Antonio TX
2015 Toyota Tundra Crew Max Audio Installation San Antonio TX
2015 Toyota Tundra Crew Max Audio Installation San Antonio TX
2015 Toyota Tundra Crew Max Audio Installation San Antonio TX
2015 Toyota Tundra Crew Max Audio Installation San Antonio TX
2015 Toyota Tundra Crew Max Audio Installation San Antonio TX
2015 Toyota Tundra Crew Max Audio Installation San Antonio TX
2015 Toyota Tundra Crew Max Audio Installation San Antonio TX
2015 Toyota Tundra Crew Max Audio Installation San Antonio TX
2015 Toyota Tundra Crew Max Audio Installation San Antonio TX
2015 Toyota Tundra Crew Max Audio Installation San Antonio TX
2015 Toyota Tundra Crew Max Audio Installation San Antonio TX
2015 Toyota Tundra Crew Max Audio Installation San Antonio TX
2015 Toyota Tundra Crew Max Audio Installation San Antonio TX
2015 Toyota Tundra Crew Max Audio Installation San Antonio TX
2015 Toyota Tundra Crew Max Audio Installation San Antonio TX
2015 Toyota Tundra Crew Max Audio Installation San Antonio TX
2015 Toyota Tundra Crew Max Audio Installation San Antonio TX
2015 Toyota Tundra Crew Max Audio Installation San Antonio TX
2015 Toyota Tundra Crew Max Audio Installation San Antonio TX
2015 Toyota Tundra Crew Max Audio Installation San Antonio TX
2015 Toyota Tundra Crew Max Audio Installation San Antonio TX
2015 Toyota Tundra Crew Max Audio Installation San Antonio TX
2015 Toyota Tundra Crew Max Audio Installation San Antonio TX
2015 Toyota Tundra Crew Max Audio Installation San Antonio TX
2015 Toyota Tundra Crew Max Audio Installation San Antonio TX
2015 Toyota Tundra Crew Max Audio Installation San Antonio TX
2015 Toyota Tundra Crew Max Audio Installation San Antonio TX
2015 Toyota Tundra Crew Max Audio Installation San Antonio TX
2015 Toyota Tundra Crew Max Audio Installation San Antonio TX
2015 Toyota Tundra Crew Max Audio Installation San Antonio TX
2015 Toyota Tundra Crew Max Audio Installation San Antonio TX
2015 Toyota Tundra Crew Max Audio Installation San Antonio TX
2015 Toyota Tundra Crew Max Audio Installation San Antonio TX
2015 Toyota Tundra Crew Max Audio Installation San Antonio TX
2015 Toyota Tundra Crew Max Audio Installation San Antonio TX
Specs on the audio installation:
The AMP is hidden under the driver seat. Sound Processor (ReCurve EZQ) is hidden under rear set. The full size Image Dynamics 10” subwoofers fit behind the rear seats. The entire truck appears to be stock and makes the truck appear to e stock and less likely for break ins. Additionally, the gear is setup for Toyota’s so chances of theft are greatly reduced.
Front Door Component Speakers:
Image Dynamics CXS64
Tacotunes.com heavy duty speaker mounts cut to 5.6”
CXS Mid bass Drivers -125 Watts RMS
CXS Crossover
CXS 28M Silk Dome Tweeter
NOTE: JBL Yes / No ?
Use Stock Sail Panel for Tweeter mounts.
Rear Door Components:
Image Dynamics CTX65CS
Tacotunes.com heavy duty speaker mounts cut to 5.6”
CTX65CS Mid bass drivers Handles -100 watts RMS
CTX65CS Crossover
CTX Tweeters
Tweeters will fit in stock door location
Sound Processor:
Tacotunes.com ReCurve EZQ
Tacotunes.com JBL Harness
Amp:
Exile Audio 5 channel amp
100 watts x 4 to each speaker and 800 x 1 (subwoofer)
Subwoofer(s):
Subwoofer Box & Subwoofers
Tacotunes.com dual 10” subwoofer enclosure 2.0” cu feet
How to install Kicker L7 Subwoofers and box in Toyota Tundra Crewmax
How to install Kicker L7 Subwoofers and box in Toyota Tundra Crewmax – Kelsie will show you in the video how to install our Dual L7 Subwoofer box in your Toyota Tundra Crewmax 2014+. In the video below we are installing one of our full turnkey systems into this lifted truck.
Tools you need to get the subwoofer box installed:
Be sure to check out our video on how to easily add amps to your stock Entune Head Unit (JBL and NON)
Impact Driver
17MM socket
People often ask us why do you recommend the dual L7 Kicker box over the shallow mount 12″?
Step 1:
Remove the rear seats by removing the 8 bolts that hold the rear seats in place. Use a 17MM socket to remove the bolts. Keep in mind that one of the eight bolts has a different thread pitch. Be sure not to mix up the bolts when re-installing the seats.
Tip: We usually remove both seats when installing a complete system. If just adding a subwoofer you can lean the seat forward. I like to use a piece of wood to protect the carpet. The seats have some pins that can easily poke holes in your carpet.
Step 2:
You will need to remove some of the plastic on the rear of the seats. See the video. If you do not remove the some of the plastic you will not be able to lower your seats after the installation. This will not affect the performance of the seats NOR will you be able to see the modifications to the seats.
Step 3:
Decide if you will be matting the rear wall. With the dual L7 Kicker subwoofer setup, we highly recommend matting the rear wall with Ballastic Matting. AT 2.2mm it is thicker than most matting on the market. If you decide to matt the truck you will need to remove the stock padding that is attached to the rear wall with clips that simply pop out.
Step 4:
Install the subwoofer box into place and attach the included mounting block to the truck. Finger tighten the mounting block.
Step 5:
Install the subwoofer in the driver side first. Be sure to wire the subwoofer properly. See our post on how to wire your subwoofer properly. NOTE: Do not forget to connect the wire to your terminal cup.
Step 6:
Install the driver side seat (larger seat) and ensure the seat brackets are not close to the subwoofer. See the video for additional information. NOTE: You will probably have to bend the upholstery rod as shown in the video. It will not affect the seat performance, nor will you be able to see the modification. Ensure the seat fits in the “notch” in the box then tighten the seats bolts.
Step 7:
Tighten the mounting block bolt. You will want to be sure you tighten the block to the point where the box will NOT move. Do not overtighten you can damage the box. If you hear a nasty rattling sound when playing the system, chances are you did not tighten this enough.
Step 8:
Install the second subwoofer (ensure you wired the subwoofers properly). Test the system and ensure the subwoofer are performing properly.
Step 9:
Install the passenger side seat.
Polyfill:
What is the purpose of polyfill in a ported subwoofer? The short version; when you properly stuff a subwoofer box with polyfill, you can effectively simulate a larger enclosure resulting in overall better sound quality. As you are aware, we Toyota Tundra Crewmax owners (me included) do not have much air space behind the seat of our Toyota Tundra CrewMax. By adding around 1.5 lbs of polyfil to your Dual L7 Kicker subwoofer box, the subwoofers will benefit by the additional simulated air space created by the polyfill. In the case of this setup, you will gain around 32% increase in effective airspace. As many of you are aware, subwoofers require airspace to produce the lower end of the frequency range effectively.
Toyota CrewMax Subwoofer Box Dual Kicker Installation
Toyota Tundra CrewMax Subwoofer Box Kicker Side View
Toyota Tundra CrewMax Subwoofer Box Kicker Mounting Block & Bolt
Toyota Tundra CrewMax Subwoofer Box Kicker – Truck Mounting Location
Toyota Tundra CrewMax Subwoofer Box Kicker Front View
How to install subwoofer and amplifier in 2014+ Toyota Tundra CrewMax
After numerous requests, we put produced a video on how to ass an amplifier and subwoofer to your stock Toyota Tundra CrewMax. The video will over step by step how to locate the powers you will need to provide signal to the subwoofer .
Install Subwoofer 2016 Toyota Tundra CrewMax How to instructions
Install Subwoofer 2016 Toyota Tundra CrewMax How to instructions
Install Subwoofer 2016 Toyota Tundra CrewMax How to instructions
Install Subwoofer 2016 Toyota Tundra CrewMax How to instructions
Install Subwoofer 2016 Toyota Tundra CrewMax How to instructions
Install Subwoofer 2016 Toyota Tundra CrewMax How to instructions
Install Subwoofer 2016 Toyota Tundra CrewMax How to instructions
Install Subwoofer 2016 Toyota Tundra CrewMax How to instructions
Install Subwoofer 2016 Toyota Tundra CrewMax How to instructions
Install Subwoofer 2016 Toyota Tundra CrewMax How to instructions
Install Subwoofer 2016 Toyota Tundra CrewMax How to instructions
Install Subwoofer 2016 Toyota Tundra CrewMax How to instructions
Install Subwoofer 2016 Toyota Tundra CrewMax How to instructions
Install Subwoofer 2016 Toyota Tundra CrewMax How to instructions
Install Subwoofer 2016 Toyota Tundra CrewMax How to instructions
Install Subwoofer 2016 Toyota Tundra CrewMax How to instructions
Install Subwoofer 2016 Toyota Tundra CrewMax How to instructions
Install Subwoofer 2016 Toyota Tundra CrewMax How to instructions
Install Subwoofer 2016 Toyota Tundra CrewMax How to instructions
Install Subwoofer 2016 Toyota Tundra CrewMax How to instructions
Install Subwoofer 2016 Toyota Tundra CrewMax How to instructions
Install Subwoofer 2016 Toyota Tundra CrewMax How to instructions
Install Subwoofer 2016 Toyota Tundra CrewMax How to instructions
Install Subwoofer 2016 Toyota Tundra CrewMax How to instructions
Install Subwoofer 2016 Toyota Tundra CrewMax How to instructions
Install Subwoofer 2016 Toyota Tundra CrewMax How to instructions
Install Subwoofer 2016 Toyota Tundra CrewMax How to instructions
Install Subwoofer 2016 Toyota Tundra CrewMax How to instructions
2010 Toyota Tundra Full Stereo System Installation San Antonio Texas
We had the pleasure of installing a system for a local wounded hero here in San Antonio TX. Joe Drozd is also the founder and president of a Texas Toyota Offroaders. Joe came to us after a car show where he saw a few of or demo rides. He said I have to have that!
Joe’s Testimonial.
We will break up Joe’s truck into two parts. The first will be installation pics of the stereo system. The second part will be pictures of his Mad Max Toyota Tundra.
Joe’s Stereo System:
Joe had a basic head unit and wanted to be able to watch DVDs so he upgraded his head unit to Kenwood DVD unit. We supplied all the parts and installed the system over a 2 day period.
Matting:
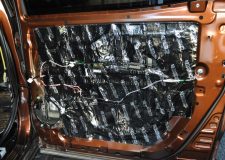
First we matted the truck with Ballistic matting. The doors and rear wall was matted to help reduce ambient noise and to eliminate rattles caused by the higher powered speakers and subwoofer. NOTE: Ballistic matting is now black. We also did not take pictures of the matting we installed on doors. We included some examples from another Tundra.
Head Unit:
Kenwood DDX770
Dash Installation Kit
Steering Wheel Interface Kit
Amp:
Exile Javelin 5 Channel Amp 100 watts x 4 (speakers) 800 watts x 1 (subwoofer) RMS
2007-2013 Toyota Tundra CrewMax Ported Subwoofer box enclosure full size subwoofer
Toyota Tundra Full Size Subwoofer enclosure & Image Dynamics IDQV4 12″ 800 watt (RMS) Subwoofer
2007-2013 Toyota Tundra CrewMax Ported Subwoofer box enclosure full size subwoofer Looking for tons of bass but still want amazing clarity? Nothing will bring your music to life better than a properly tuned subwoofer enclosure matched with a powerful subwoofer. Toyota Tundra Crew Max.
The subwoofer that we include with this setup is the Image Dynamics IDQ12V4. The subwoofer can handle 800 watts (RMS) and provides deep rich bass with amazing clarity. ID is very well known for their amazing output while maintaining awesome sound quality.
NOTE: WE will not sell this subwoofer box without the subwoofer. We matched the subwoofer to the box. Properly tuning a subwoofer to an enclosure is an art / science. We refuse to allow someone to install the wrong sub in our enclosures and put our name on that enclosure.
To install this subwoofer you will need to remove the rear seats to gain access. Place the sub behind the seat as shown and then use self tapping screws to affix the box to the truck. We HIGHLY suggest matting the rear wall before installing the subwoofer.
Information about Ported Boxes. A ported enclosure will generally have a better low frequency extension for a given responsive curve but generally requires a larger enclosure. Ported enclosures can’t be as small as sealed boxes . . . but a ported subwoofer box lends itself to a lower frequency response. In most cases a ported box will provide the lower end bass notes (extension) that many audio gurus are looking to obtain from their sound system. The challenge with ported boxes are MANY and can be difficult to overcome with little air space to work with. Sure it is easy to build a ported subwoofer box when you have a ton of air space! But the space behind the 2014 Tundra is nearly non-existent.
As mentioned above, the box, port design and tuning all play a crucial role in properly designing a subwoofer enclosure.
2007 – 2013
Information provided by: (Wikipedia) http://en.wikipedia.org/wiki/Thiele/Small “Thiele/Small” commonly refers to a set of electromechanical parameters that define the specified low frequency performance of a loudspeaker driver. These parameters are published in specification sheets by driver manufacturers so that designers have a guide in selecting off-the-shelf drivers for loudspeaker designs. Using these parameters, a loudspeaker designer may simulate the position, velocity and acceleration of the diaphragm, the input impedance and the sound output of a system comprising a loudspeaker and enclosure. Many of the parameters are strictly defined only at the resonant frequency, but the approach is generally applicable in the frequency range where the diaphragm motion is largely pistonic, i.e. when the entire cone moves in and out as a unit without cone breakup. Rather than purchase off-the-shelf components, loudspeaker design engineers often define desired performance and work backwards to a set of parameters and manufacture a driver with said characteristics or order it from a driver manufacturer. This process of generating parameters from a target response is known as synthesis. Thiele/Small parameters are named after A. Neville Thiele of the Australian Broadcasting Commission, and Richard H. Small of the University of Sydney, who pioneered this line of analysis for loudspeakers. History[ The 1925 paper of Chester W. Rice and Edward W. Kellogg, fueled by advances in radio and electronics, increased interest in direct radiator loudspeakers. In 1930, A. J. Thuras of Bell Labs patented (US Patent No. 1869178) his “Sound Translating Device” (essentially a vented box) which was evidence of the interest in many types of enclosure design at the time. Progress on loudspeaker enclosure design and analysis using acoustic analogous circuits by academic acousticians like Harry F. Olson continued until 1954 when Leo L. Beranek of the Massachusetts Institute of Technology published Acoustics,[1] a book summarizing and extending the electroacoustics of the era. J. F. Novak used novel simplifying assumptions in an analysis in a 1959 paper which led to a practical solution for the response of a given loudspeaker in a box, and also established their applicability by empirical measurement. In 1961, leaning heavily on Novak’s work, A. N. Thiele described a series of sealed and vented box “alignments” (i.e., enclosure designs based on electrical filter theory with well-characterized behavior, including frequency response, power handling, cone excursion, etc.) in a publication in an Australian journal.[2] This paper remained relatively unknown outside Australia until it was re-published in the Journal of the Audio Engineering Society in 1971. It is important to note that Thiele’s work neglected enclosure losses and, though a breakthrough at the time, his alignment tables now have little real-world utility. Many others continued to develop various aspects of loudspeaker enclosure design in the 1960s and early 1970s. From 1968-1972 J. E. Benson published three articles in an Australian journal that thoroughly analyzed sealed, vented and passive radiator designs, all using the same basic model. Beginning June 1972, Richard H. Small published a series of very influential articles in the Journal of the Audio Engineering Society restating and extending Thiele’s work. These articles were also originally published in Australia, where he had attended graduate school, and where his thesis supervisor was J.E. Benson. The work of Benson and Small overlapped considerably, but differed in that Benson did his work using computer programs and Small used analog simulators. Both researchers analyzed the systems including enclosure losses. Fundamental small signal mechanical parameters[edit] These are the physical parameters of a loudspeaker driver, as measured at small signal levels, used in the equivalent electrical circuit models. Some of these values are neither easy nor convenient to measure in a finished loudspeaker driver, so when designing speakers using existing drive units (which is almost always the case), the more easily measured parameters listed under Small Signal Parameters are more practical. Sd – Projected area of the driver diaphragm, in square meters. Fundamental small signal mechanical parameters[edit] These are the physical parameters of a loudspeaker driver, as measured at small signal levels, used in the equivalent electrical circuit models. Some of these values are neither easy nor convenient to measure in a finished loudspeaker driver, so when designing speakers using existing drive units (which is almost always the case), the more easily measured parameters listed under Small Signal Parameters are more practical. Sd – Projected area of the driver diaphragm, in square meters. Mms – Mass of the diaphragm/coil, including acoustic load, in kilograms.
2007 – 2013 Toyota tundra crewmax ported subwoofer box enclosure
Mass of the diaphragm/coil alone is known as Mmd Cms – Compliance of the driver’s suspension, in meters per newton (the reciprocal of its ‘stiffness’). Rms – The mechanical resistance of a driver’s suspension (i.e., ‘lossiness’) in N·s/m Le – Voice coil inductance measured in millihenries (mH) (Frequency dependent, usually measured at 1 kHz). Re – DC resistance of the voice coil, measured in ohms. Bl – The product of magnet field strength in the voice coil gap and the length of wire in the magnetic field, in tesla-metres (T·m). Qualitative descriptions[edit] Cross-section of a dynamic cone loudspeaker. Image not to scale. FsAlso called F0, resonance frequency measured in hertz (Hz). The frequency at which the combination of the energy stored in the moving mass and suspension compliance is maximum, and results in maximum cone velocity. A more compliant suspension or a larger moving mass will cause a lower resonance frequency, and vice versa. Usually it is less efficient to produce output at frequencies below Fs, and input signals significantly below Fs can cause large excursions, mechanically endangering the driver. Woofers typically have an Fs in the range of 13–60 Hz. Midranges usually have an Fs in the range of 60–500 Hz and tweeters between 500 Hz and 4 kHz. A typical factory tolerance for Fs spec is ±15%.QtsA unitless measurement, characterizing the combined electric and mechanical damping of the driver. In electronics, Q is the inverse of the damping ratio. The value of Qts is proportional to the energy stored, divided by the energy dissipated, and is defined at resonance (Fs). Most drivers have Qts values between 0.2 and 0.5, but there are valid (if unusual) reasons to have a value outside this range. QmsA unitless measurement, characterizing the mechanical damping of the driver, that is, the losses in the suspension (surround and spider.) It varies roughly between 0.5 and 10, with a typical value around 3. High Qms indicates lower mechanical losses, and low Qms indicates higher losses. The main effect of Qms is on the impedance of the driver, with high Qms drivers displaying a higher impedance peak. One predictor for low Qms is a metallic voice coil former. These act as eddy-current brakes and increase damping, reducing Qms. They must be designed with an electrical break in the cylinder (so no conducting loop). Some speaker manufacturers have placed shorted turns at the top and bottom of the voice coil to prevent it leaving the gap, but the sharp noise created by this device when the driver is overdriven is alarming and was perceived as a problem by owners. High Qms drivers are often built with nonconductive formers, made from paper, or various plastics.QesA unitless measurement, describing the electrical damping of the loudspeaker. As the coil of wire moves through the magnetic field, it generates a current which opposes the motion of the coil. This so-called “Back-EMF” (proportional to Bl * velocity) decreases the total current through the coil near the resonance frequency, reducing cone movement and increasing impedance. In most drivers, Qes is the dominant factor in the voice coil damping. Qes depends on amplifier output impedance. The formula above assumes zero output impedance. When an amplifier with nonzero output impedance is used, its output impedance should be added to Re for calculations involving Qes. BlMeasured in tesla-metres (T·m). Technically this is B×l or B×l sin(θ) (a vector cross product), but the standard geometry of a circular coil in an annular voice coil gap gives sin(θ)=1. B×l is also known as the ‘force factor’ because the force on the coil imposed by the magnet is B×l multiplied by the current through the coil. The higher the B×l value, the larger the force generated by a given current flowing through the voice coil. B×l has a very strong effect on Qes. VasMeasured in litres (L) or cubic metres, is a measure of the ‘stiffness’ of the suspension with the driver mounted in free air. It represents the volume of air that has the same stiffness as the driver’s suspension when acted on by a piston of the same area (Sd) as the cone. Larger values mean lower stiffness, and generally require larger enclosures. Vas varies with the square of the diameter. A typical factory tolerance for Vas spec is ±20–30%.MmsMeasured in grams (g) or kilograms (kg), this is the mass of the cone, coil and other moving parts of a driver, including the acoustic load imposed by the air in contact with the driver cone. Mmd is the cone/coil mass without the acoustic load, and the two should not be confused. Some simulation software calculates Mms when Mmd is entered. Mmd can be very closely controlled by the manufacturer. RmsUnits are not usually given for this parameter, but it is in mechanical ‘ohms’. Rms is a measurement of the losses, or damping, in a driver’s suspension and moving system. It is the main factor in determining Qms. Rms is influenced by suspension topology, materials, and by the voice coil former (bobbin) material. CmsMeasured in meters per newton (m/N). Describes the compliance (ie, the inverse of stiffness) of the suspension. The more compliant a suspension system is, the lower its stiffness, so the higher the Vas will be. Cms is proportional to Vas and thus has the same tolerance ranges. ReMeasured in ohms (Ω), this is the DC resistance (DCR) of the voice coil, best measured with the cone blocked, or prevented from moving or vibrating because otherwise the
2007 – 2013 Toyota tundra crewmax ported subwoofer box enclosure
pickup of ambient sounds can cause the measurement to be unreliable. Re should not be confused with the rated driver impedance, Re can be tightly controlled by the manufacturer, while rated impedance values are often approximate at best.. American EIA standard RS-299A specifies that Re (or DCR) should be at least 80% of the rated driver impedance, so an 8-ohm rated driver should have a DC resistance of at least 6.4 ohms, and a 4-ohm unit should measure 3.2 ohms minimum. This standard is voluntary, and many 8 ohm drivers have resistances of ~5.5 ohms, and proportionally lower for lower rated impedances. LeMeasured in millihenries (mH), this is the inductance of the voice coil. The coil is a lossy inductor, in part due to losses in the pole piece, so the apparent inductance changes with frequency. Large Le values limit the high frequency output of the driver and cause response changes near cutoff. Simple modeling software often neglects Le, and so does not include its consequences. Inductance varies with excursion because the voice coil moves relative to the polepiece, which acts as a sliding inductor core, increasing inductance on the inward stroke and decreasing it on the outward stroke in typical overhung coil arrangements. This inductance modulation is an important source of nonlinearity (distortion) in loudspeakers. Including a copper cap on the pole piece, or a copper shorting ring on it, can reduce the increase in impedance seen at higher frequencies in typical drivers, and also reduce the nonlinearity due to inductance modulation. Sd Measured in square meters (m²). The effective projected area of the cone or diaphragm. It is difficult to measure and depends largely on the shape and properties of the surround. Generally accepted as the cone body diameter plus one third to one half the width of the annulus (surround). Drivers with wide roll surrounds can have significantly less Sd than conventional types with the same frame diameter. XmaxSpecified in millimeters (mm). In the simplest form, subtract the height of the voice coil winding from the height of the magnetic gap, take the absolute value and divide by 2. This technique was suggested by JBL’s Mark Gander in a 1981 AES paper, as an indicator of a loudspeaker motor’s linear range. Although easily determined, it neglects magnetic and mechanical non-linearities and asymmetry, which are substantial for some drivers. Subsequently, a combined mechanical/acoustical measure was suggested, in which a driver is progressively driven to high levels at low frequencies, with Xmax determined by measuring excursion at a level where 10% THD is measured in the output. This method better represents actual driver performance, but is more
2007 – 2013 Toyota tundra crewmax ported subwoofer box enclosure
difficult and time-consuming to determine. PeSpecified in watts. Frequently two power ratings are given, an “RMS” rating and a “music” (or “peak”, or “system”) rating, usually peak is given as ~2 times the RMS rating. Loudspeakers have complex behavior, and a single number is really unsatisfactory. There are two aspects of power handling, thermal and mechanical. The thermal capacity is related to coil temperature and the point where adhesives and coil insulation melt or change shape. The mechanical limit comes into play at low frequencies, where excursions are largest, and involves mechanical failure of some component. A speaker that can handle 200 watts thermally at 200Hz, may sometimes be damaged by only a few watts at some very low frequency, like 10Hz. Power handling specifications are usually generated destructively, by long term industry standard noise signals (IEC 268, for example) that filter out low frequencies and test only the thermal capability of the driver. Actual mechanical power handling depends greatly on the enclosure in which the driver is installed. VdSpecified in litres (L). The volume displaced by the cone, equal to the cone area (Sd) multiplied by Xmax. A particular value may be achieved in any of several ways. For instance, by having a small cone with a large Xmax, or a large cone with a small Xmax. Comparing Vd values will give an indication of the maximum output of a driver at low frequencies. High Xmax, small cone diameter drivers are likely to be inefficient, since much of the voice coil winding will be outside the magnetic gap at any one time and will therefore contribute little or nothing to cone motion. Likewise, large cone diameter, small Xmax drivers are likely to be more efficient as they will not need, and so may not have, long voice coils.η0 – Reference Efficiency Specified in percent (%). Comparing drivers by their calculated reference efficiency is often more useful than using ‘sensitivity’ since manufacturer sensitivity figures are too often optimistic. SensitivityThe sound pressure, in dB, produced by a speaker in response to a specified stimulus. Usually this is specified at an input of 1 watt or 2.83 volts (2.83 volts = 1 watt into an 8 ohm load) at a distance of one meter. Mms – Mass of the diaphragm/coil, including acoustic load, in kilograms. Mass of the diaphragm/coil alone is known as Mmd Cms – Compliance of the driver’s suspension, in meters per newton (the reciprocal of its ‘stiffness’). Rms – The mechanical resistance of a driver’s suspension (i.e., ‘lossiness’) in N·s/m Le – Voice coil inductance measured in millihenries (mH) (Frequency dependent, usually measured at 1 kHz). Re – DC resistance of the voice coil, measured in ohms. Bl – The product of magnet field strength in the voice coil gap and the length of wire in the magnetic field, in tesla-metres (T·m). 2014 Toyota tundra crewmax ported subwoofer box enclosure
2014 Toyota Tundra Stereo System Subwoofer Amplifier Speakers Install San Antonio
2014 Toyota Tundra Stereo System Subwoofer Amplifier Speakers Install San Antonio – We will take you through full installation of the 2014 Toyota Tundra System installation. We primarily provide our products online to customers all over the world. However, we do install quite a few audio systems for Toyota Tundras here in San Antonio, TX. No one will do the job better. We strictly perform installs on Toyotas. We have installed over 70 Toyota Tundra’s right here in San Antonio. WE have had customers come from as far as New Mexico to get a system installed.
Be sure to keep checking back on this post, we will be posting lots more pictures and videos.
2014 Toyota Tundra Stereo Amp Subwoofer Installation San Antonio
2014 Toyota Tundra Stereo Amp Subwoofer Installation San Antonio
2014 Toyota Tundra Stereo Amp Subwoofer Installation San Antonio
2014 Toyota Tundra Stereo Amp Subwoofer Installation San Antonio
2014 Toyota Tundra Stereo Amp Subwoofer Installation San Antonio
2014 Toyota Tundra add amp to entune
2014 Toyota Tundra Stereo Amp Subwoofer Installation San Antonio
2014 Toyota Tundra Stereo Amp Subwoofer Installation San Antonio
2014 Toyota Tundra Stereo Amp Subwoofer Installation San Antonio
2014 Toyota Tundra Stereo Amp Subwoofer Installation San Antonio
2014 Toyota Tundra Stereo Amp Subwoofer Installation San Antonio
2014 Toyota Tundra Stereo Amp Subwoofer Installation San Antonio
2014 Toyota Tundra Stereo Amp Subwoofer Installation San Antonio
2014 Toyota Tundra Stereo Amp Subwoofer Installation San Antonio
2014 Toyota Tundra Stereo Amp Subwoofer Installation San Antonio
2014 Toyota Tundra Stereo Amp Subwoofer Installation San Antonio
2014 Toyota Tundra Stereo Amp Subwoofer Installation San Antonio
2014 Toyota Tundra Stereo Amp Subwoofer Installation San Antonio
2014 Toyota Tundra Stereo Amp Subwoofer Installation San Antonio
2014 Toyota Tundra Stereo Amp Subwoofer Installation San Antonio
2014 Toyota Tundra Stereo Amp Subwoofer Installation San Antonio
2014 Toyota Tundra Stereo Amp Subwoofer Installation San Antonio
2014 Toyota Tundra Stereo Amp Subwoofer Installation San Antonio
2014 Toyota Tunda Stereo Amp Subwoofer Installation San Antonio
2014 Toyota Tundra car stereo Installer San Antonio
2014 Toyota Tundra car stereo Installer San Antonio
2014 Toyota Tundra car stereo Installer San Antonio
2014 Toyota Tundra car stereo Installer San Antonio
2014 Toyota Tundra car stereo Installer San Antonio
2014 Toyota Tundra car stereo Installer San Antonio
2014 Toyota Tundra car stereo Installer San Antonio
2014 Toyota Tundra car stereo Installer San Antonio
2014 Toyota Tundra car stereo Installer San Antonio
2014 Toyota Tundra car stereo Installer San Antonio
2014 Toyota Tundra car stereo Installer San Antonio
2014 Toyota Tundra car stereo Installer San Antonio